Skype is a platform with which it is possible to establish Skype meetings with friends, family and coworkers, but what many Windows 10 users have noticed is that Skype for Business often runs . This modality of Skype is focused on a work environment due to the specific benefits it presents as they are more complex than for more ordinary use..
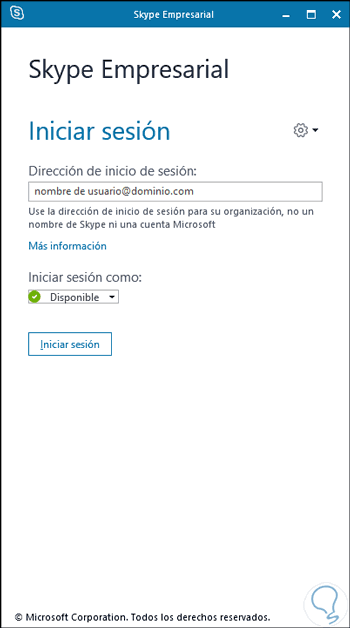
Skype for Business
This is a version, as its name implies, focused on companies since it offers functions such as:
- Start instant message conversations and voice calls or video calls if applicable.
- Be able to see when a contact is available online.
- Schedule or join meetings.
- Share the team screen during meetings or give control to other meeting users.
Logically thousands of Windows 10 users have their equipment at home so they will use traditional Skype but not the business one, for this reason we will explain how to uninstall Skype Windows 10.
To stay up to date, remember to subscribe to our YouTube channel! SUBSCRIBE
How to uninstall Skype for Business Windows 10
Microsoft has ruled out the possibility of uninstalling Office suite applications from Office 2016, so uninstalling Skype for Business will require uninstalling Office and reinstalling it again, but discarding the Skype for Business package.
Step 1
For this we are going to download the utility “Office Development Tool” from the following link:
Office Development Tool
Step 2
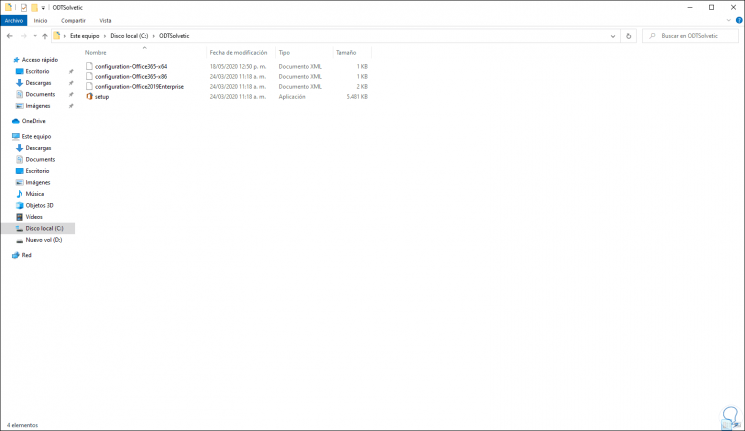
Once downloaded, we proceed to execute it and extract the files in some folder created in the C drive, there, in the folder, we will see the following:
Step 3
There we are going to create a new text file with the following data. We save the changes by selecting the "All files" option and defining the name "configuration.xml".
< Configuration > < Add SourcePath = "C: \ ODTTechnoWikis" OfficeClientEdition = "32" > < Product ID = "O365ProPlusRetail" > < Language ID = "en-us" /> < ExcludeApp ID = "Lync" /> </ Product > </ Add > < Display Level = "Full" AcceptEULA = "TRUE" /> </ Configuration >
Note
In the "SourcePath" field, enter the path of the folder where the files have been extracted, and in the "OfficeClientEdition" field, enter the desired architecture (32 or 63 bits).
Step 4
After this we access the terminal and there we will go to the folder where said file has been created:
cd c: \ ODTTechnoWikis
Step 5
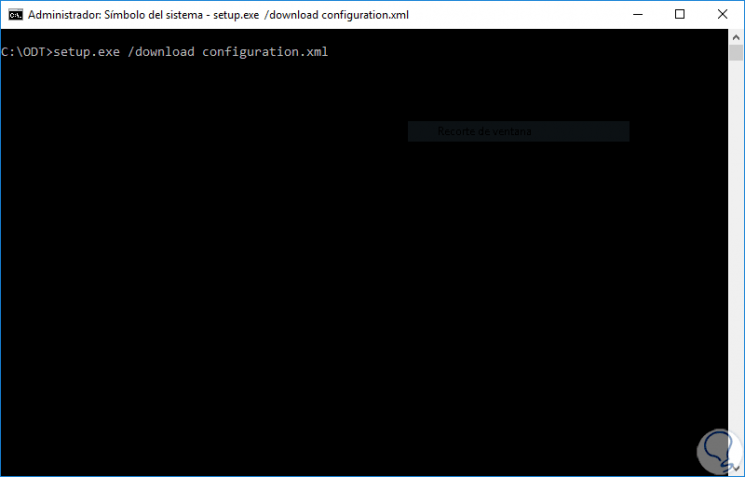
First of all, we run the following command:
setup.exe / download configuration.xml
Step 6
This is in charge of downloading the Office suite that we have defined, but with the condition that Skype for Business will not be installed by default when including the line
< ExcludeApp ID = "Lync" />
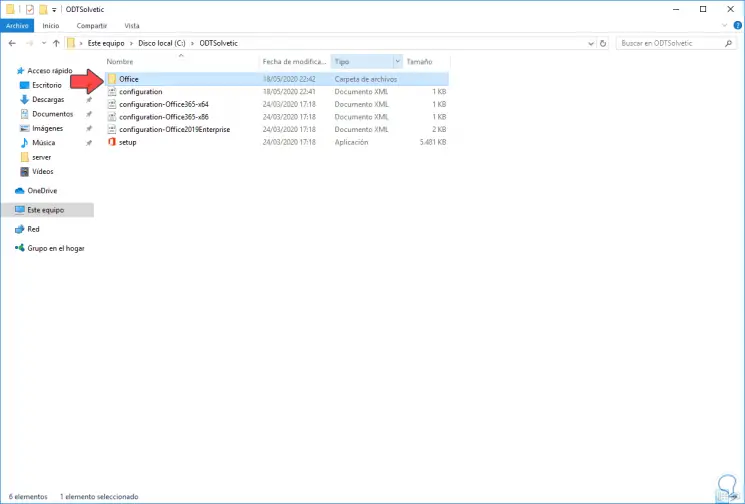
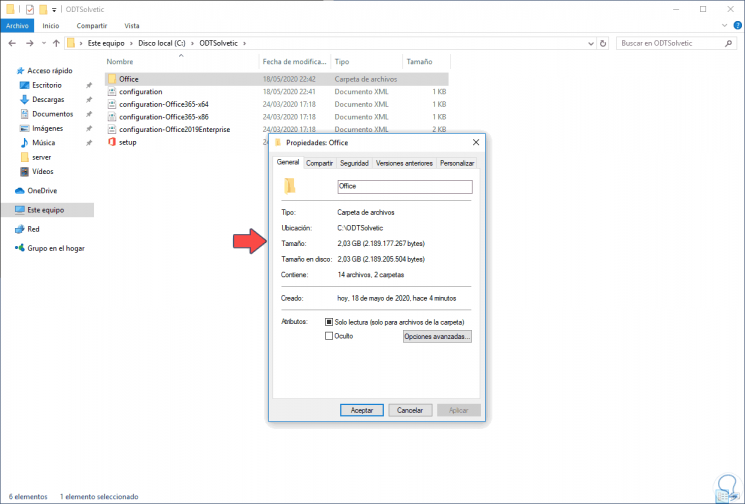
This will create the Office folder in the defined path:
Step 7
We can check the size of this folder:
Step 8
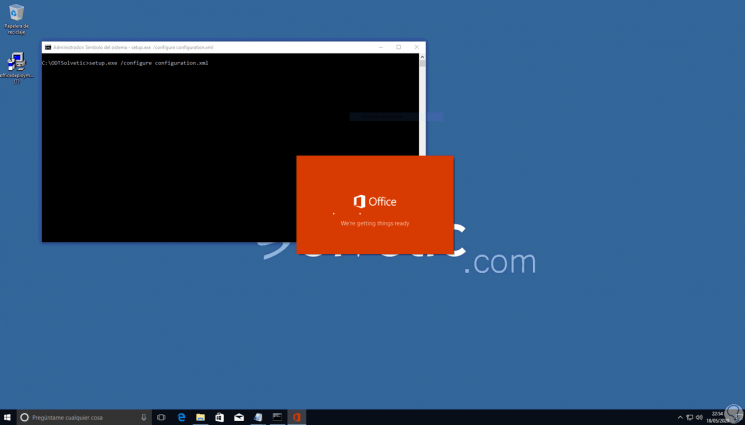
After the download has finished, we go to the terminal and execute the following:
setup.exe / configure configuration.xml
Step 9
This command is responsible for running the Office installation:
Step 10
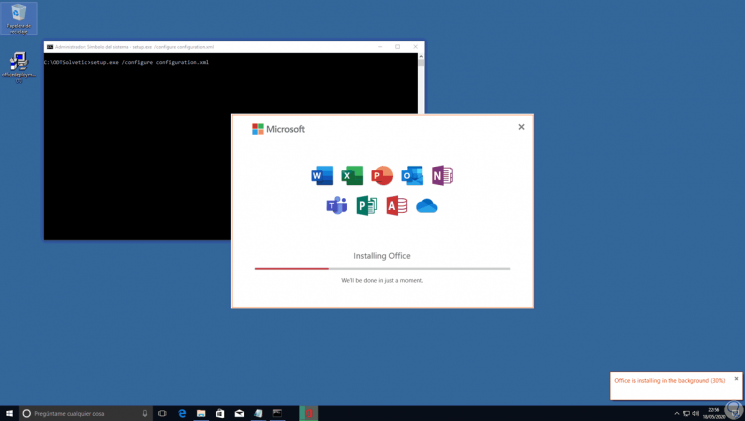
We can see that the process continues:
Step 11
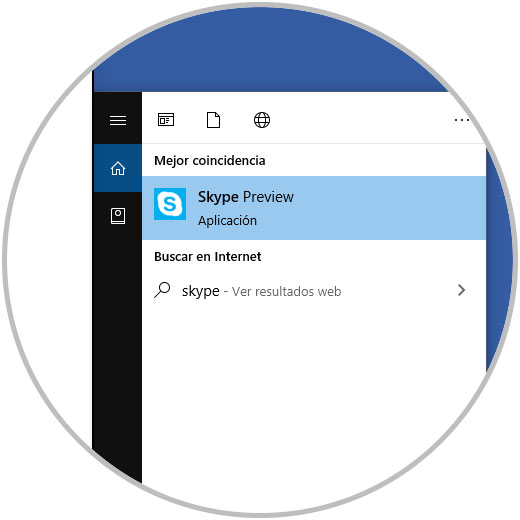
When this is finished we can search for Skype and check that Skype for Business has not been installed in Windows 10:
With this simple method we will prevent Skype for Business from being installed in Windows 10 and thus make use of the traditional Skype already known to all when uninstalling Skype for Business Windows 10..