One of the objects that allows us to access websites or the configuration of an application faster is the cache memory. It is housed in memory with the various variables of the site or application so that access is light since the CPU must not read the web properties and thus speeds up this process. But if said site, for example, if the site modifies its IP address or if any of its redirect files is modified, this will cause the opposite effect since its opening will be slow and with errors..
To help maintain this cache control we have a utility called Memcached which we will explain through this tutorial.
What is Memcached
The memcached utility allows centralized control over the Ubuntu cache based on the acceleration of web applications since it processes directly on the database load which is closely related to performance when opening. applications or websites.
Memcached acts in a simple way since it analyzes the memory resources and will take from where there is more quantity in order to offer it where it is scarce. This allows for a better distribution of this memory and this results in the following:
- Make each node independent of other nodes
- Enables each node to use memory from other nodes in order to optimize and speed up processes where memory is scarce
characteristics
By installing memcached we are accessing the following:
- The client software thanks to which we can see the available memcached servers in the system
- A server software where the values of the assigned keys are stored in an internal hash table
- Memcached adds a hashing algorithm which is client based in order to select a server based which is based on the distributed key, this helps to improve the security of memcached
- An LRU which allows us to see when memcached needs to access old data in order to speed up processes
That is why below we give you all the steps you must follow to know how to install Memcached in Ubuntu Server 20.04 and how to configure it step by step..
1. How to install Memcached in Ubuntu Server 20.04
Step 1
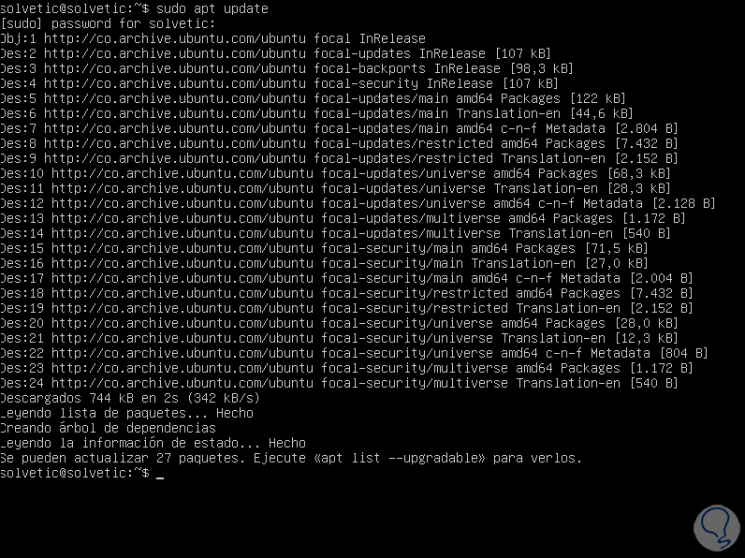
The first step will be to update the system packages, for this we execute:
sudo apt update
Step 2
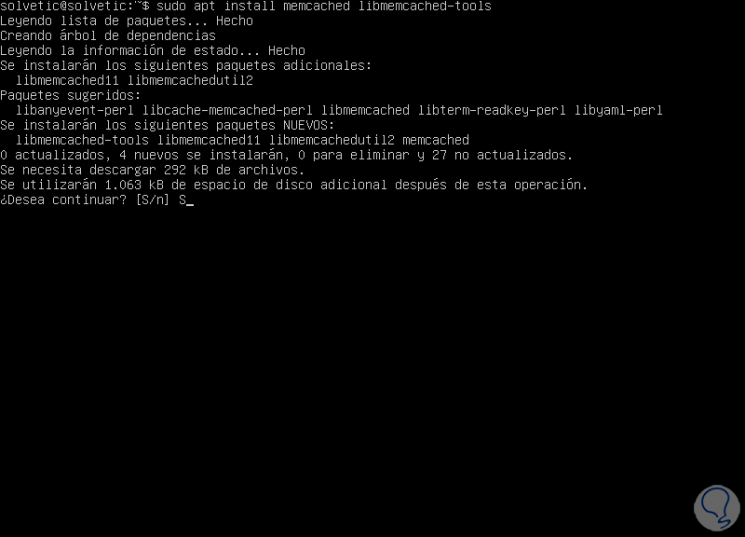
Next we are going to install memcached in Ubuntu by executing the following command:
sudo apt install memcached libmemcached-tools
Step 3
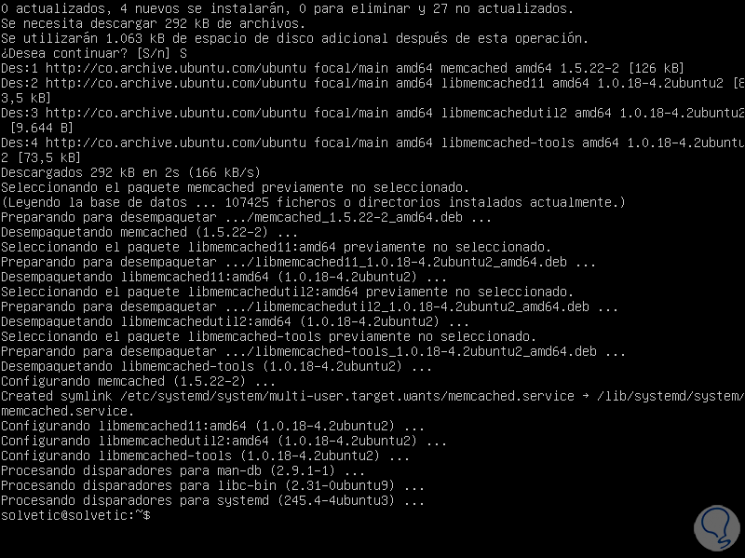
We enter the letter "S" to confirm the download and installation of memcached in the system:
Step 4
When we have installed memcached we will validate its status by executing:
sudo systemctl status memcached
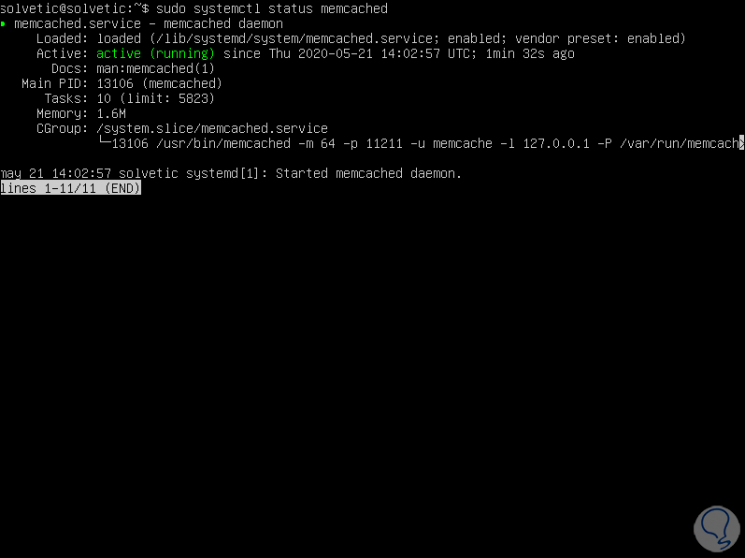
Up to this point we have installed memcached on Ubuntu Server.
2. How to configure Memcached in Ubuntu
Memcached configuration settings are housed in the /etc/memcached.conf directory. There we find that Memcached listens on port 11211 and is configured to listen through the localhost.
Step 1
We validate this by accessing the preferred editor:
sudo nano /etc/memcached.conf
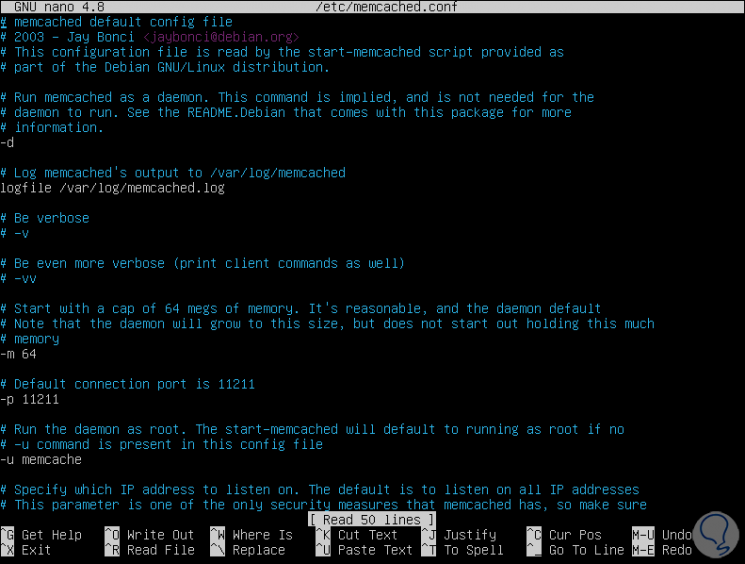
In case the application to connect to the memcached service is installed on the same memcached server, this line should be left the same without any modification, but if it has to be connected remotely, we must edit the localhost address (127.0 .0.1) by the IP address of the remote client..
Step 2
In case of making any changes we save it with the Ctrl + O keys and we leave the editor with the Ctrl + X keys.
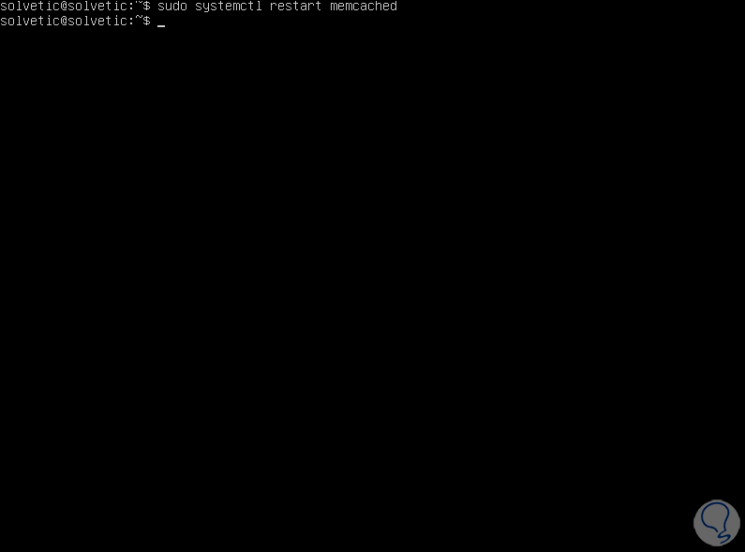
Then we restart memcached by executing:
sudo systemctl restart memcached

Step 3
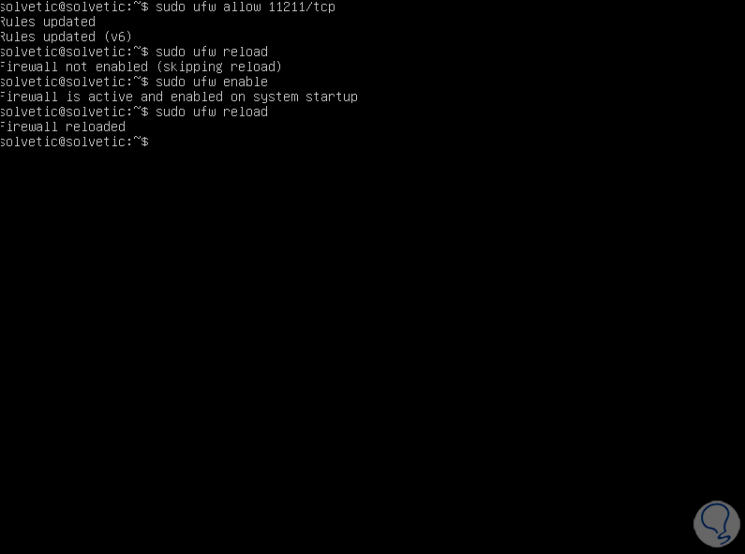
Now we must allow remote connections to Ubuntu, for this we grant these permissions in the Ubuntu Firewall as follows:
sudo ufw allow 11211 / tcp we apply the changes: sudo ufw reload
Note
In case the Firewall is not active we must execute "sudo ufw enable" for its enablement.
Step 4
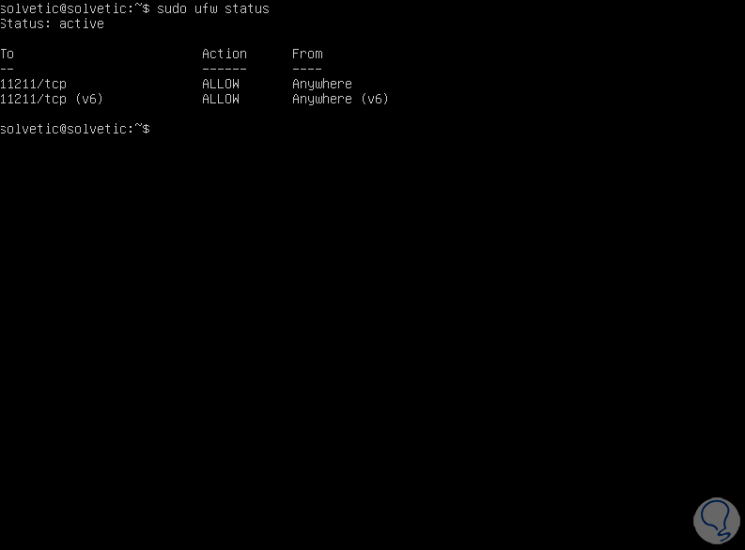
We check the status of the Firewall:
sudo ufw status
3. How to enable the use of Memcached with Ubuntu applications
Based on the applications that we have to administer, we must install the respective utilities.
Step 1
For example, if we want to manage PHP we will execute:
sudo apt install php-memcached
Step 2
For Python we execute:
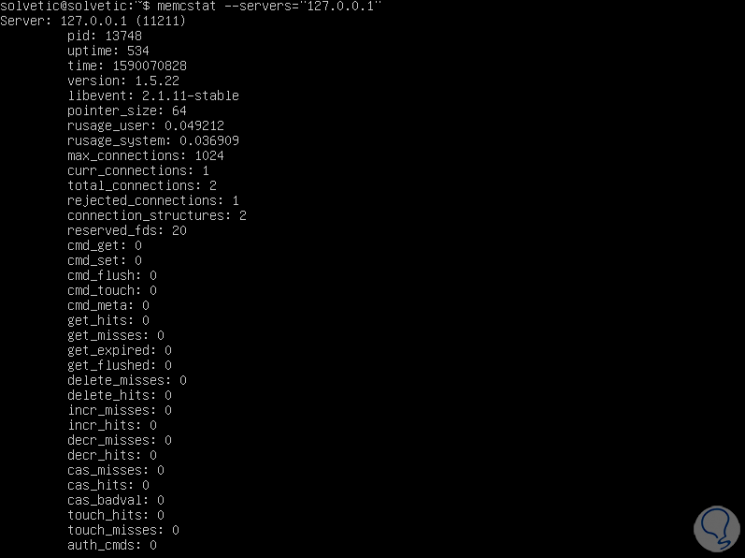
pip install pymemcache pip install python-memcached On the local server we can check the
Cache status by executing the following:
memcstat --servers = "127.0.0.1"
Step 3
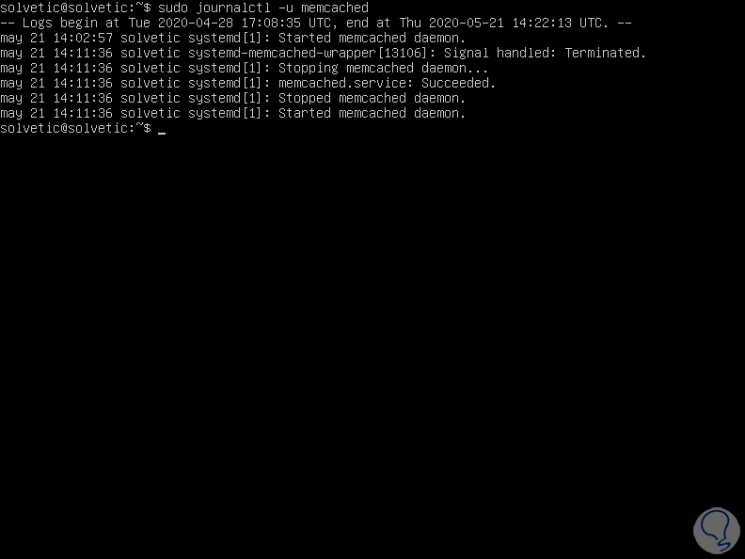
To check the memcached records we will use the following line:
sudo journalctl -u memcached
With memcached it will be very simple and centralized the cache management in Ubuntu Server. In this way you will know how to install and configure Memcached in Ubuntu Server 20.04 to be able to use this utility and take advantage of all the benefits it offers.