Windows Defender is the bet that Microsoft has developed and integrated into Windows 10 in order to facilitate the analysis of security flaws in the system and by acting as a functional antivirus, it allows executing various actions focused on maintaining the security and privacy of the system. That is why many times when we try to install an application, a message is launched indicating that said file may contain viruses and that is why it is classified as a threat, this is because Windows Defender analyzes the origin of the file as well as its structure and we have to add Windows Defender exclusion Windows 10 to fix it..
But many times the files we download are legal and Windows Defender assumes them as threats, which is not the case, this is understood as false positive, to correct this it is possible to add this type of files or other types of objects within the exclusions of Windows Defend thereby omitting the content analysis of said exclusions.
We are going to learn how to add Windows Defender exclusion in Windows 10..
To stay up to date, remember to subscribe to our YouTube channel! SUBSCRIBE
Add exclusion in Windows Defender Windows 10
Step 1
To achieve this we will go to the following route:
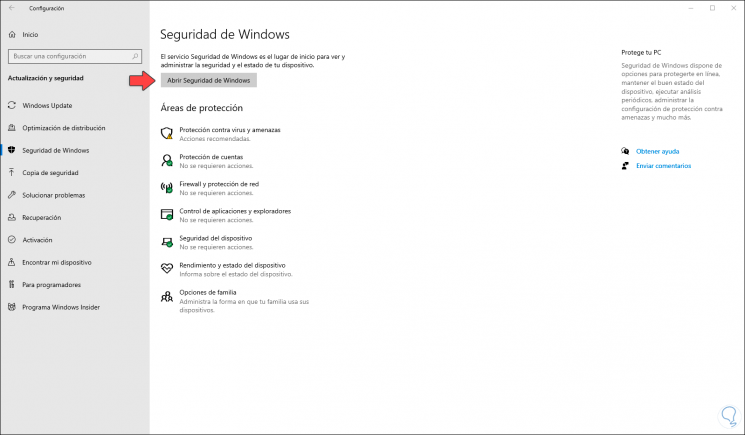
Step 2
We click on the "Open Windows Security" button and in the new window displayed we go to the "Antivirus and threat protection" section:
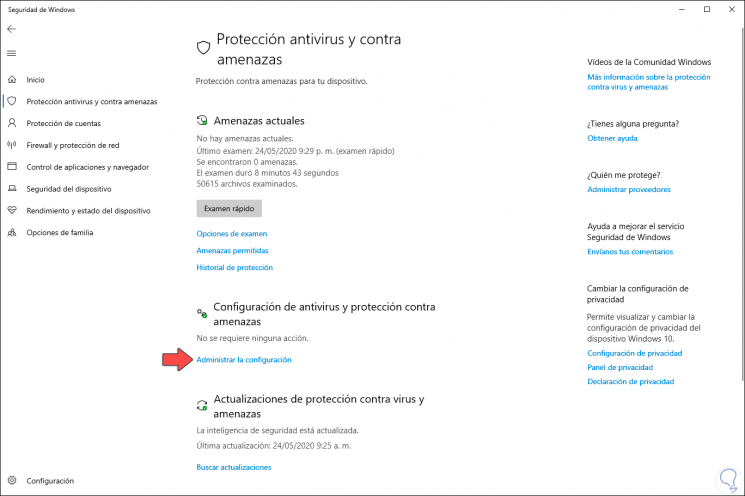
Step 3
There we click on the line "Manage settings" located in the "Antivirus and threat protection settings" section and we will access the following where we must go to the "Exclusions" field:
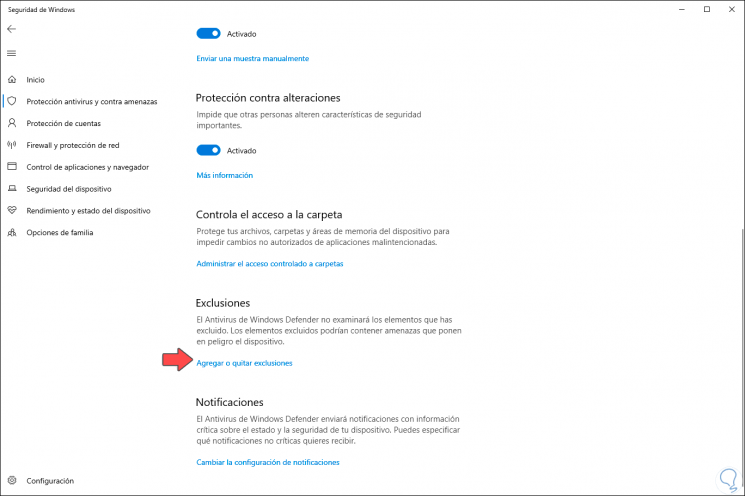
Step 4
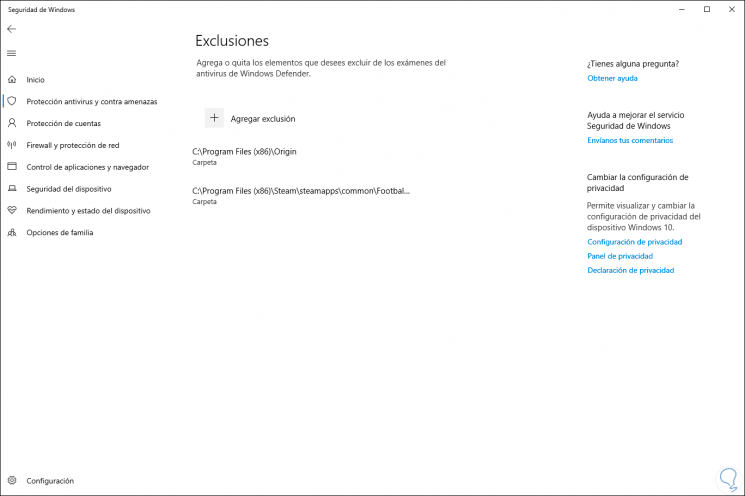
To add new exclusions we click on the line "Add or remove exclusions", we will see the following:
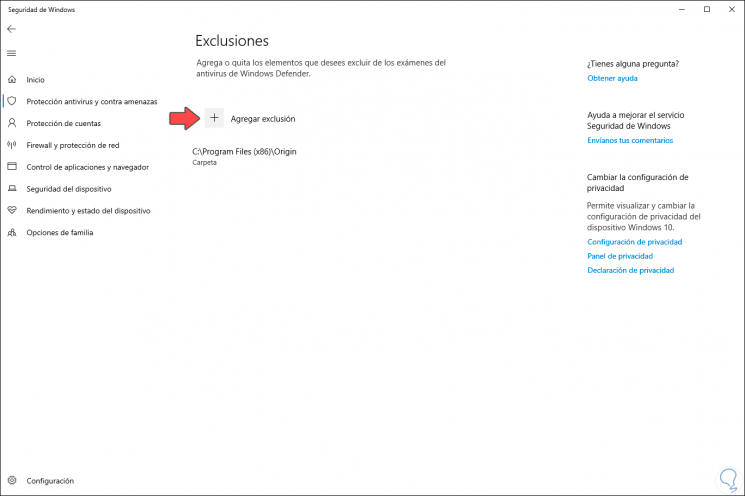
Step 5
We click on "Add exclusion" and we have the following options to exclude:
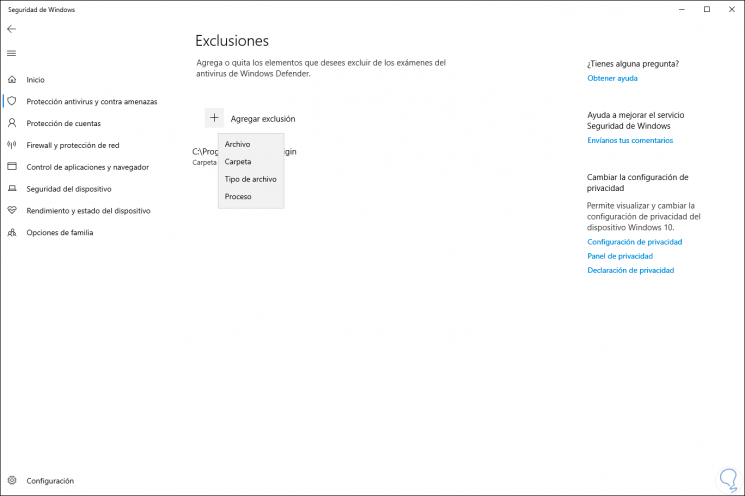
Step 6
If we select the "File" option, we must select the executable to exclude:
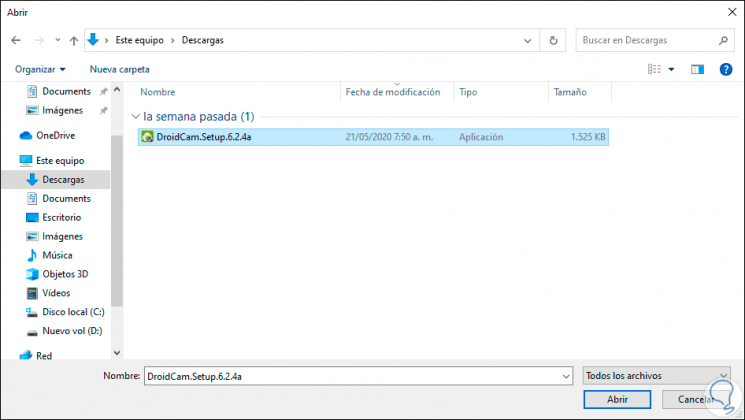
Step 7
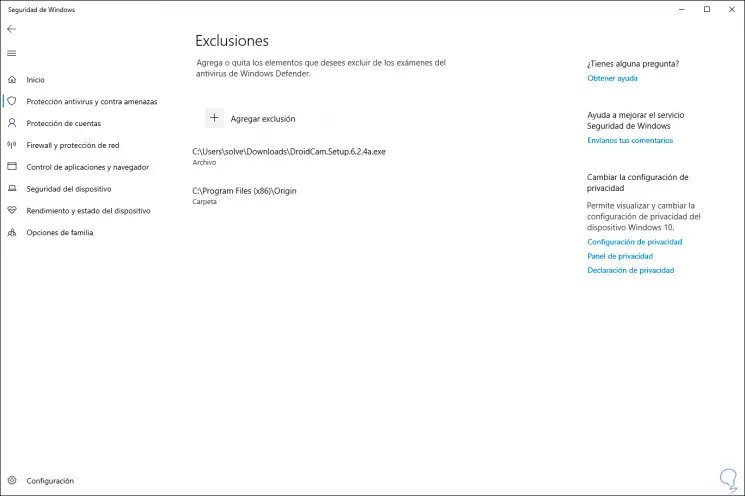
We click Open and we can see it added:
Step 8
If we select "Folder" we must select the complete folder:
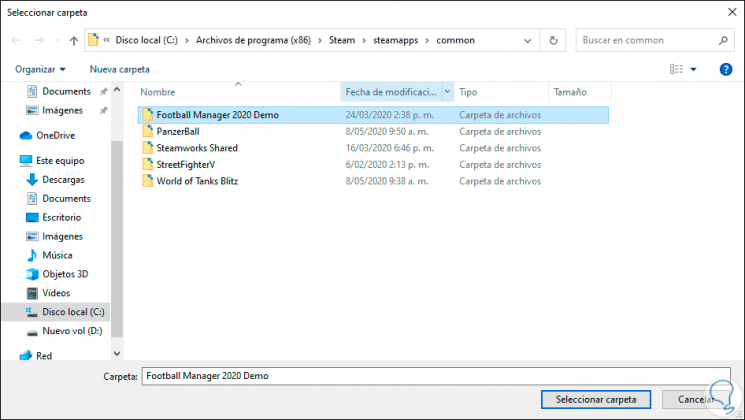
Step 9
We click on "Select folder" and we will see it excluded:
Step 10
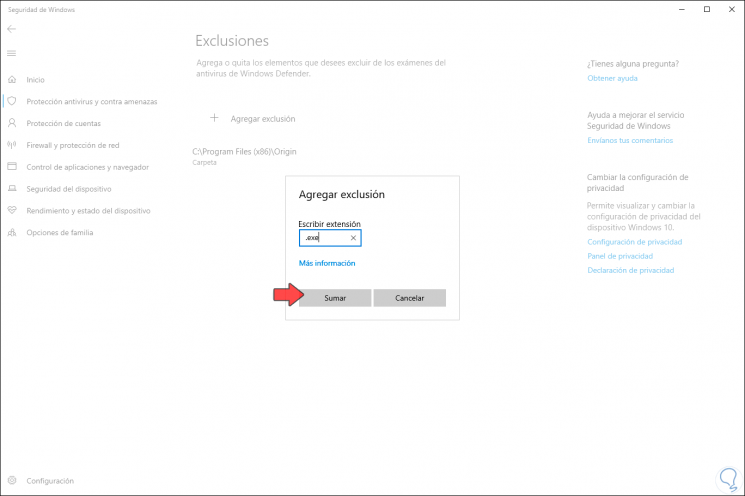
If we select "File type" we simply must enter the extension to exclude from Windows Defender analysis. We click on "Add" to add it.
Step 11
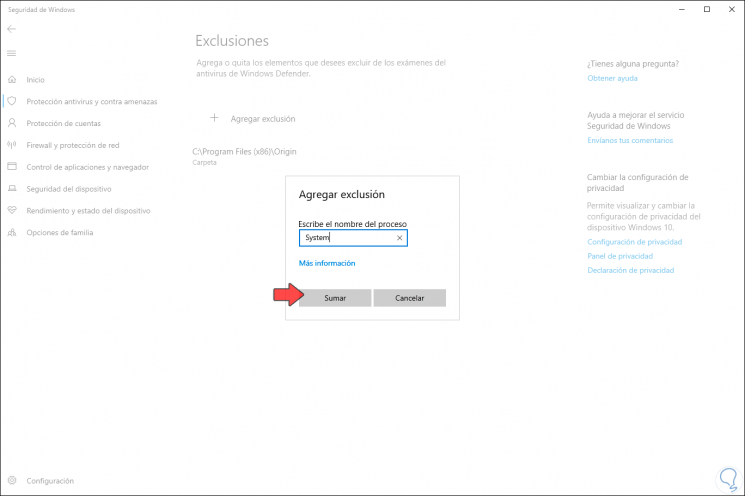
If we select "Process" we must enter the name of the desired process:
Step 12
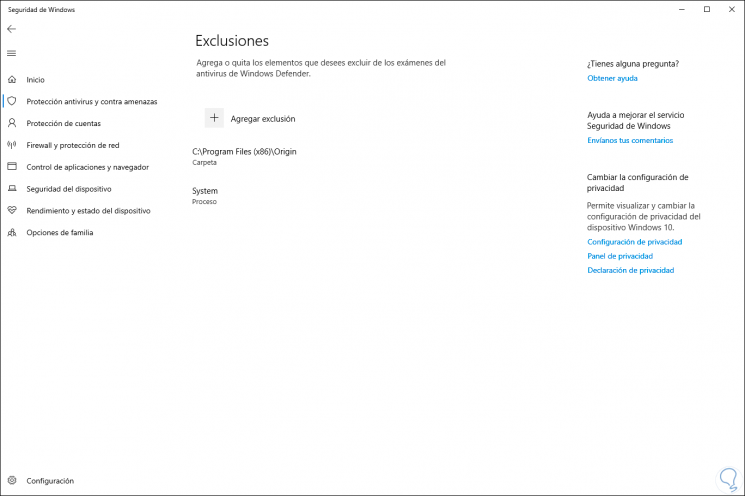
We click on "Add" and we will see it within the exclusions of Windows Defender:
Step 13
When we consider that an exclusion is no longer necessary, we simply click on it and select "Remove":
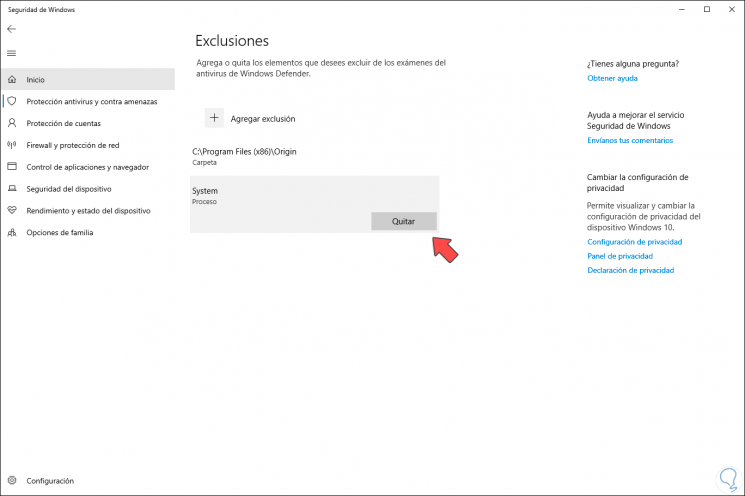
As we can see, it is simple to add Windows Defender exclusions to prevent a certain object from being recognized as a threat when it is not.