Every day in our home or office we perform routine tasks with our files such as copying, pasting or moving the files or elements between different locations either for reasons of administration, order or simply to have a better view of the files. The storage of information must be responsible in the sense of organizing and guarding it responsibly, always taking into account the possibility that some situation may cause problems. If we usually work with data, it is normal that we have to transport them from one unit to another to work with it. Although there are intermediate services such as email or the cloud, our own disk is more recommended..
In the case of macOS we have some options to copy or move files in the system and although it sounds the same it is not so, copying a file implies creating a copy of it and sending it to another route while moving is to take the file from its origin and Take it to another path or directory.
Data management even between different systems is important, so TechnoWikis will explain how to copy or move files in macOS directly to an external USB disk or USB memory..
To keep up, remember to subscribe to our YouTube channel! SUBSCRIBE
1. Format the external disk with exFAT system for Windows, Linux or Mac
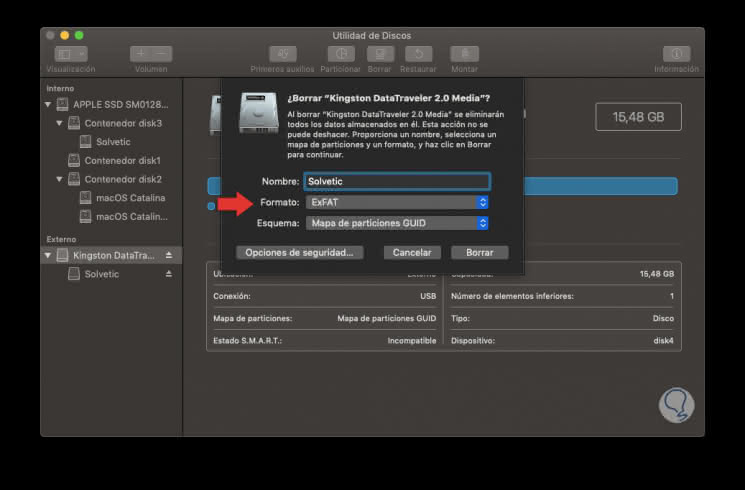
For reasons of the macOS file system, the first thing to do is format the USB medium with the ExFAT format which is compatible with systems such as Windows, Linux and macOS.
Step 1
For this format we access the disk utility using one of the following options:
- From the route go / Utilities / Disk Utility.
- Using the following keys and then choose the utility:
+ ⌘ + U ⇧ + ⌘ + U
Step 2
Once the disk utility is open we select the external disk or USB memory where the files are to be moved:
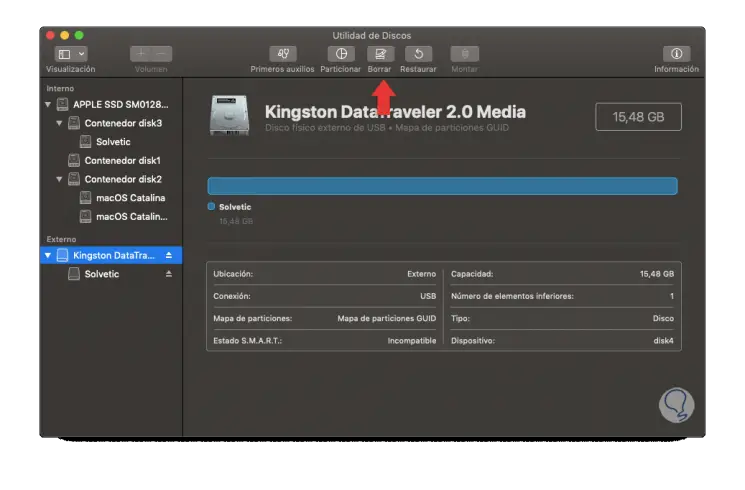
Step 3
There we will click on the “Delete†button located at the top and the following window will be displayed where we define the name of the USB medium and in the Format field we set ExFAT:
Step 4
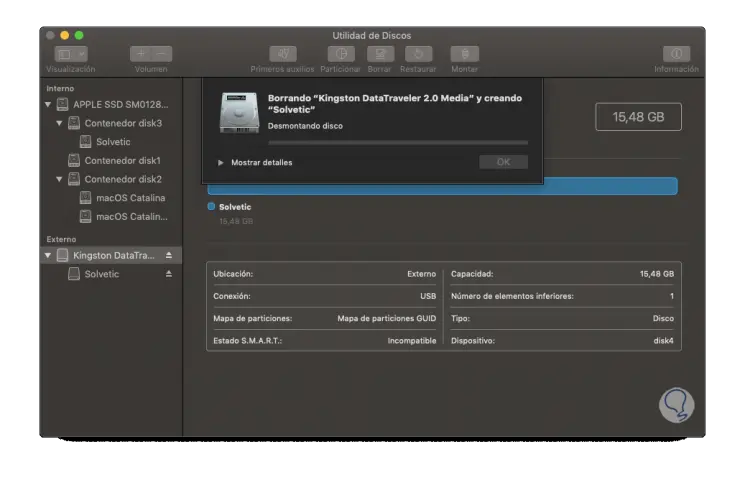
We click on Erase to give rise to the USB media format process:
Step 5
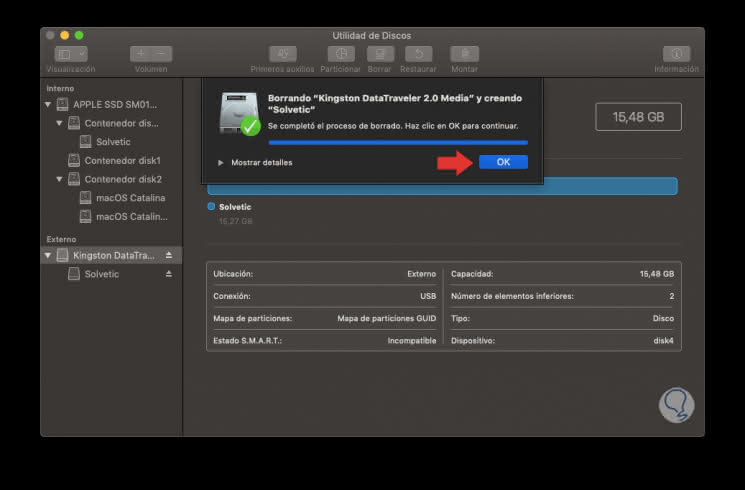
Once finished we will see the following message. We have completed the process of formatting the USB media in macOS.
2. Copy files to macOS using the drag method
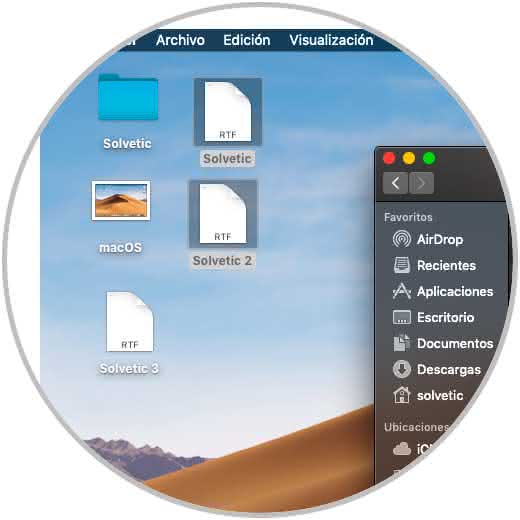
First, we will see how to copy files using the drag method
Step 1
For this we have created some files on the desktop, but you can go to the directory where they are located and open a new Finder window (using the Ctrl + N keys) to select the external device, there we will select the files that we have to copy on the USB device:
Step 2
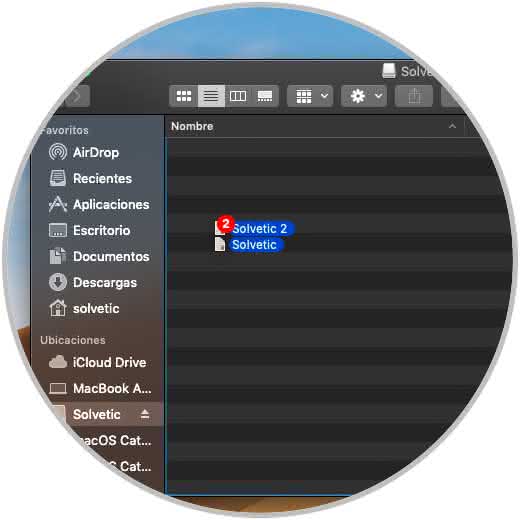
Now we simply proceed to directly drag the files to the Finder, we can see that the amount of copied elements is indicated:
Step 3
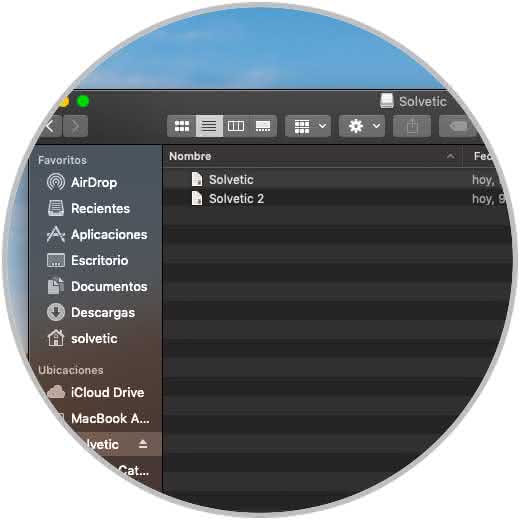
Once we release them on the external disk or USB we will see that a copy is created, that is, the files are on the external disk, but also at the source:
3. Copy files to macOS using the Mac menu
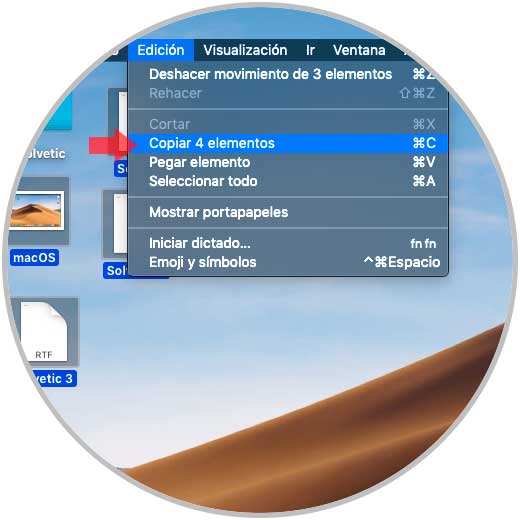
Another useful method to copy files to macOS is through the system menu
Step 1
To do this we select the files to copy and go to the Edit / Copy menu (we can use the following keys:
+ C ⌘ + C
Step 2
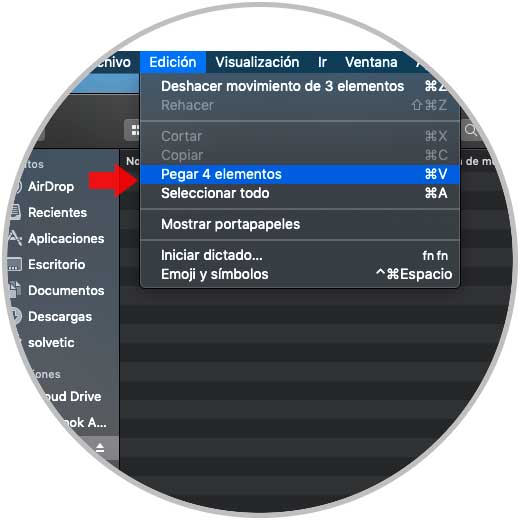
Now we simply go to the external disk or USB and from the Edit menu we select to paste or use the following keys:
+ V ⌘ + V
4. Move files in macOS to USB disk
Step 1
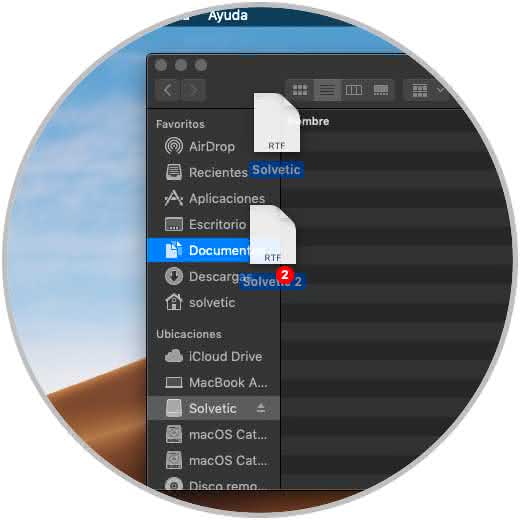
As we mentioned, moving a file implies changing its origin to another place, not only creating a copy, for this process in macOS, we must press the cmd key and select the files to move, then drag them without releasing the cmd key:
Step 2
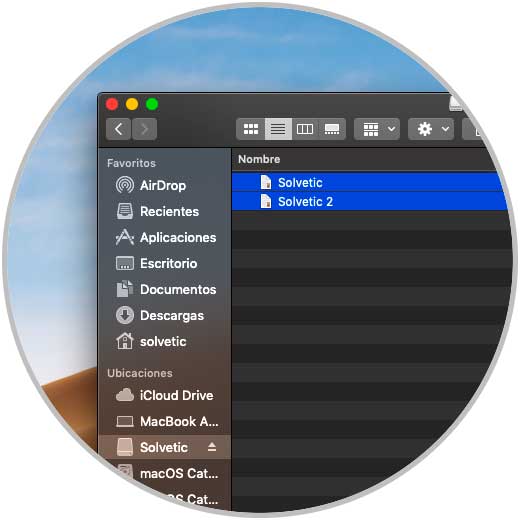
Once we release them at the destination we can verify that they have moved completely since they are not in the origin but in the selected USB:
Note
Once we copy or move the elements we proceed to eject the external disk or the USB by dragging the icon to the trash can or from the Finder.
These methods apart from being simple are fully functional in macOS and will help our daily support tasks. Remember that you have more Mac tutorials in this section that will surely help you a lot.