One of the most complete Linux distributions, at the enterprise level, is CentOS which is a derivation of RedHat and is composed of a wide range of functions and features at the level of security , performance and service management. Therefore, if you use CentOS in your organization, you will have noticed that 99.99% of its use is through terminal commands but, did you know that you can use CentOS with a graphical environment ?, that is, CentOS 7, currently version 7.6 , it gives us the opportunity to install this environment which is not available in its normal installation and can be of great help to many users who fear the use of terminal for various reasons..
When we use a GUI environment we can have various environments such as Mate, XFCE, etc., but the main thing is that we have special tools of this type of environment such as a web browser, drawing tools, audio, etc., with which you can make the end user experience better.
TechnoWikis will explain in detail how to install CentOS in its native (minimal) form and how to install the graphical environment. The CentOS 7.6 ISO image is available at the following link:
CentOS 7
1. How to install CentOS 7.6 minimum version
When we talk about a minimum version, we talk about a version that does not have a graphic environment but only with the services, processes and utilities necessary for a correct work in the organization.
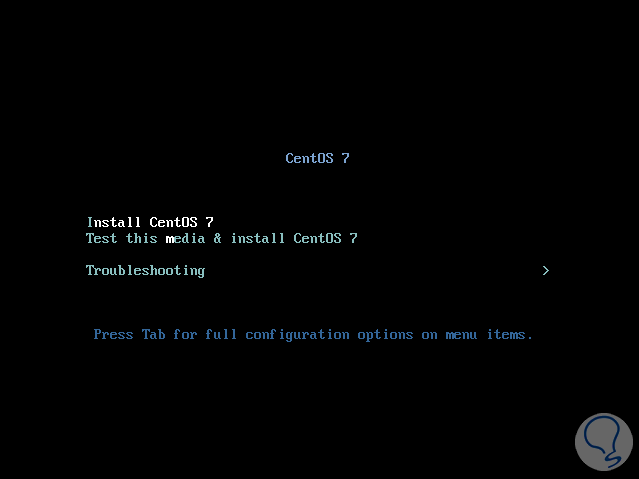
Step 1
For this we record the CentOS 7 ISO on a bootable DVD or USB and when starting the device from it we will see the following. There we select the option “Install CentOS 7â€
Step 2
When giving Enter, we have to define the CentOS 7 installation language:
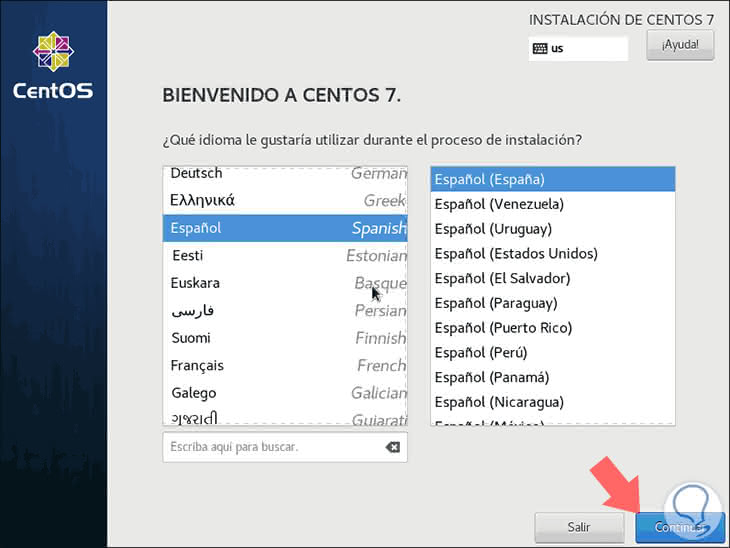
Step 3
When selecting the language we click on Continue and we will see the following summary:
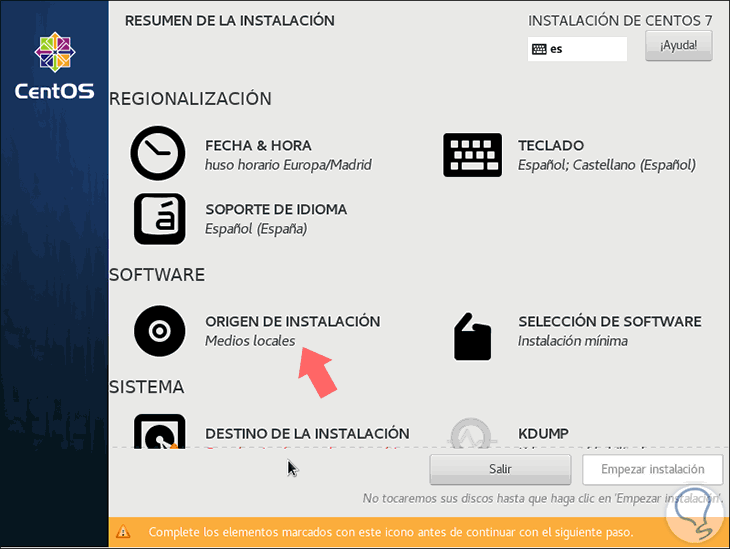
Step 4
We can notice that there are established a series of operating system parameters. We must complete those with the warning sign to proceed with the installation. The use options are as follows:
Date hour
It allows us to configure the current date and time for the system
Keyboard
We can modify the language of the keyboard to use
Language support
This option allows us to add languages ​​for system compatibility
Software selection
In this section it is possible to select new roles and functions for the CentOS 7 server
Installation source
This is one of the points that we must configure since it is decided from there where the operating system is to be installed
Destination of the installation
There we must choose the hard disk on which CentOS 7 will be installed
KDUMP
It allows us to configure the KDUMP utility which is a memory dump mechanism of the kernel or kernel damage
Network & Team Name
Here we can activate the network with the respective adapter as well as define the name of the device
Security policy
Set security profiles in CentOS 7
If we access the Installation Origin option it will be possible to observe the disc from where the CentOS 7 ISO image is recorded or we can use a network image:
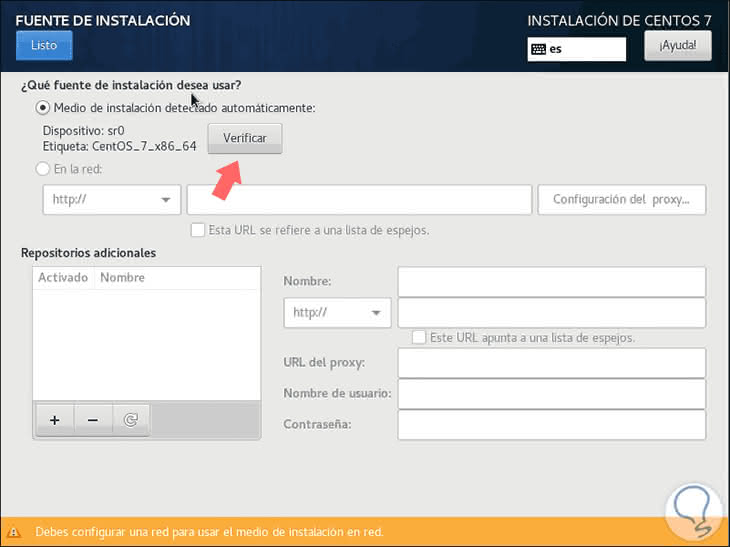
Step 5
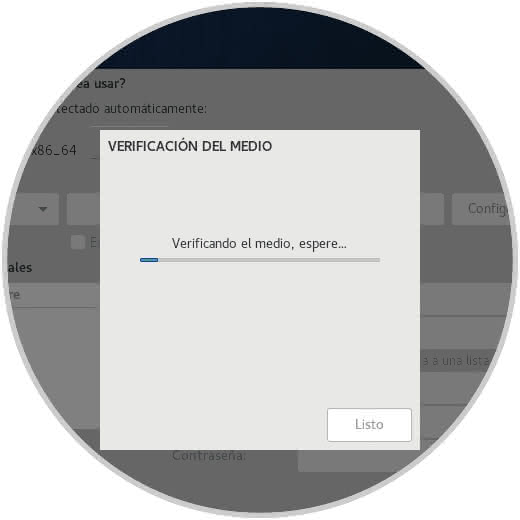
To be sure of its integrity we can click on the Verify button to analyze the ISO image:
Step 6
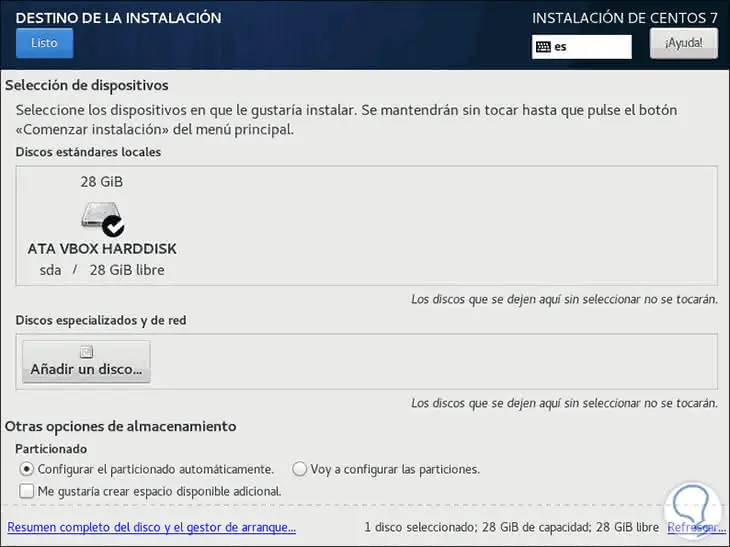
Now we must go to the “Destination of installation†section where we will see the following.
There we can select the hard disk where CentOS 7 is to be installed and if we want to establish a customized configuration at the partition level. We must select the box “I will configure the partitions†and then follow the step by step of the wizard. In this case we select the available disk and click on the Ready button to confirm it..
Step 7
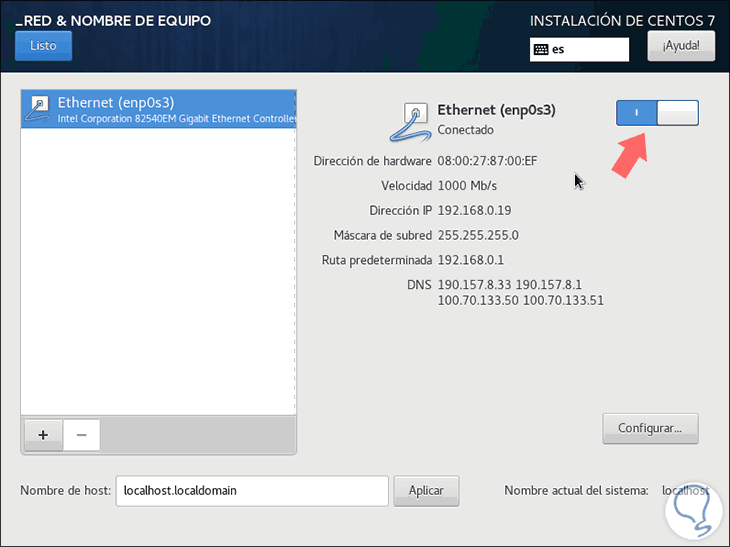
Finally we go to the Network & Device Name section and there we click on the network switch so that the local network configuration is taken as IP address, netmask, etc:
Step 8
A key point that TechnoWikis will explain to you in this process is that in the “Software selection†section you can establish the server with a graphical interface by activating the “Server with a GUI†box:
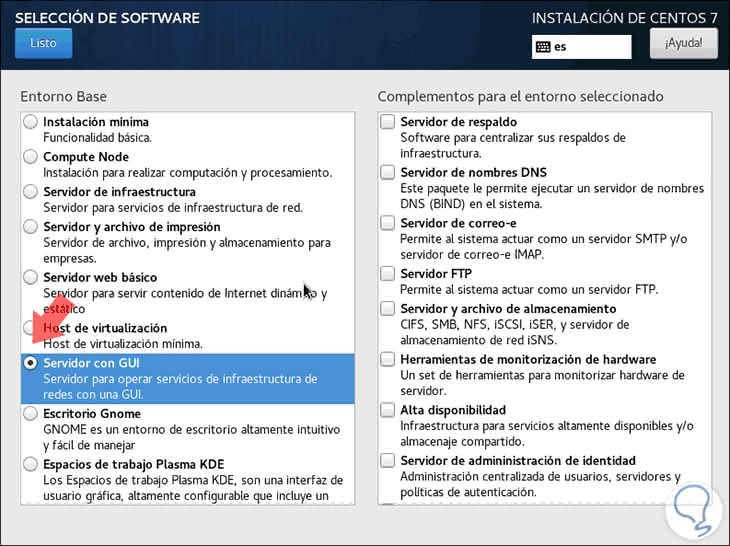
Or you can select the desired desktop type like LDE, GNOME, etc., this will install all the add-ons of this environment during installation but the goal of TechnoWikis is to explain how to do it from a minimum version of CentOS 7.
Step 9
When this has been defined, we see that it is possible to start the installation of CentOS 7 by clicking on the “Start installation†button:
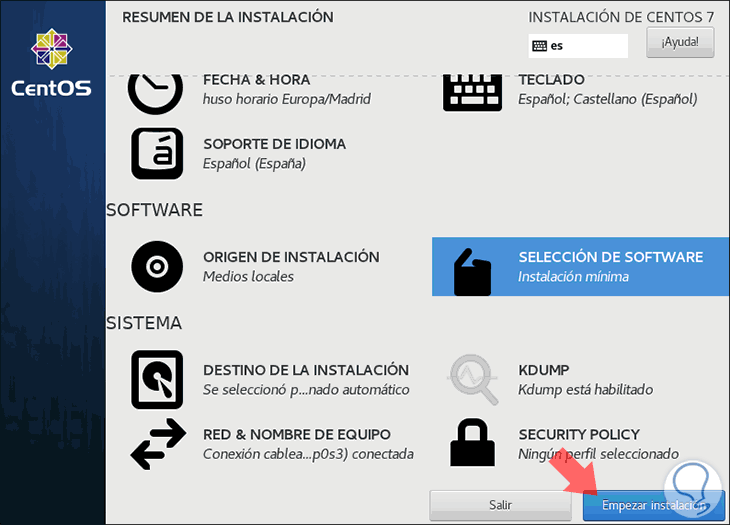
Step 10
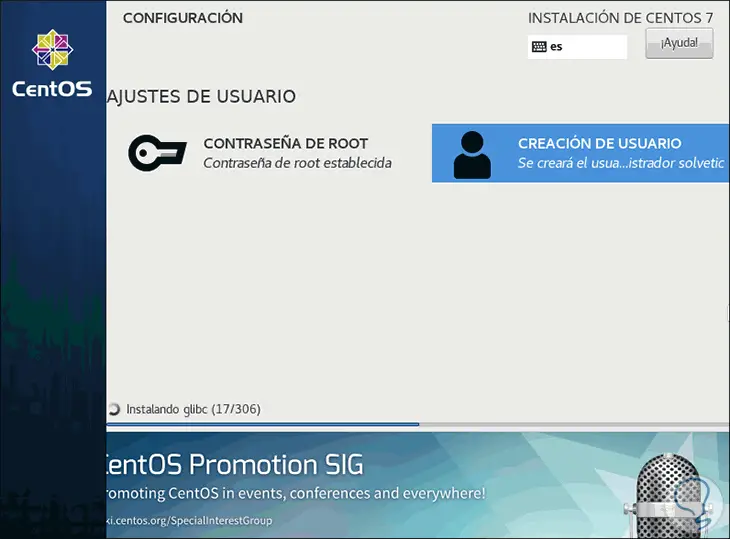
By clicking there we will see the following. It will be necessary to define the password of the root user as well as the system user
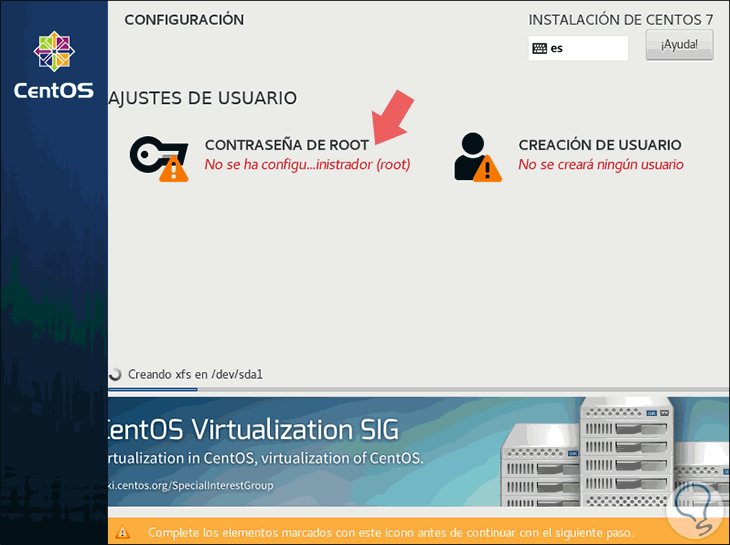
Step 11
We click on Root Password and assign the desired password:
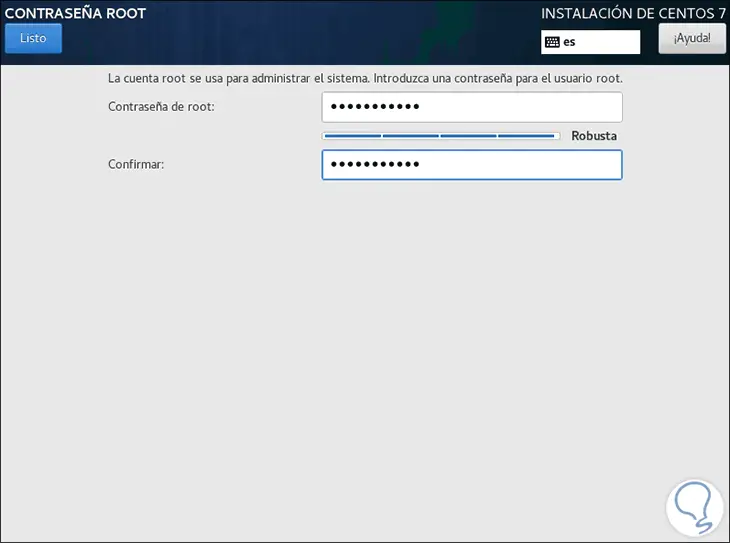
Step 12
We click on Done and then we go to the Create user option and enter the necessary details. Click on Ready
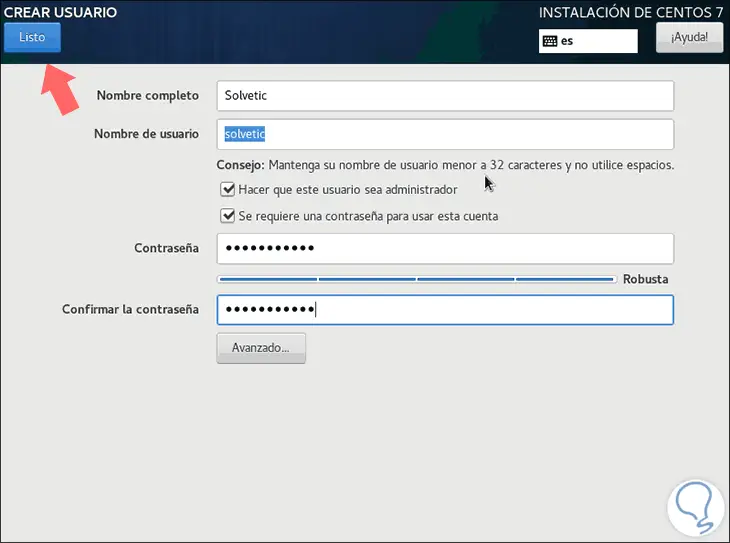
Step 13
We will see how the CentOS 7 installation process follows:
Step 14
Once the installation process is finished we will see the following:

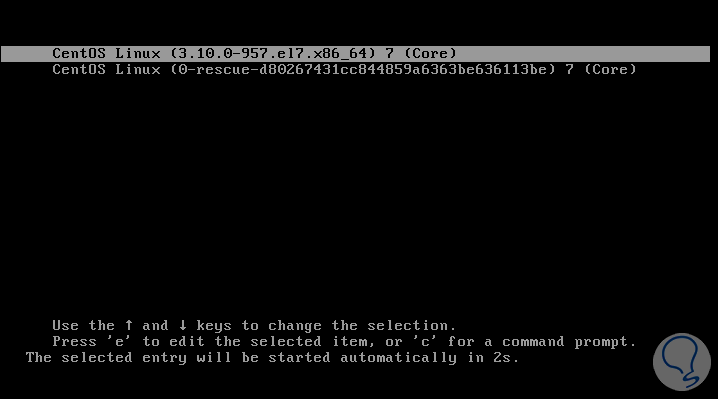
Step 15
There we must reboot the system to apply the changes and we will see the GRUB (boot loader MBR):
Step 17
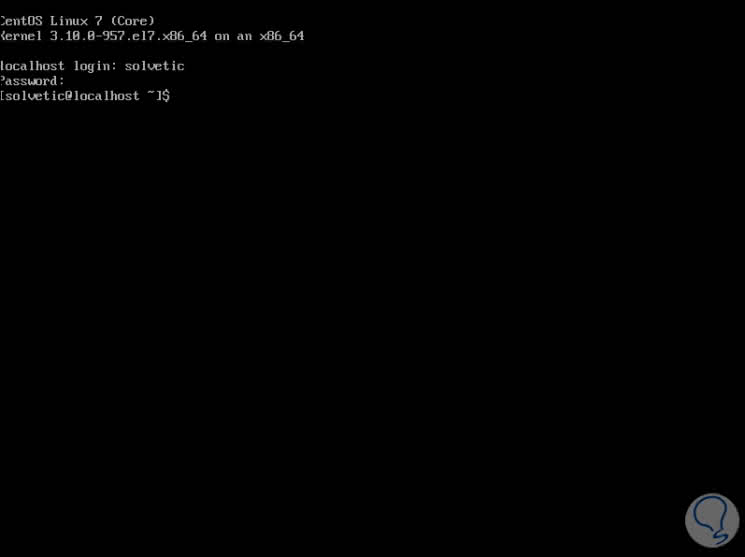
After the loading process we will be facing the CentOS 7 environment in its minimum version to log in:
Up to this point we have installed CentOS 7 in its traditional and most used way at the company level, now we will explain how you can install the CentOS 7 graphic environment..
2. Install the graphical environment using the GNOME CentOS 7 window mode
This is a method by which we can install some of the graphic environments available for both the interface and the desktop.
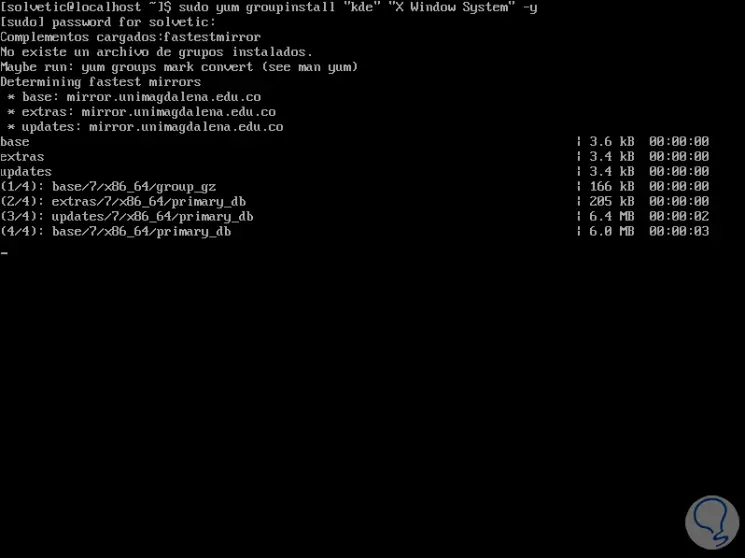
Step 1
With this method, we must first install the KDE desktop application group (which will be used in this tutorial) and for this we directly execute the following:
yum groupinstall “kde†“X Window System†-y
Step 2
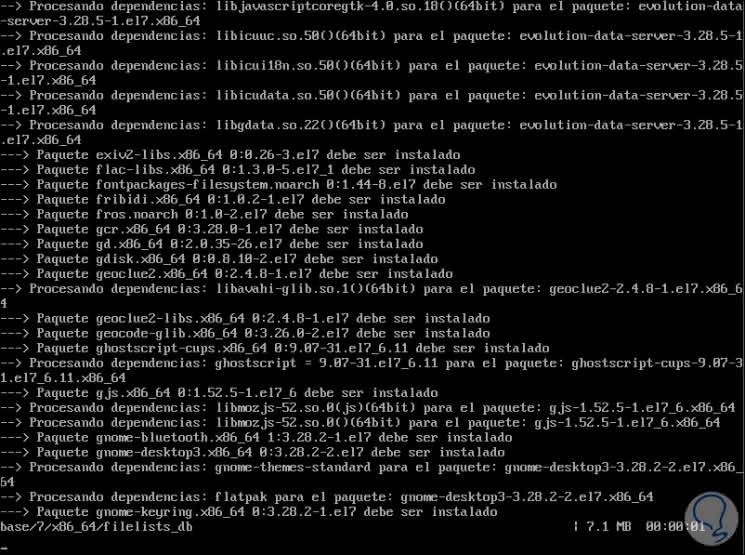
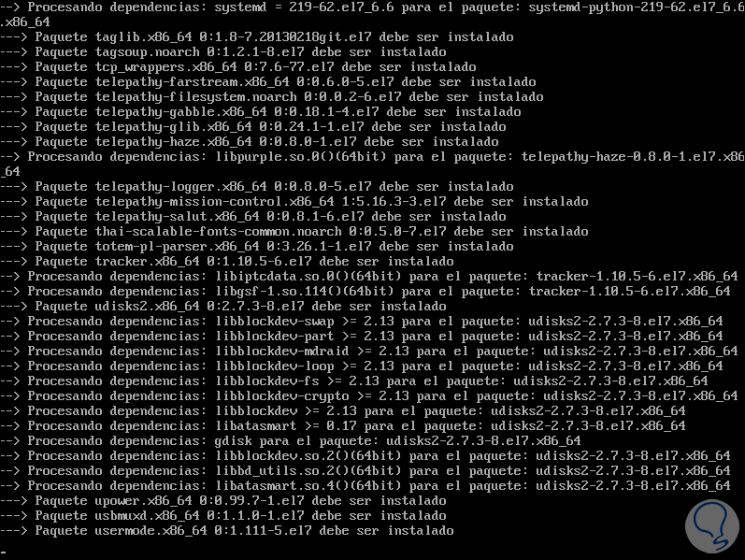
Then we can see that all the dependencies of the selected graphic environment are loaded:
Step 3
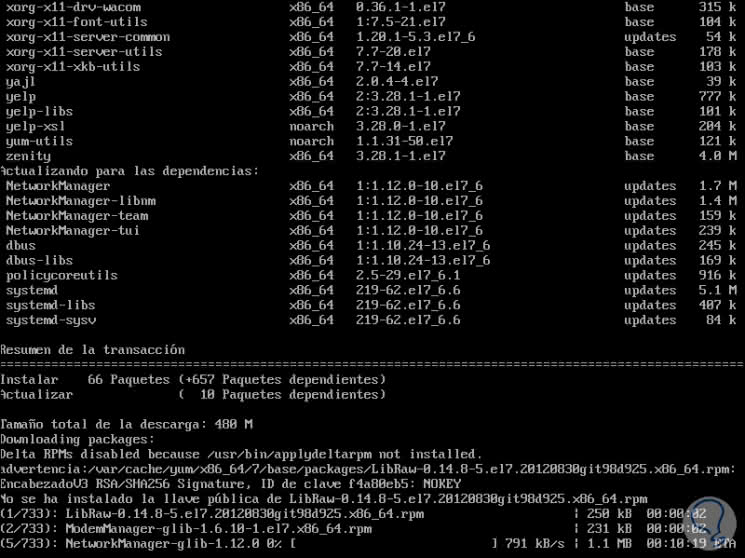
Then we will see that we proceed to the automatic installation of the downloaded units:
Step 4
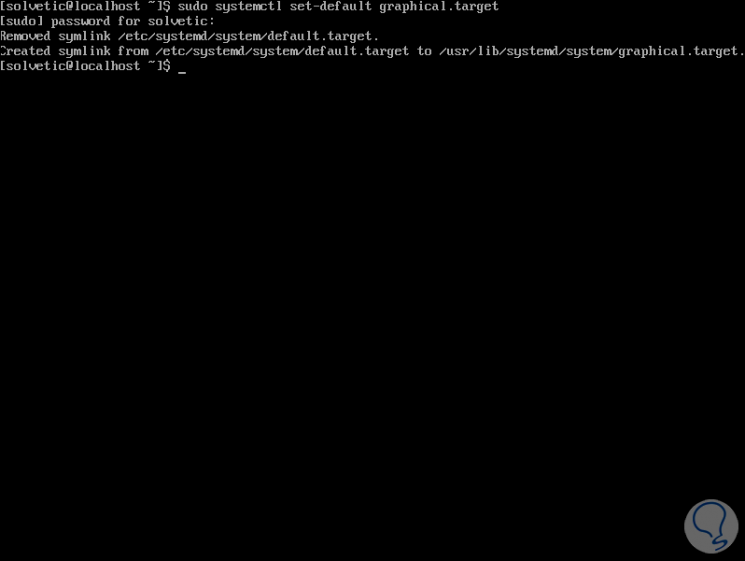
When this process is finished, we can start the operating system in graphic mode, for this we must execute the following command:
sudo systemctl set-default graphical.target

Step 5
Now we execute the reboot command to reboot the system and access the CentOS 7 graphical environment that we have installed:

Step 6
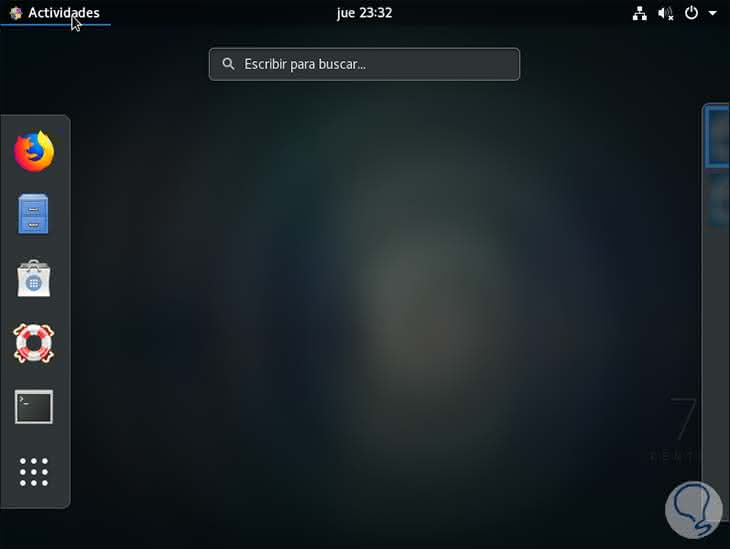
We log in and we will see the graphical environment of CentOS 7:

Thus we have been able to install this environment using this sequence and we can replace kde with another desired environment.
3. Install the CentOS 7 graphical environment directly using the groups
Step 1
The process is similar to the previous one but some details vary, in this case we will install the GNOME environment and first we will list the groups available for CentOS 7 by executing the following:
yum group list
Step 2
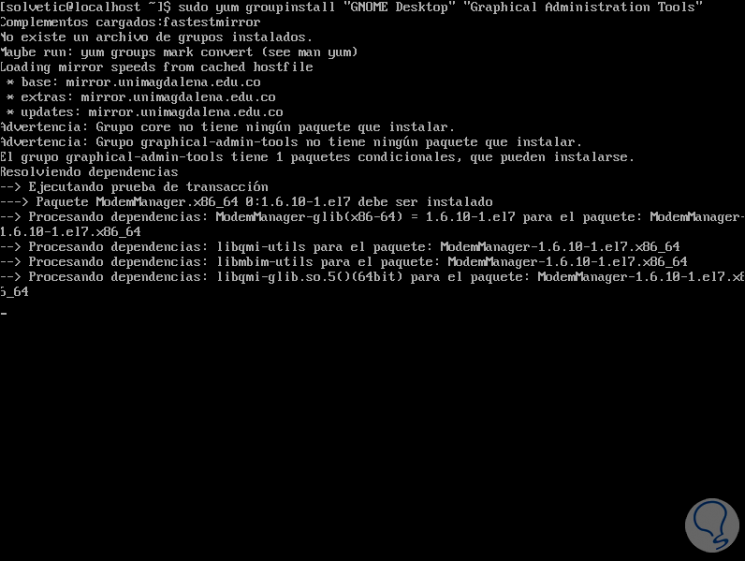
There we find the category “Available Environment Groups†where the various options are, now, to install the GNOME environment we will execute the following order:
yum groupinstall "GNOME Desktop" "Graphical Administration Tools"
Step 3
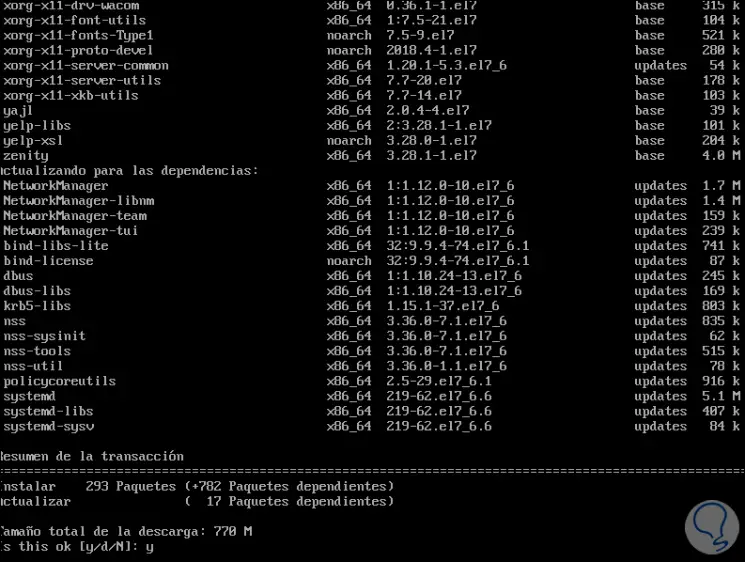
There, the entire download process of the respective units will begin:
Step 4
Then we must confirm with the letter and the download and installation of these:
Step 5
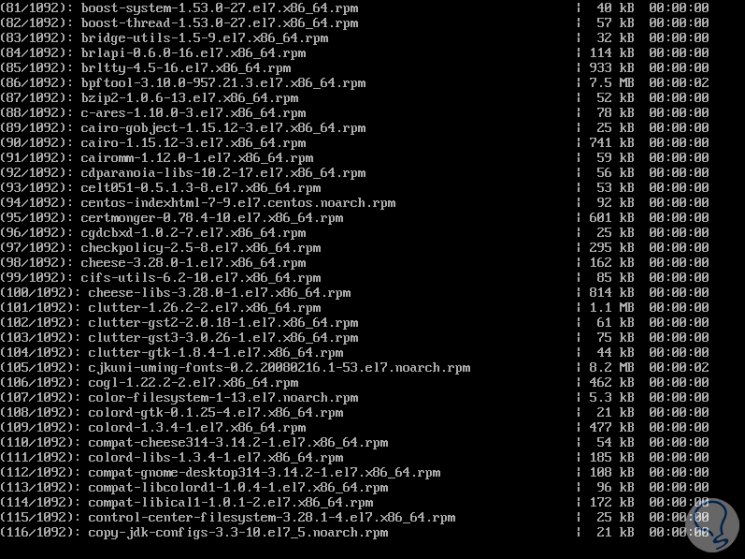
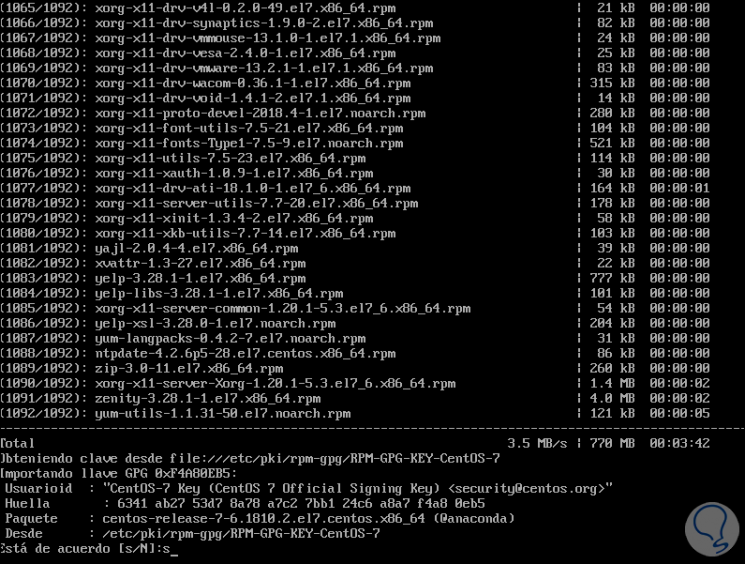
There we must wait for the whole process to be executed:
Step 6
After this we must accept the GPG key of the system. When this process is finished we will be ready to assign the graphical environment at the beginning of the system.
Step 7
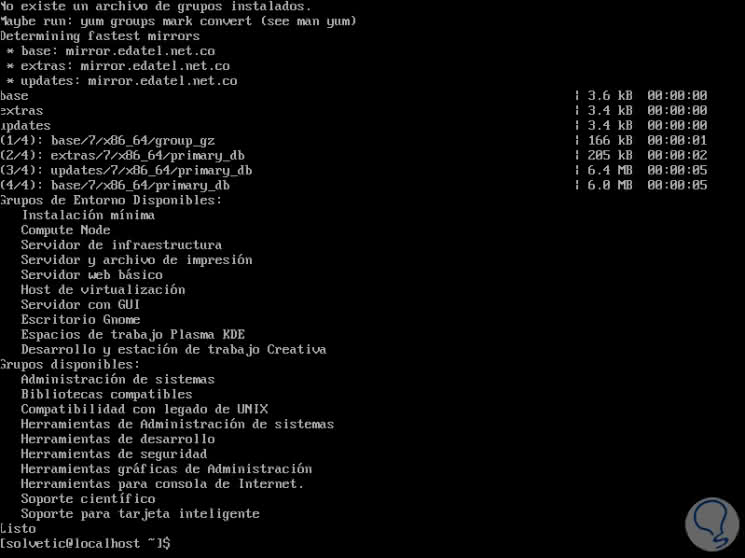
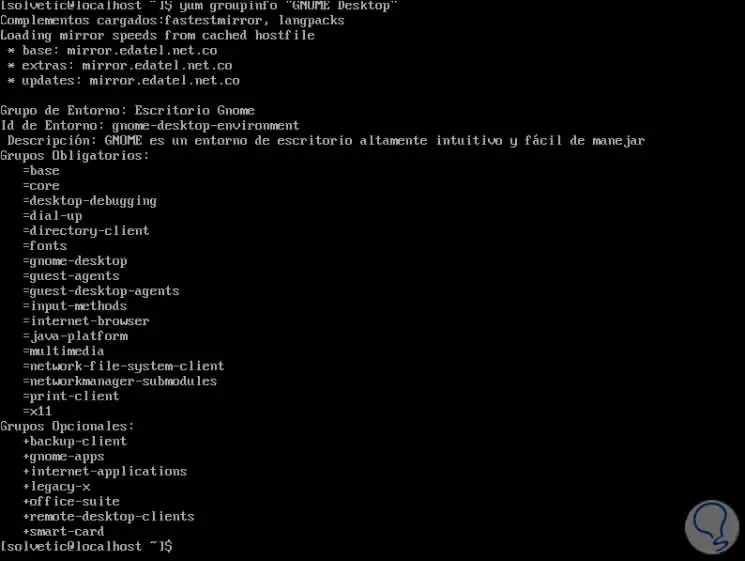
It is possible to obtain information about the desired group by executing the following:
yum groupinfo "Server with GUI" yum groupinfo "GNOME Desktop"
Step 8
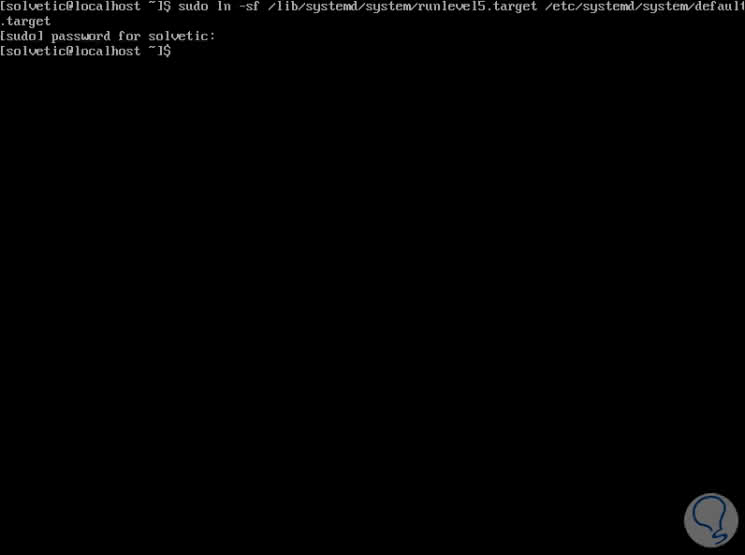
Once the process of downloading and installing the dependencies is completed, we will enable the graphical interface at the start of the system, for this we must use the following line:
sudo ln -sf /lib/systemd/system/runlevel5.target /etc/systemd/system/default.target
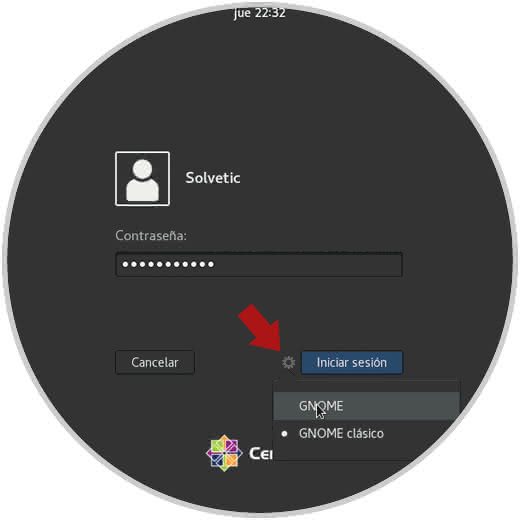
Step 9
Now we restart the operating system with the reboot command and we will see the environment to log in to CentOS 7 with the GNOME desktop and at the bottom we can decide what type of GNOME to use:
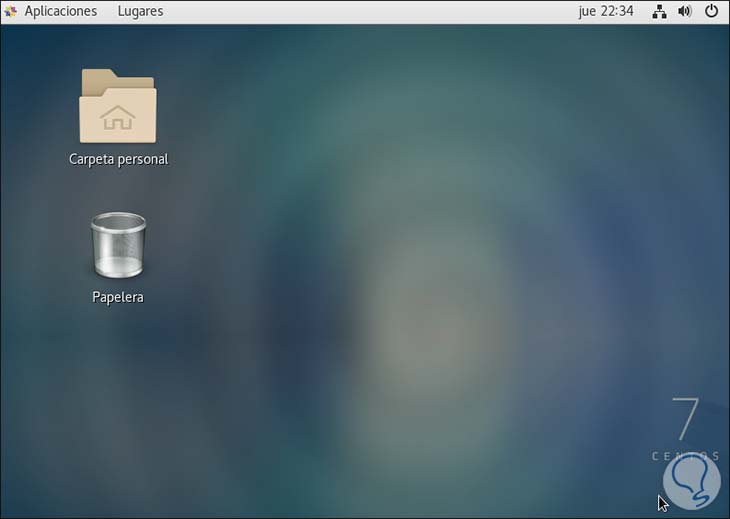
Step 10
When you log in, we will see the GNOME environment that we have installed for CentOS 7:
4. Install desktop environment directly with CentOS 7 style
Step 1
Finally, another option, which is very identical to the previous one, is to install our graphic environment defining the type of this, for this case we will install GNOME again and we will execute the following in the terminal:
sudo yum -y groups install "GNOME Desktop"
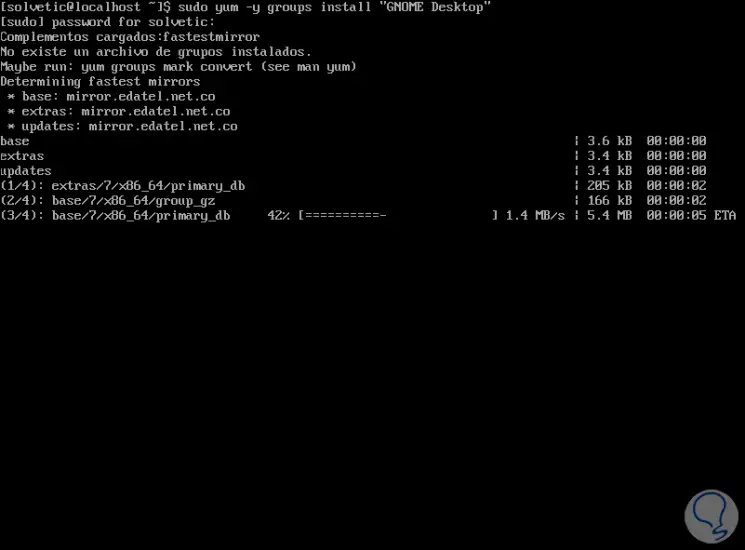
Step 2
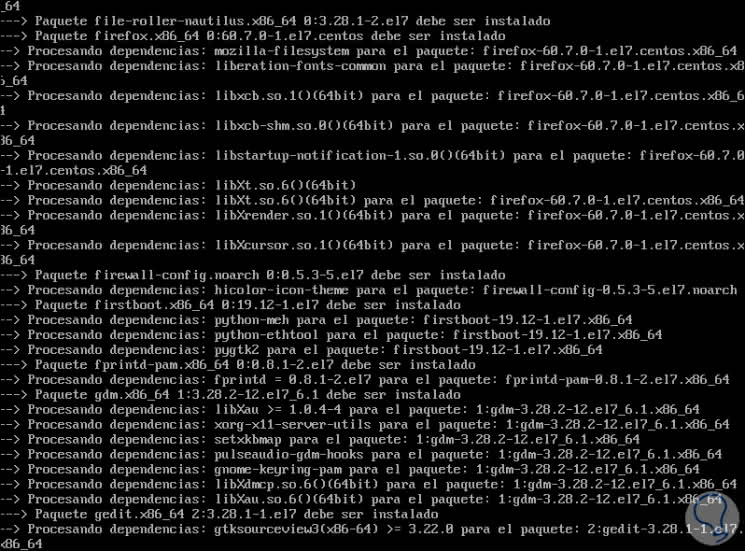
We can see all the dependencies of said environment:
Step 3
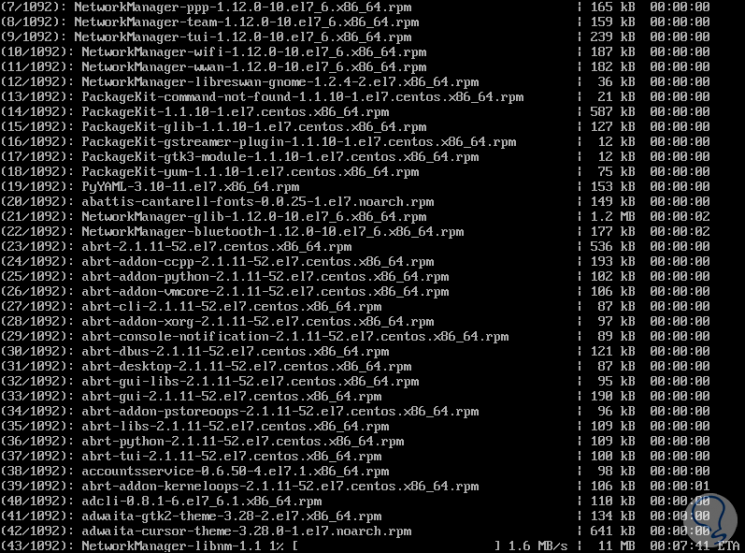
We continue to see the process of downloading and installing the units:
Step 4
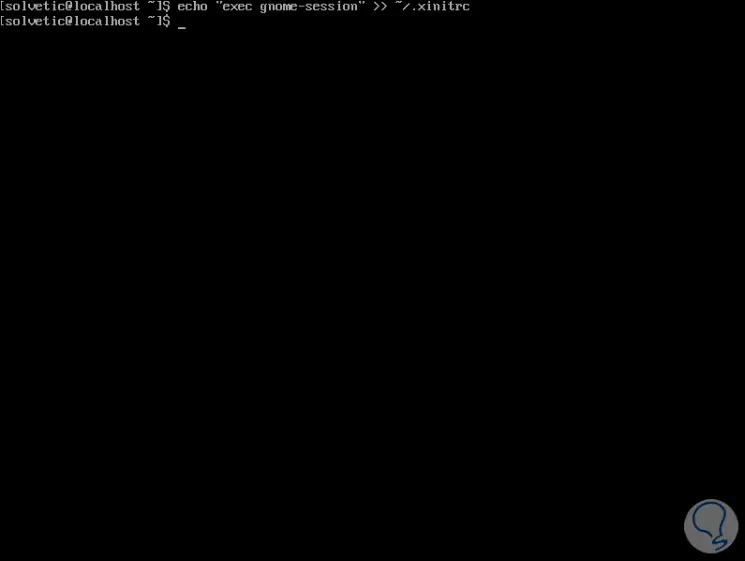
Once this process is finished, we will execute the following command:
echo "exec gnome-session" >> ~ / .xinitrc
Step 5
Before establishing the graphical environment from the start we can verify that everything works correctly, for this we execute the following command in the terminal.
startx
Step 6
This allows us to access the graphic environment and verify that everything works as expected, in this case we will see the following assistant:

Step 7
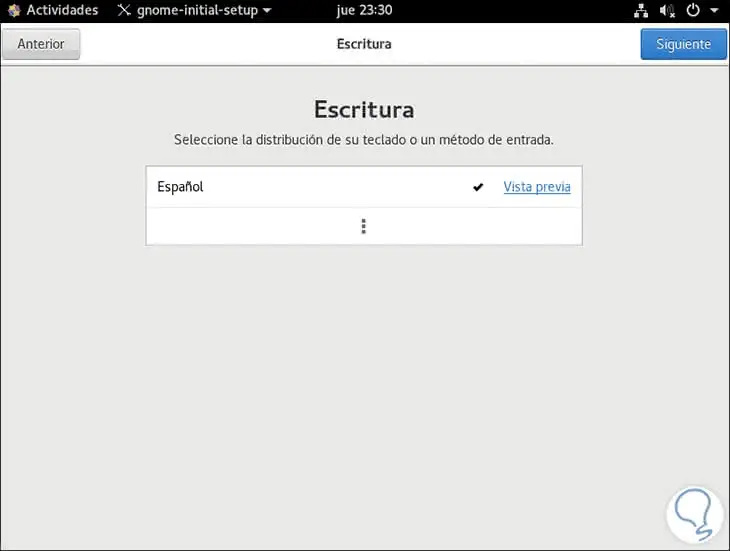
In the following window we set the keyboard:
Step 8
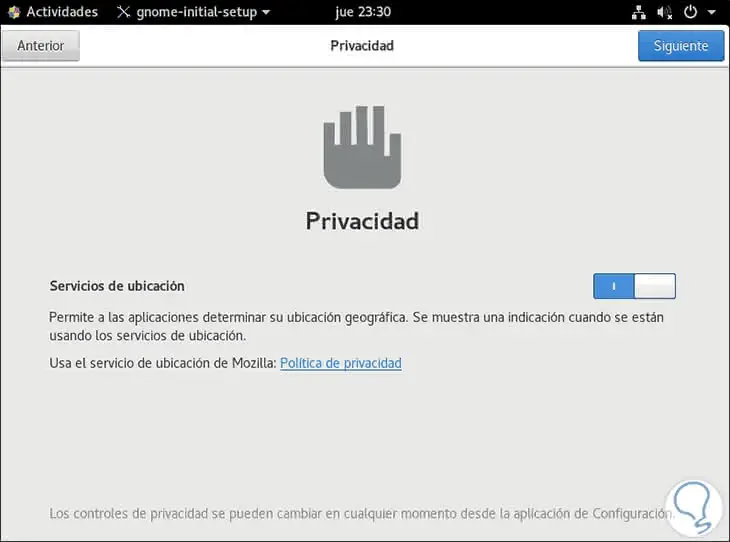
We configure privacy:
Step 9
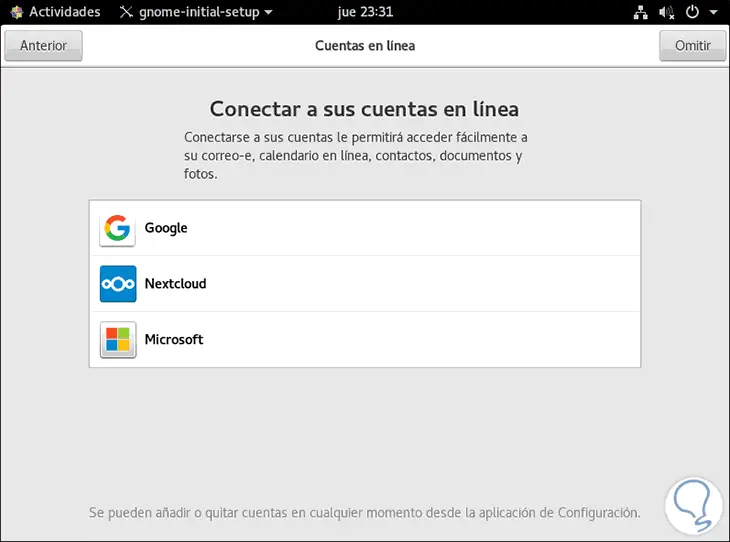
We assign accounts online if we are to work with them:
Step 10
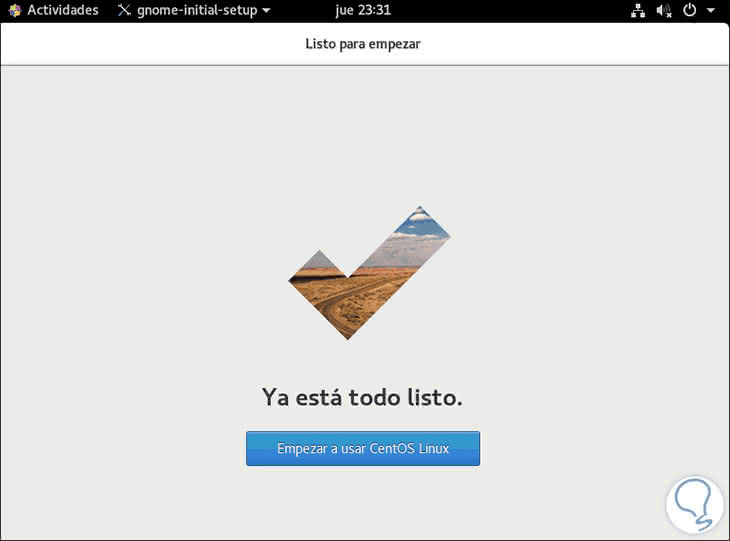
We have finished this configuration:
Step 11
Now we can explore the graphical environment of CentOS 7:
Step 12
If everything is in accordance with expectations, now we will establish this graphical environment at startup by executing the following order:
sudo systemctl set-default graphical.target
Step 13
When executing this command we will continue using CentOS 7 in a graphical environment with each login.
Now, if you want to use a different environment you can run the following:
For KDE environments
sudo yum -y groups install "KDE Plasma Workspaces" echo "exec startkde" >> ~ / .xinitrc
For XFCE environments
sudo yum -y groupinstall X11 Sudo yum --enablerepo = epel -y groups install "Xfce" Echo "exec / usr / bin / xfce4-session" >> ~ / .xinitrc For MATE environments: sudo yum --enablerepo = epel -y groups install "MATE Desktop" Echo "exec / usr / bin / mate-session" >> ~ / .xinitrc
We have seen and learned the various ways to install a graphic environment in CentOS 7 and thus manage a different perspective of this great and powerful operating system.