There is nothing more rewarding than having the vital tools to carry out an accurate and centralized administration within our systems. One of the ways to achieve this is to save the maximum in hardware resources, we know that high prices are normally handled, and this is possible thanks to virtualization technology..
Today it is not like some years ago where the term virtualization sounded somewhat strange or was an unattainable subject but today any of us can access this function easily but completely at the level of scope and characteristics.
Among the various options available for virtualization we find a special called VMware which you have available for free in the following link:
VMware
Supported Operating Systems
Before talking a little more about VMware, you should know that this platform can be run on operating systems such as:
- Ubuntu 16.04 / 17.04 / 18.04 / 18.10 / 19.04
- Red Hat Enterprise Linux 6.9 / 7.3 / 7.4 / 8.0
- SLE / Desktop 12 SP3 and more
VMware features
To encourage you to use VMware we will show you some of its features such as:
- VMware is compatible with Guest VBS and Virtual TPM support.
- We can implement massive virtual machines where its configuration integrates up to 16 vCPU, virtual disks of 8 TB and 64 GB, ideal for large spaces.
- Integration of virtualization-based security (VBS), this applies to virtual machines with Windows 10 and Windows Server 2016 and Windows Server 2019.
- VMware supports Trusted Platform Module 2.0 to increase security options for virtual machines.
- It allows to use shared virtual machines.
- Better integrated security options.
- It is fully compatible with high resolution screens since it supports 4K UHD screens
- (3840x2160) High resolution and QHD + screens (3200x1800).
- It has high performance 3D graphics.
- VMware is compatible with DirectX 10 and OpenGL 3.3.
If you have been aware of the current IT news, you will have heard about WWDC 2019 where Apple has presented its new system called macOS Catalina (10.15), if you want to know a little more about this new system we invite you to visit the following link:
Through this tutorial you will learn to implement a macOS Catalina virtual machine in VMware and thus learn a little more about the environment and integrated functions of this new Apple system..
Previous requirements
To make our virtual machine work as expected we must perform the following steps:
- First, we must download the macd Catalina mdkv (virtual disk) file at the following link:
Apple Developer
- There it will be necessary to register to proceed with the download. In addition to this we must download a utility called Patch Tool which is available in the following link. This utility will allow the virtual machine configuration to be appropriate.
 81 Descargas Patch_Tool_Compatible_Mac_Catalina.zip 18.04MB 81 Downloads
Hardware requirements
At the virtual hardware level, the basic objective is to have the following:
- Have a minimum of 2 GB of RAM
- Have at least 2 virtual processors
- 30 GB free hard disk space
- 256 MB at graphic memory level
- The operating system must support Intel or AMD VT virtualization technologies
- Virtualization technology, VT (Virtualization Technology), must be enabled in the BIOS or UEFI of the physical equipment
Without further details we will see how to create our macOS Catalina virtual machine.
1. How to remove the virtual hard disk to install the macOS Catalina Patch Tool
Step 1
Our first task will be to extract the compressed file of macOS Catalina that we have downloaded (virtual hard disk) by right clicking on it and choosing the option “Extract hereâ€:

Step 2
Clicking there will start the macOS Catalina hard disk extraction process:
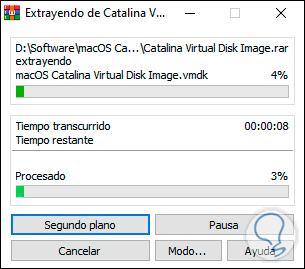
Step 3
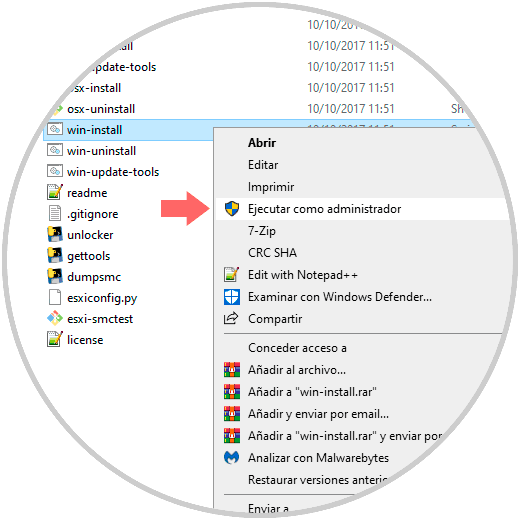
This process can take up to 10 minutes since the disk size is 6 GB. Once extracted, we will install the downloaded Patch Tool and for that we first extract it and then right click on the “win-install.cmd†line and select the option “Run as administratorâ€:
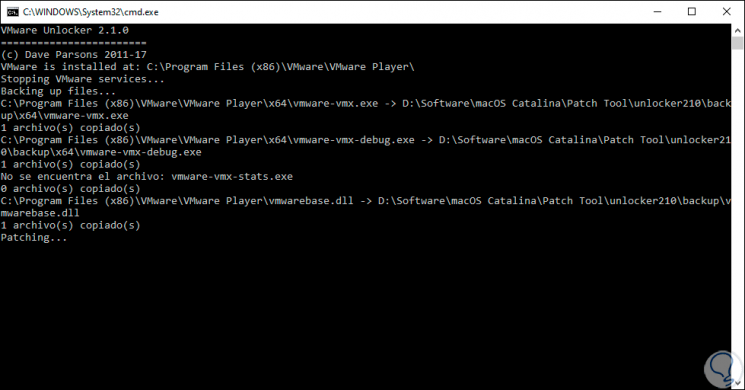
Step 4
Selecting this option will execute a series of processes at the command prompt:

Login Join up!