Virtualization is one of the most practical, secure and dynamic technologies that we can use not only as administrators but as advanced users and people who want to test operating systems and applications without affecting their physical hardware..
There are several useful tools to execute this type of action and one of the most striking is VMware which has a series of professional and modern tools for the administration of virtual machines. Now, Apple has recently launched its new version of systems called macOS Mojave and due to the restrictions that many users have to acquire a Mac computer, talking about costs, virtualization emerges as one of the best solutions to know everything macOS Mojave gives us .
Today we will learn to virtualize macOS Mojave in VMware on a Windows 10 system..
Previous requirements
To get all this to work correctly it will be necessary to have the following:
Download VMware at the following link:
VMware
Download the macOS Mojave mdkv (virtual disk) file at the following link:
macOS Mojave
Download Patch Tool which is necessary for some configuration processes:
Patch tool
Hardware level requirements
Now the hardware level requirements are:
- Have at least 2 virtual processors
- 20 GB free hard disk space
- 256 MB at graphic memory level
- The operating system must support Intel or AMD VT virtualization technologies
- Virtualization technology, VT (Virtualization Technology), must be enabled in the BIOS.
Now let's see how to carry out this process completely in VMware on Windows 10.
1. How to remove the virtual hard disk e Open the Unlocker folder and install the Patch Tool
Step 1
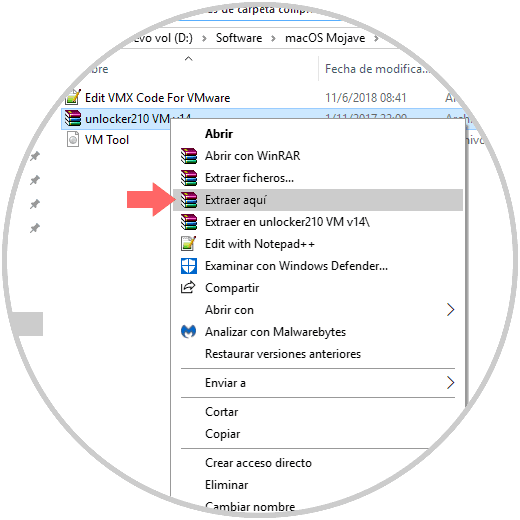
The first step is to extract the compressed macOS Mojave file by right clicking on it and selecting the Extract option here:

This process takes around 5 to 10 minutes since it is a size of 6 GB..
Step 2
To perform this step, VMware should not be running on Windows 10. Now, we will extract the Patch Tool file, we will access it and there we find another tablet called Unlocker which we will extract by right clicking on it and selecting Extract here:
Step 3
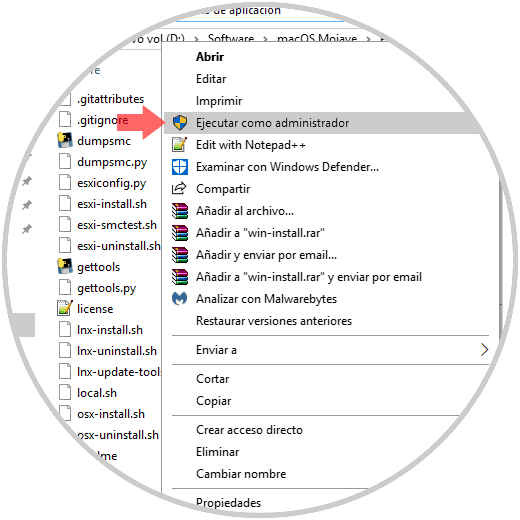
In the extracted folder, we will right click on the win-install file and select the option Run as administrator:
Step 4
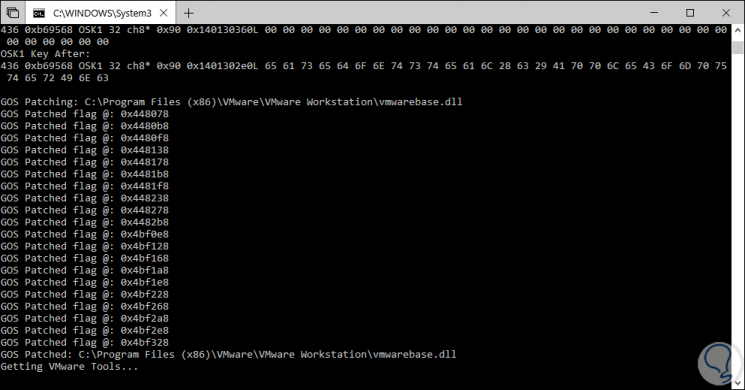
This file allows us to see Apple Mac OS X in the list of the VMware operating system to use. When selecting this option, a command prompt console will be launched, which will perform the task automatically:
2. How to create and edit macOS Mojave virtual machine in VMware
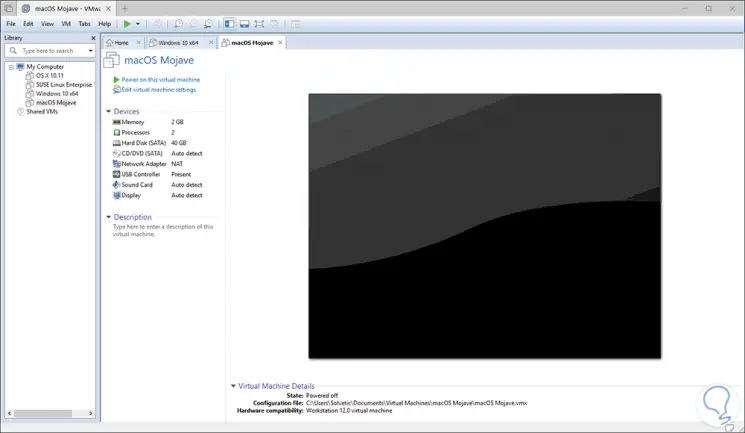
Step 1
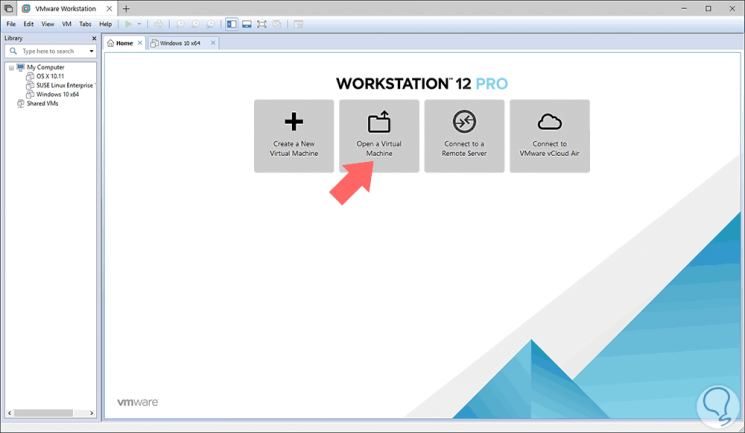
Once this step is completed we can start the configuration of the virtual machine in VMware, for this, we access VMware and we will see the following:
Step 2
There we click on the Create a New Virtual Machine button and the following wizard will be displayed:
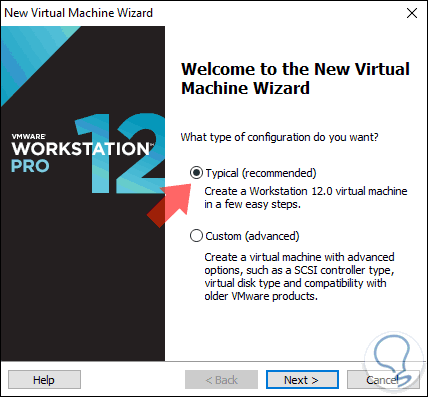
Step 3
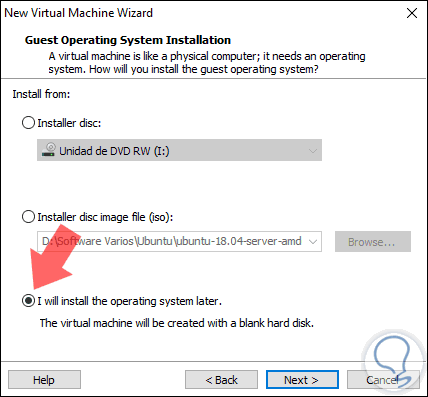
Select the Typical box and click on the Next button and in the next window we activate the box I will install the operating system later:
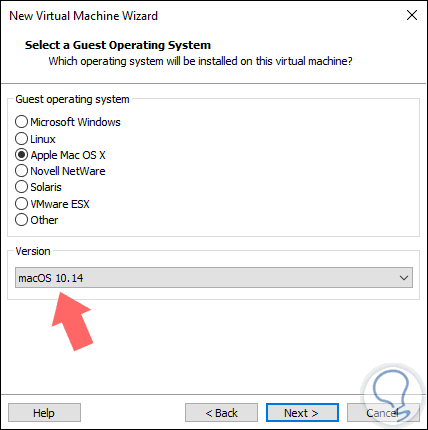
Step 4
Click on Next again, and in the next window we select Apple Mac OS X and in version we select macOS 10.14:
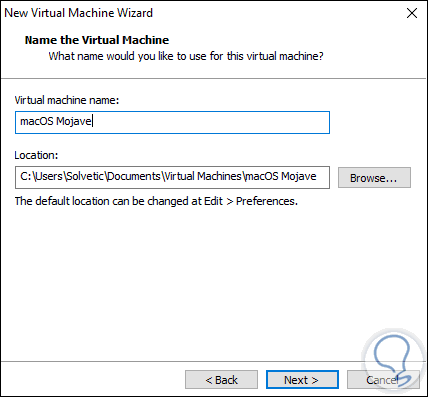
Step 5
Next, we assign a name to the virtual machine:
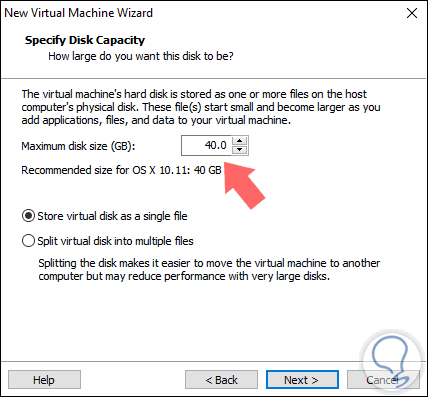
Step 6
To click on Next, we must activate the Store virtual disk as a single box because we have downloaded the virtual disk and we can leave the default space which is 40 GB:
Step 7
Click Next again to see the following:
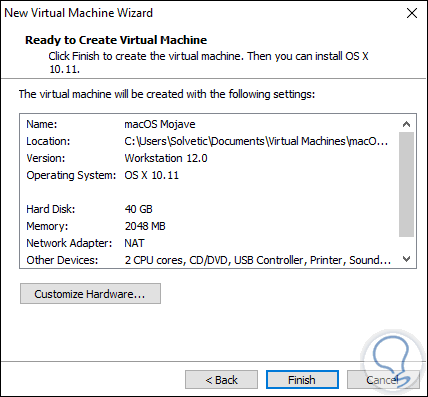
Step 8
Click on the Finish button to complete the process and we will see the complete creation of the macOS Mojave virtual machine in VMware:
3. How to edit the virtual machine
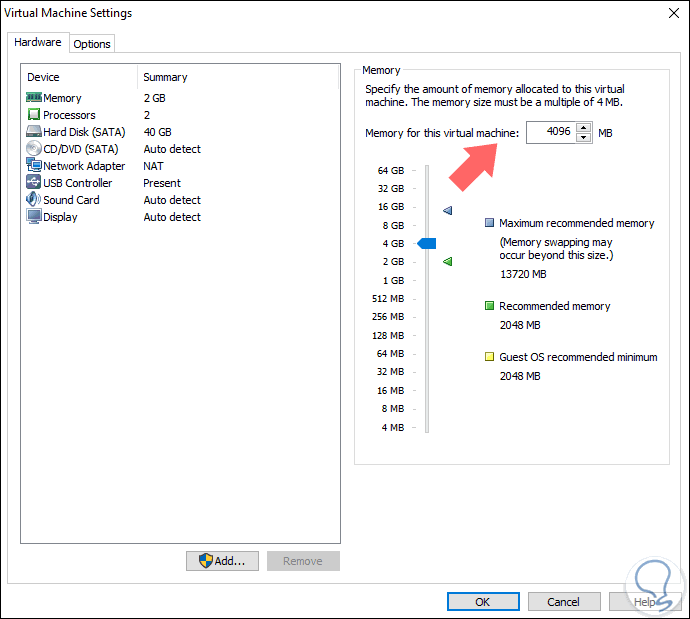
Step 1
Now we must edit the virtual machine with certain parameters to do so, click on the Edit virtual machine settings line and first we go to the Memory section and there we set the value to 4 GB:
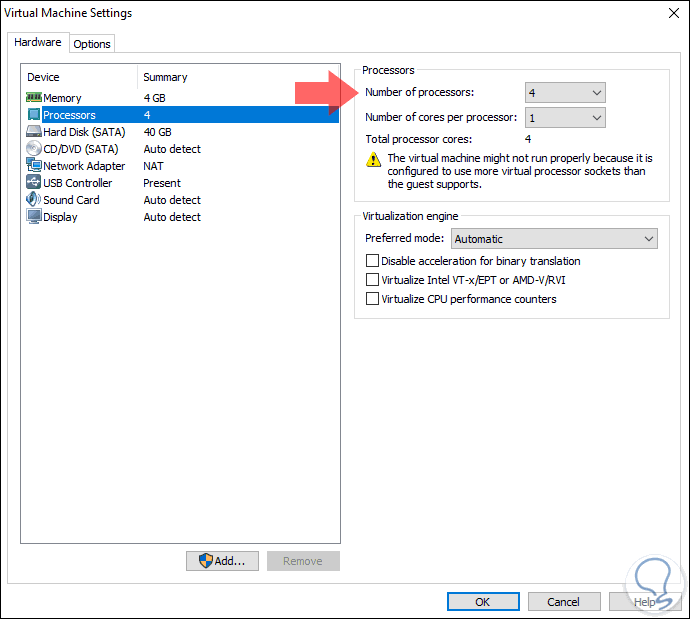
Step 2
Now we go to the Processors section and set the number of processors e 4:
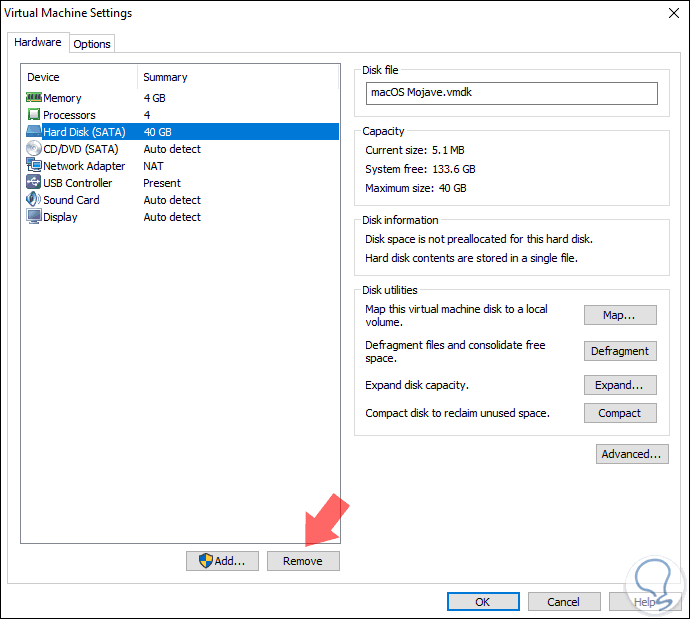
Step 3
Next, we go to the Hard Disk section and there we click on the Remove button located at the bottom:
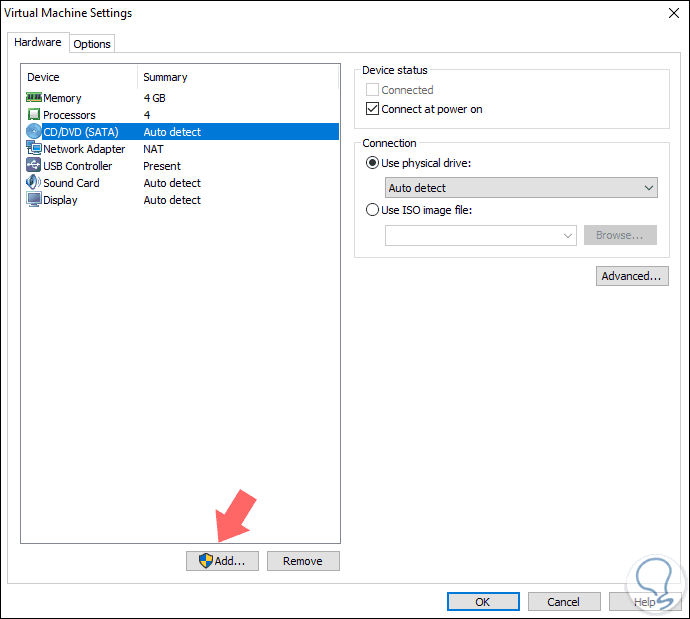
Step 4
Now, click on the Add button:
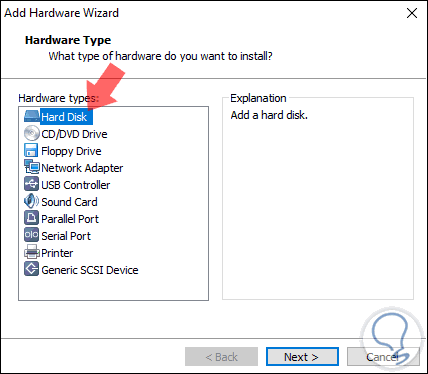
Step 5
The following wizard will be displayed where we select Hard Disk:
Step 6
Click on Next and in the next window select the SATA option:

Step 7
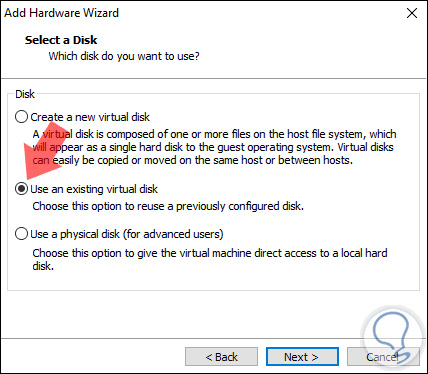
In the next window we activate the Use an existing virtual disk box:
Step 8
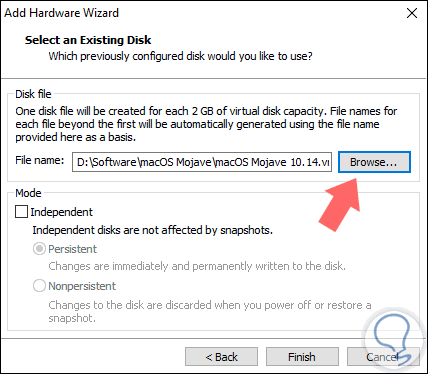
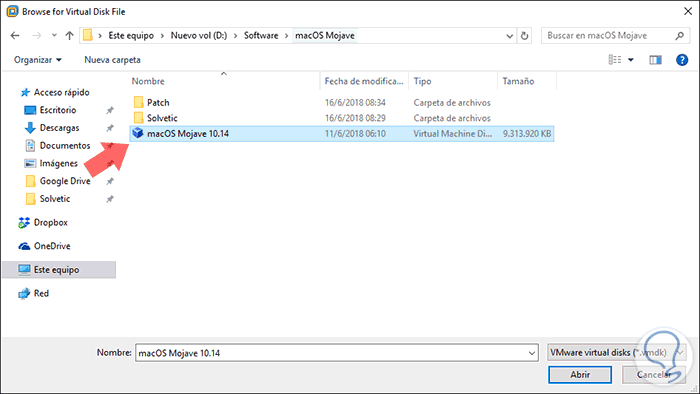
When clicking Next we must click on the Browse button to select the macOS Mojave disk that we have previously downloaded:
Step 9
Click on Open and we will see that the disc has been added. Click on the Finish button to complete the configuration.
Note
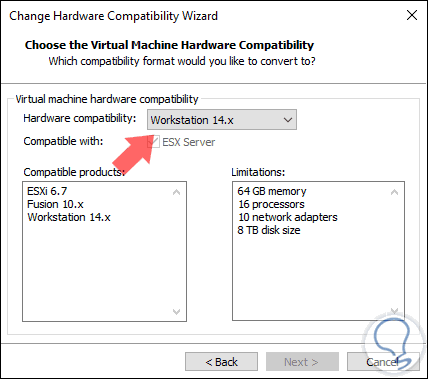
In case an error is generated when loading the virtual hard disk, we must go to VMware, select the virtual machine created and go to the menu:
- Change Hardware Compatibility:
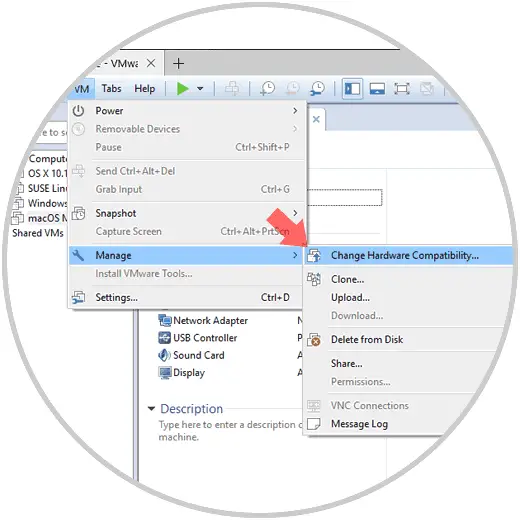
In the displayed window we select the Workstation 14.x option in the Hardware compatibility field:
4. How to edit the VMX file parameters of the virtual machine
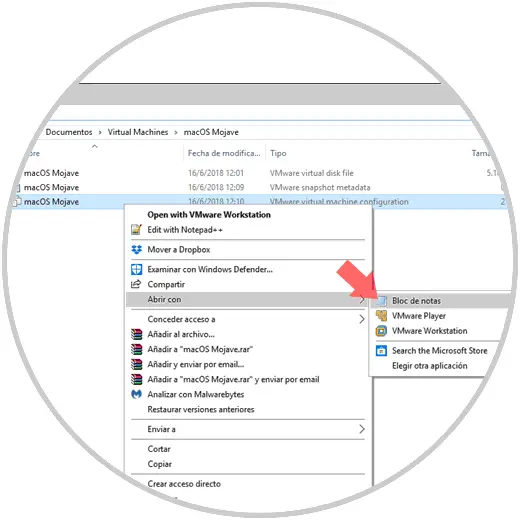
The VMX file is the VMware Virtual Machine file and to which we must apply some simple configuration.
To do this we must go to the path where the virtual machine was created and right click on this file and select the option Open with / Notepad:
In the open file we will go to the end of this and add one of the following lines:
smc.version = “0†smc.version = 0
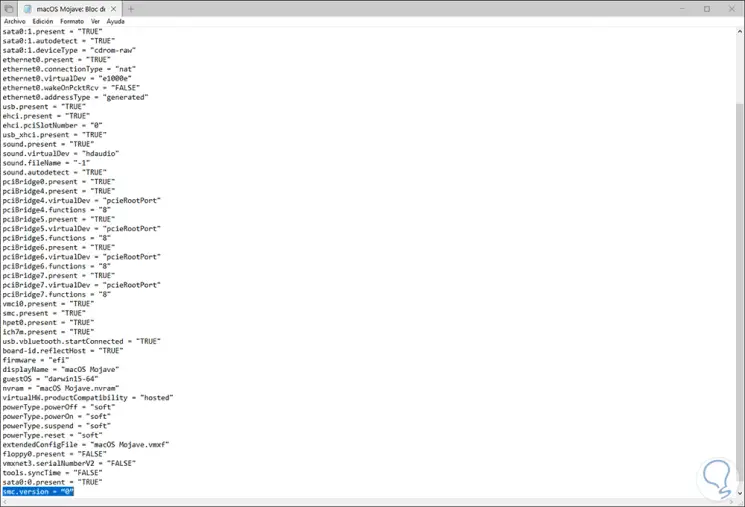
We save the changes made to the file from the File / Save menu.
Note .: In VMware 15 if it appears when you start "Dictionary Problem" or "VMX File Corrupt"
remove smc.version = 0 and leave only smc.version = "0"
5. How to start the macOS Mojave virtual machine on Windows
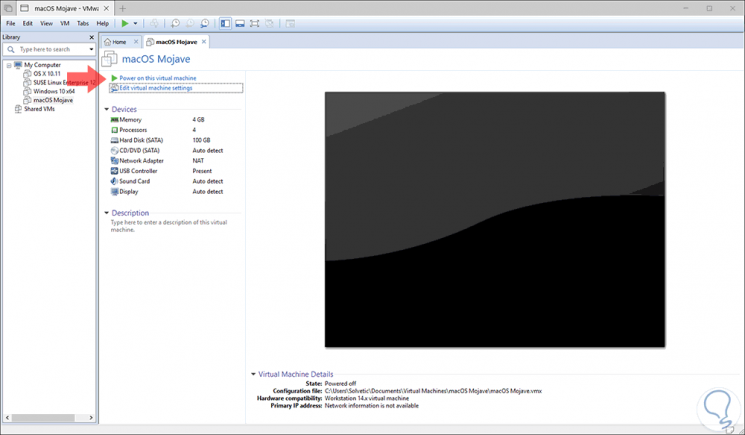
Step 1
Once these values ​​are configured, we go back to VMware and there we click on the Power on this virtual machine line to start the macOS Mojave n VMware configuration:
Step 2
We can see that the macOS Mojave installation process begins:
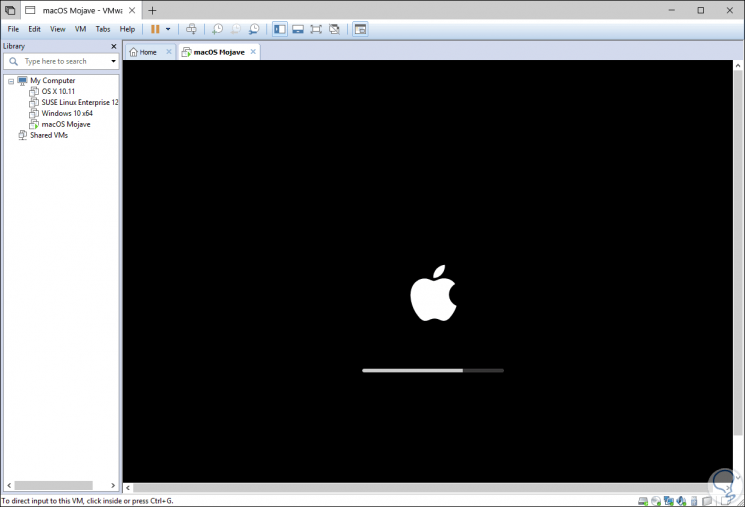
Step 3
We wait for the components to be loaded and start all the usual macOS Mojave configuration:
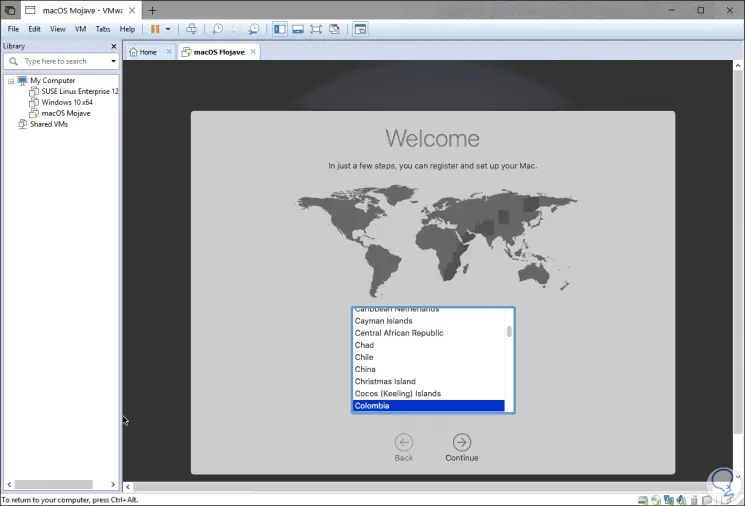
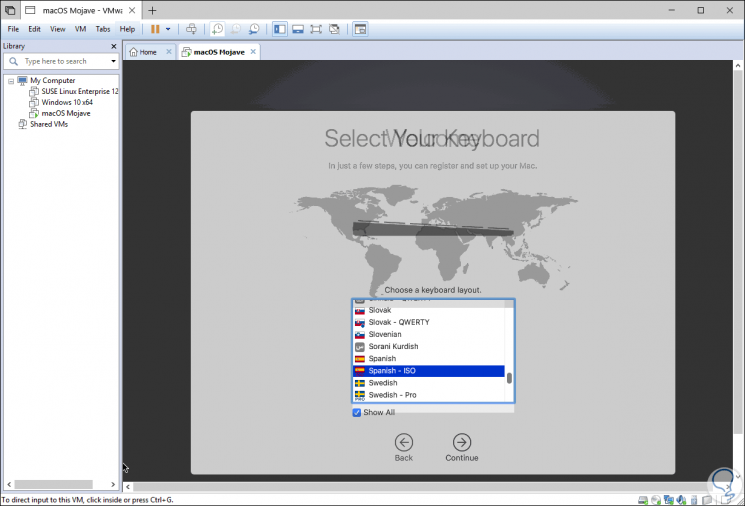
Step 4
We select our location and then we can define the keyboard:
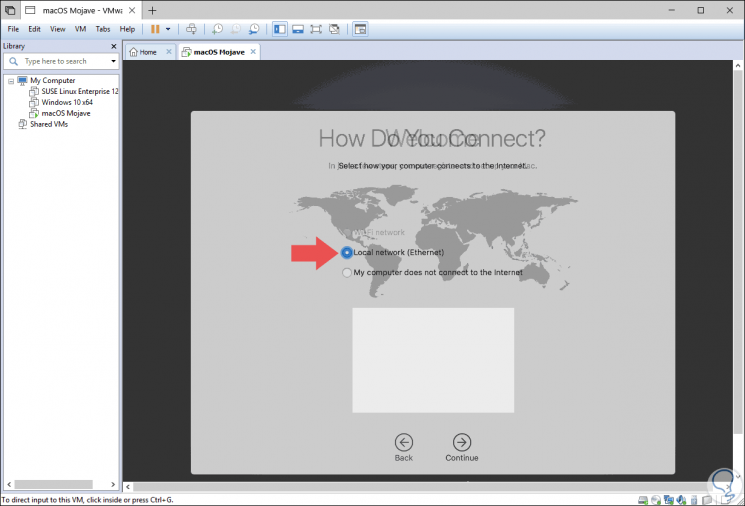
Step 5
We select the type of network to use:
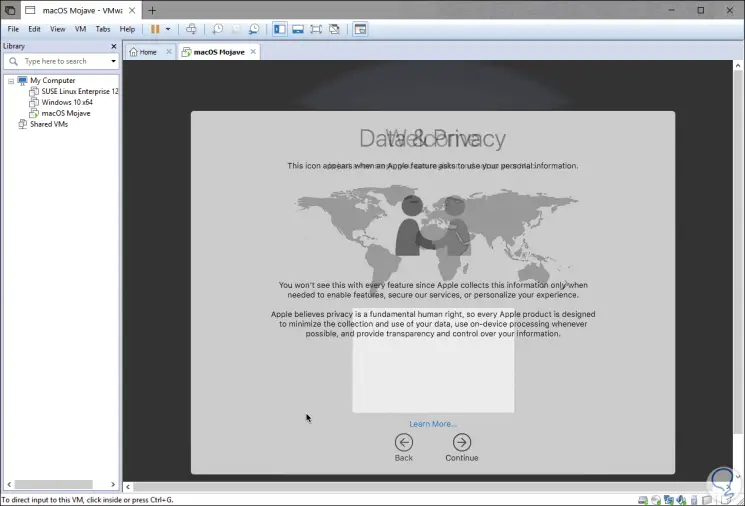
Step 6
Later we can approve the privacy of macOS Mojave:
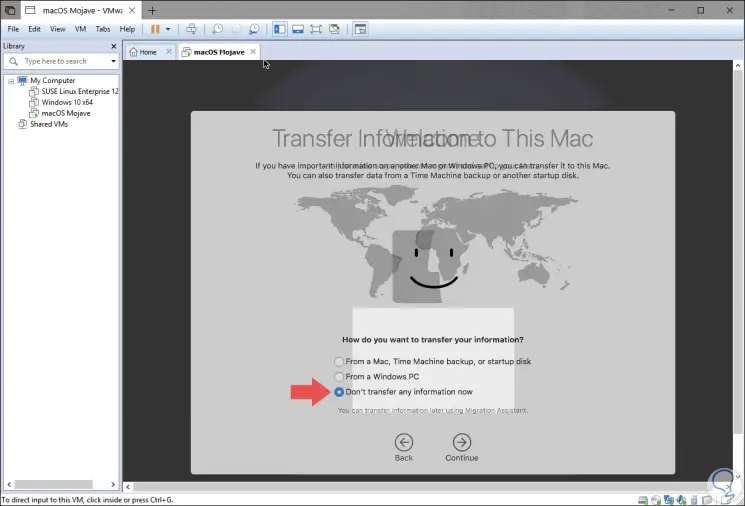
Step 7
We confirm if we are going to make some type of transfer from another team:
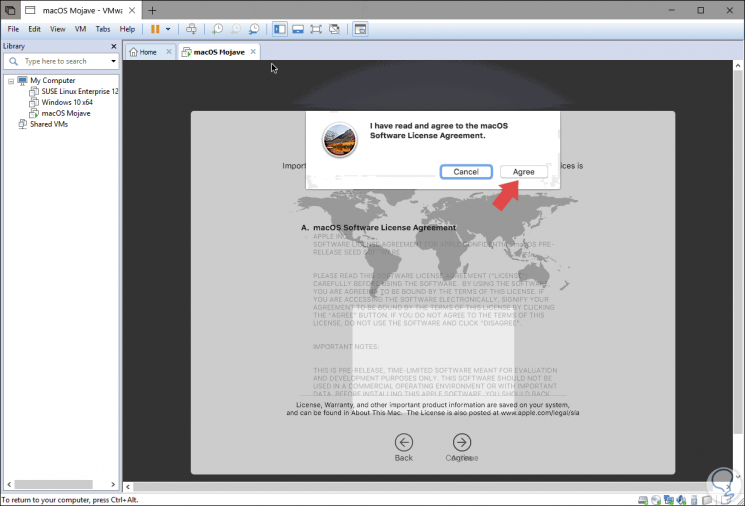
Step 8
We accept the license terms:
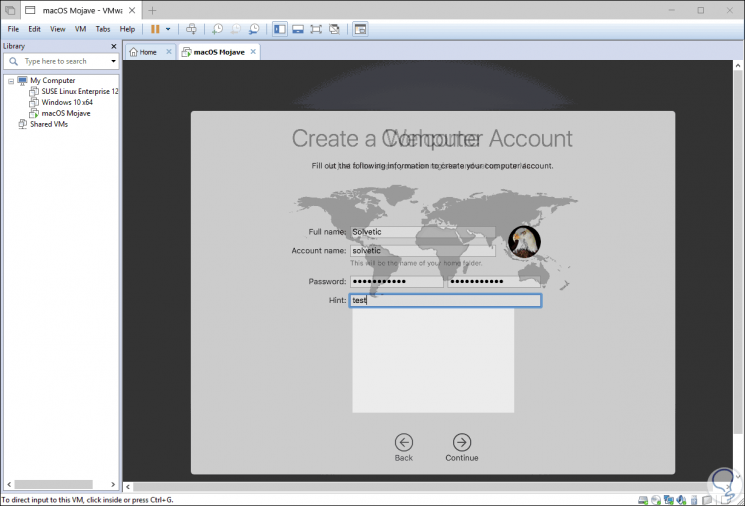
Step 9
We create the user account:
Step 10
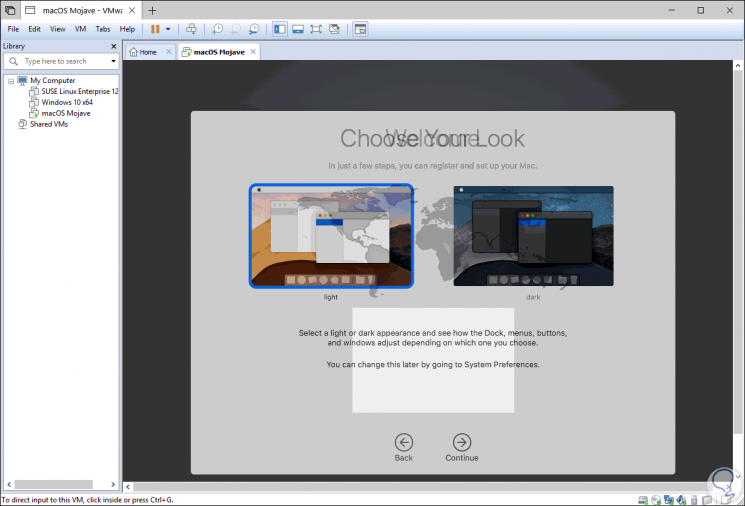
Then we can configure the Apple ID if necessary and continue with the process of creating and installing macOS Mojave such as selecting the desired theme:
Step 11
Once this process is finished we will access macOS Mojave from VMware in Windows 10:
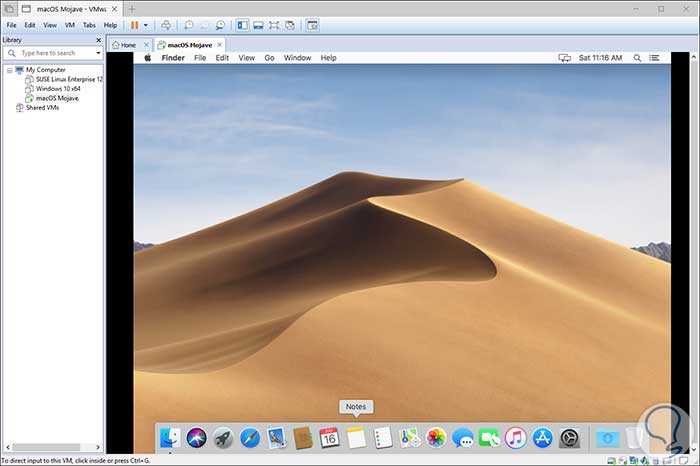
Now we can enjoy the features of macOS Mojave without having a physical device itself.