In the various current operating systems we can check the different differences between them, starting from file systems, Windows (NTFS), macOS (APFS) or Linux (Ext4) , to the use of applications and programs..
A critical point is when as users who handle commands through the terminal we migrate to another operating system we can feel this shock and precisely because of this the developers have created utilities such as the Linux subsystem in Windows 10 but in macOS, in this case talking about the new Mojave version , we don't have any integrated option or not, that facilitates this task without having to resort to a virtual machine just like we saw in macOS High Sierra
For this reason, TechnoWikis will talk about MacPorts which is the bet to execute various Linux commands in macOS Mojave.
What is MacPorts?
It is an open source utility which has been designed to create a scalable system that is capable of compiling, installing and updating open source software which is based on the command line. Its license is BSD with 3 clauses, and with it we will have access to thousands of ports that will help us in the task of compiling and installing open source software directly to Mojave without using virtual machines or other utilities.
MacPorts has more than 19,000 ports which are organized into more than 89 different categories..
1. How to install the macOS Xcode developer tool
The first step is to install the Xcode tool which is a package generated by Apple which includes compilers, libraries and additional tools that are necessary to develop specific applications for macOS.
To install Xcode on macOS Mojave we have two options that are:
Option 1
First, go to the following link in the App Store and from there download the utility:
Xcode
Option 2
The second option is to execute the following command in the terminal:
Step 1
xcode-select –install
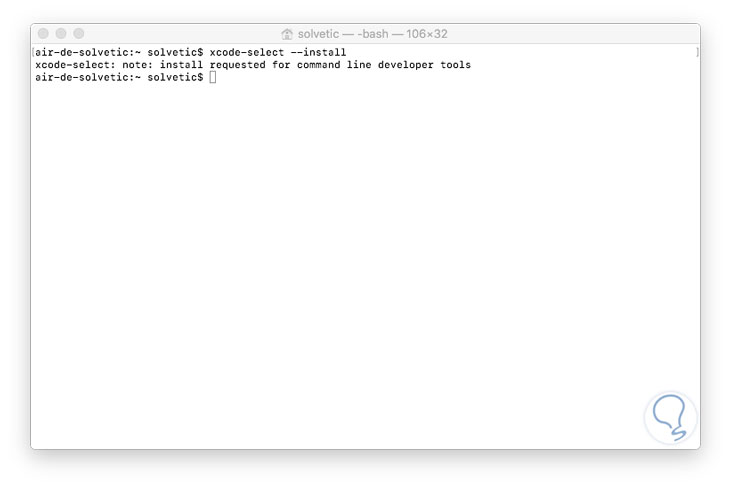
Step 2
Upon entering the password the following will be displayed:
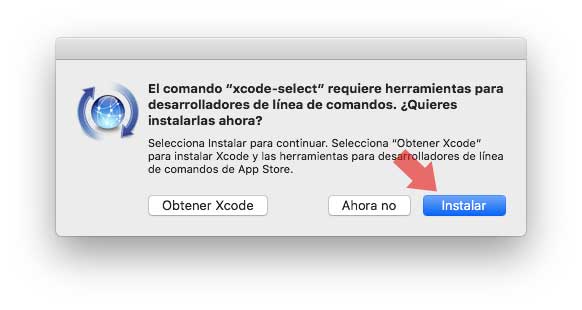
Step 3
Click on the Install button to start the installation process:
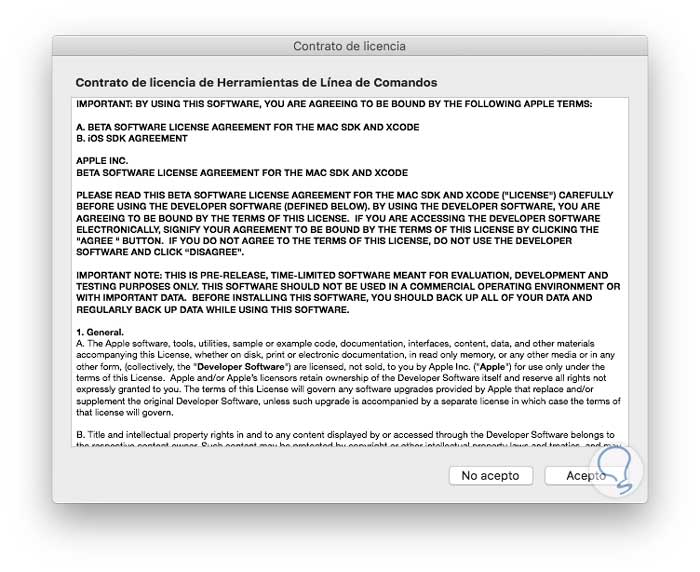
Step 4
There we accept the terms of the license and the package search process will begin:
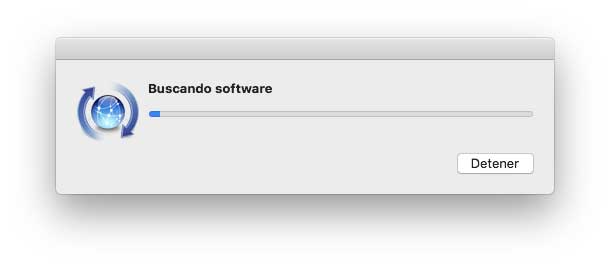
Start the download process:
Step 5
Once downloaded, it will start its installation:
Finally we will see the following:
2. How to install MacPorts packages on macOS Mojave
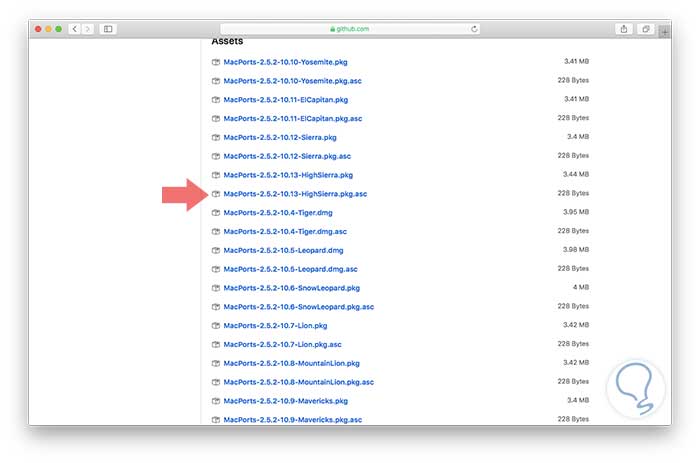
Now the time has come to download the MacPorts utility to Mojave and for this we will go to the following link:
MacPorts
We will see the following:
Step 1
Because macOS Mojave is still a beta phase system we will not see it there, instead, we can download the version 2.5.2.10.13 of macOS High Sierra with either the extension .dmg or pkg.asc to perform the process of installation, we must try both options because sometimes a compatibility error can be generated.
Once we download the file, we proceed to its execution and the following wizard will be deployed:
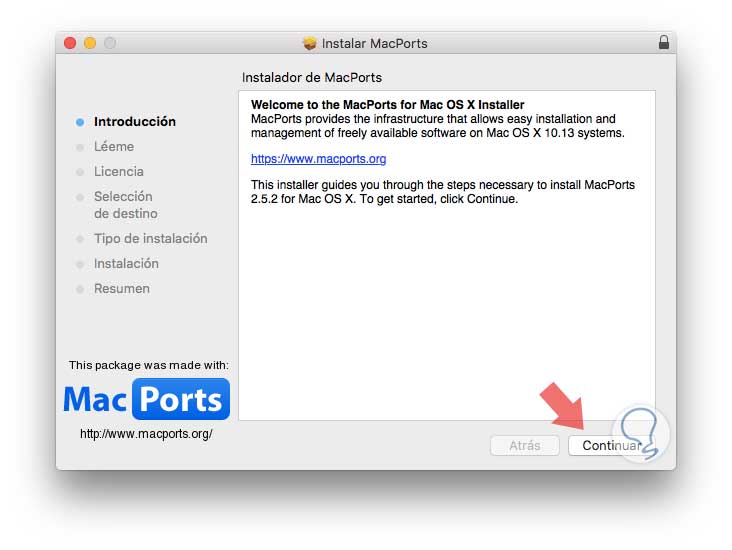
Step 2
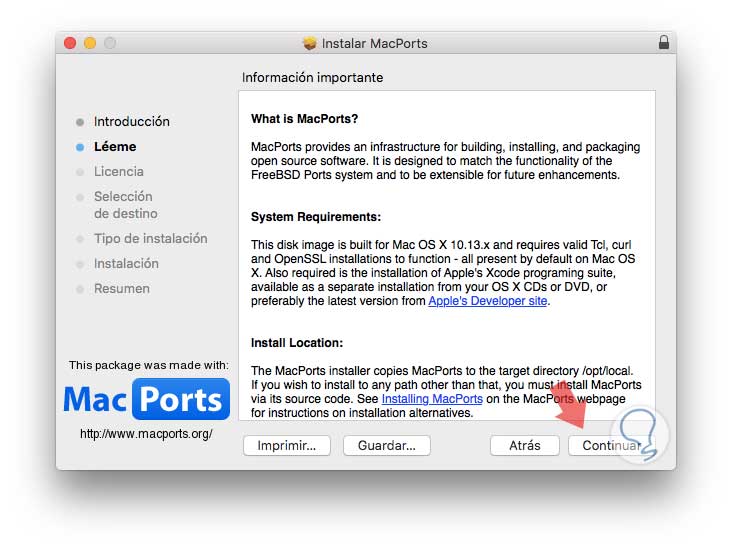
There we click on the Continue button to see a short summary about the operation of MacPorts:
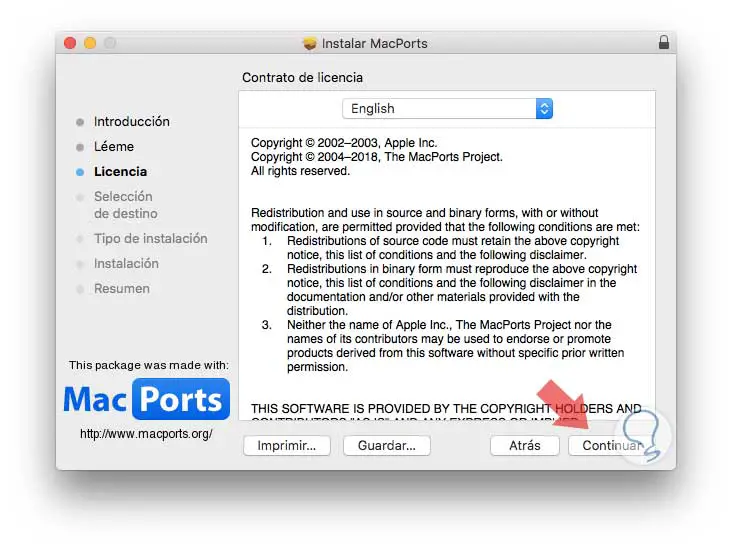
Step 3
Again click on Next and now we must accept the license terms:
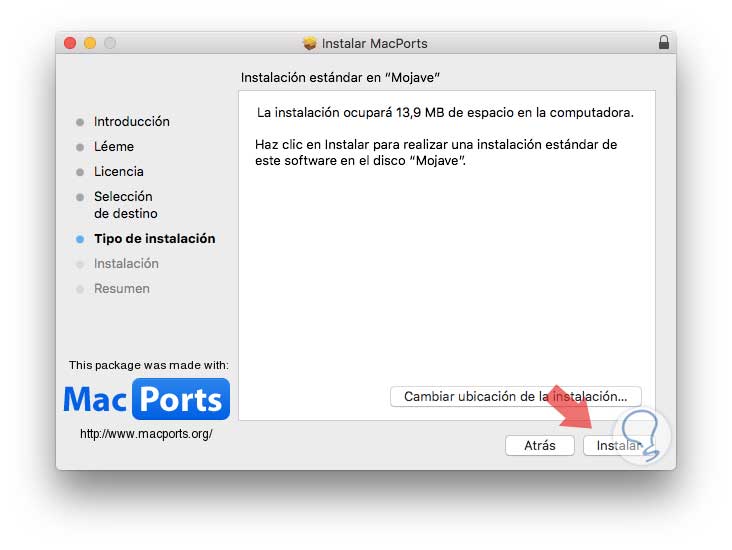
Step 4
In the next window it will be time to select the location where MacPorts is to be installed on macOS Mojave:
Step 5
Click on Install to start the process, but first we must enter the administrator password:
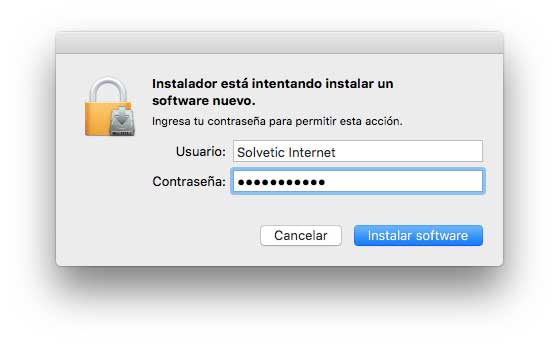
Step 6
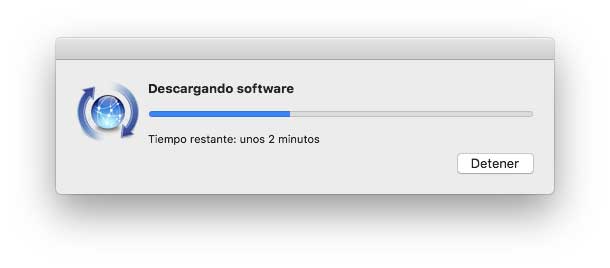
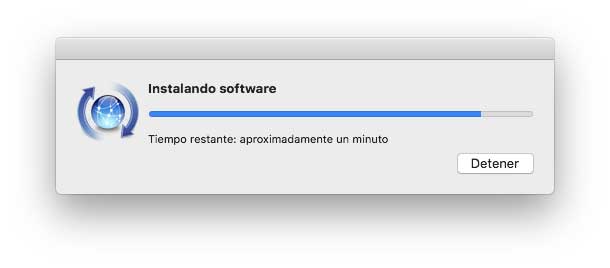
Click on the Install software button and the MacPorts installation process will begin:
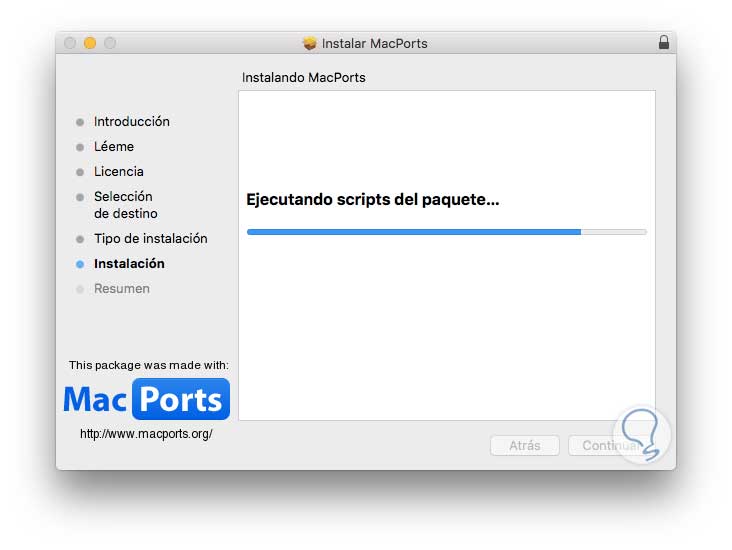
Step 7
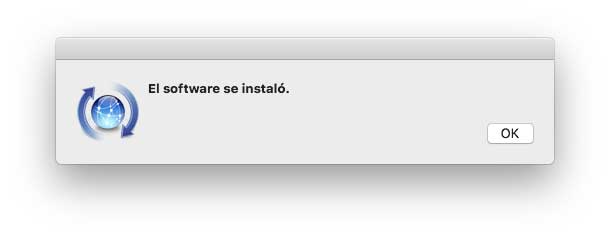
Once this process is finished we will see the following:
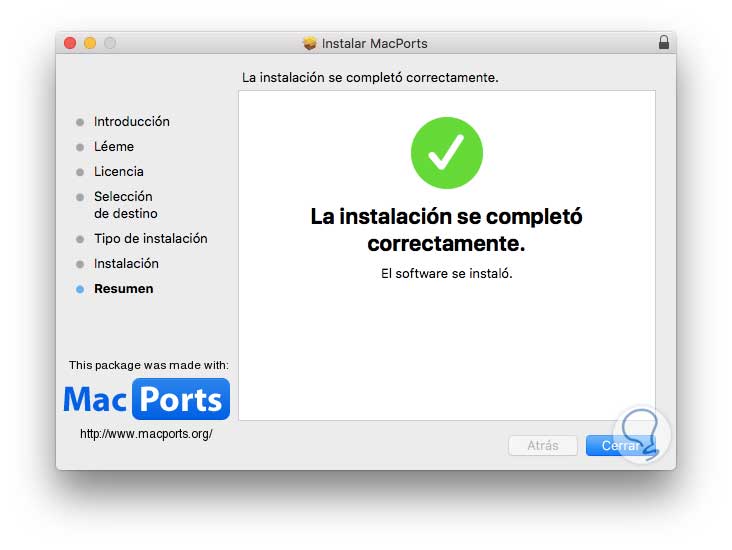
Click on Close to exit the assistant. In this way we have installed MacPorts in Mojave.
3. How to access MacPorts
The next step is to access the utility to verify that it works correctly, for this we go to the terminal and run the ports line:
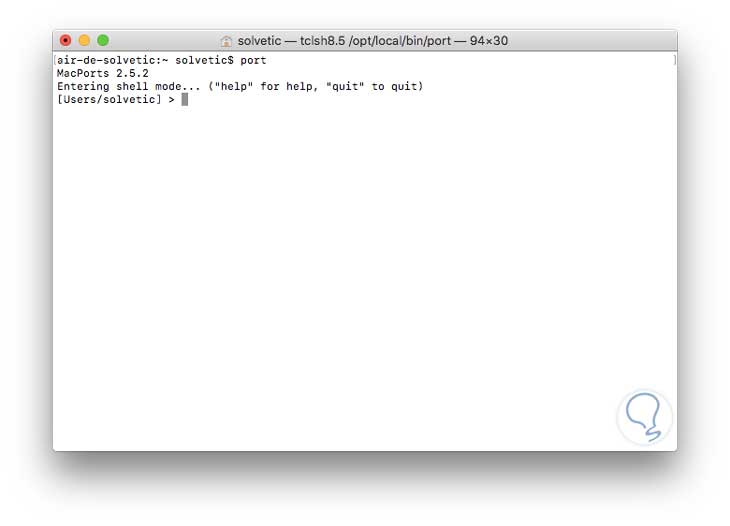
There we can see that we access the Shell mode for management tasks and we will also see the version of MacPorts that has been installed, we leave this way using the Ctrl + C keys..
+ C ⌃ + C
4. How to install Linux applications with MacPorts macOS Mojave
Step 1
First, we can list all the packages available in MacPorts by running the following:
port list
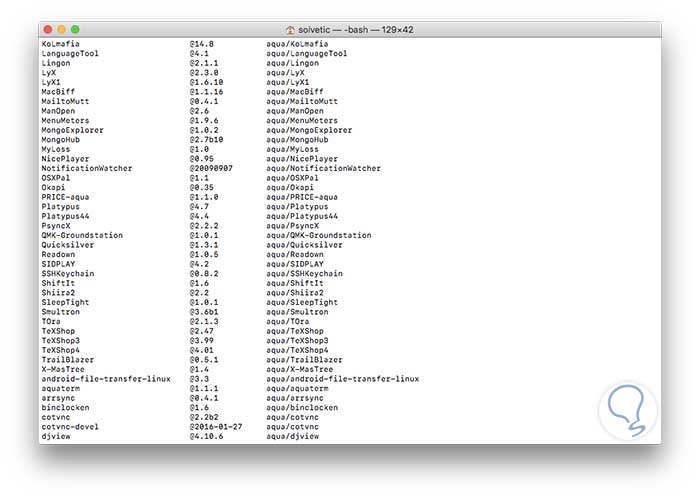
There we will see a wide list of available packages.
Step 2
If we want to find a specific package we will use the following syntax:
port search “packageâ€
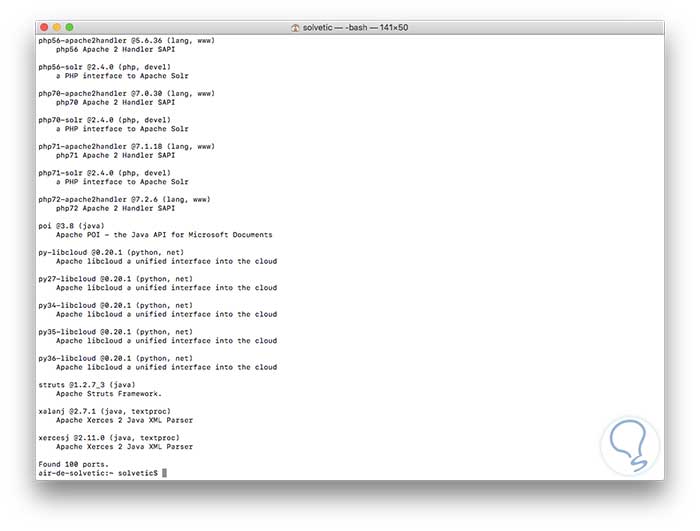
Step 3
For example, port search apache. There we see all the packages available for that search.
Step 4
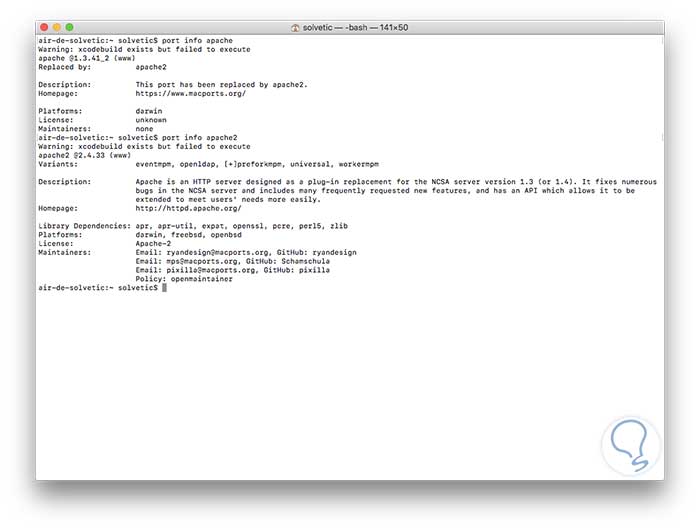
If we wish to obtain more information about a specific package, we will execute the following:
port info “packageâ€
Step 5
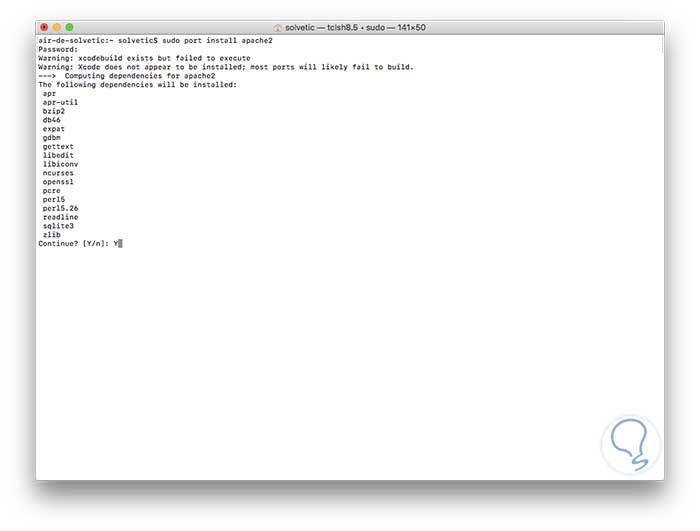
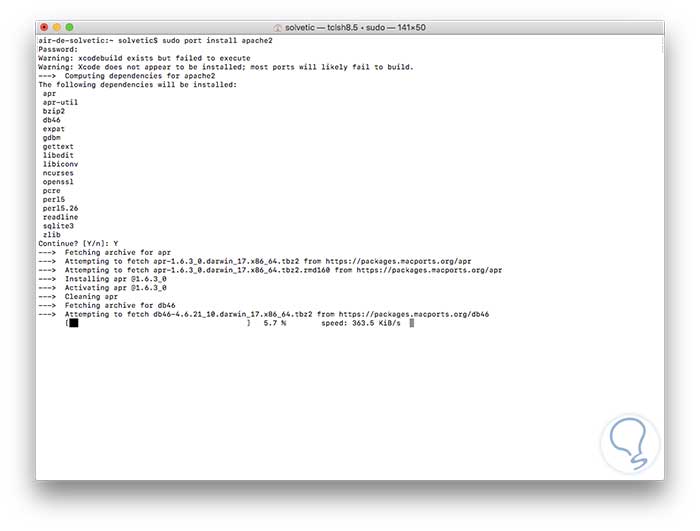
Now, to install a Linux package on macOS Mojave using MacPorts, in this case Apache, we will execute the following:
sudo port install apache2
There we must enter the administrator password and then enter the letter Y to confirm the download:
Step 6
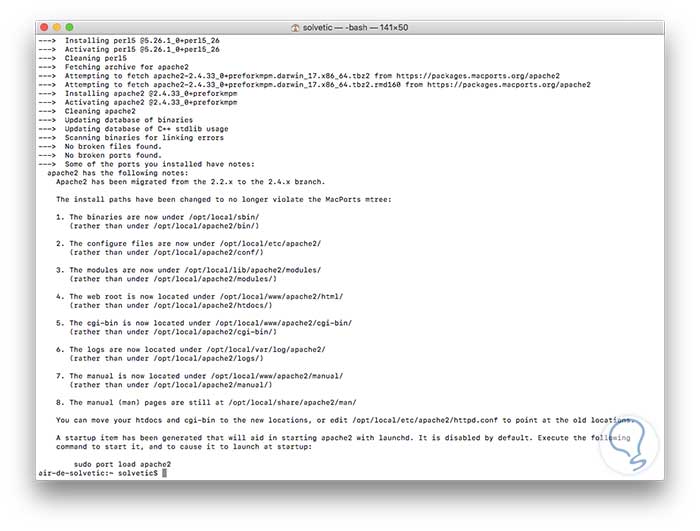
We can see that the installation process continues.
Once finished, the following will be displayed:
Step 7
So we can install any of the available packages, for example, Nmap, and then run it normally as if we were on Linux:
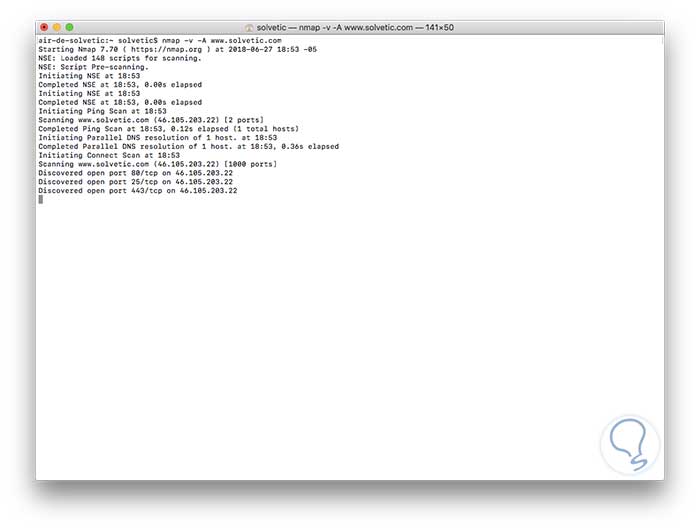
In this way we have this practical option to run this type of Linux utilities in macOS Mojave.