Each company of the main operating systems annually lectures where they demonstrate and exhibit their most recent and upcoming projects and days ago we had the Apple WWDC 2018 developer conference where without a doubt one of the things that most caught the attention was the next version of macOS , which has been named macOS Mojave..
This new version, with macOS 10.14 code, was launched by Apple in its beta version for developers at the end of the conference in order to know before it is officially launched for September of this year for all users. With all its innovations and features, the dark mode, its improved security features or its renewed app store stand out.
For this reason, TechnoWikis will give a complete explanation of how we can install this macOS Mojave development version in an additional partition of the disk since it is not recommended to install it as the main operating system..
Compatible equipment
As is tradition in Apple, there are a number of conditions at the hardware level so that operating systems can be used, in this case for macOS Mojave it will be necessary that we have one of the following equipment:
- MacBook (early 2015 or later)
- MacBook Air (mid 2012 or newer)
- MacBook Pro (mid 2012 or newer)
- Mac mini (late 2012 or newer)
- iMac (end of 2012 or newer)
- Mac Pro (late 2013, more models from mid 2010 and mid 2012 but with a Metal compatible GPU)
So if we do not have any of these devices we can save to buy a current one.
1. Upgrade to macOS Mojave using OTA
Step 1
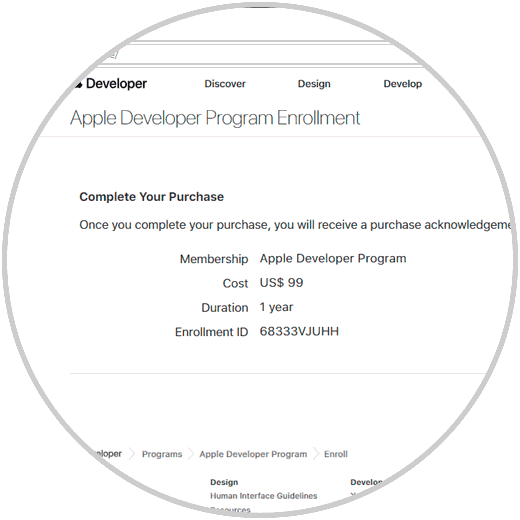
This is the most “practical†solution as it allows us to link directly to the Apple developer program, but on the condition of paying USD 99 for a year of services:
Step 2
To access this program we can visit the following link:
Apple developers
Step 3
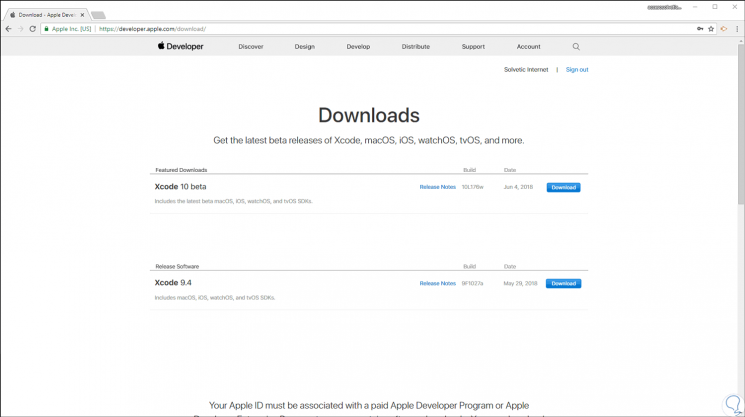
Once we register and we have made the respective payment, we will go to the Downloads section and there we will locate macOS Mojave for their respective download:
Note
In this case, Mojave is not available because the registration in the Apple developer program has not been made.
2. Upgrade to macOS Mojave using the macOS Public Beta Access tool
This is a free tool available for the beta versions of macOS through which, without paying a single euro or dollar, we can enjoy the latest versions of macOS before they are released to the market..
Step 1
To do this we must go to the following link:
Beta Apple
Step 2
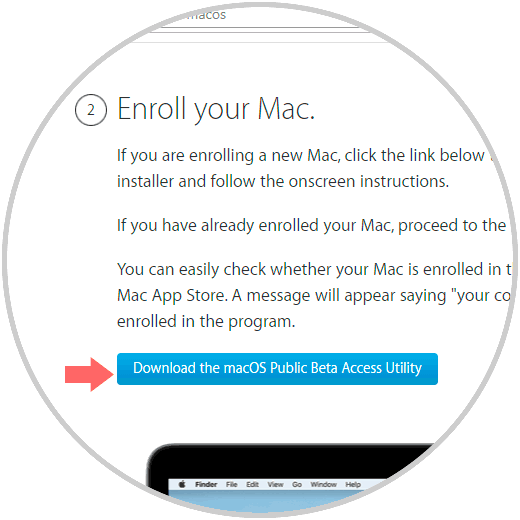
There we will see the following:
Step 3
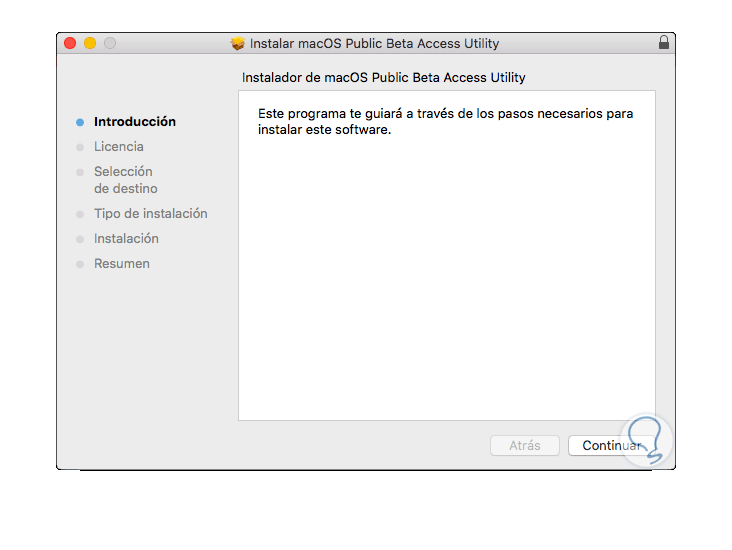
Click on the "Download the macOS Public Beta Access Utility" button to enroll the device and enjoy these trial versions. Once the .dmg file has been downloaded, we double click on it and the following wizard will be displayed:
Step 4
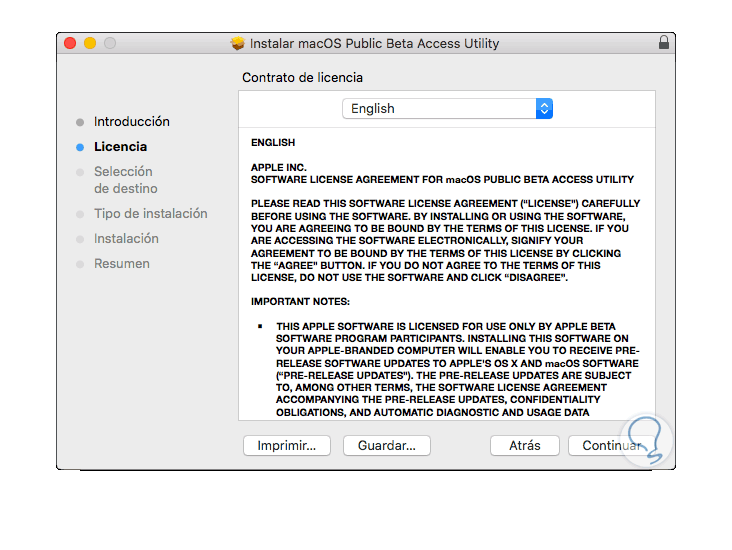
Click on "Continue" and the license terms will be displayed:
Step 5
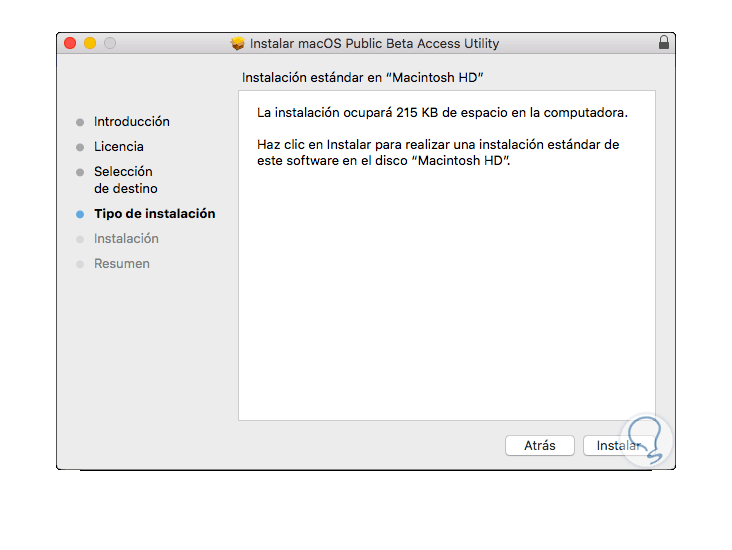
We accept the terms of the license and then we will see the following:
Step 6
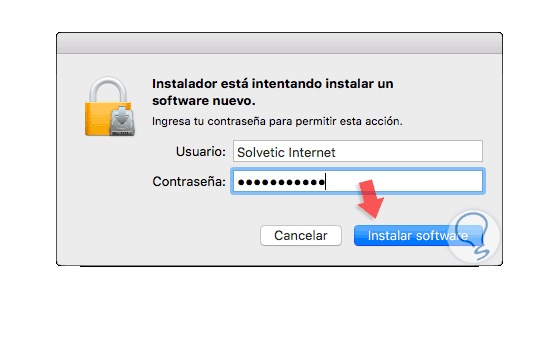
Click on the "Install" button to start the process, but first we must enter the administrators password:
Step 7
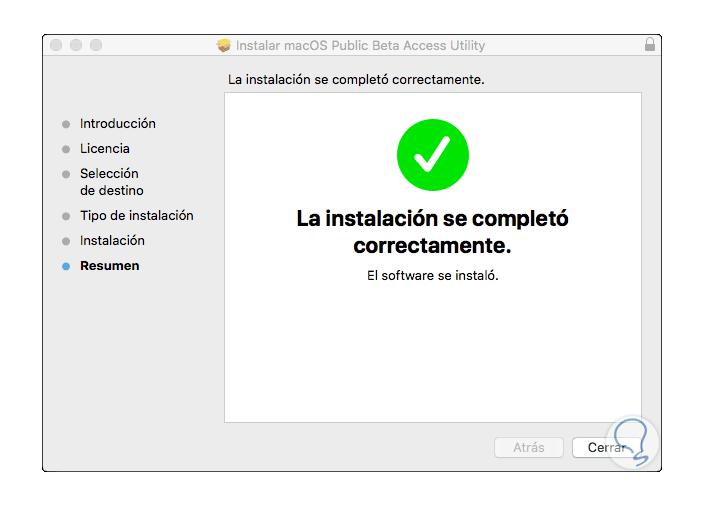
Click on "Install software" and once this process concludes we will see the following:
Step 8
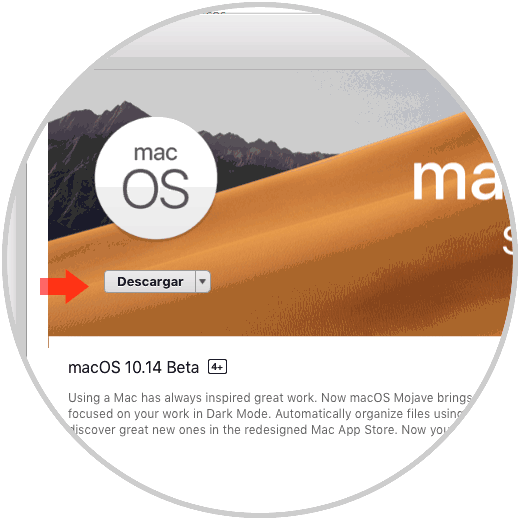
Click on Close to exit the wizard and we will be automatically redirected to the App Store where we will see this:
Step 9
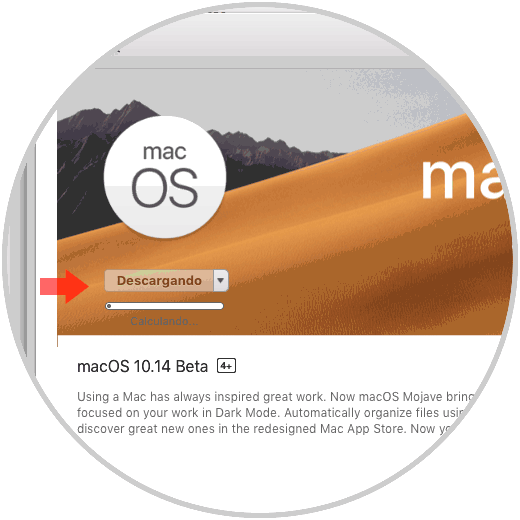
There we click on the "Download" button located at the top and the macOS Mojave download process will begin.
Note: If an error is displayed indicating that the computer is not registered, we must restart the operating system for the change to take effect.
Step 10
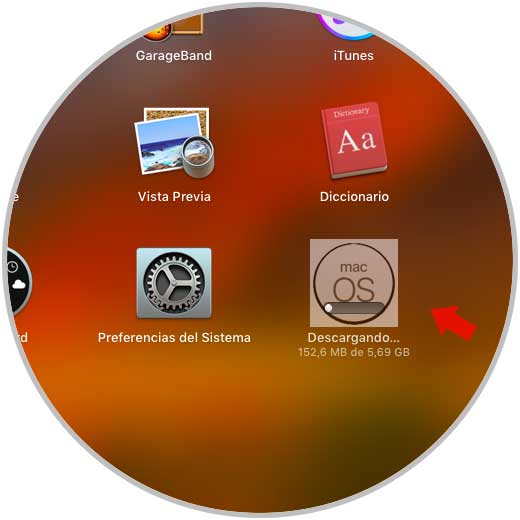
We can visualize the download status through the launchpad:
3. Install macOS Mojave cleanly
This option gives us the possibility to install from scratch the new macOS Mojave version and thus enjoy all its benefits, in this case all current information will be deleted and therefore it is recommended to have a backup of those most important files so as not to lose it .
Once this is done, we will need a USB medium of at least 8 GB of space and it is recommended to apply the format from the disk utility.
Step 1
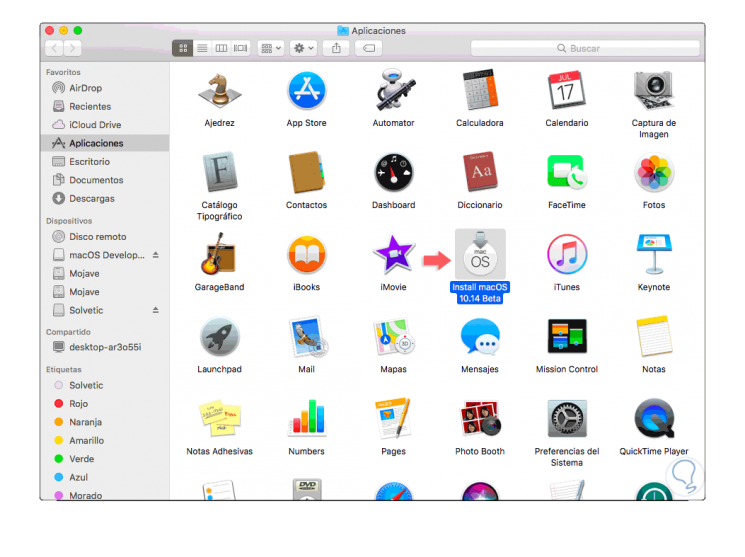
When we have downloaded macOS Mojave, we can see the installation medium in Applications which we can access like this:
- On the “Go / Applications†route
- Using Spotlight and entering the term "Applications"
- Using the key combination:
+ ⌘ + U ⇧ + ⌘ + U
Step 2
There we will see the macOS Mojave installer (macOS 10.14 Beta):
Step 3
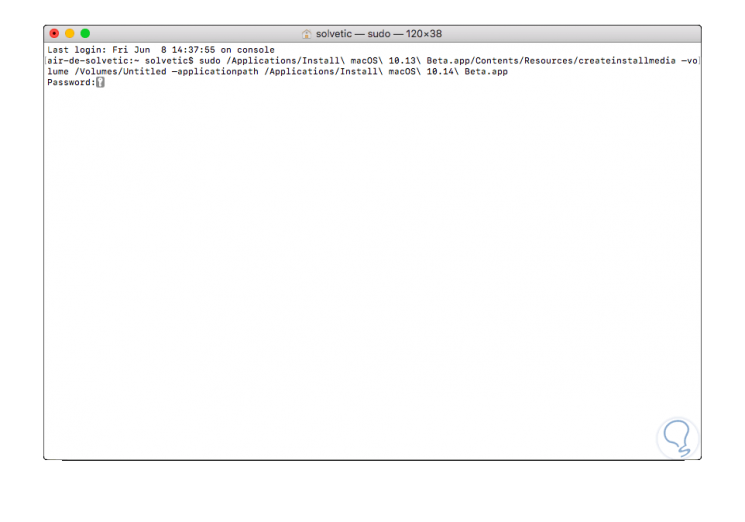
Now, we go to the terminal and execute the following. We enter our password and it will cause all installation files to be moved to the selected USB drive. With this it will be possible to take the USB to any device where you want to install macOS Mojave and during the restart of the device press the Option key to see the USB media and from there execute the installation.
sudo / Applications / Install \ macOS \ 10.13 \ Beta.app/Contents/Resources/createinstallmedia —volume / Volumes / Untitled –applicationpath / Applications / Install \ macOS \ 10.14 \ Beta.app
4. Install macOS Mojave using the macOS Public Beta Access tool
Step 1
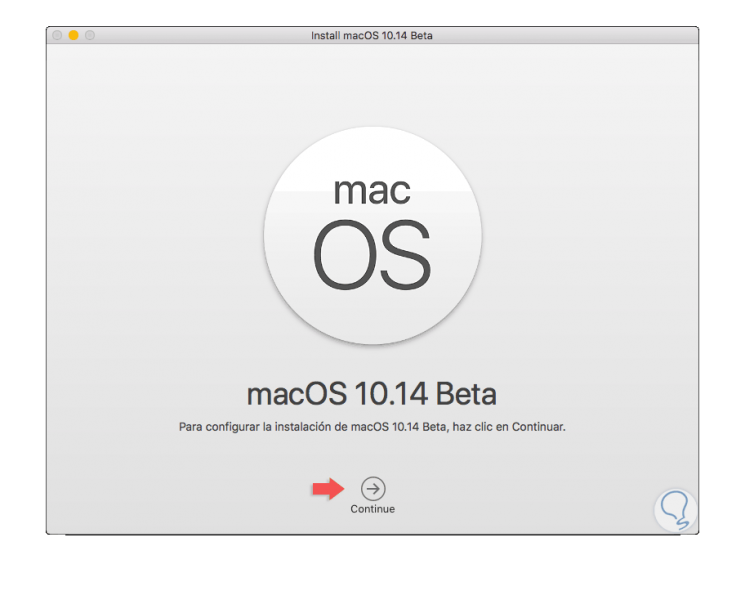
For this case we will use method 2 through the Public Beta Access tool, once the macOS Mojave installer has been downloaded, the following window will be automatically launched:
Step 2
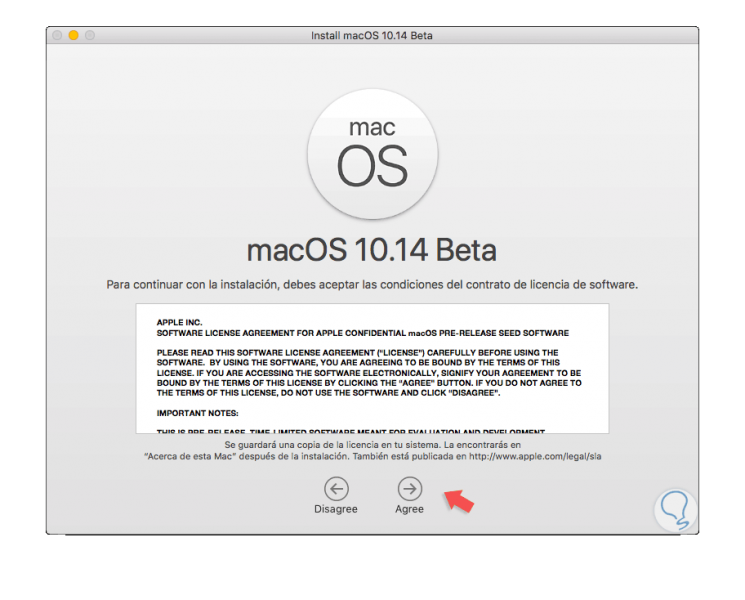
Click on the "Continue" button and the following will be displayed:
Step 3
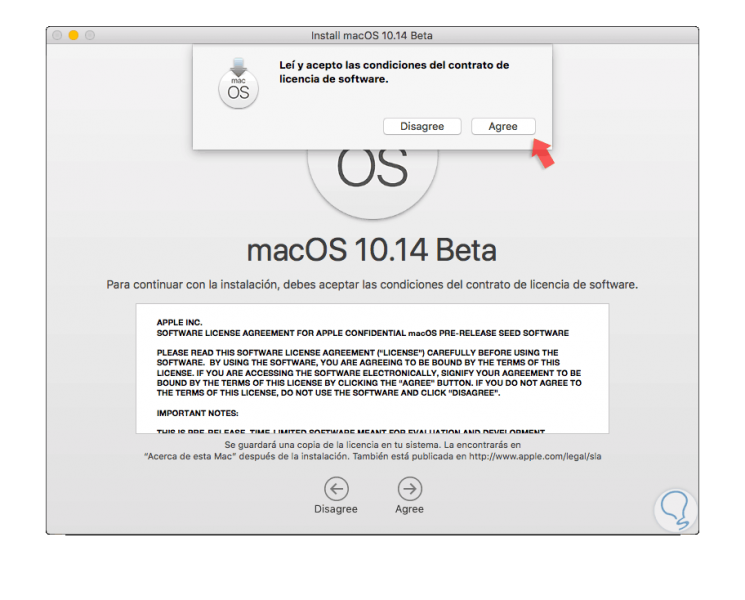
Click on the “Agree†button to accept the license terms:
Step 4
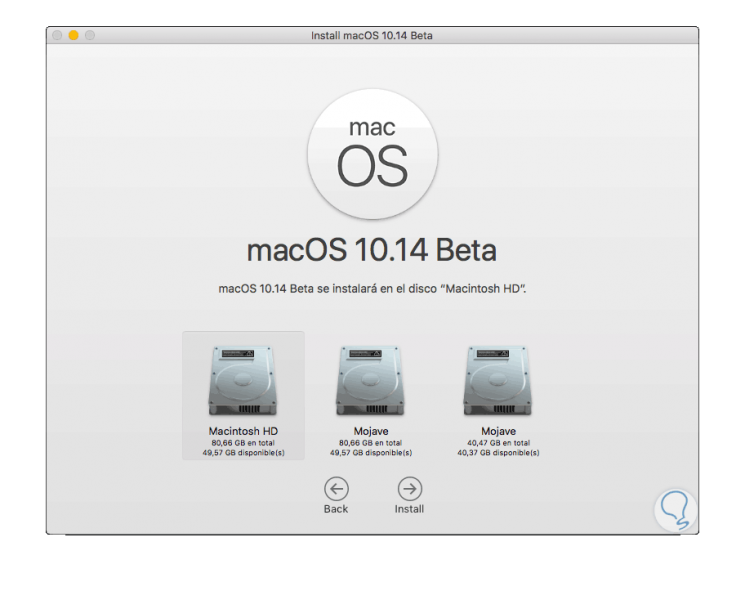
Once we click on Agree again, we will select the disk where we have to install the new version of macOS Mojave:
Step 5
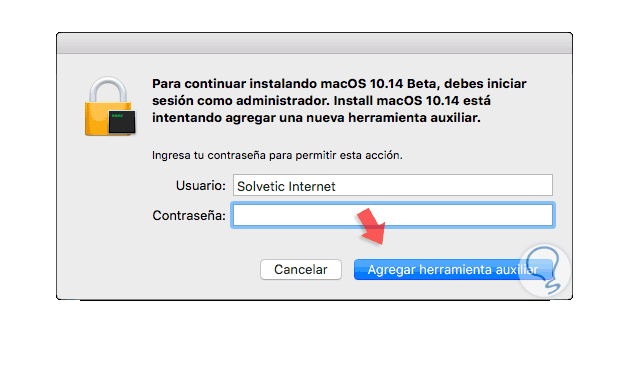
Select the disk and click on the "Install" button and it will be necessary to enter the administrator password:
Step 6
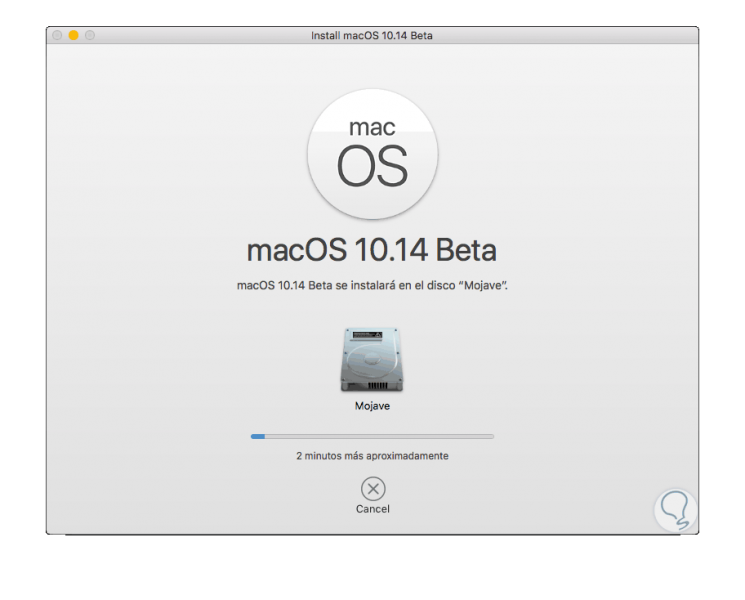
We click on the “Add auxiliary tool†button and the macOS Mojave installation process will begin:
Step 7
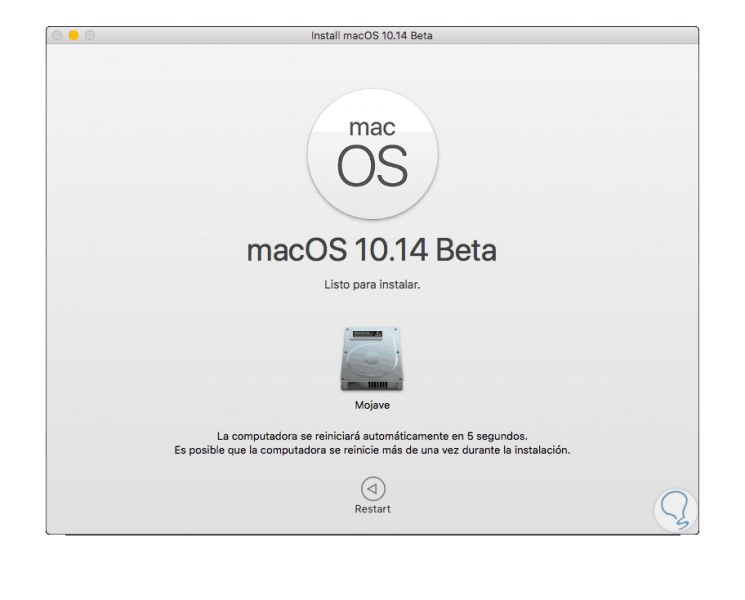
Once this process is finished, we will see the following:
Step 8
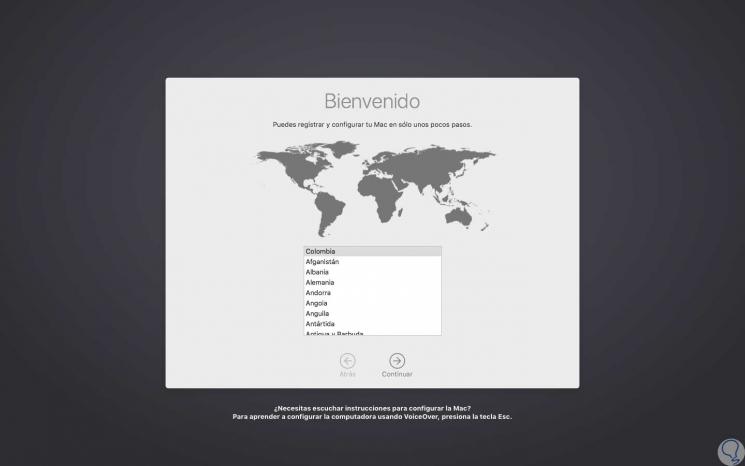
There we expect the device to be automatically restarted or we can click on the "Restart" button to execute the action at once. After this, the system will be rebooted and we wait around 10 to 15 minutes for all changes to be registered and then the following will be displayed:
Step 9
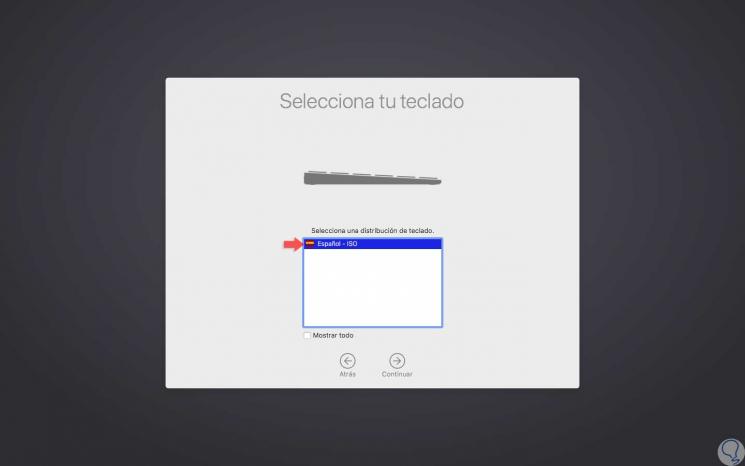
There we select the corresponding region and clicking on Continue we will define the keyboard to use:
Step 10
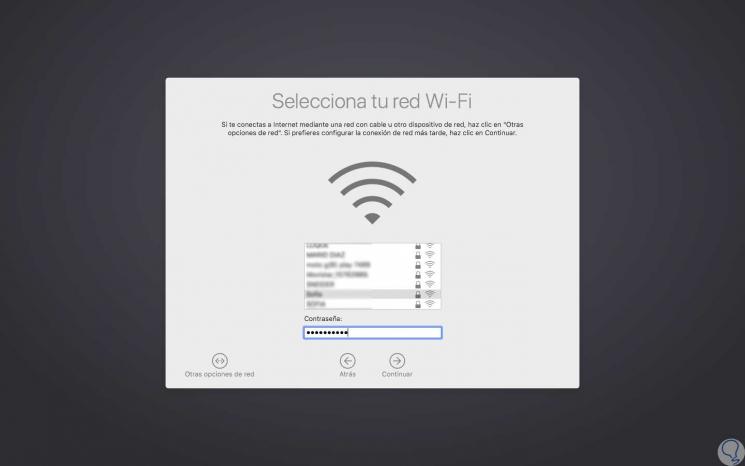
In the following window we will connect to the Wi-Fi network:
Step 11
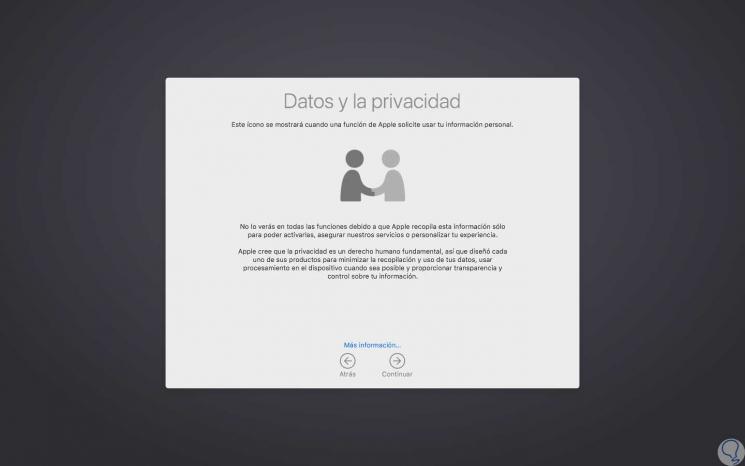
Once connected, click on Continue and we will see the following details about privacy:
Step 12
In the following window we can add the copies of the information, if we have created them, using Time machine or some external means:
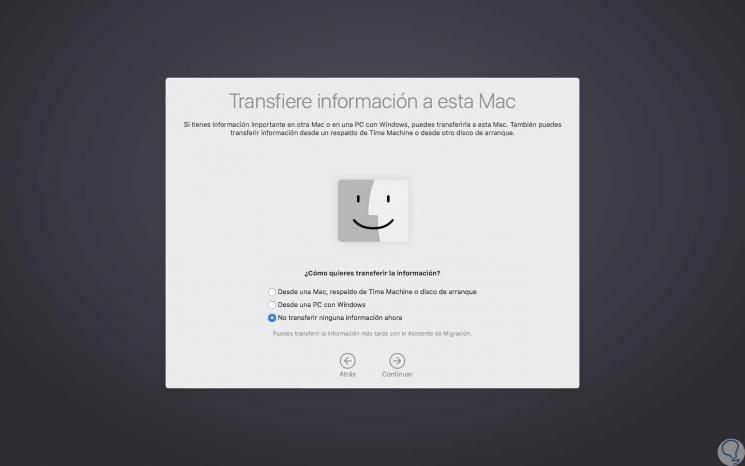
Step 13
In the next window we will have the possibility to enter our Apple ID:
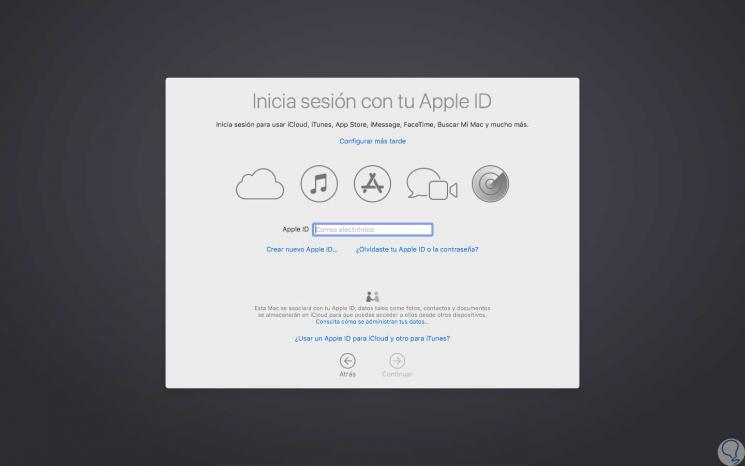
Step 14
Click on Continue and now we must accept the macOS Mojave license terms:
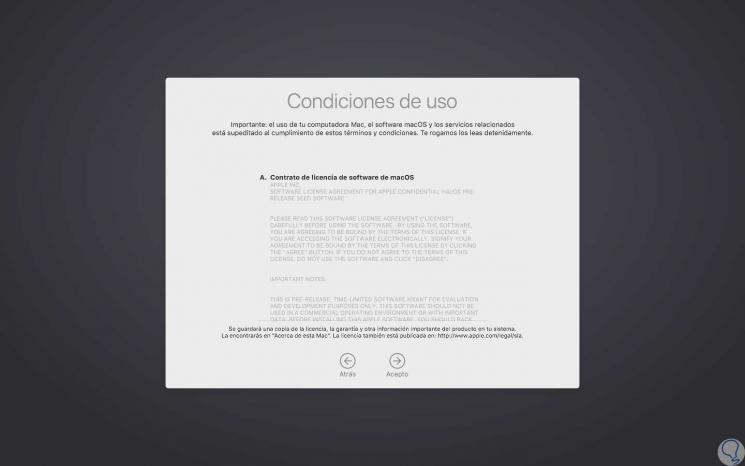
Step 15
Click on the Agree button and the following will be displayed:
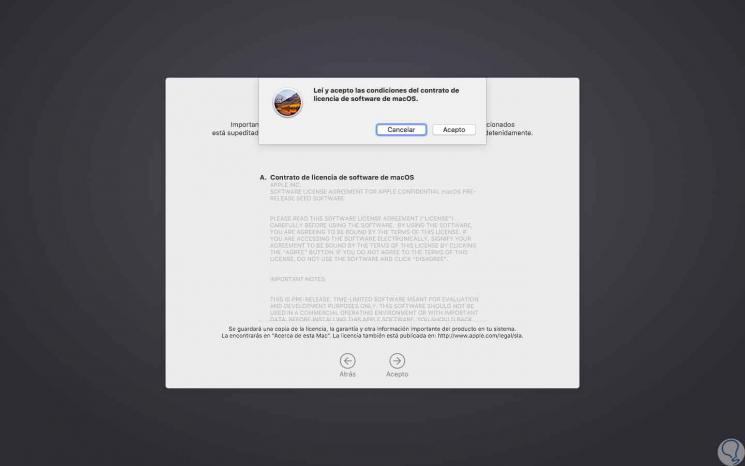
Step 16
Click on the Accept button and then create the username and password to be used in macOS Mojave:
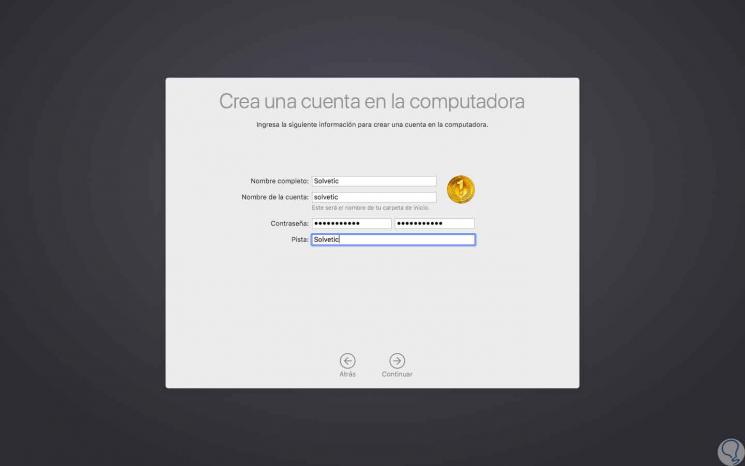
Step 17
We click on Continue and the following will be displayed:
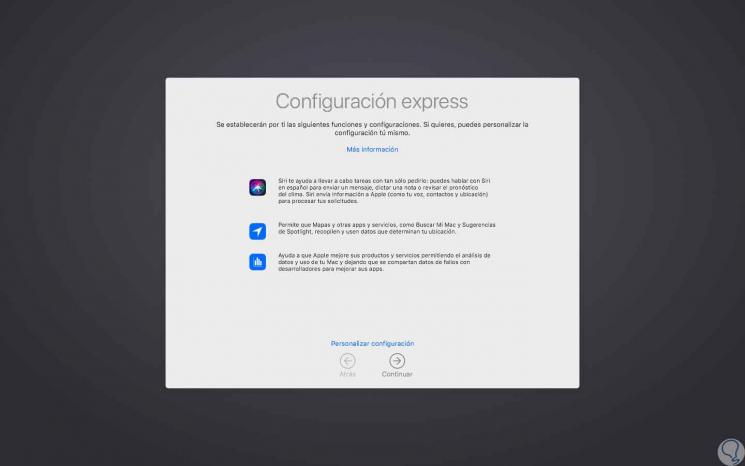
Step 18
There, click on Continue again to finish the macOS Mojave installation process. Once we access the system this will be the appearance of the new macOS Mojave:
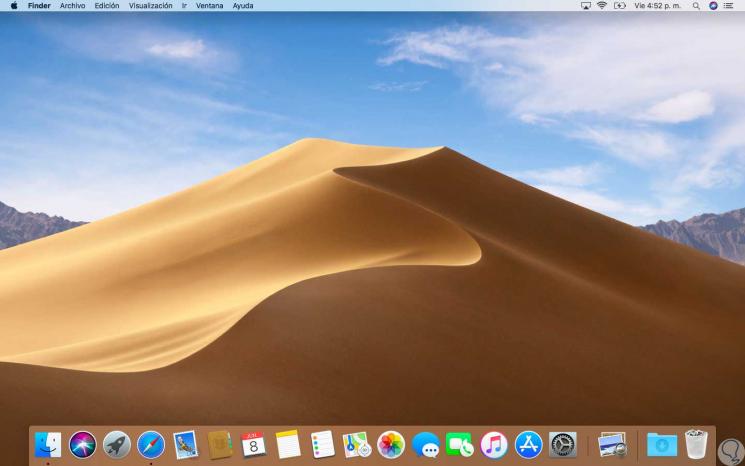
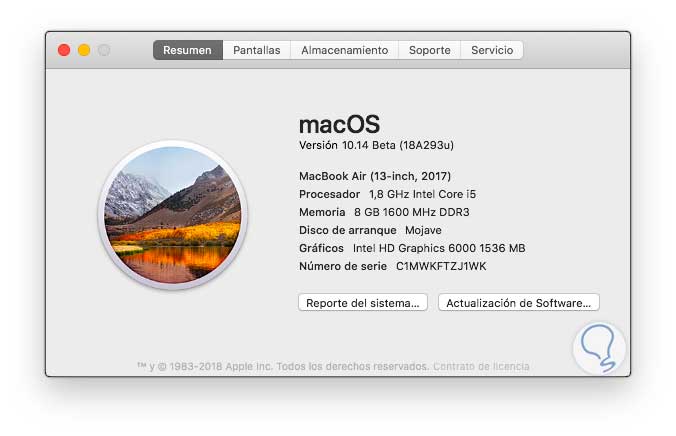
Step 19
We can go to the "About this Mac" option to check the version of this:
It will be that simple to try the new version of macOS before it is officially launched.