With Apple's announcement about macOS Mojave and its new features, such as the dynamic desktop, no doubt many users chose to be part of the Apple developer group, if they were not yet, in order to fully test this innovative and dynamic operating system to get the most out of its functionalities. To know in detail what machine-level requirements and how to join the Apple developer group to download the macOS Mojave installer, we can go to the following link:
So far macOS Mojave, whose version is 10.14, has been stable, remember that it is a trial version which is still susceptible to errors , failures and instability so the most priority advice is not to use it as the operating system for default since it is still macOS High Sierra, version 10.13, the default system on all Mac computers..
When as Mac users we decide to take the risk and install macOS Mojave as a system to use, we must be aware of the risks and it is likely that when errors arise we want to return to the previous system. Sometimes updating is not the decision that convinces us the most and after doing so we can repent for different reasons. Before launching any relevant update or modification on your device, it is recommended that you make a backup and if it might be protected to prevent misuse.
Upgrading to macOS Mojave is simple, just go to the mentioned link and make use of the tools to download the installer:
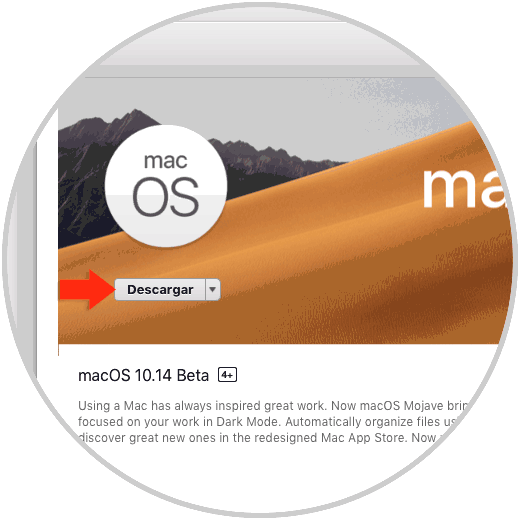
After this we will be ready to install macOS Mojave on our computer:
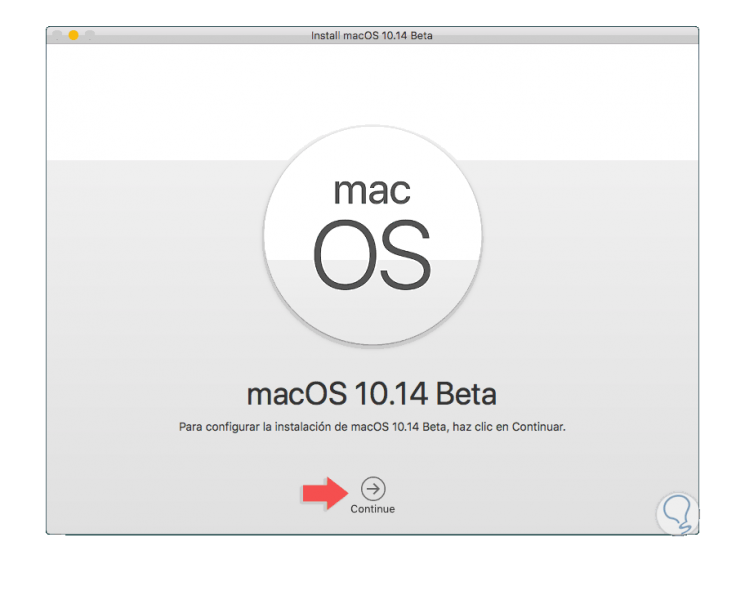
It is recommended, in order not to completely affect the system, to create a partition and install Mojave on it, but if this is not the case today, TechnoWikis brings a series of steps to demote macOS Mojave again to macOS High Sierra..
1. Back up macOS using Time Machine
The first step to take is to have a backup of Time Machine that was made before installing MacOS Mojave Beta.
Step 1
This is important because we are going to format the equipment and then it will be restored from Time Machine using the backup we have available, otherwise all the information stored there will be lost.
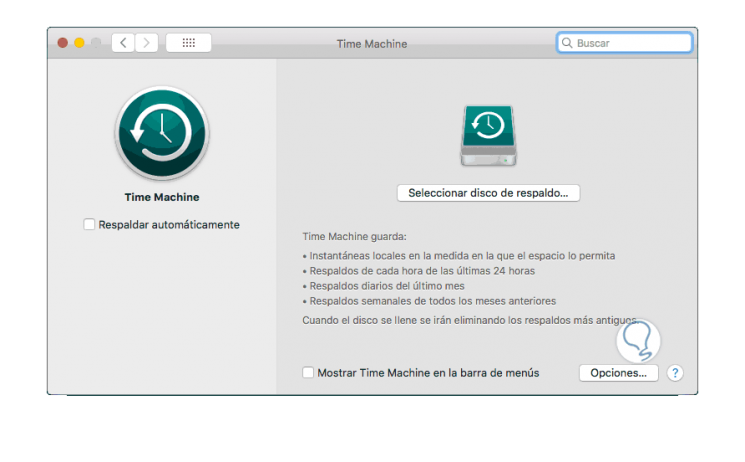
Step 2
To know in detail how to use Time Machine we can go to the following link. Remember that the Time Machine backup may involve other versions such as Sierra, High Sierra or El Capitan.
2. Move macOS Mojave to macOS High Sierra version
Step 1
The first step to take is to connect our unit with the copy of Time Machine on the computer to be degraded and then we proceed to restart or turn on the equipment and during this process we use the following key combination in order to access macOS utilities and the following window will be displayed:
+ R ⌘ + R
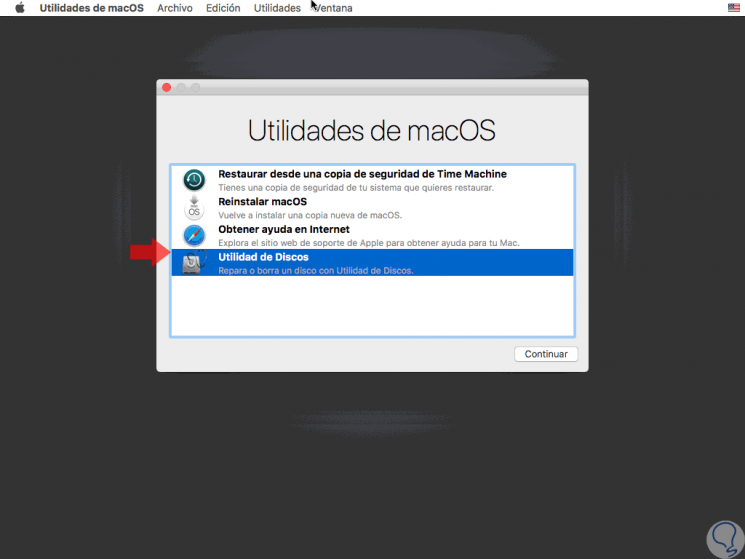
Step 2
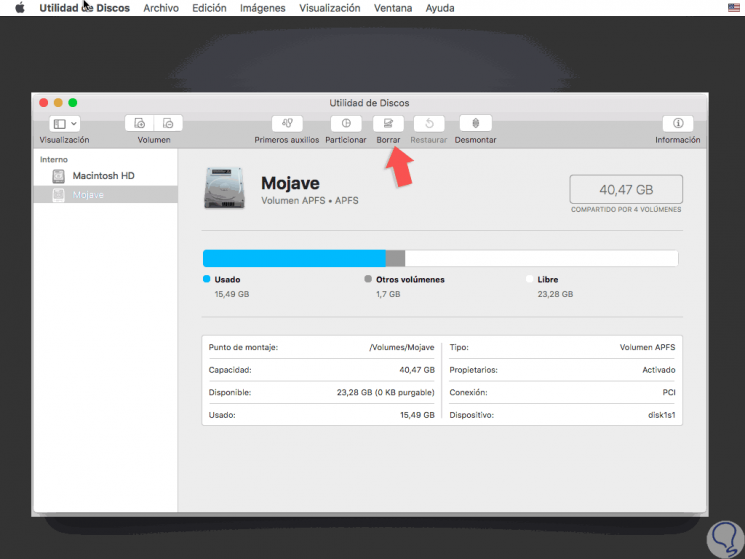
There we select the option “Disk Utility†and the following will be displayed:
Step 3
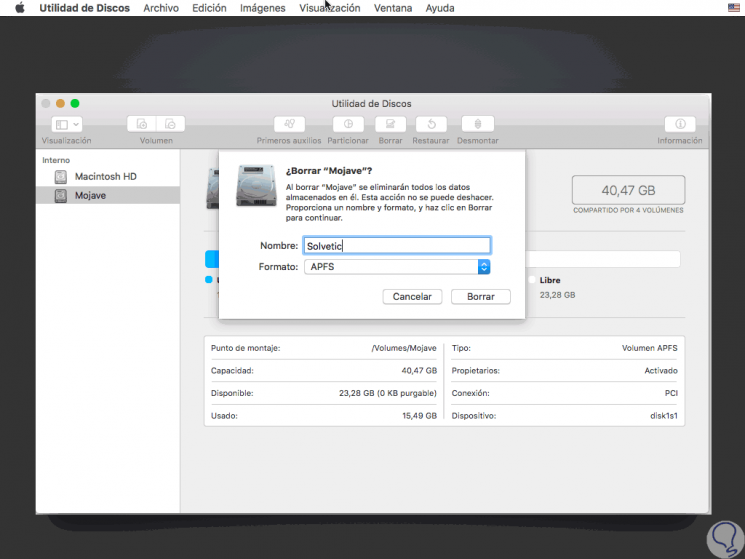
There we select the hard disk where macOS Mojave is installed and click on the "Delete" button located at the top. The following window will be displayed where we define:
- Name to assign as a label
- In the “Format†field we can select the APFS or Mac OS Plus file system
Step 4
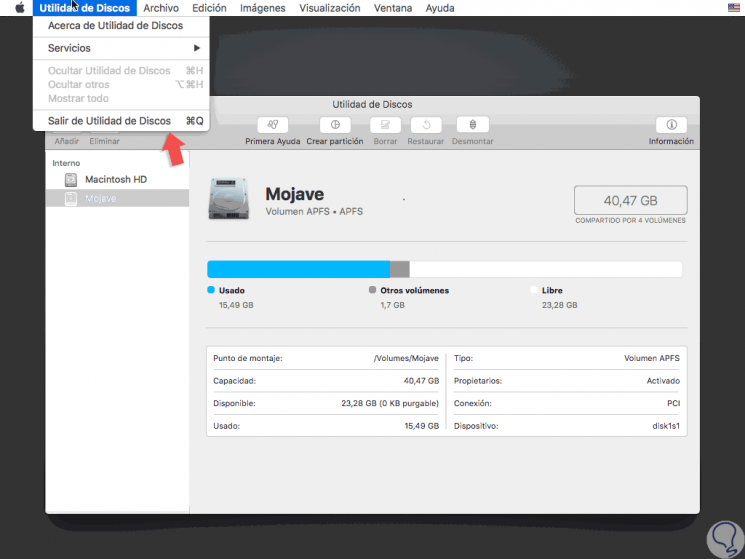
Click on "Delete" to complete the action. Once this is finished, click on the "Disk Utility" menu and select the "Exit Disk Utility" option:
Step 5
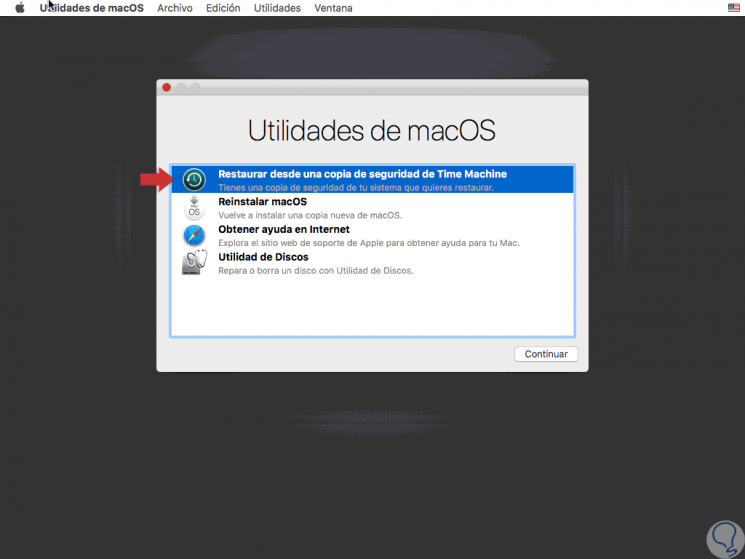
Now, in the new window we select the option “Restore from a Time Machine backupâ€:
Step 6
Press Enter and the following will be displayed:
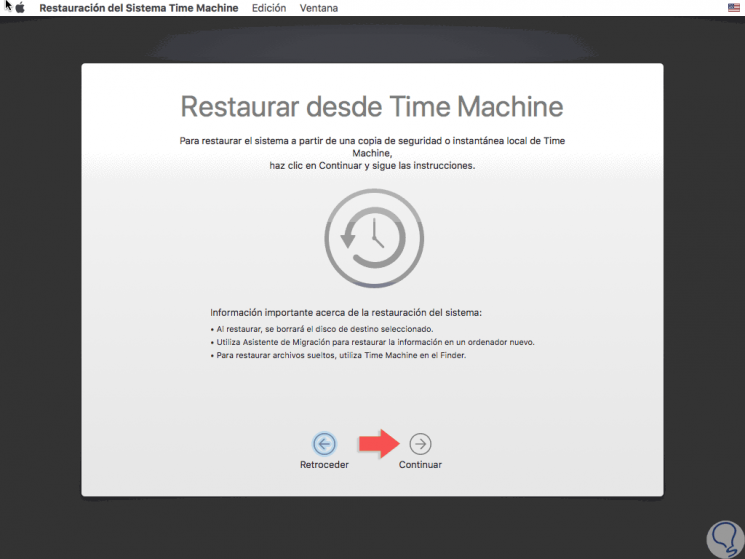
Step 7
Click on “Continue†and the search process for the available Time Machine backups will begin:
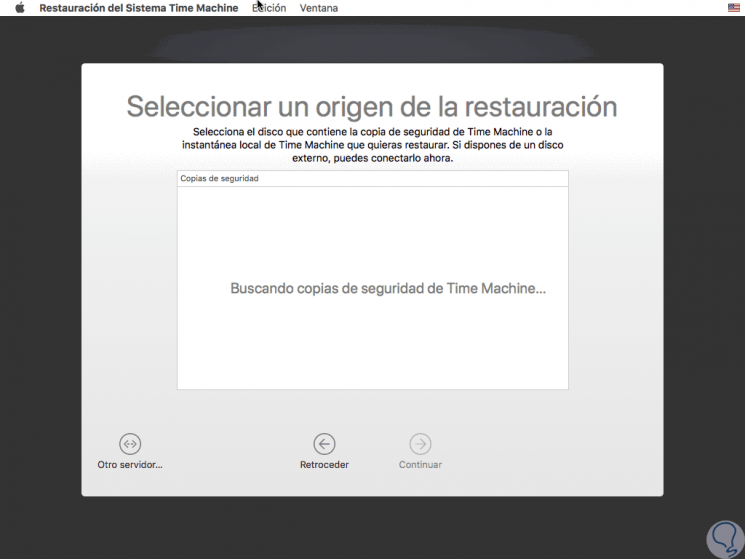
Step 8
From the "Select a backup" screen of Time Machine, we must select the most recent backup that is available associated with the version of macOS that we want to revert in the previous version, remember that High Sierra is 10.13, Sierra is 10.12 , The Captain is 10.11 and once defined this we select Continue. We define the destination drive to restore that Time Machine backup, which is the one we have formatted and we will click "Restore" to restore the backup to that specific drive.
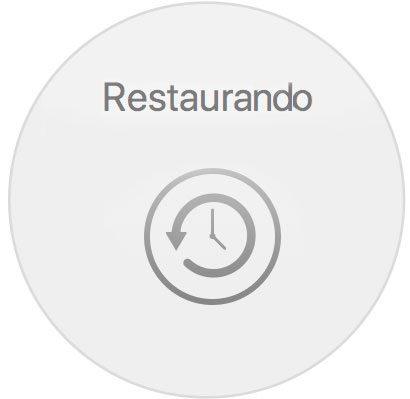
Step 9
From there it will begin the process of restoring macOS Mojave to the previous stable version of the system. Once the backup has been restored, the system will reboot into the version of macOS that was installed when the backup was performed:
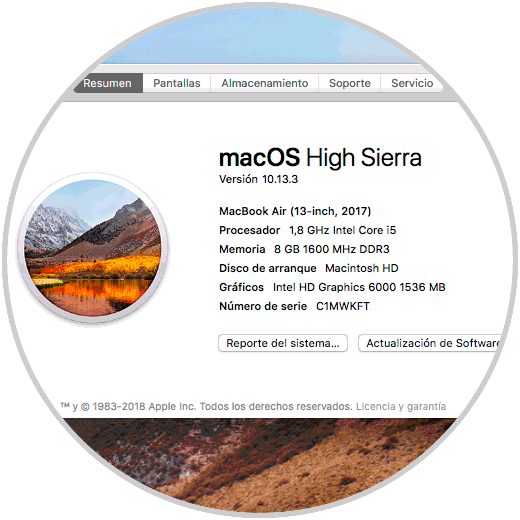
This is one of the alternatives that we have available to return to previous versions in case of using macOS Mojave and present failures, but logically we have several alternatives such as carrying out the Internet recovery of any version of macOS preinstalled on the computer or using macOS High Sierra installers. Even so, macOS Mojave promises to be one of the most stable systems developed by Apple.