In the world conference of Apple developers, WWDC 2018, news were released that would have a positive impact on the millions of Apple users both at the mobile level, iPhone, and at the level of computer equipment, macOS, and it is with the arrival of iOS 12 and macOS Mojave..
macOS Mojave is projected as an integral operating system that gives us great features where features such as:
- New applications and much more.
In the following TechnoWikis link we will learn to download and install macOS Mojave on our Mac computers:
But a question arises and it is the following, can I take macOS Mojave to any place ?, the answer is yes, thanks to bootable USB media which become the best solution to create a boot device of any operating system and be able to transport it from one place to another with the simplicity of a USB stick.
Advantages
When we configure a boot installer with macOS Mojave we will have the following advantages:
- The ability to format a destination disk in its entirety
- Being able to install the beta version on multiple Mac computers without downloading the installer again, which takes time
- Use the USB media as a macOS Mojave beta troubleshooting device.
Through this tutorial we will see how to create this USB medium with macOS Mojave..
Previous requirements
To carry out this task correctly it will be necessary to have the following:
- USB device with at least 8 GB capacity
- MacOS Mojave installer which is stored by default in Applications
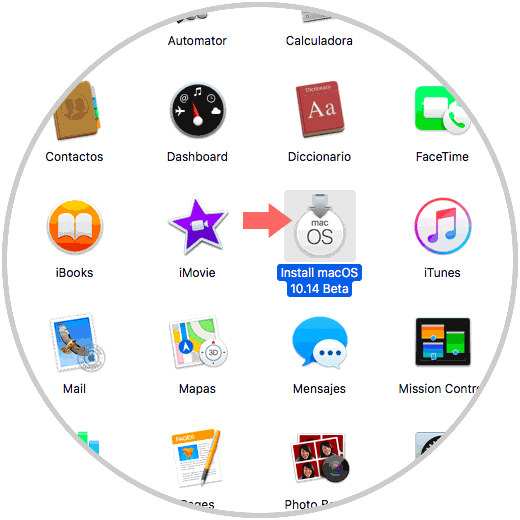
To download this installer, we go to the following link:
Beta Apple
There we must download the macOS Public Beta Access Utility tool which, once installed, will redirect us to the App Store where we can download the respective installer:
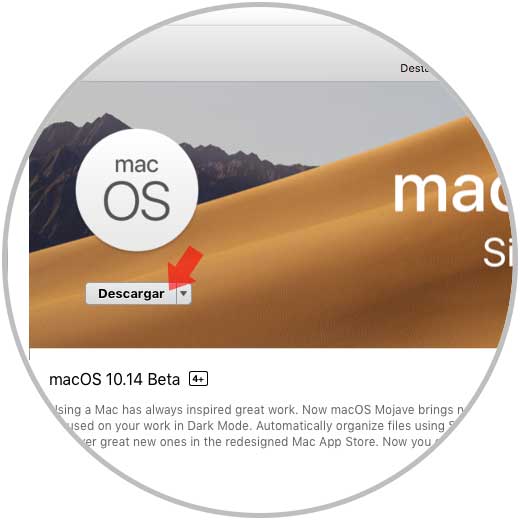
Requirements
In addition to these requirements, it is important that our equipment is within the list of compatible equipment which is the following:
- MacBook Pro (mid 2012 onwards)
- MacBook Air (mid 2012 onwards)
- MacBook (early 2015 onwards)
- iMac (end of 2012 onwards)
- Mac Pro (late 2013 onwards, or mid 2010 and mid 2012 models with Metal compatible GPU)
- Mac Mini (end of 2012 or more current)
Once we meet these requirements, we will be ready to install macOS Mojave on our USB media.
1. How to prepare USB to install macOS Mojave
The first step is to format the USB memory so it is recommended to create a backup of the information stored there.
Step 1
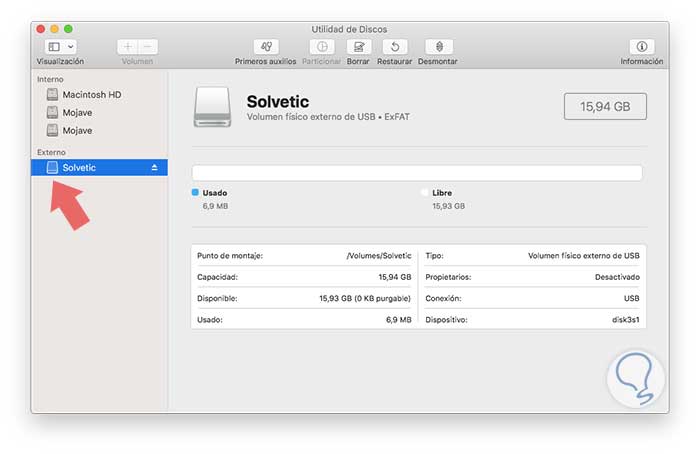
For this, we access the Disk Utility using one of the following options:
- Through Spotlight entering the term disks and selecting the utility
- In the Go / Utilities path and in the window that appears, select Disk Utility
- Using the key combination ⇧ + ⌘ + U and then select Disk Utility
We will see the following window where we will select our USB device:
Step 2
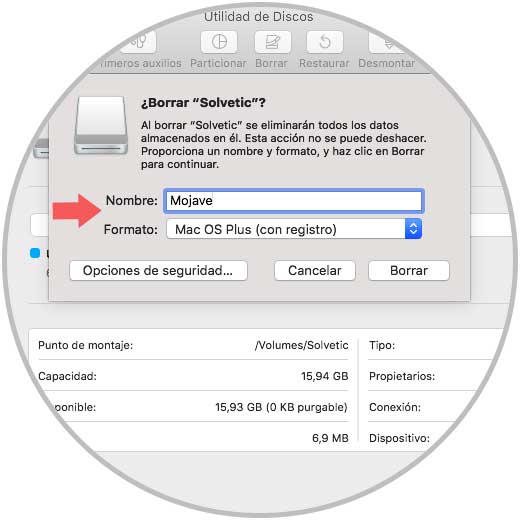
Click on the Delete button located at the top and define the following:
- Name to assign to the USB medium
- In the Format field we specify Mac OS Plus (with registration)
Step 3
Click on the Delete button to start the USB format process:
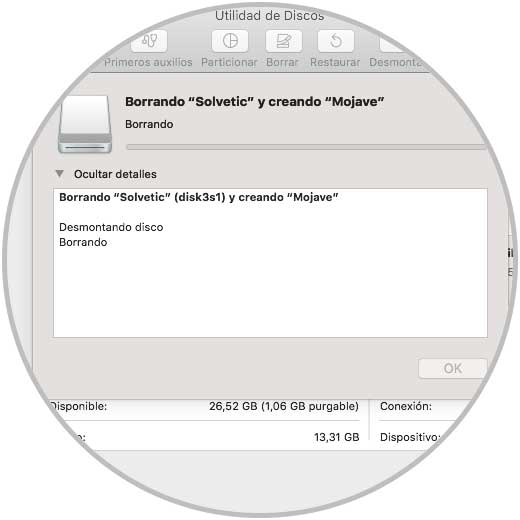
Step 4
Once finished we will see the following. Click OK to exit the assistant.
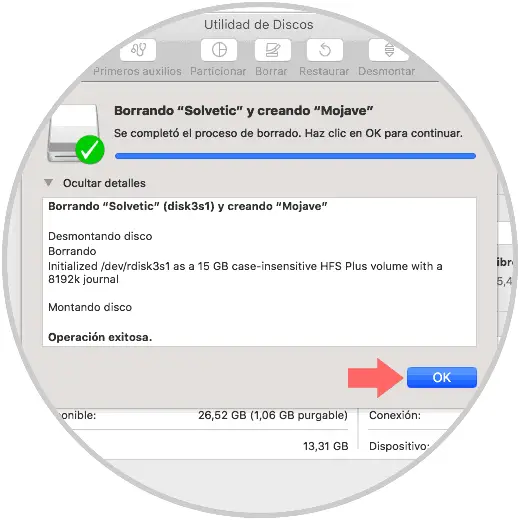
2. How to access the terminal on Mac
The next step is to access the terminal to carry out the process of configuring the USB medium.
To access the terminal we can use one of the following options:
- Use the key combination ⇧ + ⌘ + U and in the pop-up window select Utilities
- Enter the term Utilities in Spotlight and there select the terminal
In the Go / Utilities route and in the window displayed select the terminal. Now, there we will execute the following line:
sudo / Applications / Install \ macOS \ 10.14 \ Beta.app/Contents/Resources/createinstallmedia --volume / Volumes / â€USB Name†&& echo Mojave Drive Created
Note
In the line "USB Name" we must enter the name that we have assigned to the USB medium in the format process indicated above and without the quotes, in this case we execute the following:
sudo / Applications / Install \ macOS \ 10.14 \ Beta.app/Contents/Resources/createinstallmedia --volume / Volumes / MojaveTechnoWikis && echo Mojave Drive Created
Note
We have assigned the name MojaveTechnoWikis to the USB medium so as not to create a conflict with the hard disk.
There we must enter our password and we can see that the process of creating the boot media starts:
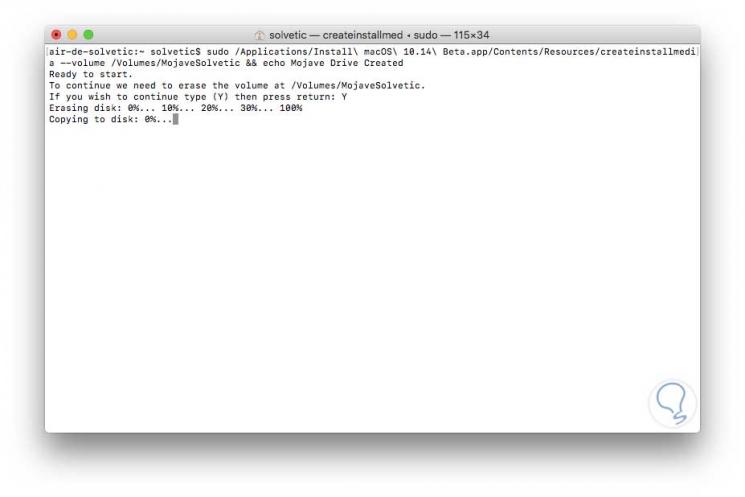
This process takes between 5 to 10 minutes to complete..
Note
In case any syntax error is generated, we must check the following:
- Validate that the USB media name is correct
- Check that the macOS Mojave installer (Install macOS 10.14 Beta) has been downloaded correctly and is hosted in applications
Once this process concludes we will see the following:
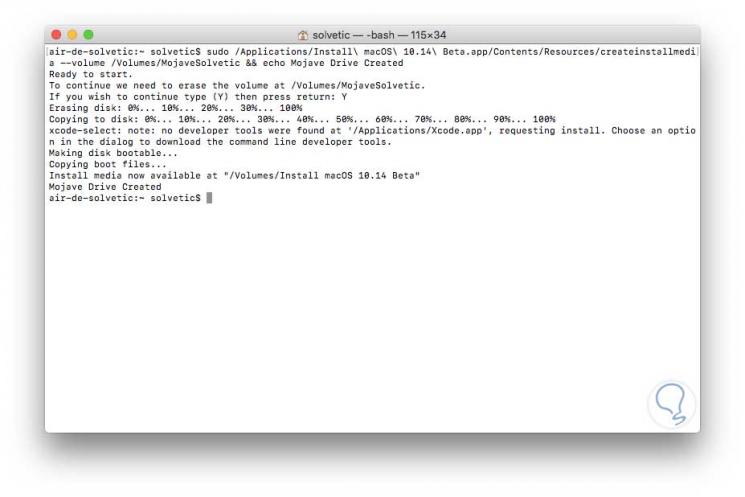
3. How to use USB media to install macOS Mojave
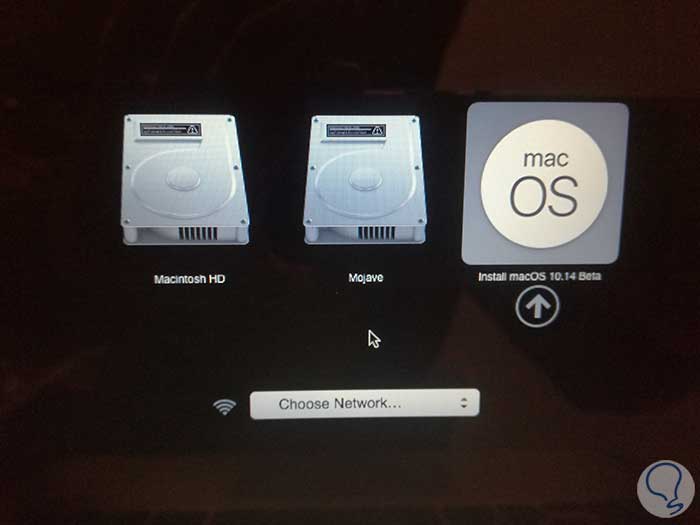
Once our USB medium is created, just connect it to the computer where you want to install macOS Mojave and turn it on or restart it by pressing the Option key and we can see that the boot options are displayed where the previously created USB media is available:
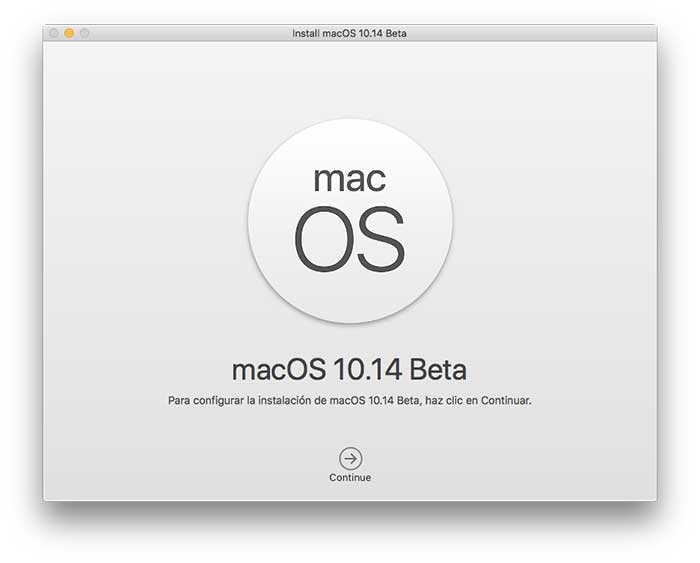
By selecting our USB media we can start the macOS Mojave installation process:
With this method it will be very simple to take macOS Mojave to any place and enjoy its novelties and functionalities.