Apple has officially launched macOS Mojave, which is integrated with new features and improvements to existing ones but all focused on maximizing the user experience..
That is why we now find functions such as
- "Batteries" function to better organize desktop items.
- New dynamic theme that changes as the day goes by.
- Integration of iOS applications in macOS Mojave such as "Home", "Bag", "Voice notes" and "News".
- Greater security when navigating in Safari.
So, like previous versions of Mac OS, we have the opportunity to create a boot installation unit for MacOS Mojave 10.14; which will facilitate tasks of this type since the entire operating system can be installed from a USB medium and not from several physical disks.
But having a bootable USB medium not only allows you to install the system, it also allows us to perform tasks such as formatting a Mac computer and then run a clean installation of macOS Mojave, install macOS Mojave on various Mac computers without requiring the installer download process or troubleshoot problems associated with startup. This is why today TechnoWikis will explain how to create a bootable USB medium for macOS Mojave..
Previous requirements
Before performing the process, it is necessary to know which are the macOS Mojave compatible devices, these are:
- MacBook Pro from mid 2012 or later.
- MacBook Air from mid 2012 or later.
- All current iMac Pro models.
In addition to this, it will be necessary to have a USB memory of at least 16 GB capacity and we must download the macOS Mojave installer through the App Store in the following link. There we click on the "Get" button.
mojave macos
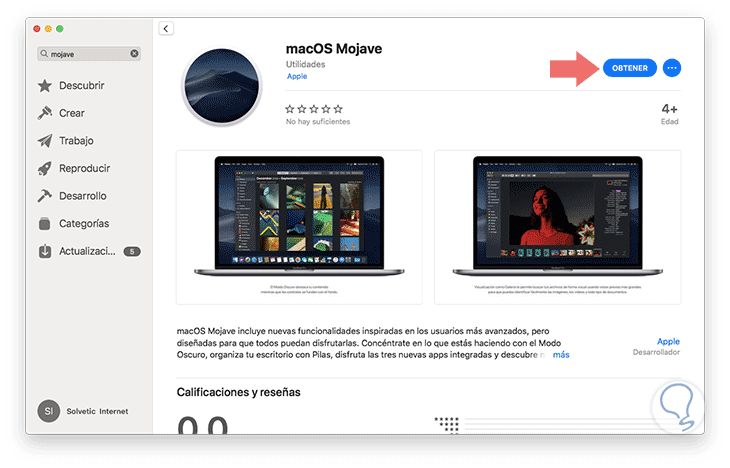
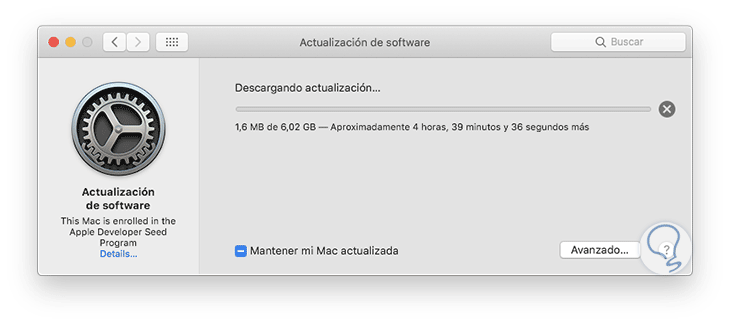
The macOS Mojave download process will begin, which has a size of 6.5 GB:
Step 1
After the download process has completed successfully, we can go to "Applications" in macOS Mojave using one of the following options:
Option 1
On the route Go / Applications
Option 2
Using the keys:
+ Shift + A ⌘ + Shift + A
Option 3
From Spotlight entering the term applications.
There we will find the macOS Mojave installer whose version is 10.14..
Note
If the macOS Mojave installer has been downloaded and the equipment on which it was downloaded has been updated, the installer file will be deleted when the Mojave update is complete, so we must repeat the download process again.
Once we have the macOS Mojave installer downloaded, we must connect the USB media to the computer and it must be shared with macOS. The supported formats for macOS Mojave at boot media level are:
If our USB media does not have the correct format, we must go to the "Disk Utility" and there select the USB media to use, we will see the following. There we click on the "Delete" button.
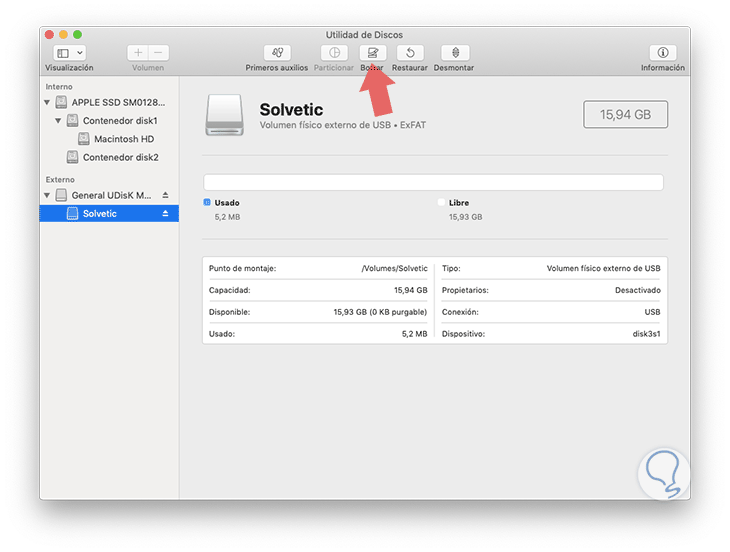
Step 2
The following window will be displayed, where we will define the name to be assigned to the USB medium and the format of the files to be applied. Click on the "Delete" button.
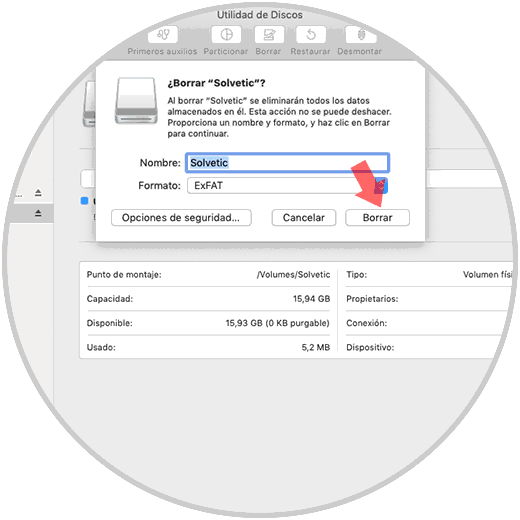
Note
It is important to clarify that when performing this process all the information will be deleted.
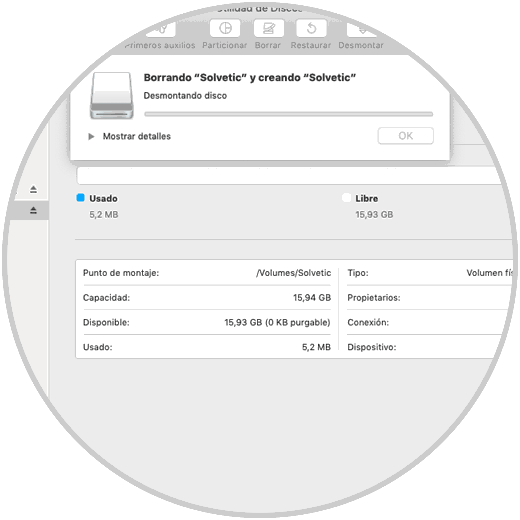
Step 3
The USB media formatting process will be executed:
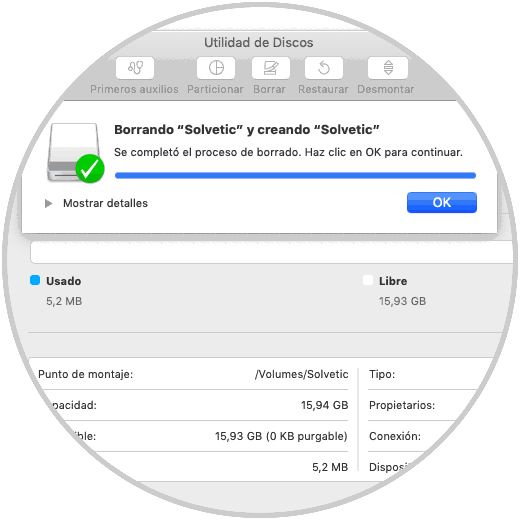
Step 4
At the end of this, the following message will be displayed. So the USB media will be ready to be used and create the boot media of macOS Mojave.
Step 5
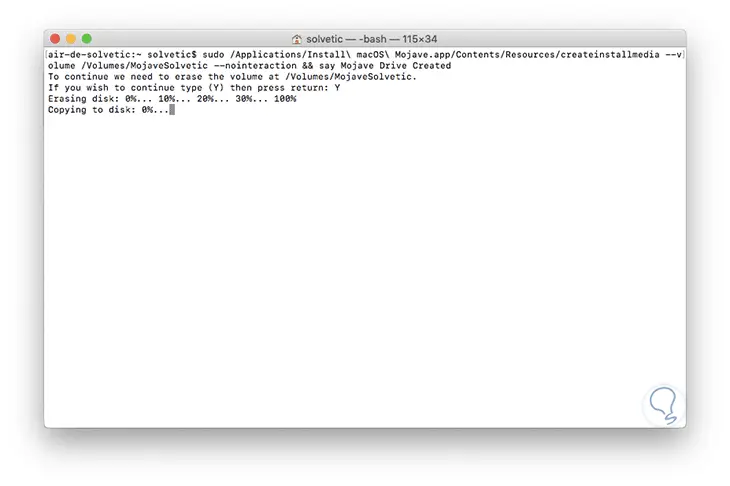
To create our bootable USB, we will go to the terminal and execute the following with the sudo command to set administrative permissions:
sudo / Applications / Install \ macOS \ Mojave.app/Contents/Resources/createinstallmedia --volume / Volumes / â€USB Name†--nointeraction && echo Mojave Drive Created
When doing this, we must enter our administration password and start the process of creating the USB media:
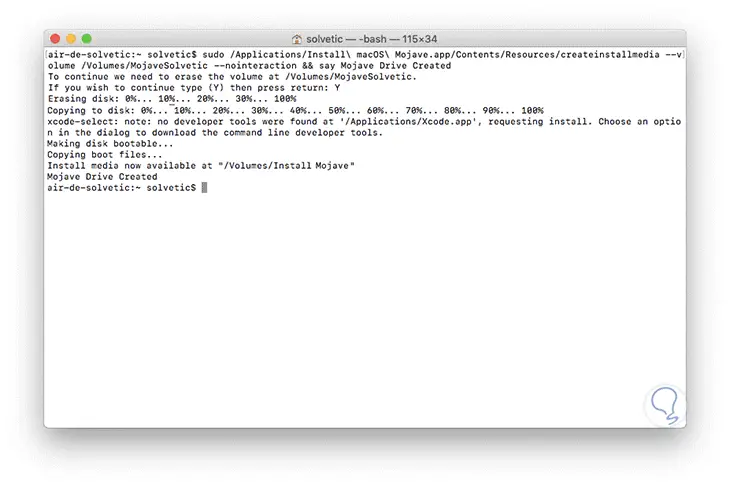
Step 6
At the conclusion of the creation process we will see the following. Now, we must connect the USB drive with the MacOS Mojave installer to the Mac from where it is going to boot and proceed to restart or turn on the computer and during this process we must press the OPTION key in order to access the starter selector and there we choose the USB media and there select the option "Install MacOS Mojave" from the boot option.
Step 7
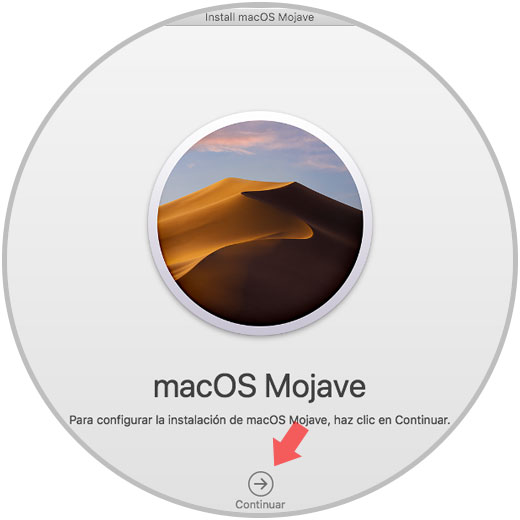
After this process the macOS Mojave installation wizard will be deployed. There we click on the "Continue" button and follow the steps of the installation wizard.
Thus, we have the opportunity to create a bootable SUB medium to install and perform macOS Mojave administration tasks.