Every day we use an endless number of applications with different uses and functions on our mobile phones: listening to music , removing advertising or recording calls among a myriad of possibilities. All these downloaded applications receive frequent updates that are necessary to run to ensure the proper functioning of that particular application..
It is necessary to carry out these updates periodically since:
- They serve to correct past errors in the application
- Improve application design
- They add new functionalities in the application that we will not be able to enjoy without said update.
- The specific application may stop working if we have not made the corresponding update.
It is for this reason that today at TechnoWikis we will analyze the different ways to perform updates on Android automatically so that the device does it for you whenever necessary and does not have to face any of these problems.
1. How to update Android apps automatically with Play Store settings
You can configure your phone so that the applications are updated automatically through your Play Store by following these steps:
Step 1
Enter your Play Store on your Android phone
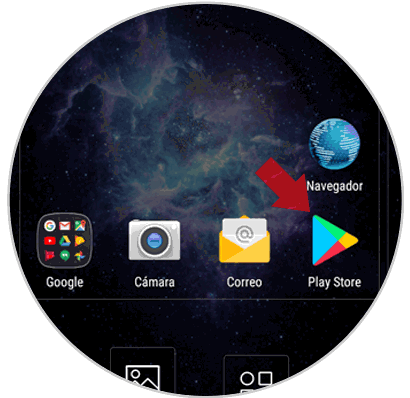
Step 2
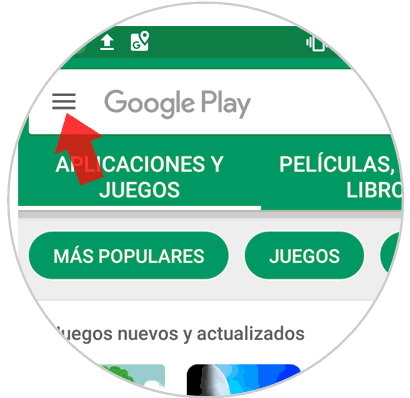
Access the Play Store menu which is located in the upper left corner of the screen represented by an icon with three horizontal lines. Click on the icon to access the menu options.
Step 3
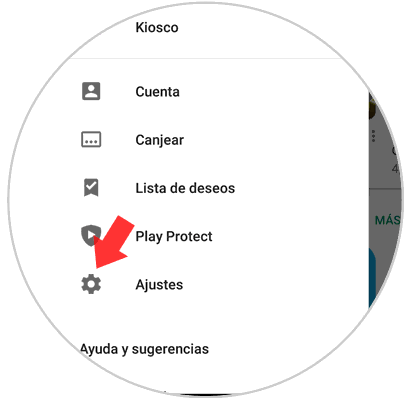
Slide down on the displayed menu and click on the "Settings" option
Step 4
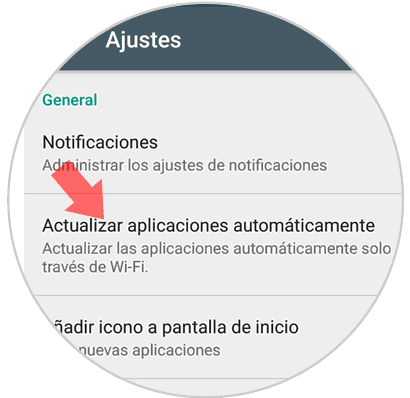
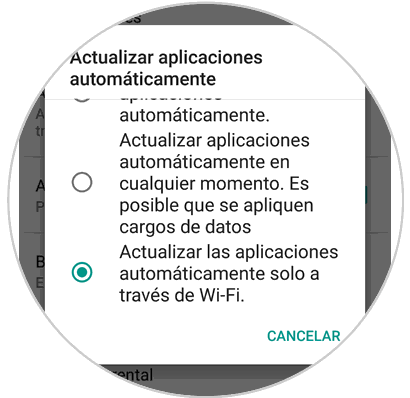
Various options will be displayed. Click on the option "Update applications automatically"
Step 5
Now a new window will be displayed. Here you can choose between updating the phone whenever there is an update automatically through the data of your phone or that updates occur automatically as long as the phone connects to WiFi. This seems like the best option if we don't want to spend too much data.
2. How to update Android apps individually automatically
It is also possible to make a configuration so that according to which applications are updated automatically one by one. This is useful if what we want is that only some specific applications are updated for some special reason and not all.
Step 1
Enter the Play Store application on your Android phone.

Step 2
Once inside, tap on the menu, represented by a three horizontal striped icon in the upper left corner of the screen.

Step 3
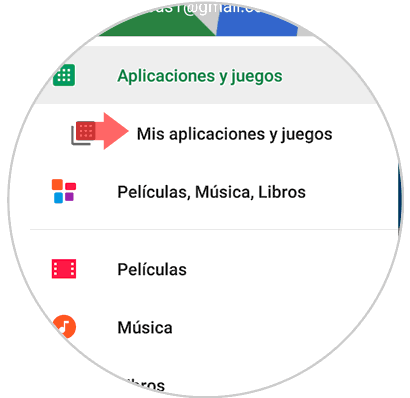
A menu with different options will be displayed. Enter "My applications and games"
Step 4
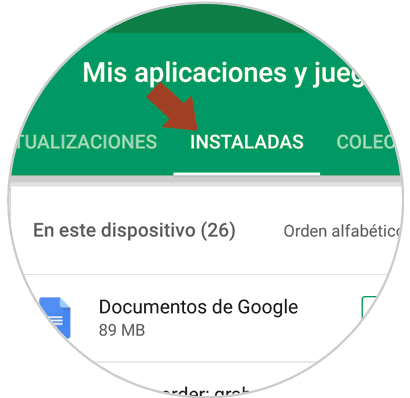
Once inside, open the second tab, the one corresponding to “Installed” applications
Step 5
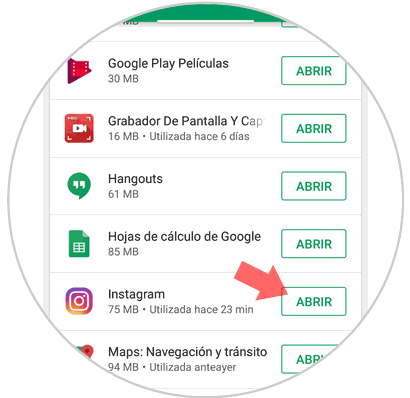
Here all the applications that we have installed on our device will appear. Tap on the app you want to update automatically.
Step 6
Within the application, touch the icon located in the upper right corner represented by three vertical points.
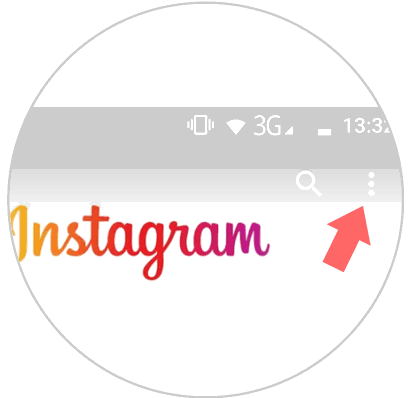
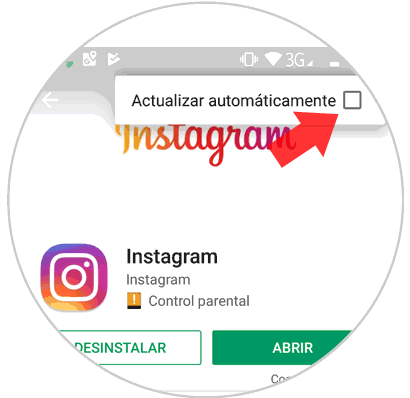
Here a small window will appear with a check in which the option "Automatically update" will appear. If we leave the tick in this option, the application will update automatically.
3. How to update Android applications manually in Play Store
It is also an option to update the applications manually from the Play Store. This seems like a good option to be the one to choose when doing the updates of the applications of your phone. To do it this way you must follow the following steps:
Step 1
Enter the Play Store on your Android phone.

Step 2
Enter the Play Store menu by pressing the icon located in the upper right corner represented by three horizontal lines

Step 3
Click on “My applications and games”

Step 4
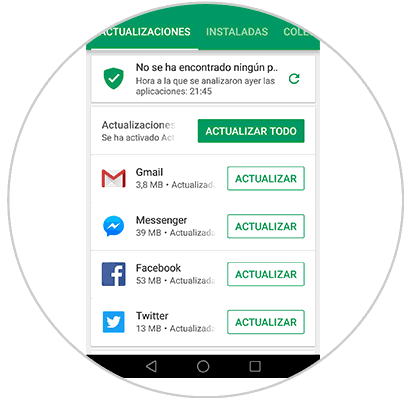
Make sure you are in the "Updates" tab. Here you will have the option to “Update everything” and you can do it manually by clicking on this button. You can also do it by choosing them one by one if you are not interested in updating all the applications at that time by tapping on the update button next to each application
In these simple ways you can update the applications of your Android phone so that they work correctly both automatically and manually..