Ubuntu 17.10 is the new Operating System developed by Ubuntu and offers various features in both its Desktop and Server versions..
Like most Linux distributions, Ubuntu 17.10 allows us to install multiple tools focused on managing the operating system itself, as well as the applications installed on it.
Webmin is part of this select group of applications thanks to its complete dashboard of options in which controlling each aspect of the system will be a simple task..
TechnoWikis will explain the step by step of how to install and use Webmin in Ubuntu 17.10.
What is Webmin
Webmin is a web-based interface for system administration for Unix.
It is possible to use any modern web browser, and with Webmin we can configure user accounts, Apache, DNS, file sharing and much more.
Webmin has been designed to eliminate the need to manually edit Unix configuration files like / etc / passwd, and allows us to administer a system from the console or remotely. Webmin is made up of a simple web server and various CGI programs which directly update the system files like /etc/inetd.conf and / etc / passwd. The web server and all CGI programs are written in Perl version 5, and do not use non-standard Perl modules..
All recent versions of Webmin are under a license similar to BSD, which means that it can be freely distributed and modified for commercial and non-commercial use. Because Webmin supports the concept of modules (such as PhotoShop plugins), anyone can develop and distribute their own Webmin modules for any purpose, and distribute them under any license (such as GPL, commercial, or shareware).
Supported operating systems
Because there are different Unix-like operating systems and many Linux distributions use different locations for their various configuration files, Webmin can only support systems for which it has been configured. The following operating systems are compatible with version 1.860, the latest version, of Webmin.
- AlphaCore Linux
- Amazon Linux
- APLINUX
- Asianux
- Asianux Server
- Bigblock
- BSDI
- Caixa Magica
- OpenLinux boiler
- OpenLinux eServer boiler
- cAos Linux
- Cendio LBS Linux
- CentOS Linux
- CloudLinux
- Cloudrouter Linux
- Cobalt Linux
- Coherent Technology Linux
- Debian
- FreeBSD
- IBM AIX
- Mac OS X
- OpenBSD
- Redhat Linux
- Ubuntu, and many more.
Webmin features
Some of the features that we find when using Webmin are:
- DNS settings on the server
- File sharing between Windows operating systems using Samba
- Webmin includes more than 116 modules at System, Servers, Networking, Hardware and more.
In the following link we can see in detail all the Webmin modules available, both our own and those of third parties:
Webmin modules
Previous requirements
To install Webmin in Ubuntu 17.10 we must have the following:
- Team with Ubuntu 17.10, in case we don't have it we can download it from official Ubuntu.
- Have Apache installed on the system
Next, we will see how to install and use Webmin in Ubuntu 17.10.
1. How to install Webmin Linux
Step 1
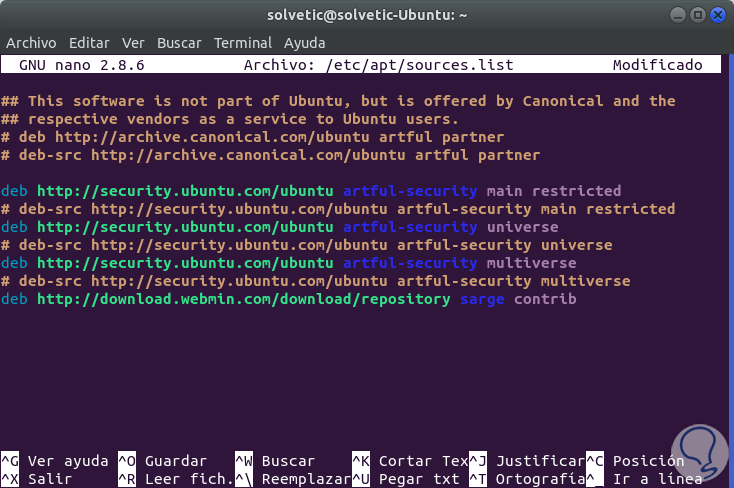
First, it will be necessary to add the Webmin repository so that we can easily install and update Webmin using our package manager. We will do this by adding the repository to the /etc/apt/sources.list file, we can do this using the preferred editor:
sudo nano /etc/apt/sources.list
There we will add the following line to the end of the file:
deb http://download.webmin.com/download/repository sarge contrib
Step 2
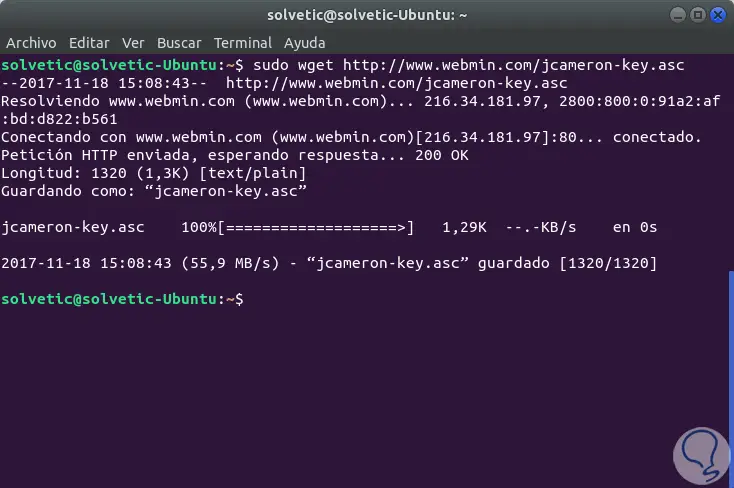
We save the changes using the Ctrl + O keys and exit the editor using the Ctrl + X keys. Next, we will add the Webmin PGP key so that the system trusts the new repository, we will execute the following:
sudo wget http://www.webmin.com/jcameron-key.asc
Step 3
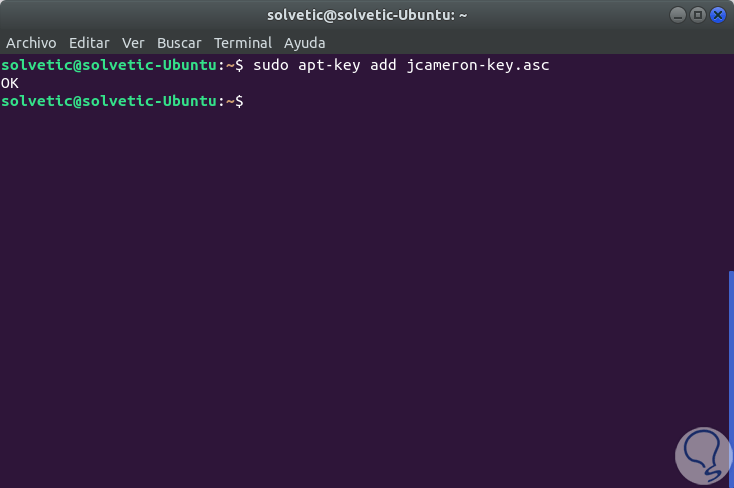
Later we will execute the following:
sudo apt-key add jcameron-key.asc
Step 4
Once the repositories are installed, we proceed to update them by executing the following line:
sudo apt update
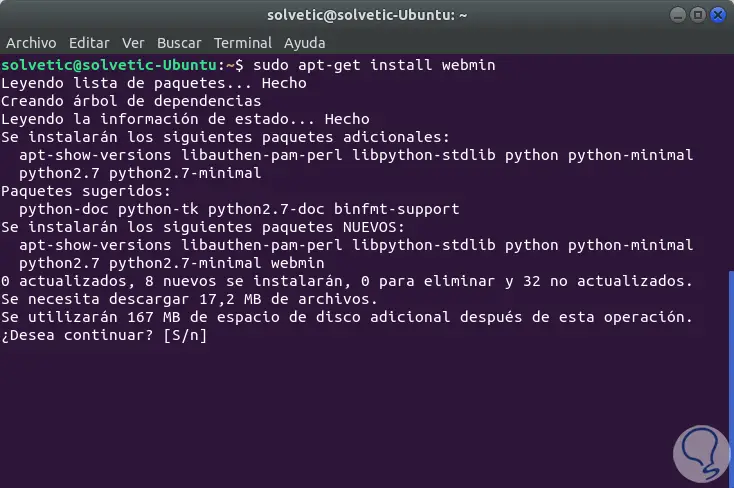
With the updated repositories we proceed to install Webmin with the following command:
sudo apt-get install webmin
Step 5
We enter the letter S to confirm the download and installation of the packages and once this process ends we will see the following:
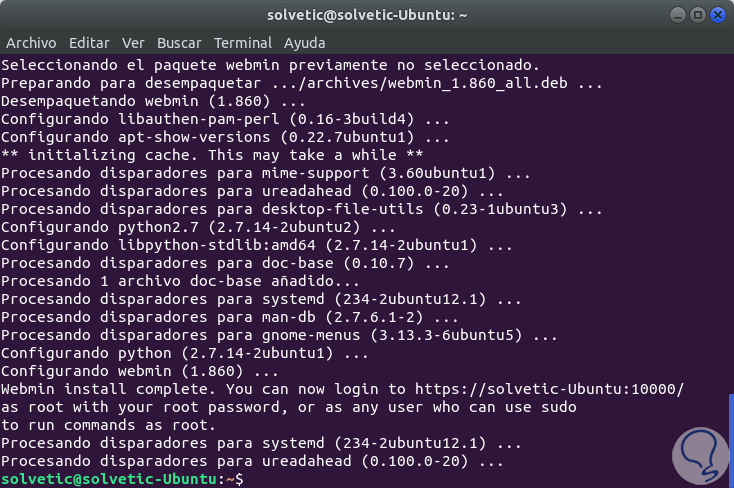
We can see that the installation has been correct and we have the way to enter it from the web browser. We will copy this information, as it will be necessary later
2. Add a valid certificate with Let's Encrypt on Webmin Linux
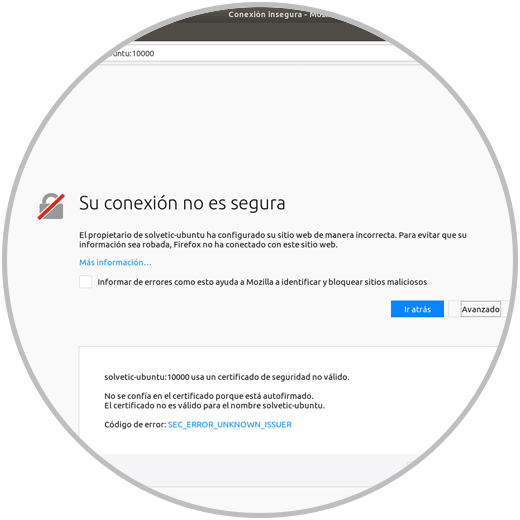
Webmin is currently configured to use HTTPS, but uses a self-signed and unreliable certificate. We are going to replace it with a valid Let's Encrypt certificate.
Step 1
We will access Webmin from a web browser using one of the following syntax:
https: // IP_address: 10000 https: // Computer_Name: 10000
We will see the following associated with the certificate error:
Step 2
There we click on the Add exception option so that the browser allows us access. We will see the following window where we must log in with our credentials:
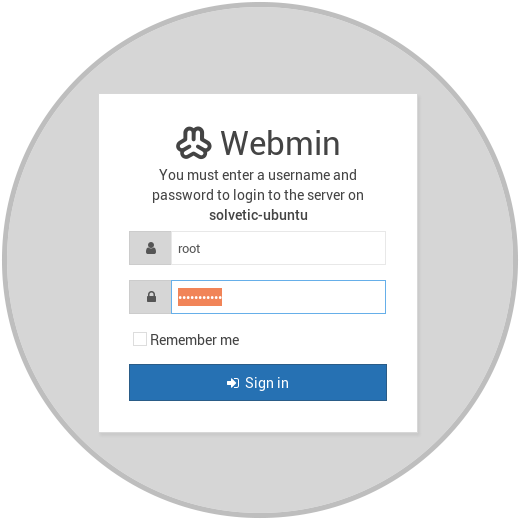
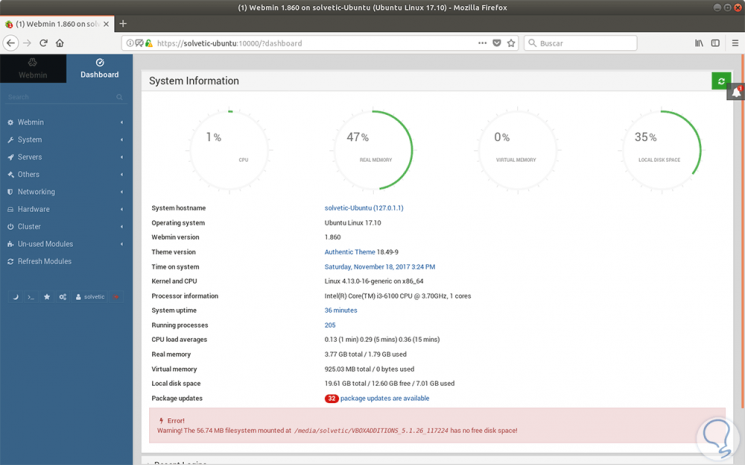
Click on the Sign in button and this will be the initial environment for Webmin in Ubuntu 17.10.
Step 3
On this board we must locate the System hostname line and click on it and the following will be displayed:
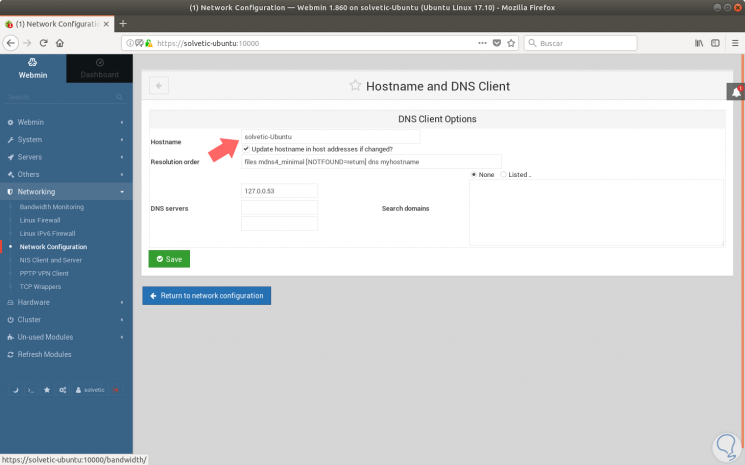
Step 4
We will locate the Hostname field and enter the full domain name in the field. Then we press the Save button at the bottom of the page to apply the settings. Once this is done, we deploy the Webmin options on the left side and select Webmin configuration and we will see the following:
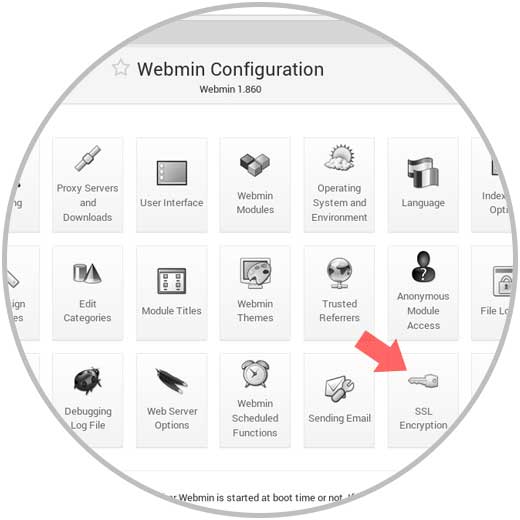
Step 5
There we select the SSL Encryption option and in the new window displayed we will go to the Let´s Encrypt tab:
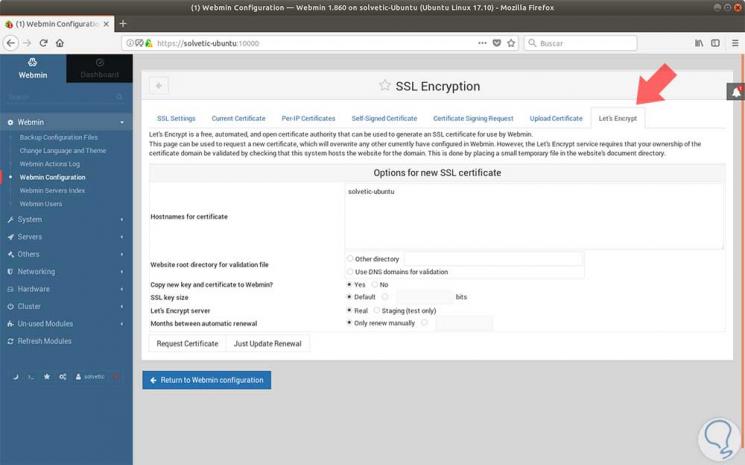
Through this screen, we can tell Webmin how to obtain and renew the certificate. Let's Encrypt certificates expire after 3 months, but we can tell Webmin to try to automatically renew the Let's Encrypt certificate every month. Let's Encrypt searches for a verification file on our server, so we will configure Webmin to place the verification file inside the / var / www / html folder, which is the folder used by the Apache web server that is installed on the system operational.
We must follow these steps to configure the certificate
- Fill in the host names for the certificate with your FQDN in the Hostname field
- For the root directory of the website of the validation file, we select the Other directory button and enter / var / www / html.
- For Month between the automatic renewal section, we will deselect the automatic renewal option by typing 1 in the input box and selecting the radio button to the left of the input box.
- We will click on the Request Certificate button. After a few seconds, we will see a confirmation screen.
3. How to use Webmin in Ubuntu 17: User and group administration
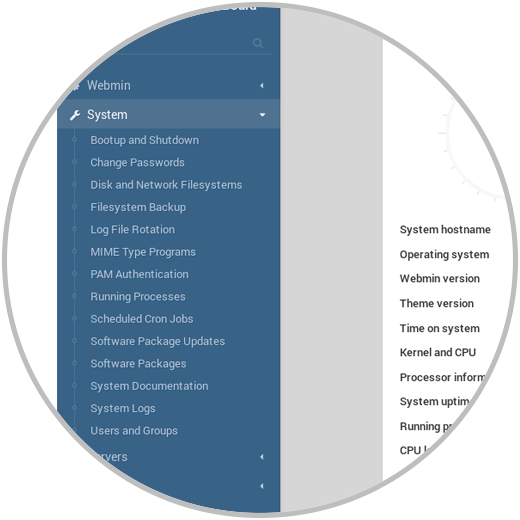
Webmin is a complete tool that allows us to manage various system parameters in detail. To manage users and groups we go to the System section and there we choose the Users and Groups option:
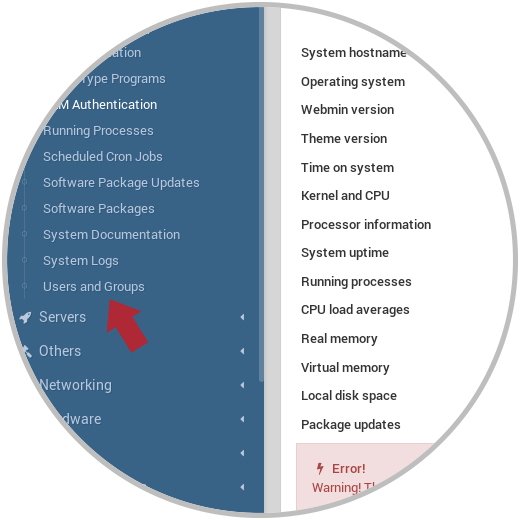
The following will be displayed:
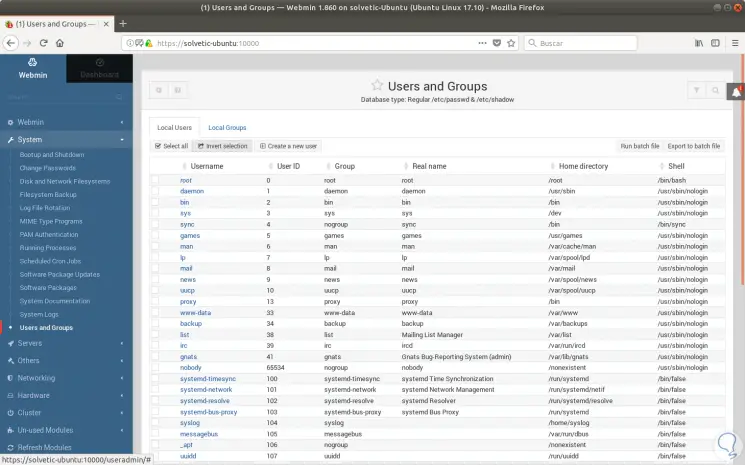
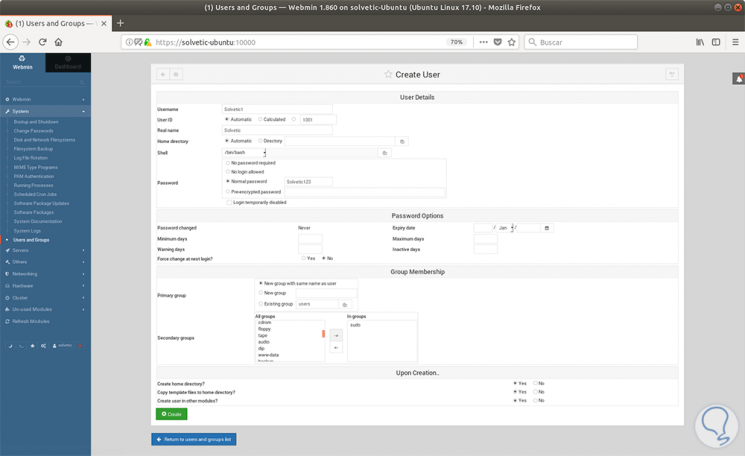
There we can see, create, edit or delete a user in the system. If we want to create a new user, click on the Create a new user button and complete the following fields:
Fields
- Fill username with implementation
- Select Automatic for User ID
- Fill in the real name with a descriptive name
- For the Home Directory, select Automatic
- For Shell, select / bin / bash from the dropdown list
- For Password, select Normal Password and write a password for that user
- For the primary group, select New group with the same name as the user
- For Secondary Group, select sudo from the All groups list, and press the -> button to add the group to the group list
- Press Create to create this new user
4. How to use Webmin in Ubuntu 17: Updating Ubuntu packages
Webmin allows us to update all packages through the user interface. To update all packages, first we will go to the dashboard and then look for the Package Updates field. If there are updates available, we will see a link that indicates the number of updates available:
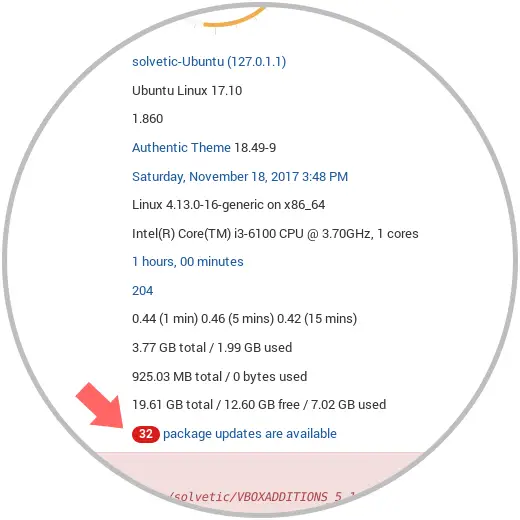
We can see that in this case we have 32 packages to be updated. We can click on this line and we will access the respective available updates:

5. How to use Webmin in Ubuntu 17: Additional parameters
Dashboard tab
If we go to the Dashboard tab we can see system details such as the following.
Webmin tab
Now, from the Webmin tab we have various options to use and configure as:
Webmin
From this section we can manage values such as:
- General configuration of Webmin
- Create backup copies of files
System
It is one of the most practical options of Webmin since it allows us to carry out tasks such as:
- Reboot or shutdown the system
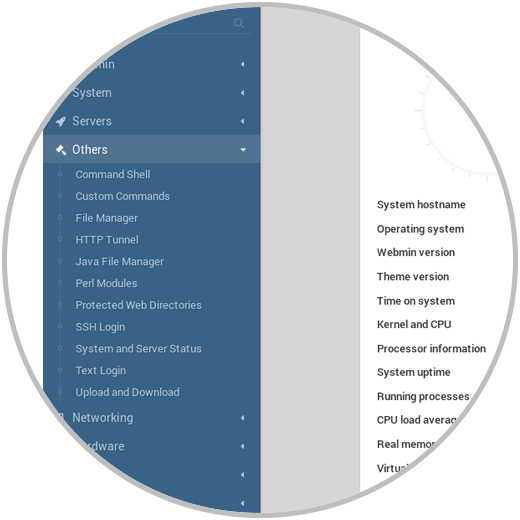
Others:
Through this option we have the opportunity to carry out actions such as:
- Access text editors and more.
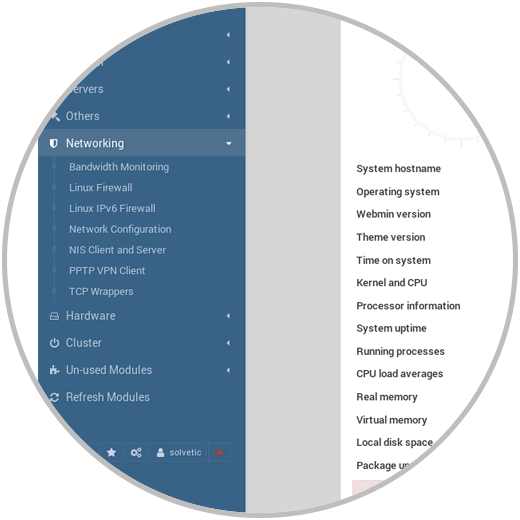
Networking
Through this option it will be possible to manage the server's network parameters such as:
- Configure the network at a general level and more
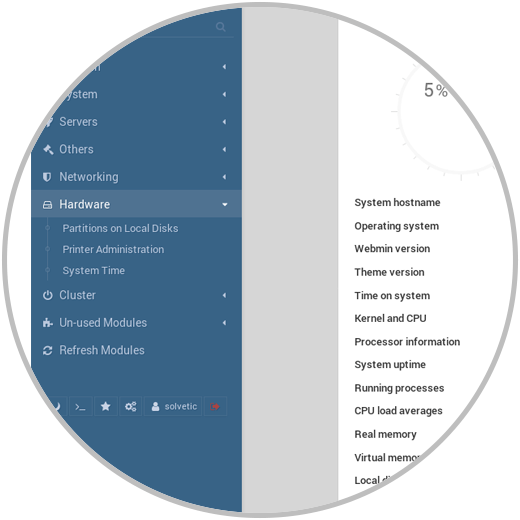
Hardware
In this section it will be possible to perform tasks such as:
- Verify hard drive partitions
Servers
In this option we configure email accounts.
So we see how Webmin is a powerful utility for a general control of Ubuntu 17.10.