The operating systems administration tools are focused on facilitating the management of the components and processes of each parameter in the environment. In this world of applications we have a special one that stands out and is Webmin, which constitutes an ideal solution for this centralized administration since it offers us a number of graphics and data in real time, with which our management task will be something much simpler to control..
We will learn through this tutorial how to install Webmin on Ubuntu 18.04 and so we will see how to use this tool to facilitate our daily work.
What is Webmin?
Webmin is a web-based interface that has been developed for system administration for Unix environments. Best of all, Webmin can be used through any modern web browser and through this interface we can configure user accounts, Apache, DNS, file sharing and many more actions.
With the use of Webmin we have an additional advantage and the need to manually edit Unix configuration files such as / etc / passwd is omitted, and thus manage the system from the console or remotely facilitating administrative work and support..
The Webmin platform consists of a simple web server and several CGI programs that are updated directly by system files such as /etc/inetd.conf and / etc / passwd. The web server and all CGI programs have been written in version 5 of Perl, and do not use non-standard Perl modules.
Operating systems
Some of the operating systems that are supported by Webmin are:
- Synology DSM and many more.
Now let's see how to install Webmin on Ubuntu 18.04..
1. How to add Webmin repository in Ubuntu
Step 1
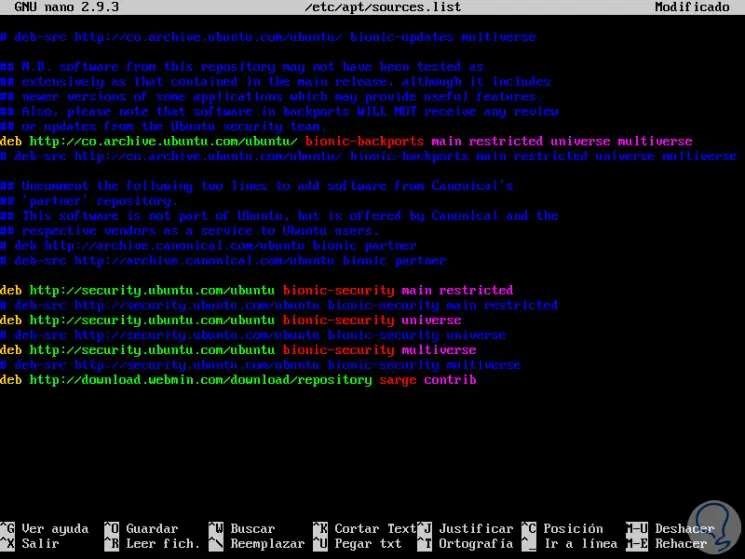
First, it will be necessary to add the Webmin repository in order to easily install and update Webmin using the package manager. We must add this repository in the file /etc/apt/sources.list and for this we will use some editor like this:
sudo nano /etc/apt/sources.list
In the deployed file we will paste the following line:
deb http://download.webmin.com/download/repository sarge contrib
Step 2
Now we will save the changes using the Ctrl + O keys and exit using Ctrl + X.
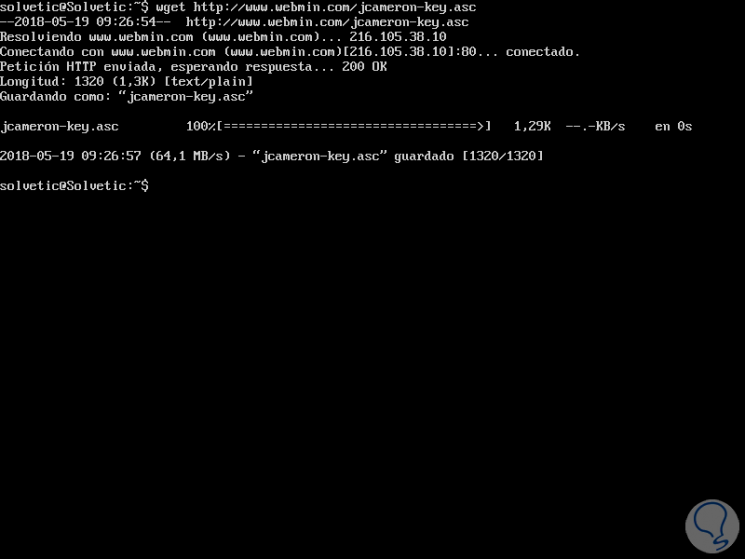
Now, we are going to add the Webmin PGP key so that the system makes use of the repository, for this we execute the following:
wget http://www.webmin.com/jcameron-key.asc
Step 3
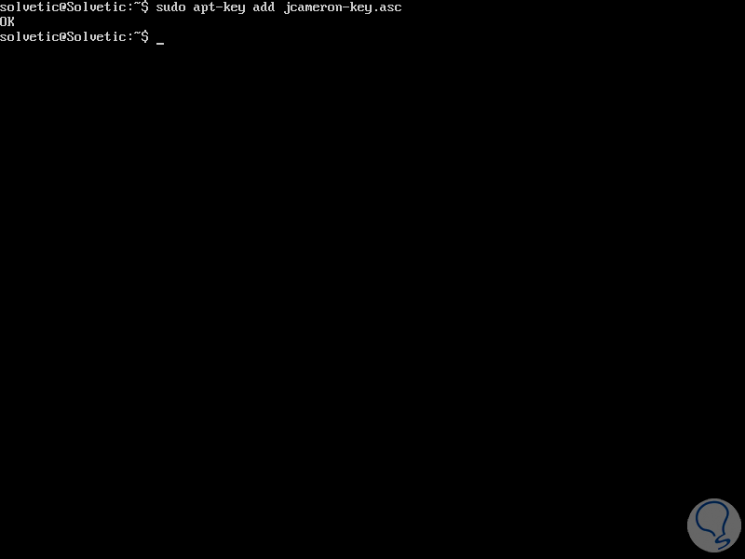
Now we execute the following to add the key:
sudo apt-key add jcameron-key.asc
2. How to update Webmin packages in Ubuntu
Once the keys have been added, we will update them by running:
sudo apt update
3. How to install Webmin on Ubuntu 18.04
Step 1
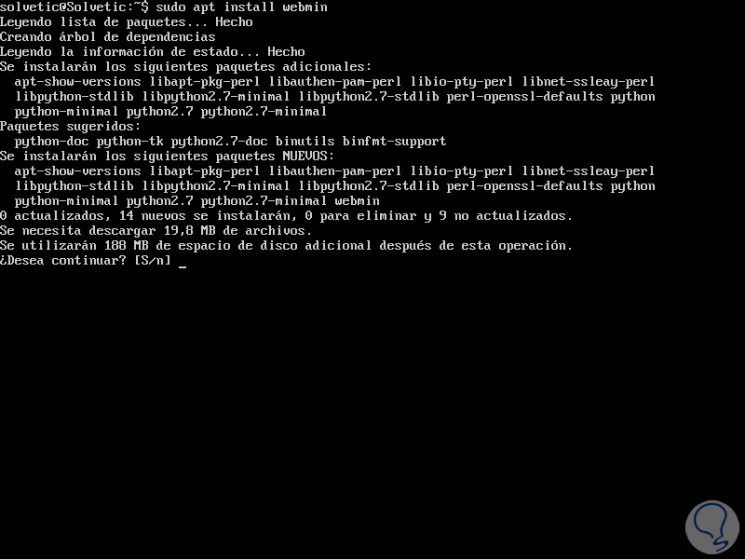
We proceed to install Webmin by running the following line:
sudo apt install webmin
Step 2
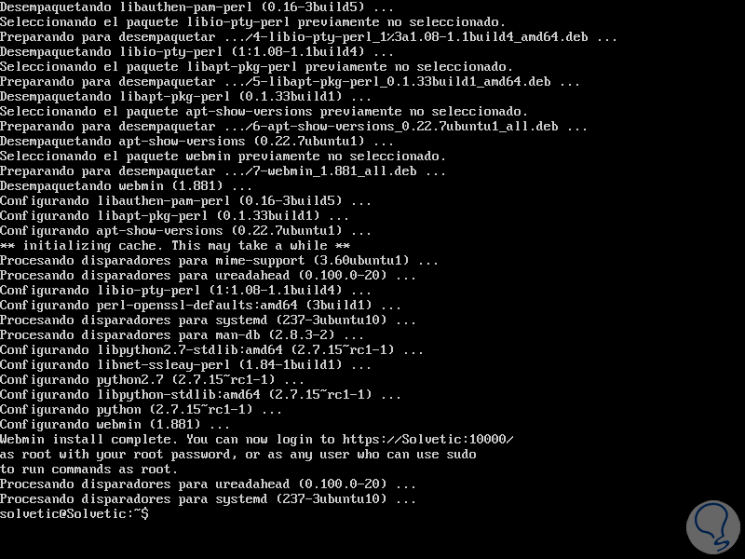
Enter the letter S to confirm the download and installation of Webmin, once the process is finished we will see the following:
Step 3
In the final part we can see the syntax of access to Webmin through the browser which can be in two ways:
https: // IP Address: 10000 / https: // teamname: 10000 /
4. How to enable Linux firewall
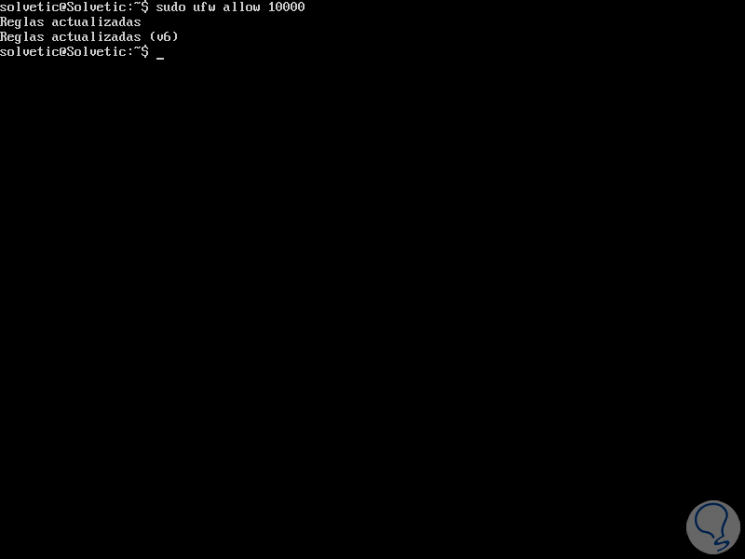
It will be necessary that we authorize port 10000 in the firewall since through it the connectivity to Webmin will be established, for this, we will execute the following:
sudo ufw allow 10000
5. How to use Webmin in Ubuntu
Step 1
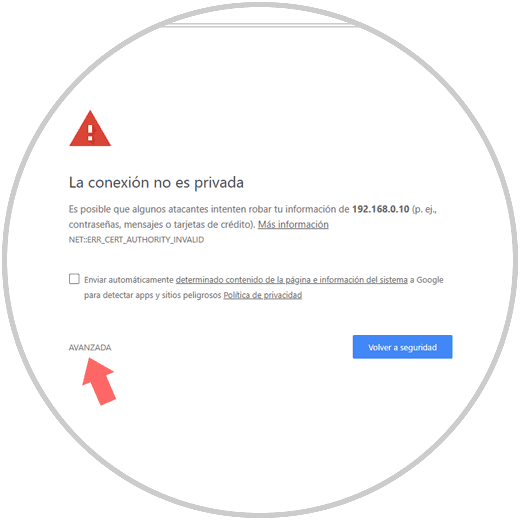
Once we configure the firewall, we will access from the browser and because a secure HTTP protocol (HTTPS) is being used, we will see the following warning:
Step 2
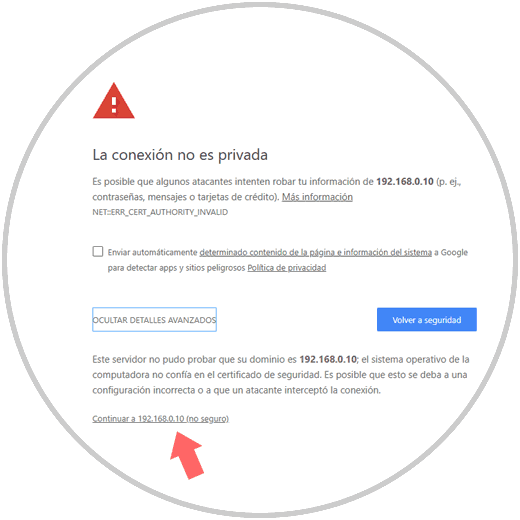
We click on the Advanced line and we will see this:
Step 3
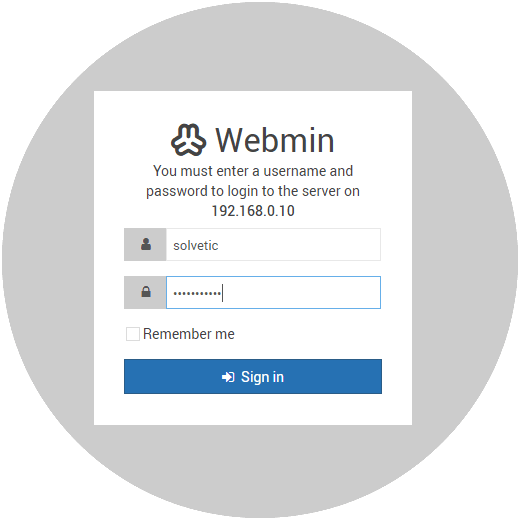
There we click on the bottom line Continue to ... and we will be redirected to the following:
Step 4
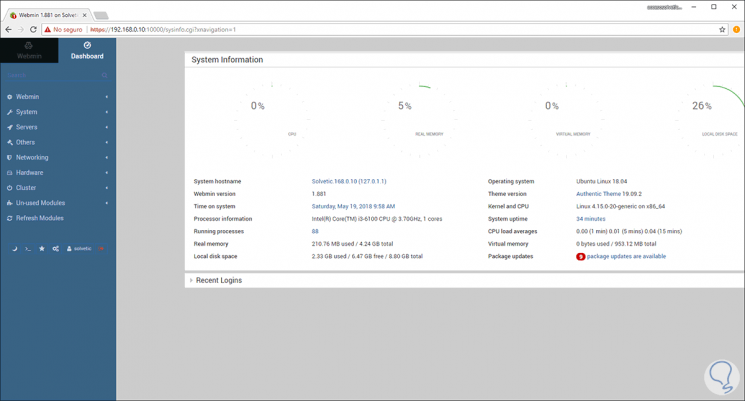
There we will enter the credentials of access to Ubuntu 18.04 and this will be the environment offered by Webmin:
Step 5
We can see that on the left side side there are different options such as:
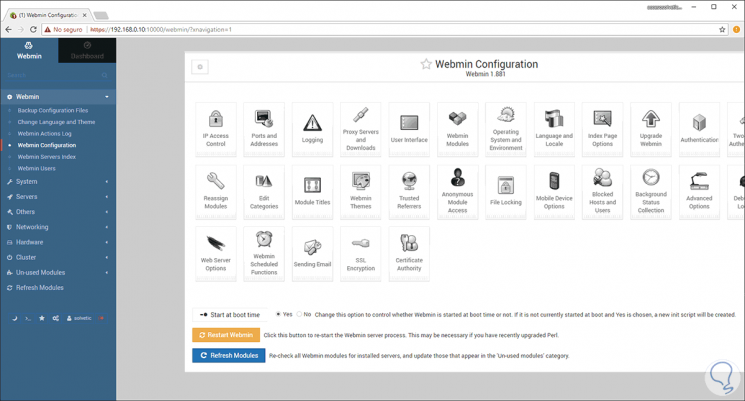
Webmin
From this option we have the opportunity to control various aspects of application settings such as users, themes, languages, etc:
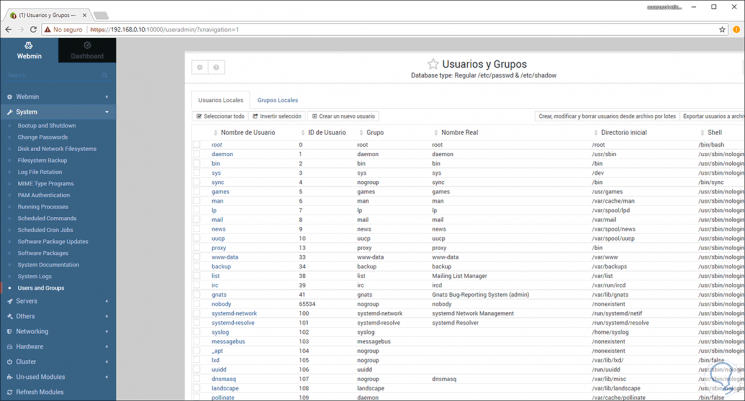
System
As the name implies, from here it will be possible to access multiple system configuration parameters such as event log, users, groups, PAM authentication, passwords and more.
Servers
From this option we will have access to parameters of mail servers such as Exim, Qmail, Postfix and Sendmail if we have them available.
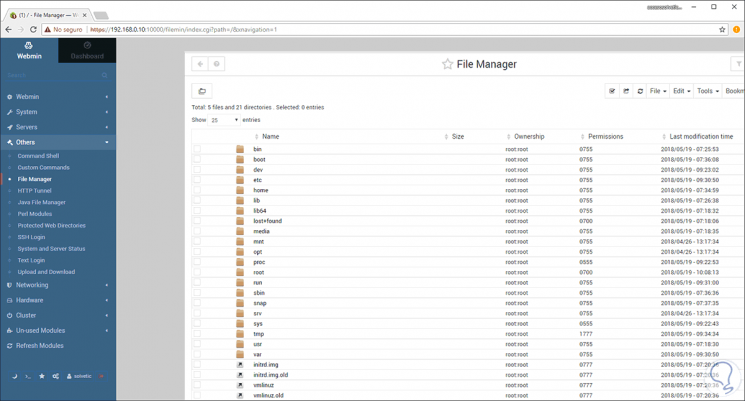
Others
From this section we will have handy tools such as file manager, HTTP connections, SSH connections, command line and more.
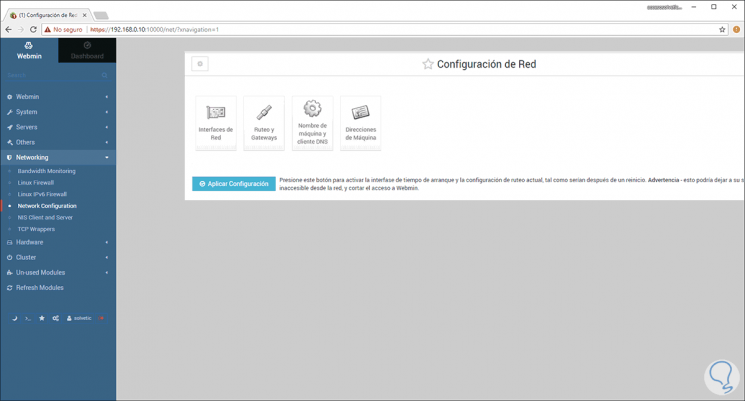
Networking
Thanks to this section it will be possible to manage all network settings such as IPv4 addressing, IPv6, bandwidth, network interface management and more.
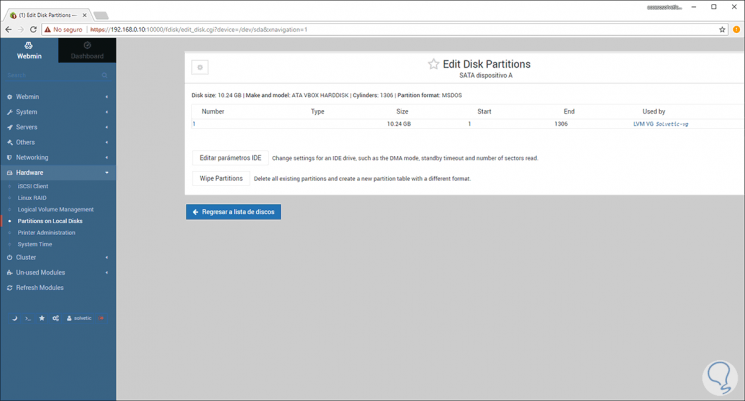
Hardware
Useful for controlling and knowing in real time hardware aspects such as disk partitions, RAID, iSCII, system time and more.
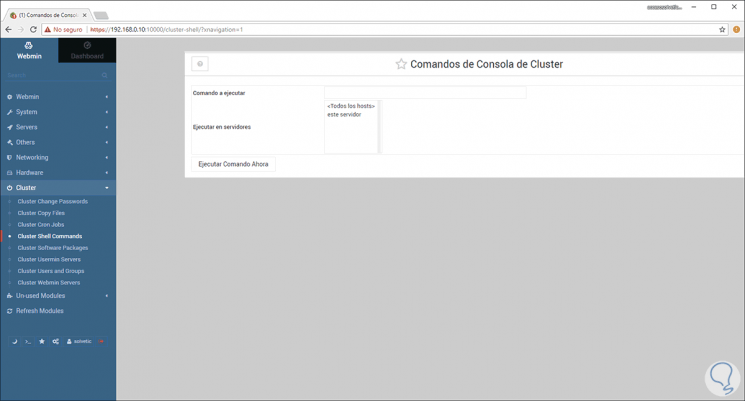
Cluster
From this section it will be possible to carry out tasks related to clusters such as changing passwords, users, cron jobs, Shell and more.
Un-used Modules
In this section we find all the modules that have not been detected in the system or that are obsolete.
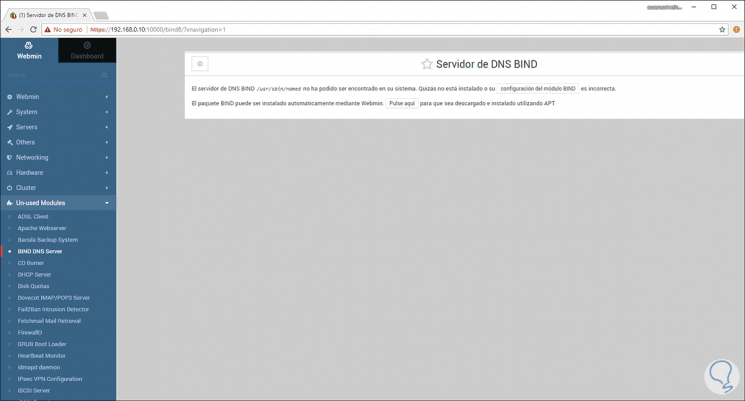
At the bottom we have the opportunity to apply a dark theme to Webmin to create a much better visual impact:
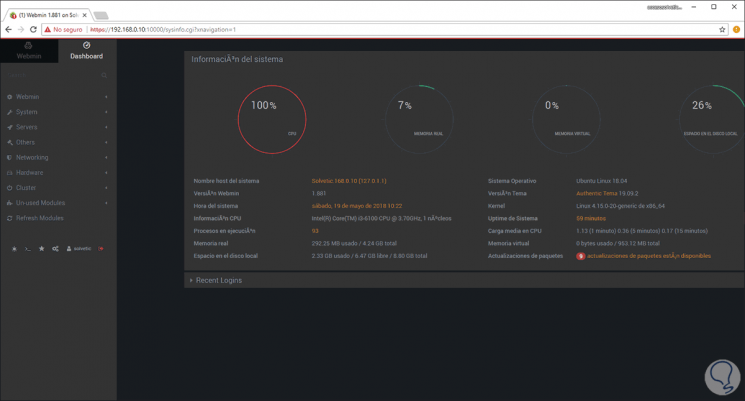
We can see that in the Dashboard we find precise information about the server such as:
- Percentage of CPU usage, RAM virtual memory, etc.
- Updates available and much more.
Thus, Webmin is a powerful utility for obtaining accurate information about the system and its components.