Windows 10 has integrated a series of policies focused on managing network bandwidth using different QoS profiles. These settings are available in Windows 10 group policies..
QoS (Quality of Service) can be applied to a user session as part of a Group Policy object (GPO) which is only available for Pro and Enterprise editions of Windows 10.
By using QoS on Windows , you can achieve network performance with cost of service factors. Many times the traffic in Windows 10 can represent inappropriate use of the network, which is why QoS are based on policies that allow us to centrally manage network bandwidth and by managing network control, this applies both to applications like for users and computers..
One of the advantages of using QoS is that they have been written to be used with application programming interfaces (APIs), thus avoiding the use of third-party applications.
QoS tasks
Some of the tasks that QoS allow us to perform are:
- Manage source and destination IPv4 or IPv6 addresses
- Submit applications and directory paths
- Create groups of users or computers through group policies
- Assign both source and destination ports and port ranges (TCP or UDP)
Now, although QoS are ideal for managing aspects of the network, it is possible that at some point we want to disable them since as users we do not require configuration of this type.
TechnoWikis will explain how to do it..
To stay up to date, remember to subscribe to our YouTube channel! SUBSCRIBE
How to disable QoS in Windows 10
Step 1
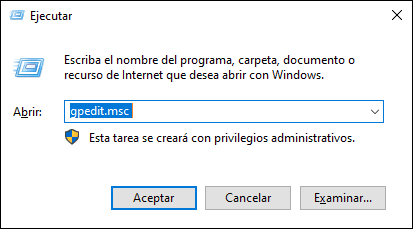
To achieve this we combine the Windows + R keys and execute the following command:
+ R
gpedit.msc
Step 2
Press Accept and in the policy manager we will go to the following route:
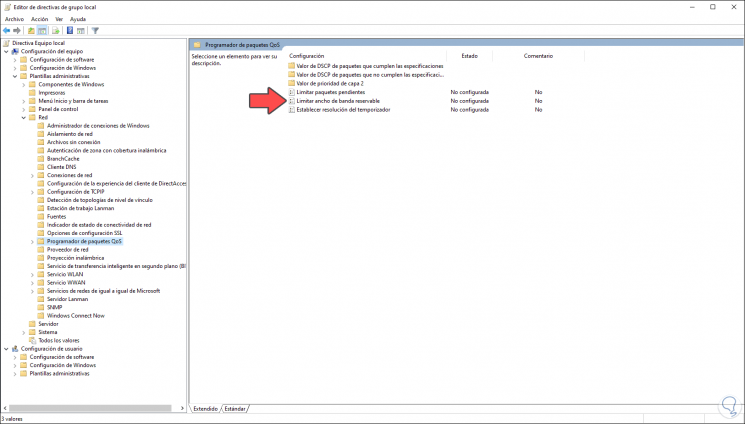
Step 3
We double click on the policy "Limit the reservationable bandwidth" and in the displayed window we activate the "Enabled" box and in the "Bandwidth limit" field we change the default value from 80% to 0%:
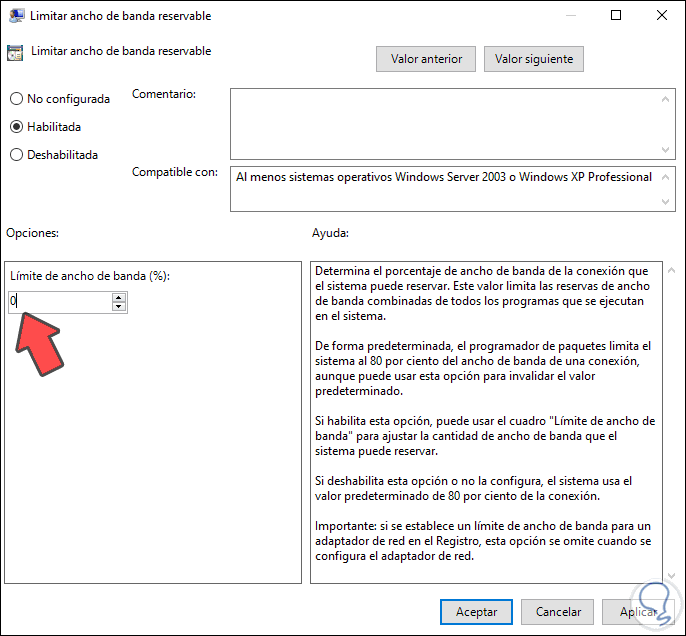
We click Apply and OK to save the changes.
In this way we have disabled QoS in Windows 10.