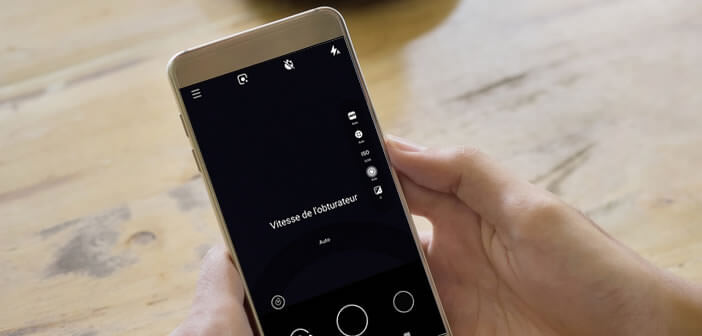
Have you probably taken photos at night with your smartphone? You know then that in low light, it is very difficult to take pretty pictures. Here are some tips for taking great photos even at night by making the most of the manual mode of your phone's camera application..
Compensate for the lack of light
Night photography arouses a real enthusiasm among the general public. The colors, the streaks of light give a special atmosphere to the photos. Bridges, streets, buildings, car traffic, monuments, everything seems totally different once the sun has set.
But now, it is not always easy for a beginner to capture beautiful images at night. This type of shooting requires the use of special techniques. The main challenge is to get adequate exposure to minimize digital noise..
If you leave the camera app on your smartphone in automatic mode, it will fire the flash to try to compensate for the lack of light. Problem, this additional light source will tend to over-illuminate everything in the foreground and plunge the rest of the shot into darkness. In slightly complicated lighting conditions, the automatic mode of modern smartphones and in particular the fast shooting mode quickly reaches its limits.
To face this new challenge, the amateur photographer will have no other choice than to use the manual mode of the photo application of his phone. In particular, he must modify the aperture and shutter speed in order to accurately measure the amount of light that will reach the photo sensor on the mobile..
Take a photo without a tripod
Pictures taken at night with a smartphone do not support it pretty much. Instability and tremors (even very slight) are the sworn enemy of night photography. It is therefore essential that your phone remains stable when shooting.
The simplest solution to avoid any false movements remains the tripod. Taking pictures in low light conditions requires long exposures. With this solid and stable accessory you are sure that your device will not move.
Obviously it is not very funny to walk around with a tripod. It is bulky and not very discreet. Fortunately, there are today on the net foldable mini tripods specially adapted for smartphones. They are installed in seconds and hold almost everywhere (low wall, benches etc ...)
Correctly configure the photo application on your smartphone
The settings used to take pictures during the day are not necessarily suitable for night photography. Once the sun sets, you will need to manually manage a few settings, including changing the ISO sensitivity, aperture, and shutter speed to get the proper exposure.
The settings module of the photo application differs depending on the phone model. In this tutorial we will use the Pro mode of the camera tool installed by default on Android. However, most smartphones today have comparable functions. These are usually found in the settings menu.
Set ISO sensitivity
The automatic development of modern smartphones is far from foolproof, especially when it comes to taking pictures at night. By manually modifying the sensitivity of the sensor to light, you will avoid ending up with shots presenting significant noises (grainy effect).
- Launch the Photo app
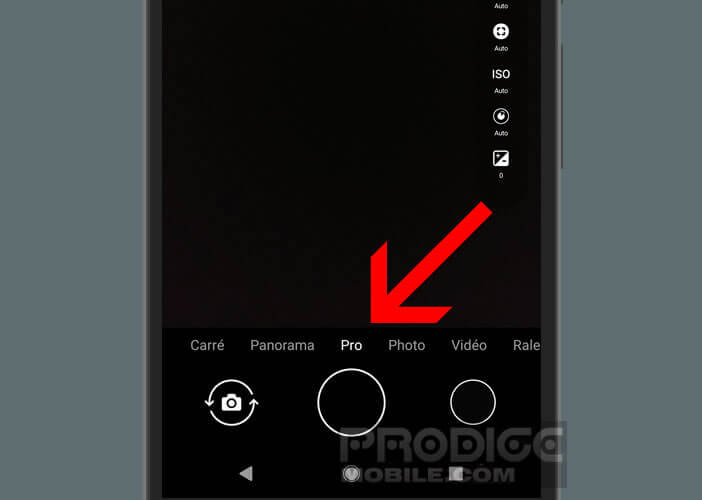
- Scroll to the right of the menu above the shutter
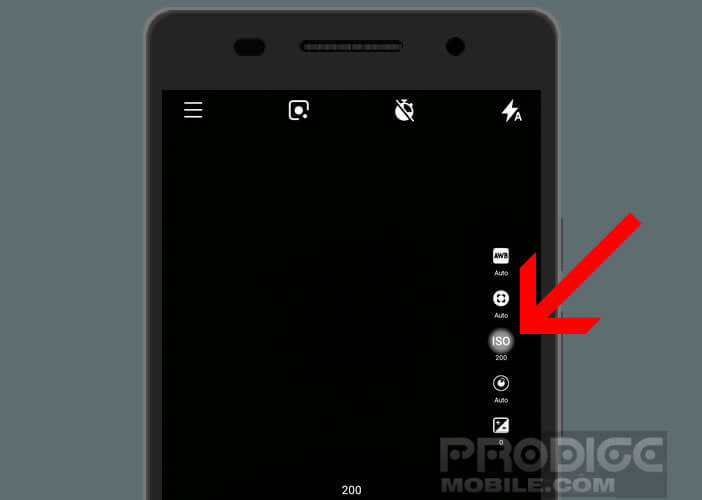
- Once the Pro mode is selected, you will see shortcut icons appear in the right part of the window

- Click on ISO
- Select the lowest settings without ever exceeding 400. Take a test and examine the photo obtained.

- If the image is too dark, further increase the ISO
- Maintaining a low ISO makes it possible to have a clear rendering without digital noise.
Shutter speed
One of the most important parameters to consider is shutter speed. A long exposure time allows the smartphone sensor to store a maximum of light. But beware, a very high shutter speed will force you to use a tripod, otherwise the photos will be blurred.
- Switch the photo application to Pro mode
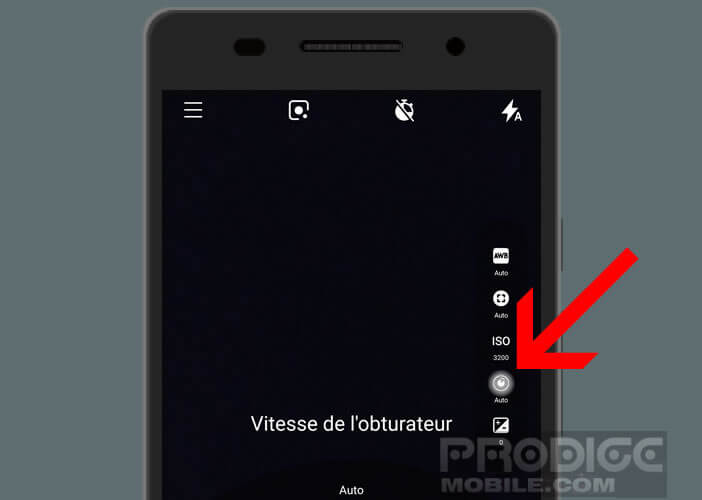
- Click the shutter speed option

- Select the longest exposure time
Remember that the shutter speed you will use also depends on the scene you are going to shoot. Impossible for example to extend the exposure time on moving subjects.