Apple has officially launched at its developer conference WWDC 2020 the n new system for macOS called macOS Big Sur in edition 11.0, which eliminates the sequence until Catalina 10.15, but this new system presents a novel design and new functionalities such as They are:
What's new macOS Big Sur
- Integration of a control center
- New sounds in the execution of actions in the system
- The Finder is now more elegant and easier to navigate for the user
- Notification Center has a more unified look
- Widgets are now customizable
- Lets you drag icons directly to the bar
MacOS Big Sur requirements
The requirements for using macOS Big Sur at the team level are as follows:
- MacBook from year 2015 or later
- MacBook Air from 2013 onwards
- MacBook Pro late 2013 and later
- Mac Mini from 2014 onwards
Given that the requirements at the equipment level have been modified, it is likely that many users do not have the possibility of knowing or updating to macOS Big Sur and even less having the money to buy any of these equipment, therefore in this case the most functional method is to use a virtualization environment, that is why in TechnoWikis we will explain how to create a virtual machine with macO S Big Sur in VirtualBox..
1. Download and configure VirtualBox macOS Big Sur
Step 1
The first step to take will be to download and install VirtualBox, this can be downloaded at the following link:
VirtualBox
Step 2
After this it is ideal that we download the VirtualBox Extension Pack which are a set of VirtualBox functionalities with which the use of virtual machines with the physical equipment is optimized, these can be downloaded at the following link:
VirtualBox Extension Pack
Step 3
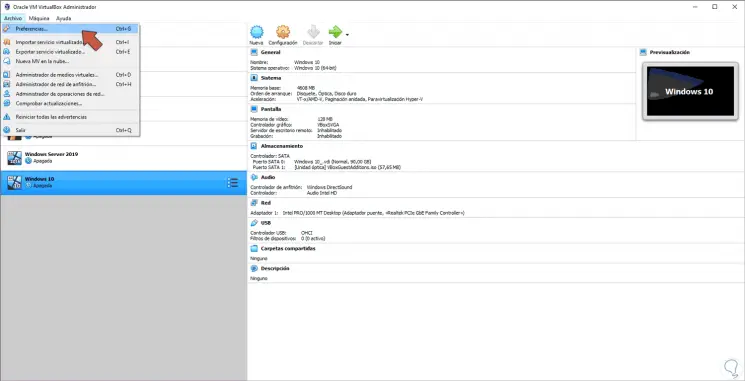
Once downloaded, open VirtualBox and go to the File - Preferences menu or we can use the following keys:
Ctrl + G
Step 4
In the displayed window we go to the "Extensions" section:

Step 5
We click on the + sign and we will go to the path where the Extension Pack has been downloaded:
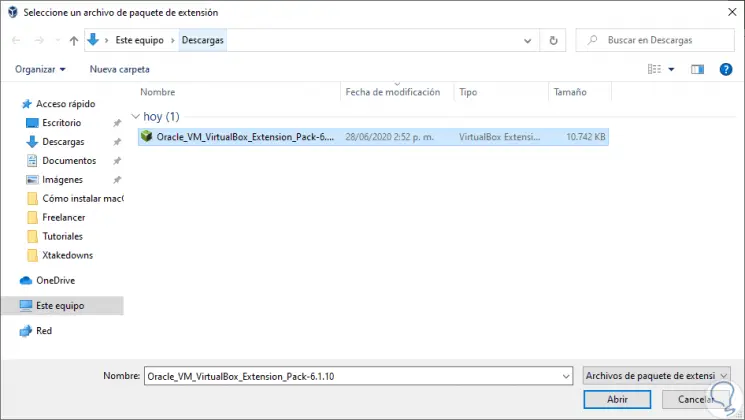
Step 6
We click "Open" and the following will be displayed:
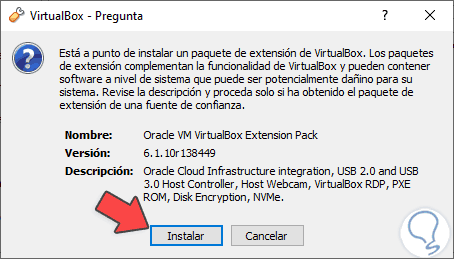
Step 7
We click "Install" and we must accept the terms of the license:
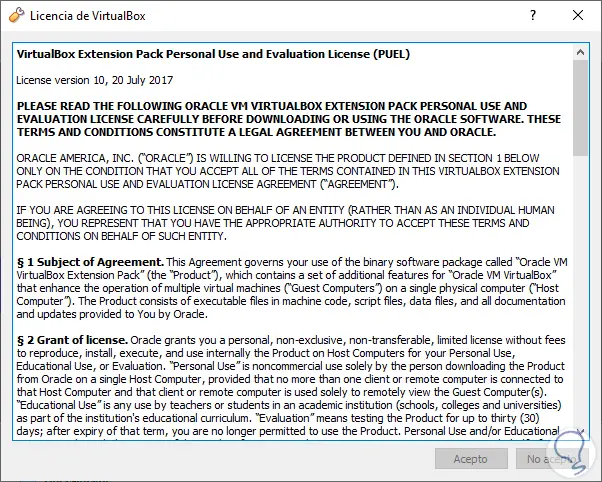
Step 8
We click I accept and these will be installed there:
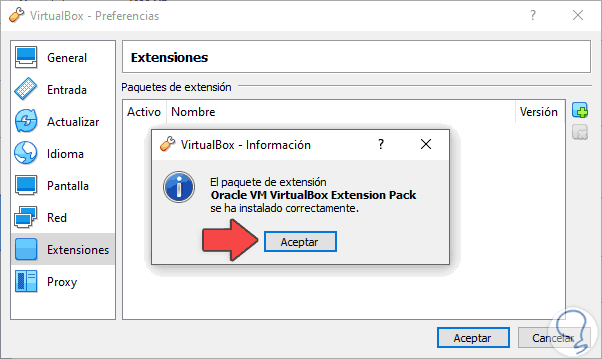
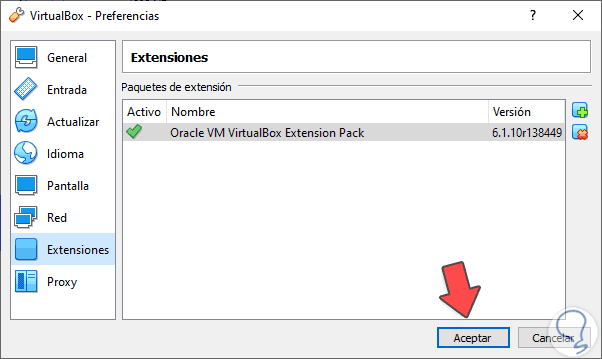
Step 9
We click OK and we will see that the installation has finished correctly. We click OK to get out of there.
2. Download and configure VirtualBox macOS Big Sur
Step 1
It is time to create our virtual machine in VirtualBox of Big Sur, for this we have 3 methods that are:
- From the "Machine - New" menu
- Clicking the middle button
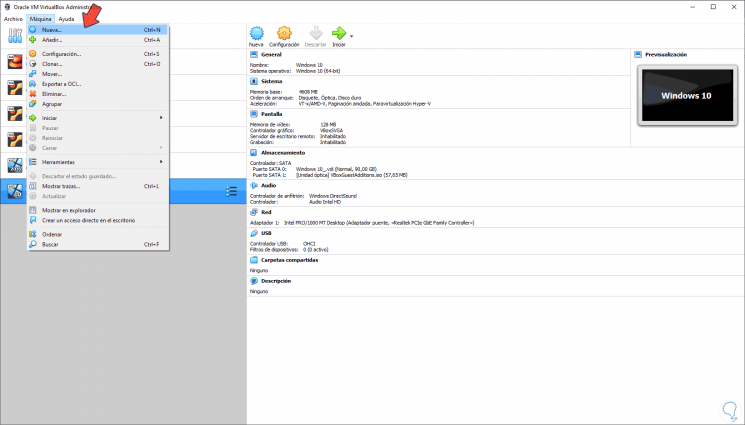
Step 2
The following will be displayed:
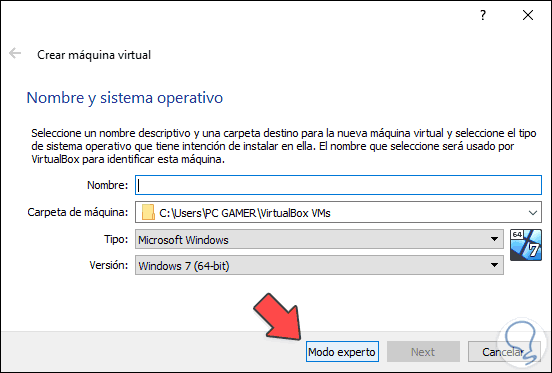
Step 3
We click on the button "Expert mode" and in the following window we define the following:
- Destination route where you will stay
- In Type we select Mac OS X
- In Version we select Mac OS X (64-bit)
- We assign the RAM which must be a minimum of 4 GB
- We activate the box "Create a virtual hard disk now"
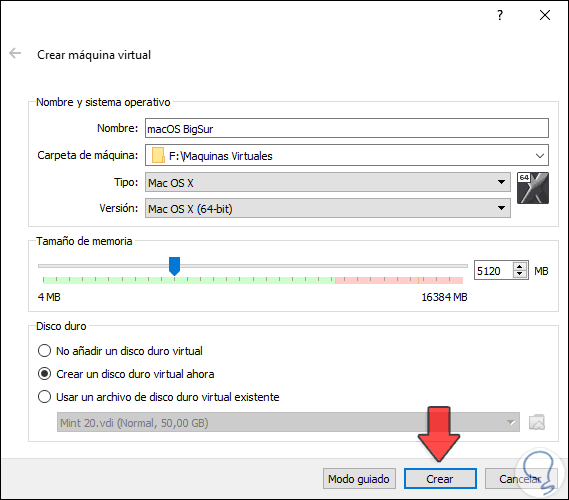
Step 4
We click "Create" and now define the following:
- The path where the virtual hard disk will be hosted
- Size of hard disk to create
- We select the option “Dynamically book”
- In File type of hard disk we select VHD
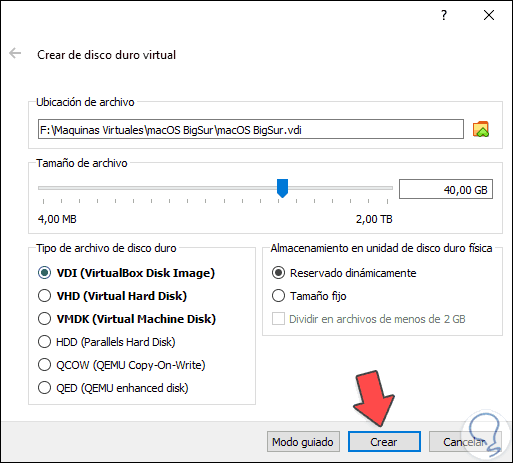
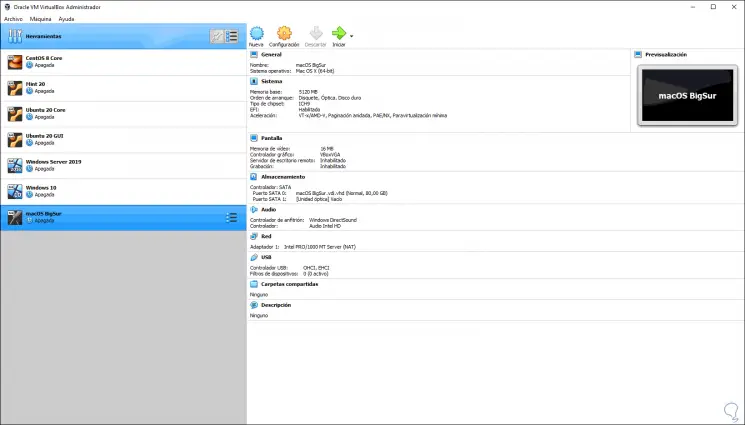
Step 5
We click on "Create" and we will see the created virtual machine:
3. Install macOS Big Sur in VirtualBox
Now it is time to make some adjustments to the virtual machine.
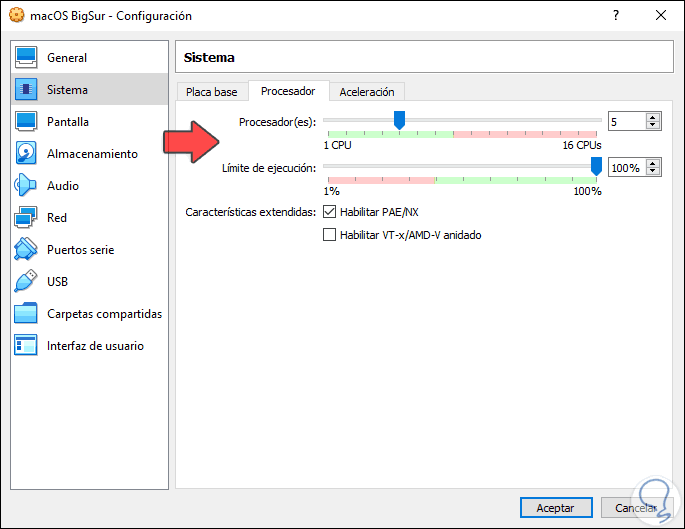
Step 1
To do this we click on "Configuration" and there we will go to the "System" section and go to the "Processor" tab, there we configure:
- In "Execution limit" we set 100%
- In "Processors" we assign the virtual processors that are possible
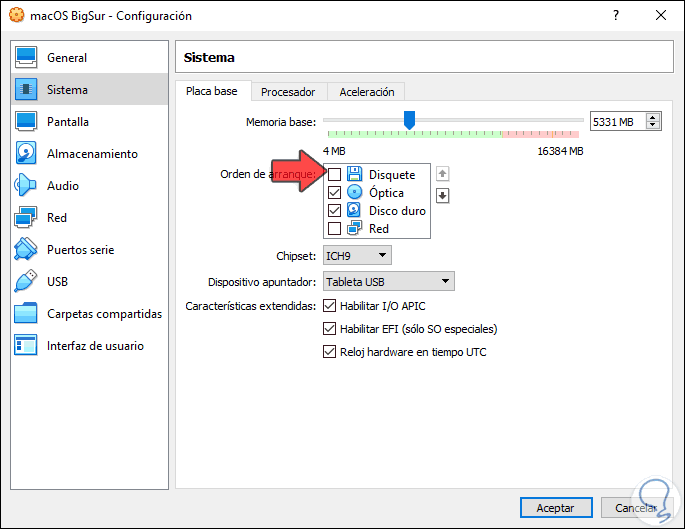
Step 2
In the "System" tab we uncheck the "Floppy disk" box
Step 3
Now we go to the "Screen" tab and there we establish:
- In "Video memory" the maximum available

Step 4
After this we go to the "Storage" section and there we select the DVD drive:
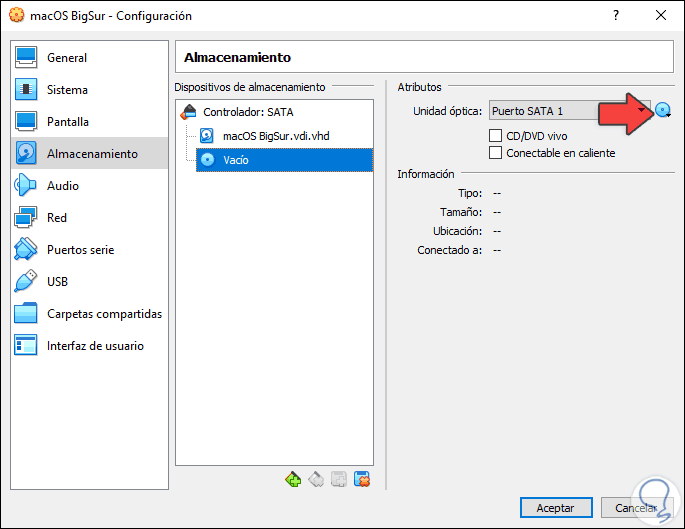
Step 5
We click on the CD icon and choose "Select a disk file" and after this we will go to the path where the macOS Big Sur ISO image has been downloaded, which is in beta mode:
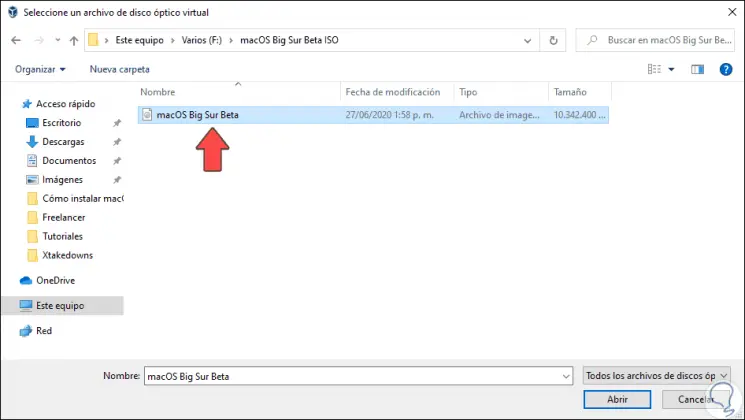
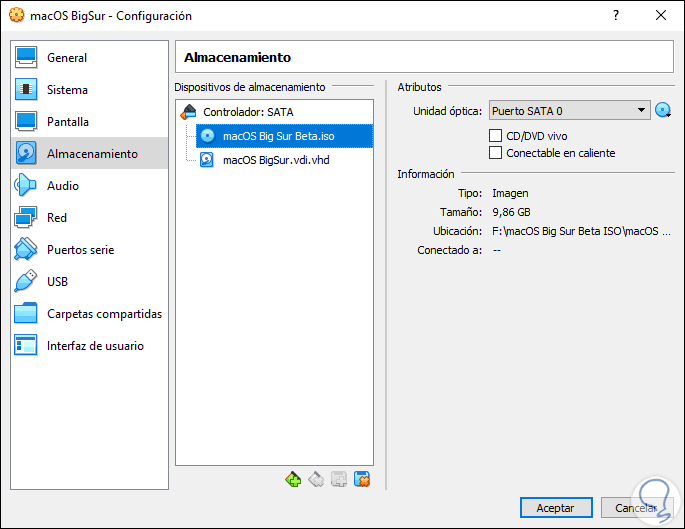
Step 6
We click "Open" and we will see it integrated into VirtualBox:

[panelwarning = 'Note'] To obtain this ISO image we must belong to the Apple development program and you can do it by following the instructions that TechnoWikis has given you in this tutorial:
[/ panelplain]
Step 7
Now we need to move the virtual CD drive to the top in order for the boot to run from there. We click OK to complete the process.
Step 8
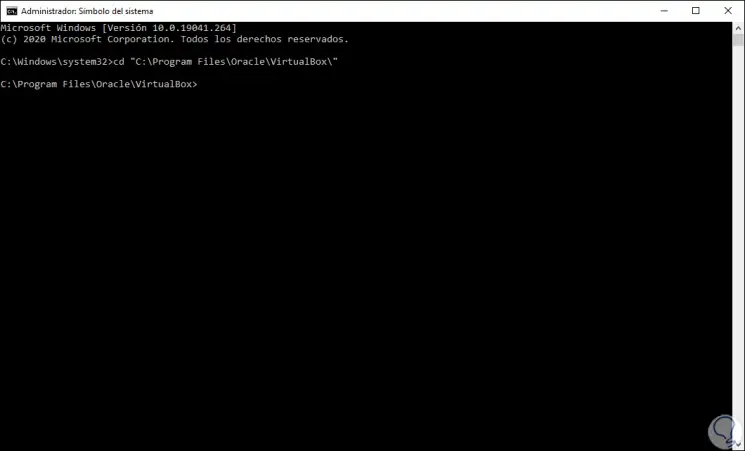
Because Apple generally presents compatibility errors with VirtualBox, we must make some adjustments to its internal code, for this we access the command prompt as administrator and there we first execute the following:
cd "C: \ Program Files \ Oracle \ VirtualBox \"
Step 9
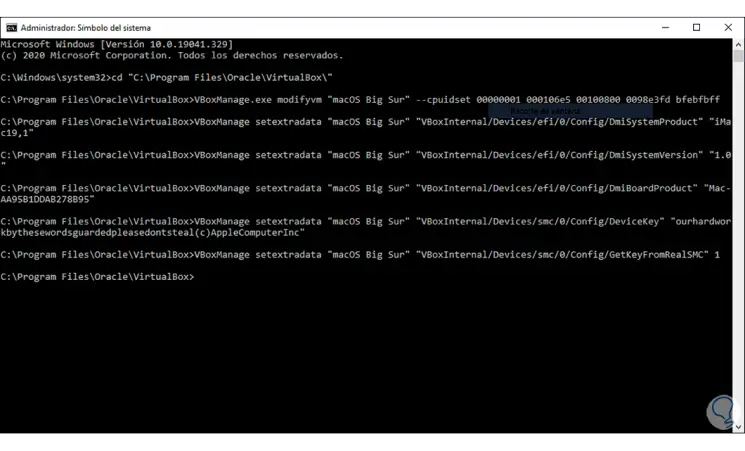
Now there we are going to execute each of the following lines:
VBoxManage.exe modifyvm "macOS Big Sur" --cpuidset 00000001 000106e5 00100800 0098e3fd bfebfbff VBoxManage setextradata "macOS Big Sur" "VBoxInternal / Devices / efi / 0 / Config / DmiSystemProduct" "iMac19,1" VBoxManage setextradata "macOS Big Sur" "VBoxInternal / Devices / efi / 0 / Config / DmiSystemVersion" "1.0" VBoxManage setextradata "macOS Big Sur" "VBoxInternal / Devices / efi / 0 / Config / DmiBoardProduct" "Mac-AA95B1DDAB278B95" VBoxManage setextradata "macOS Big Sur" "VBoxInternal / Devices / smc / 0 / Config / DeviceKey" "ourhardworkbythesewordsguardedpleasedontsteal (c) AppleComputerInc" VBoxManage setextradata "macOS Big Sur" "VBoxInternal / Devices / smc / 0 / Config / GetKeyFromRealSMC" 1
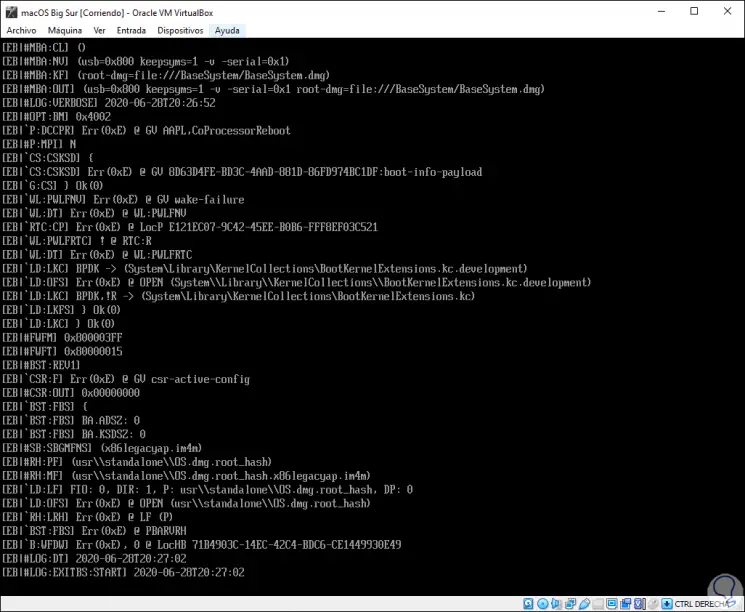
Step 10
After this we run the virtual machine and the usage code will be launched:
Step 11
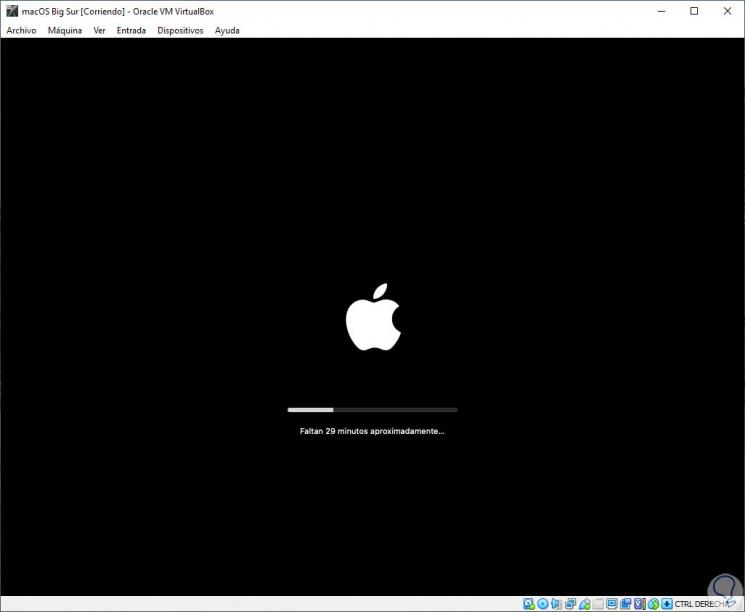
When this process starts we will see the Apple logo that is loaded:

Step 12
We wait a moment and the following will be loaded:
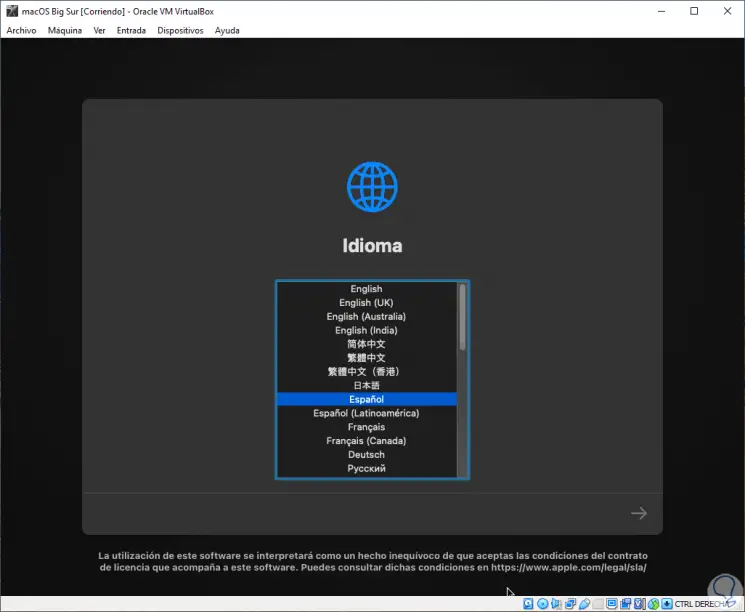
Step 13
In this section we define the language to use with macOS Big Sur, once selected the following will be displayed:
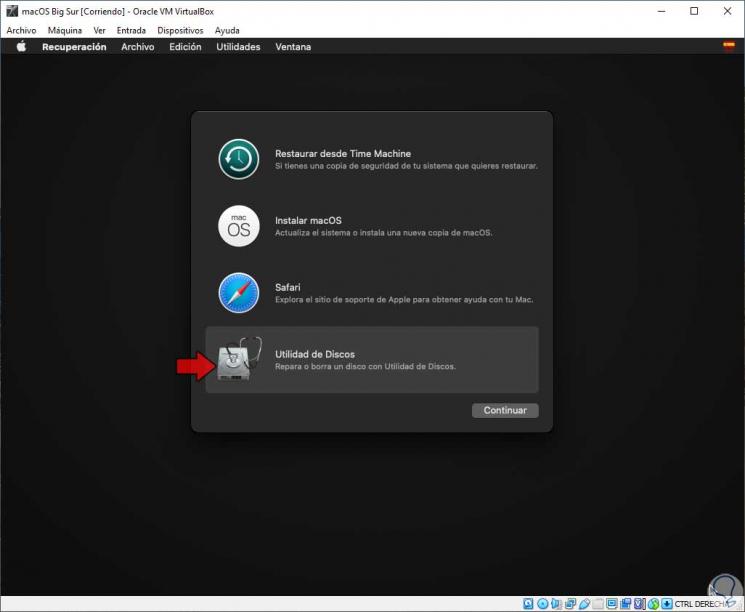
Step 14
There we must select "Disk Utility", we click on Continue and in the following window we select the virtual hard disk that we have created:
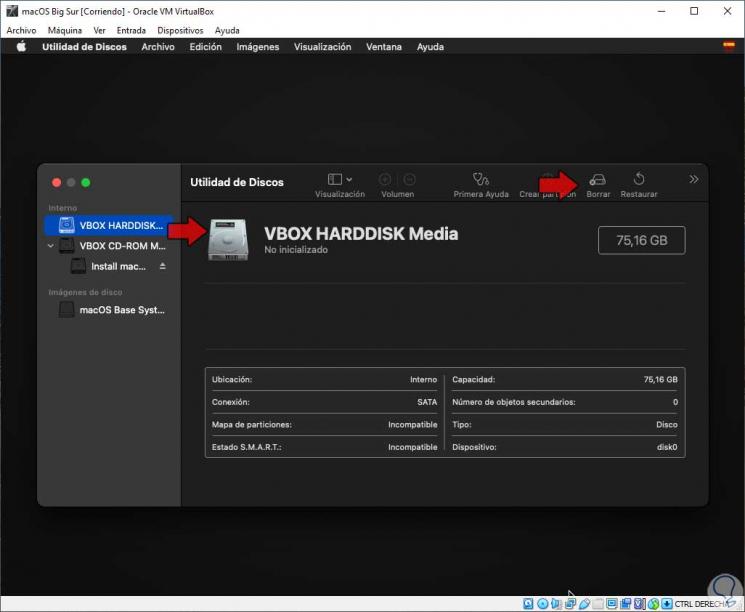
Step 15
Once selected we click on “Delete” and in the displayed window we define the following:
- In "Format" we select "Mac OS Plus with registration"
- In "Scheme" we select "Map of GUID partitions"
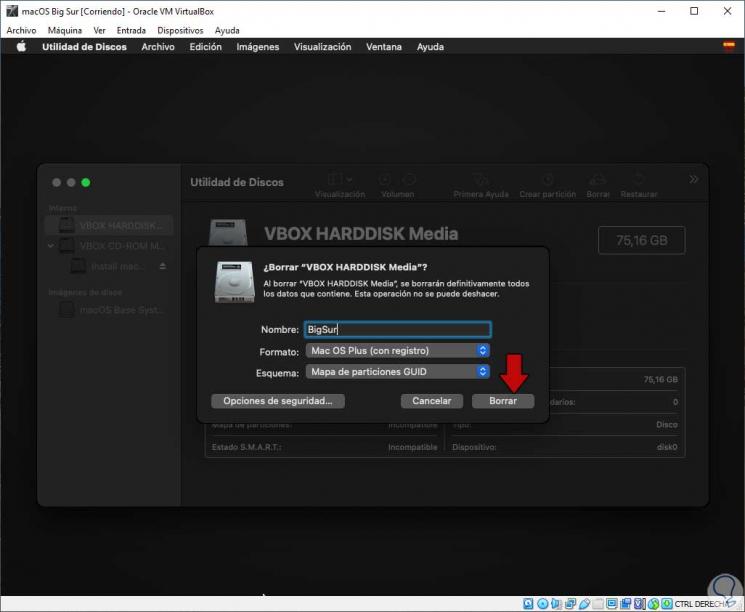
Step 16
We click "Erase" to execute the process of erasing the disk:
Step 17
When this has finished we will see the following:
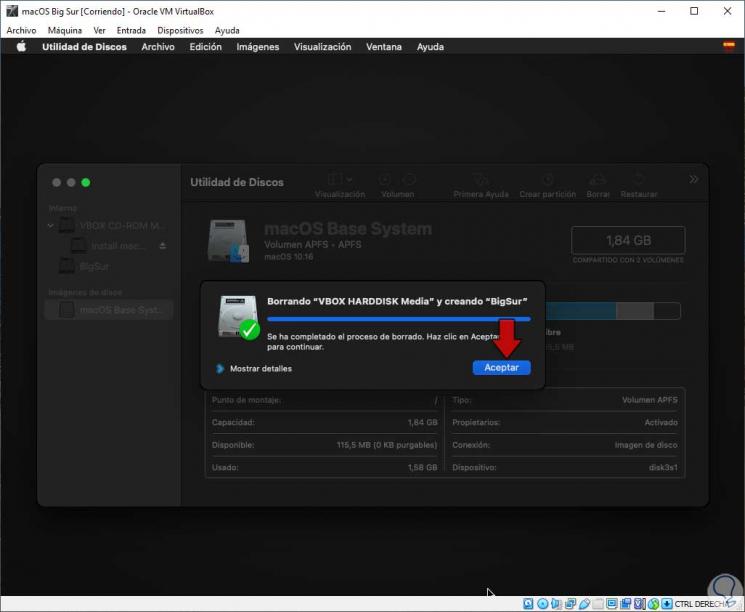
Step 18
We click OK and we will see the created disk:
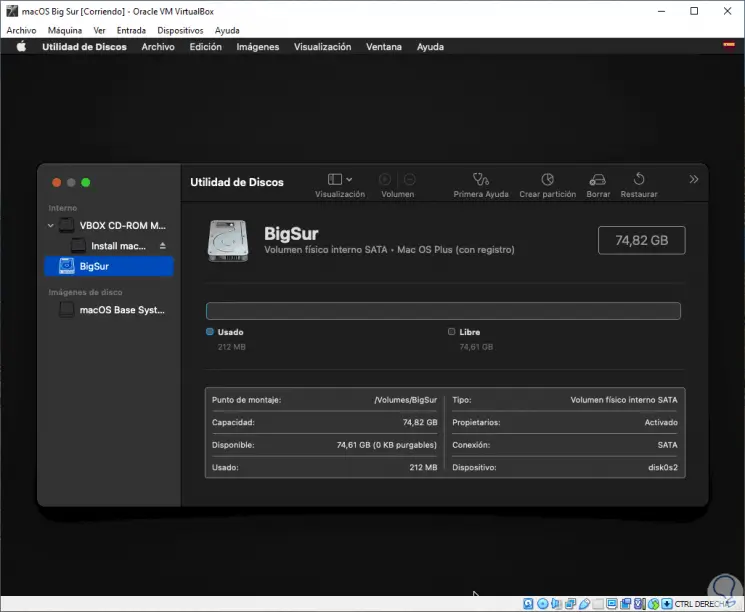
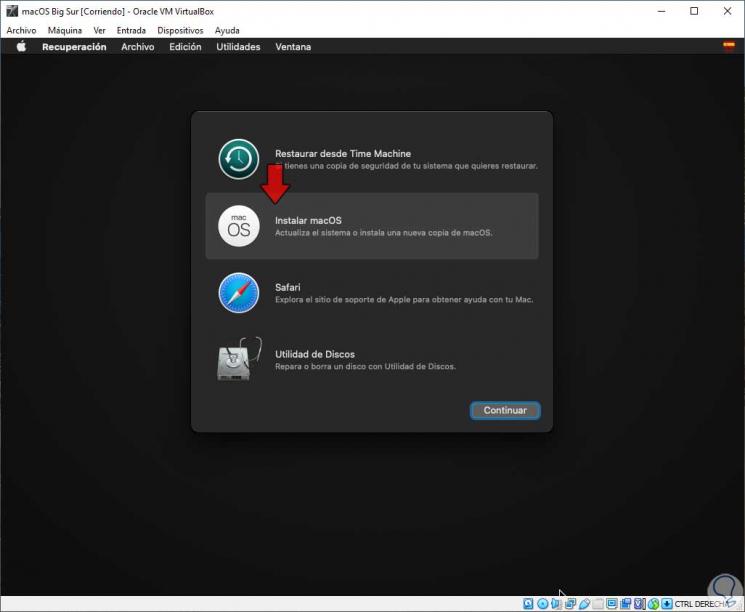
Step 19
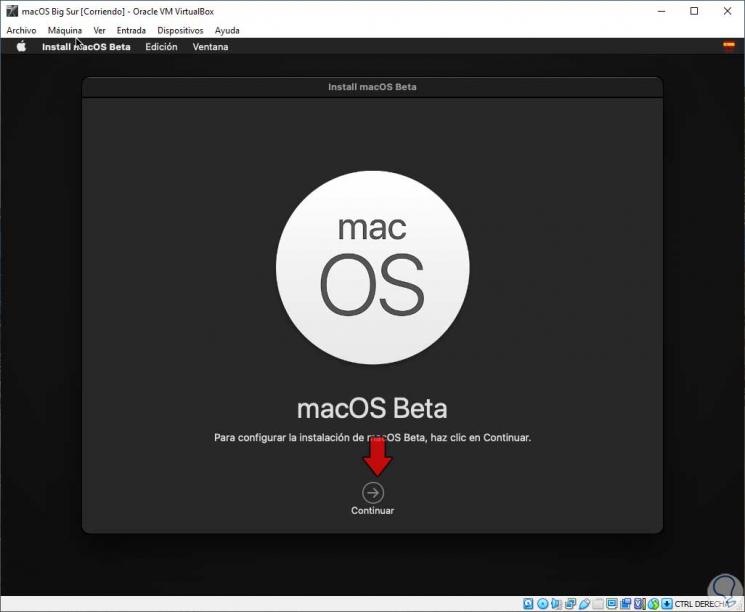
From the "Disk Utility" menu we select Exit and now in the main window we select "Install macOS". We click "Continue" and we will see the following:
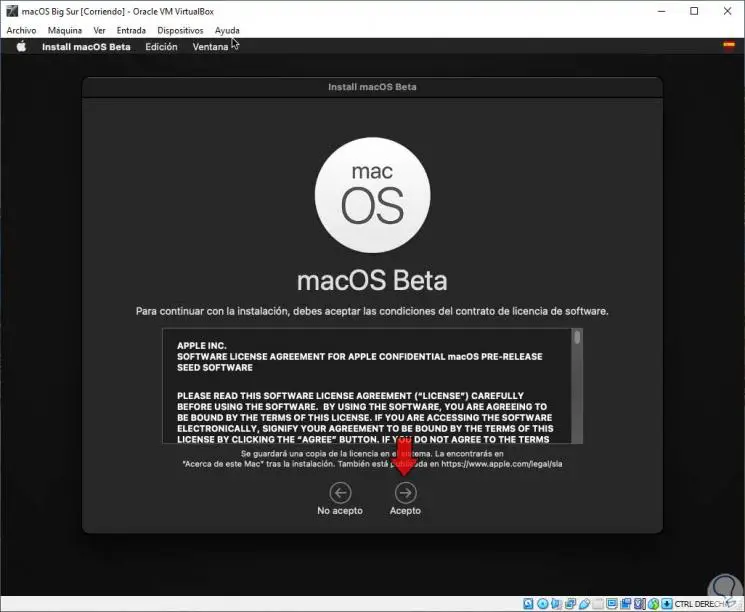
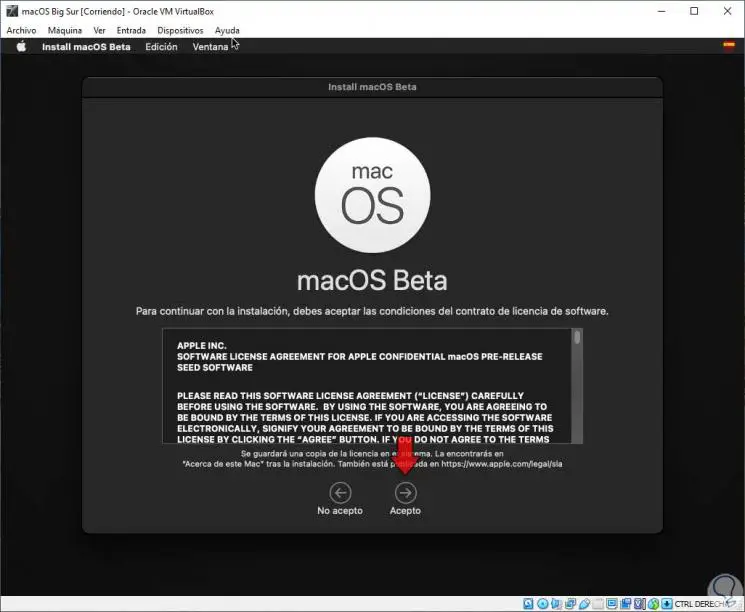
Step 20
We click Continue and we will see the license terms:
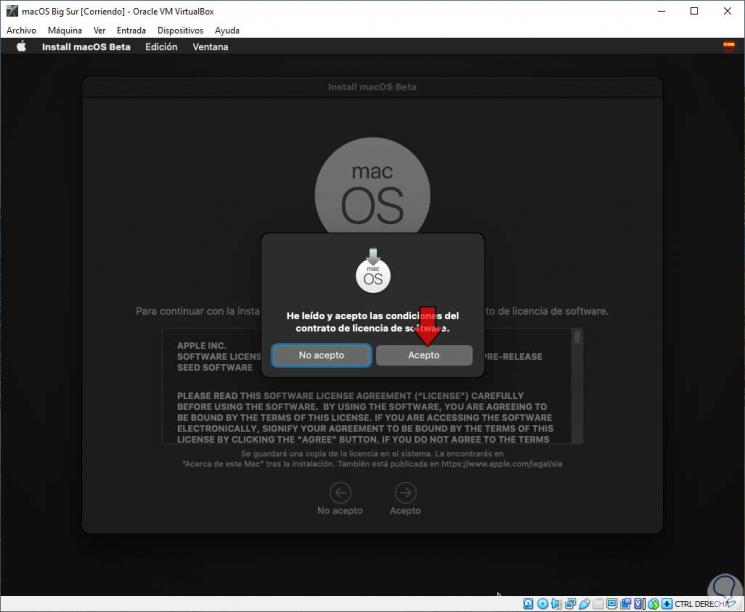
Step 21
We click "I accept" and in the next window we must confirm:
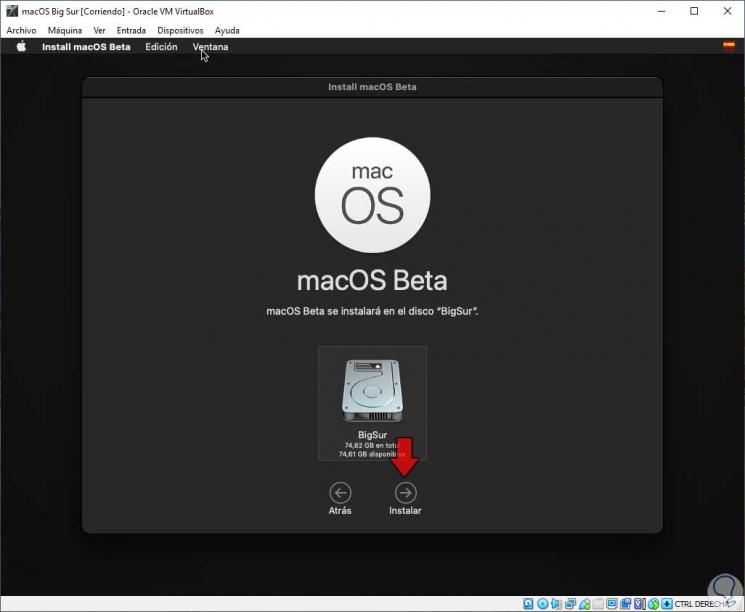
Step 22
After this we will select the disk where macOS Big Sur has to be installed in VirtualBox:
Step 23
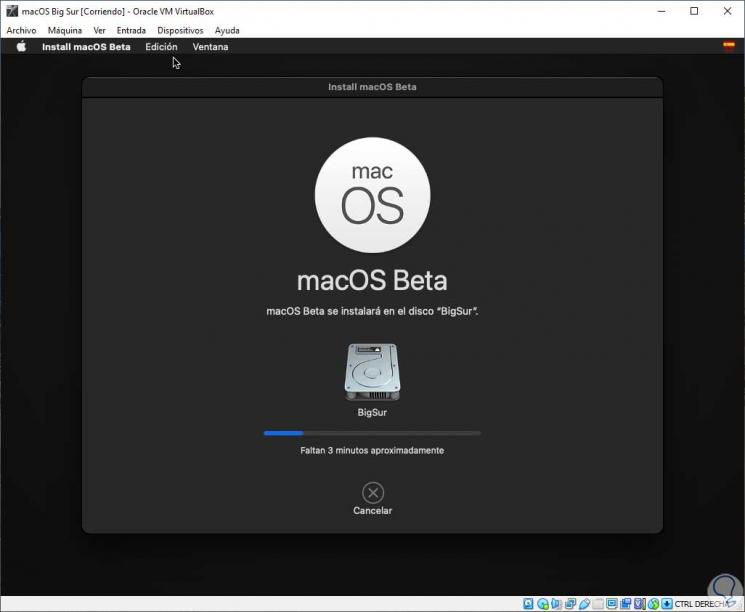
We click "Install" and the installation process will start:
Step 24
When this finishes the system will be restarted to apply the changes:
Step 25
This will take time to complete:

Step 26
Finally, we will have access to Big Sur in VirtualBox:
Step 27
We will see in the information that we are inside macOS Big Sur.
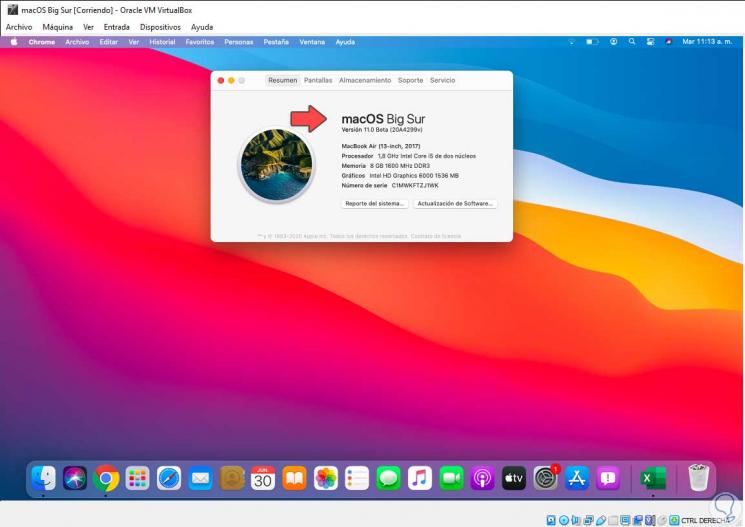
There we can install the desired applications, as well as get to know the system thoroughly without the need to buy a real device.