Google Drive is popularly known for being a platform where we host files, objects and other elements to subsequently access them from the web anywhere in the world with our Gmail or Google account, but Google Drive allows you to go beyond simple hosting, One of the tasks that we can perform with this is to create Google assessment tests which can later be shared with other users and each of the responses is automatically hosted to keep precise control over them..
With an evaluation test, we can create Drive analysis tests through questions that other users can answer and score for them. These questions can be fully personalized by you and also choose the answers that will be and are not valid.
Let's see with TechnoWikis how to create an evaluation test in Google Drive in text and video..
To stay up to date, remember to subscribe to our YouTube channel! SUBSCRIBE
1. Create evaluation test in Google Drive
Step 1
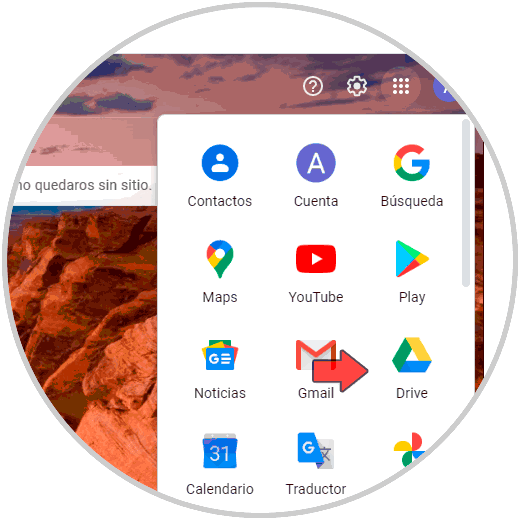
The first thing will be to access our Gmail account and there click on the "Google Apps" icon and select "Drive":
Step 2
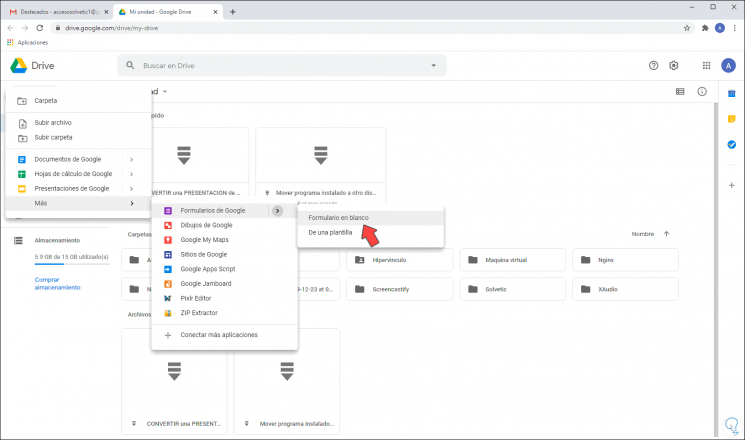
In Drive click on the "New" button and go to the "More - Google Form - Blank Form" path:
Step 3
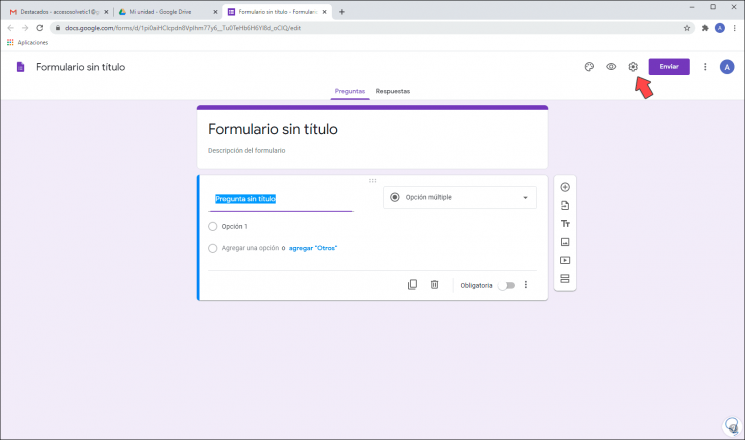
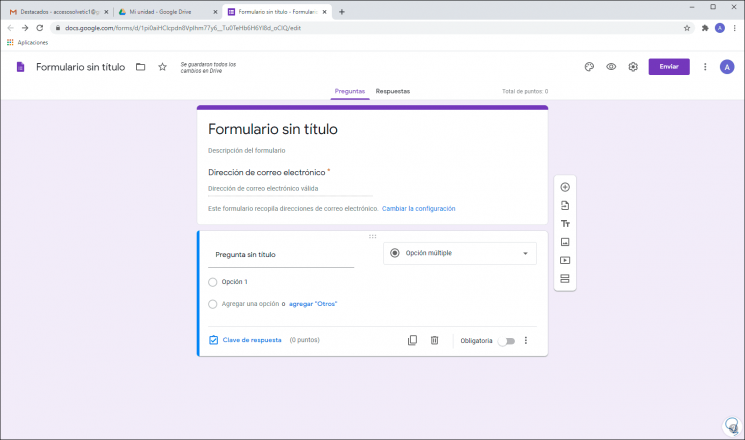
We will see the following:
Step 4
There we will create the form with the evaluation or test design, for this we click on the gear icon at the top and we will see the following:
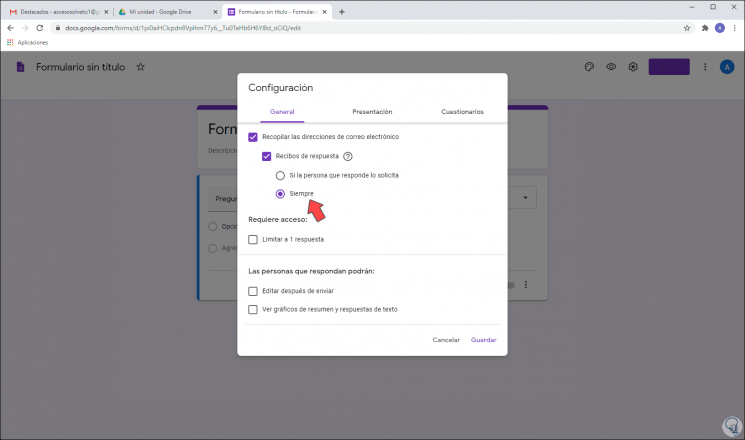
Step 5
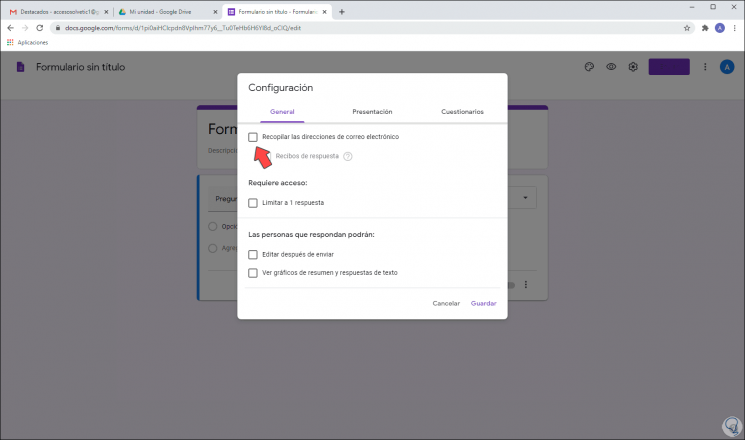
There we activate the box "Collect email addresses" which forces the user to register their mail to answer the questions asked, we activate the box "Answer receipts" so that the user who has answered the answers receives a notification In your email with the selected answer, there we can always set it or only if the user requires it:
Step 6
We activate the “Limit to one response” box so that the user only responds once and not fall into spam with false emails. After this we activate the box “See summary graphics and text responses”, which allows the person to see graphically which presumptions were correctly resolved and which were not, the “Edit after sending” box will not be activated for prevent the user from changing their responses.
We go to the "presentation" tab where we will see the following:
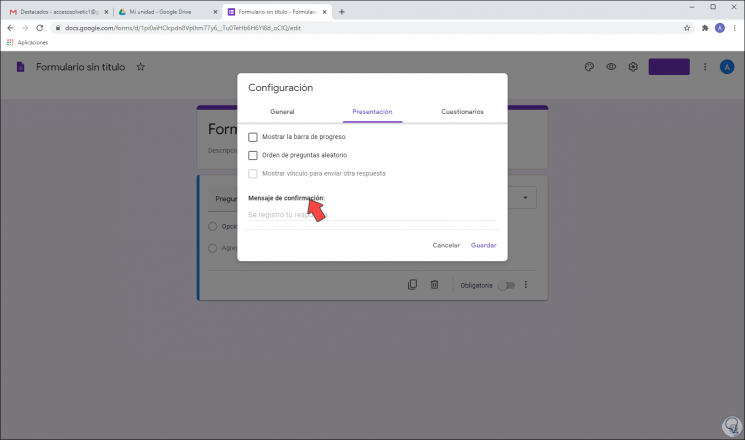
Step 7
We activate the box “Show the progress bar” in order for the user to see graphically the progress in the requested questions. Now we will go to the "Questionnaires" tab where you will see the following:
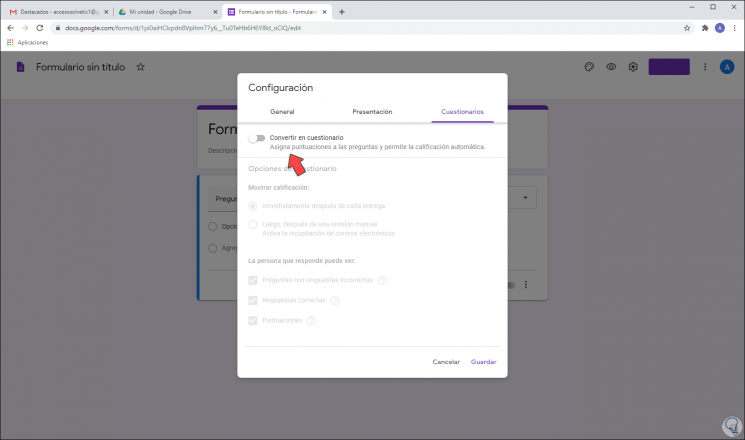
Step 8
This area allows the Google form to be converted into an evaluation test. First, we activate the “Convert to questionnaire” switch:
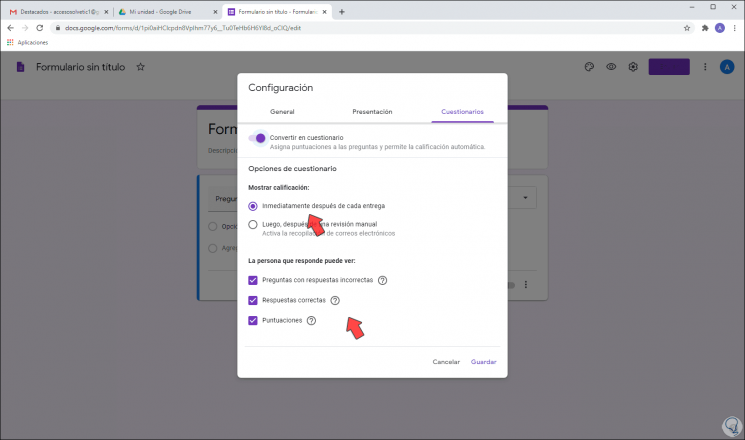
Step 9
As this will be an evaluation test, we will leave the “Immediately after each delivery” box active in the “Show qualification” section so that the final result is accessed, in the section “the person who answers can see” we can establish what variables will have Visibility for the user activating the respective boxes, once this is defined we click on "Save" and we will see the following:
2. Set up evaluation test in Google Drive
Step 1
It is time to configure the evaluation test in Google Drive, we enter:
- Brief description for a better guide

Step 2
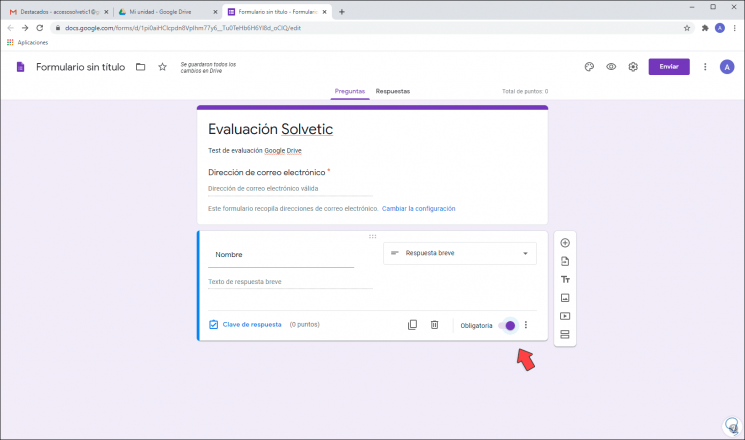
The "Email address" field has been created automatically in order to collect the addresses of the users who enter the responses. To create our questions we click on “Untitled question” and in this case we will assign the following:
- We enter "Name" for the user to register their name
- It is “Mandatory” in nature:
Step 3
The options to use are:
Step 4
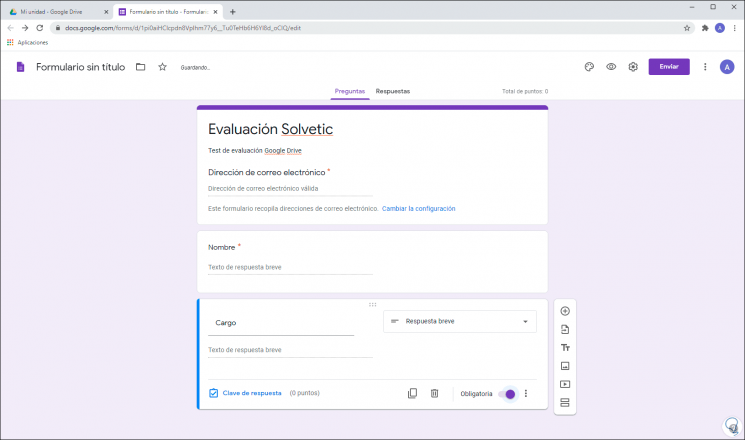
We click on the + sign to add another question, in this case we enter:
- We assign the name "Cargo"
Step 5
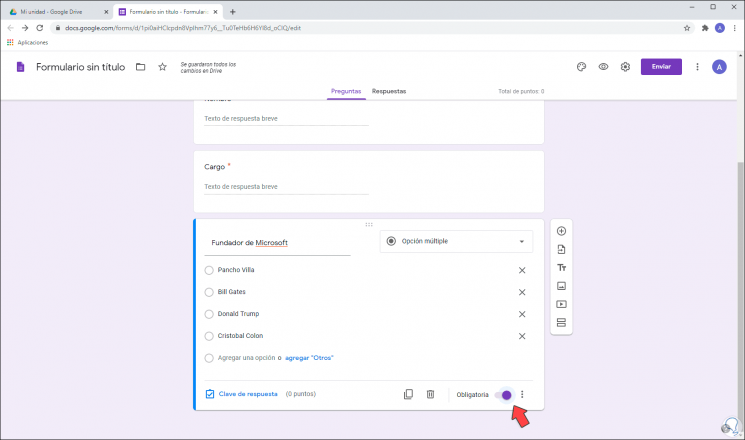
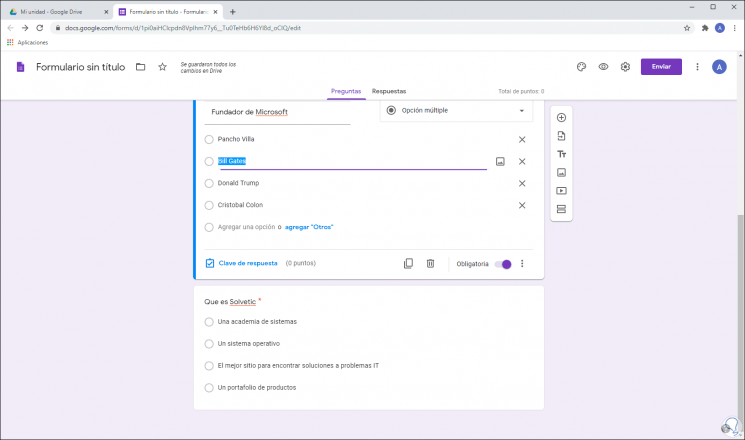
Here we can enter all the questions that are according to the test to be performed.
To enter our questions we must select "Multiple choice" and enter the possible answers, this must be mandatory:
Step 6
We enter another question:
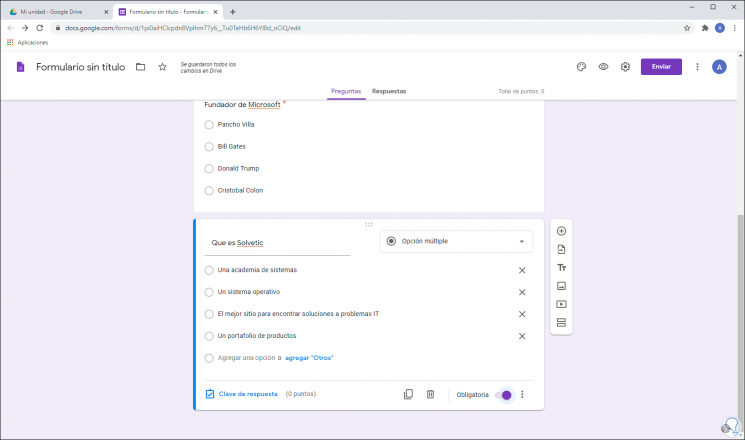
Step 7
After this it is time to define the correct answers, for this we select the first question and click on the line "Answer key":
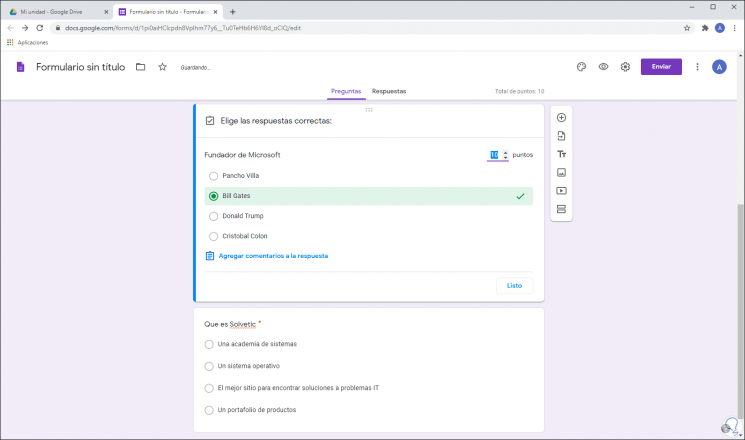
Step 8
We select the correct answer and enter how many points this answer gives:
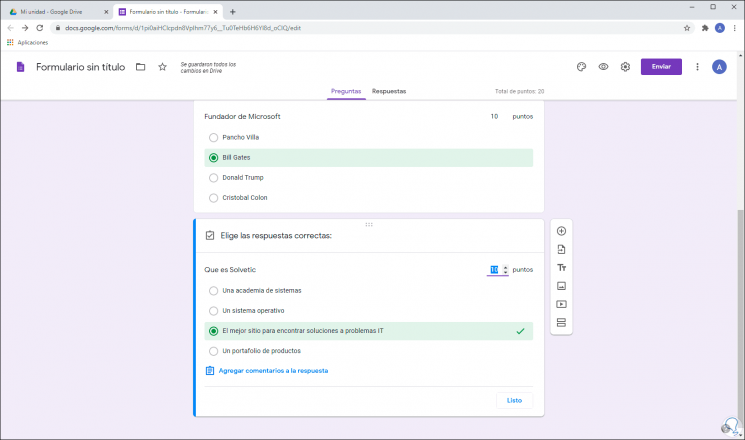
Step 9
We repeat the process with each of the questions created in the Google Drive form:
Step 10
To see how the form will be presented to users, we click on the "Preview" icon:
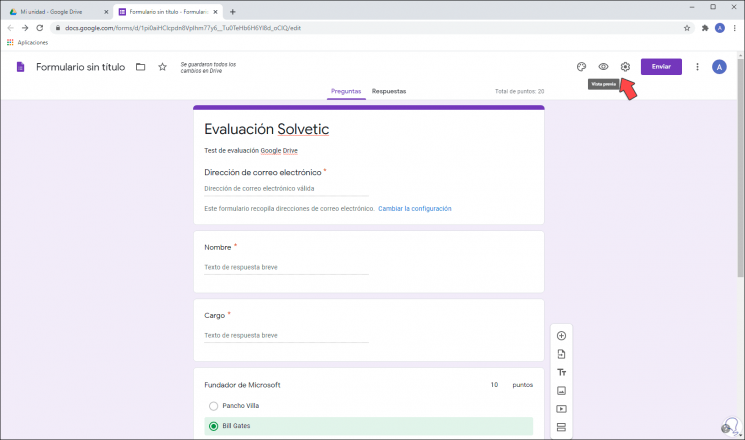
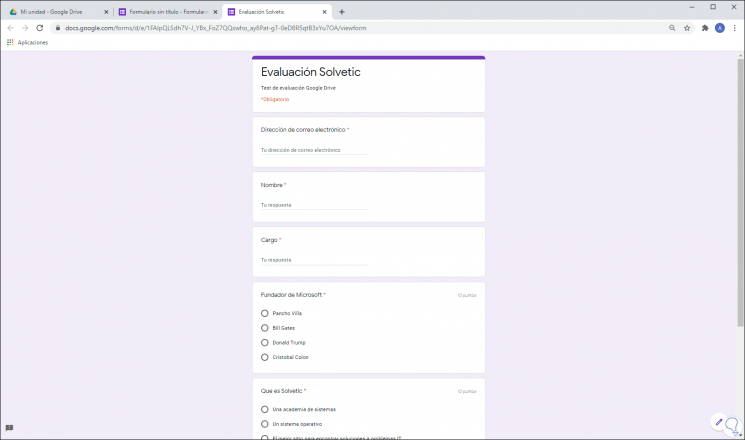
Step 11
We will see the structure of this:
Step 12
To edit the test design, we click on the "Customize theme" button:
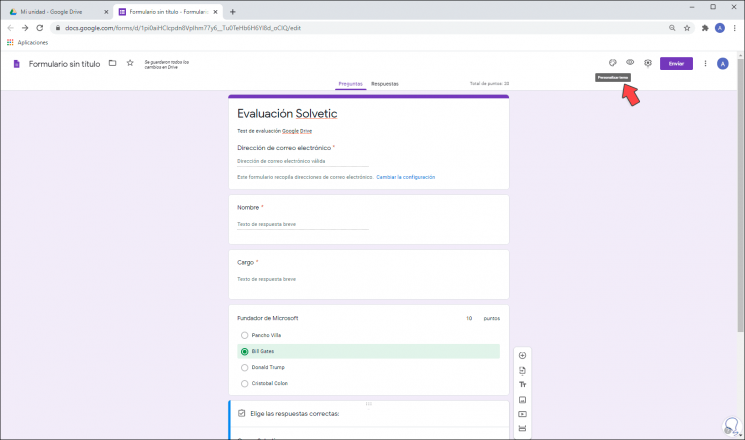
Step 13
We will see the following options on the side:

Step 14
We can change:
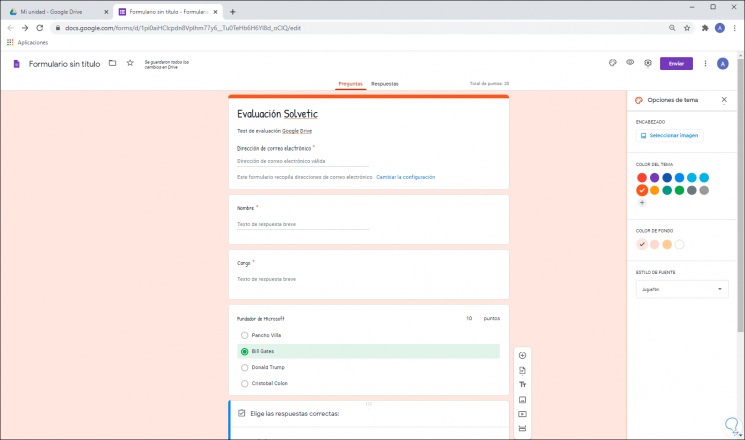
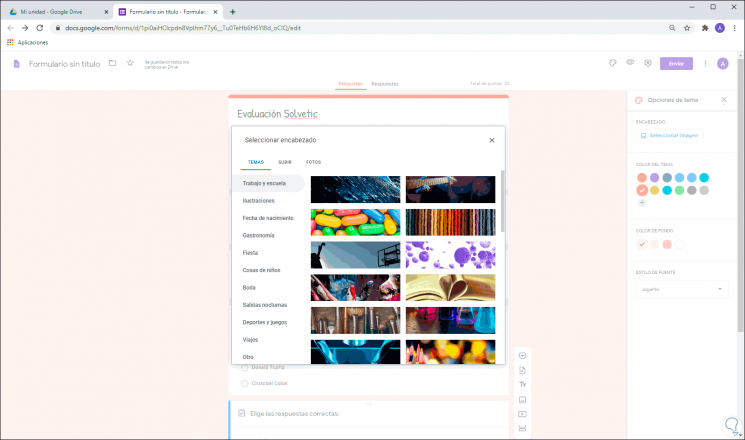
Step 15
In Header we can select integrated images or upload our own:
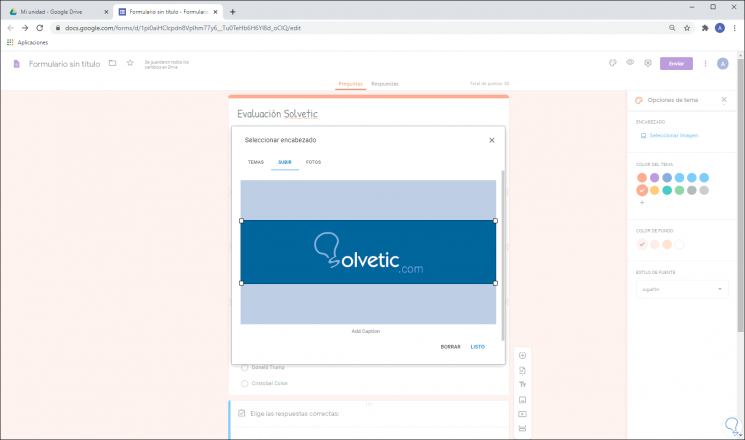
Step 16
It is possible to upload local images and edit their settings:
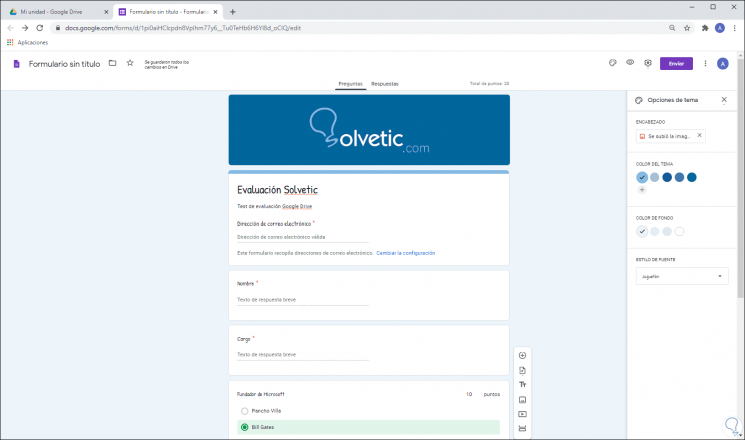
Step 17
When applied, the colors will be based on said heading:
Step 18
Again we click Preview to see the created design of the form:
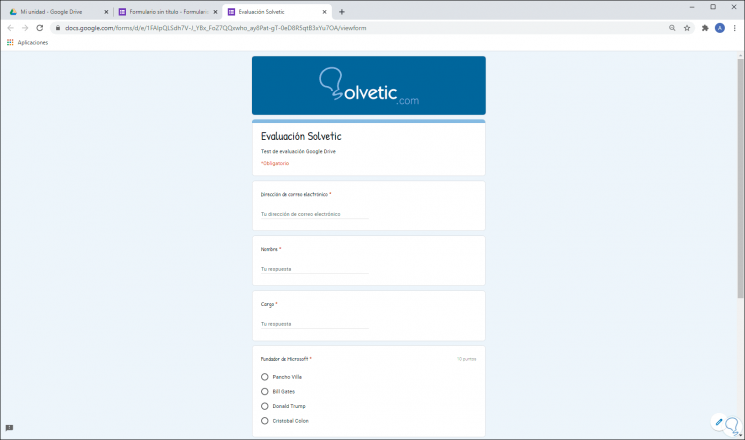
Step 19
In order for users to answer the questionnaire, we can copy the address from the address bar and share it or click Send.
From Preview we can answer the questions to see its current operation:
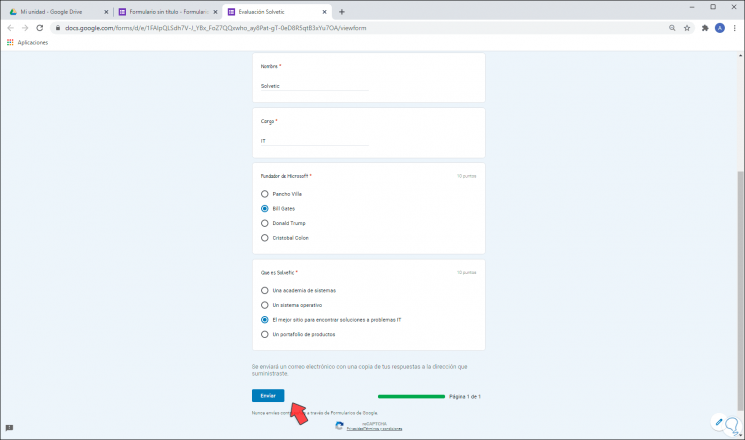
Step 20
We can see at the bottom the progress bar that we have configured. We click "Send" and we will see the following:
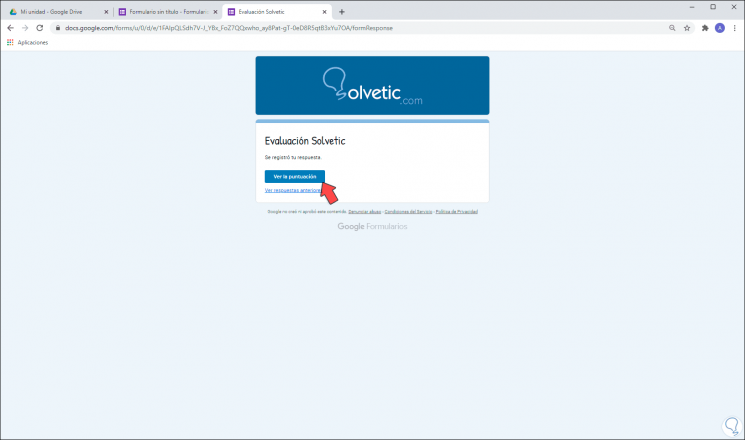
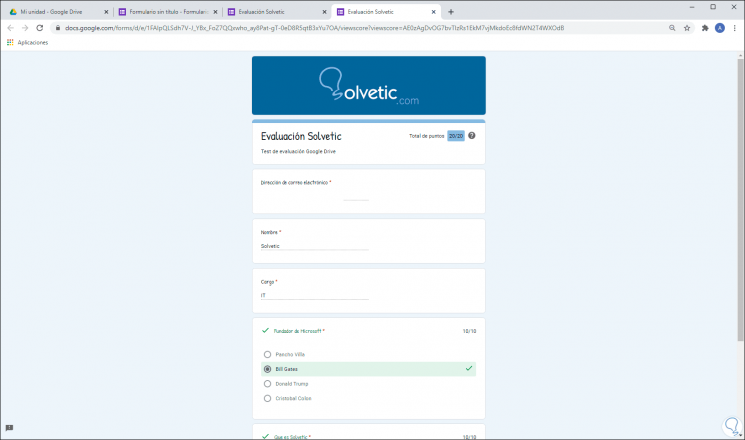
Step 21
We click on “See the score” and at the top we will see the score obtained:
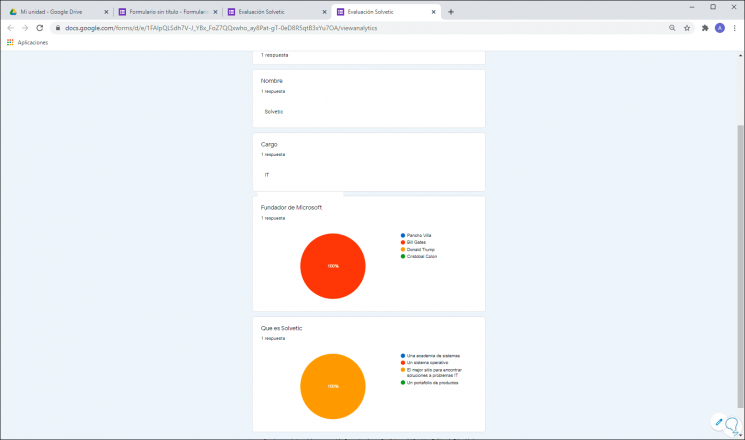
Step 22
In the line "See previous answers" we can see graphically the history of the answers ":
Step 23
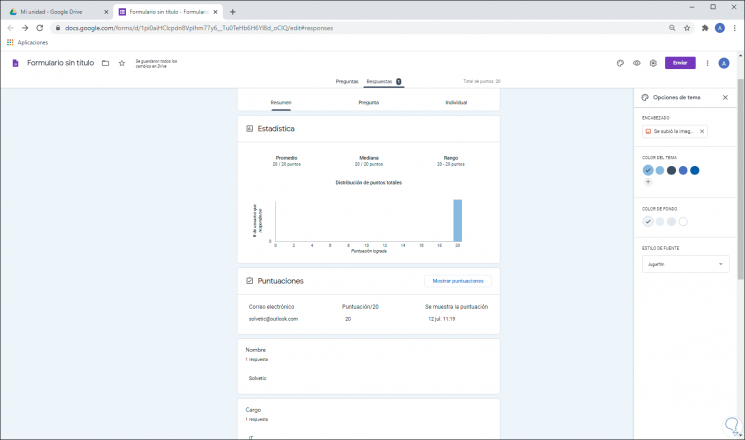
From the Google Drive form we can go to the "Answers" section to see details such as:
- Questions with the most common incorrect answers
- Graphics marked with correct answers
- Average, median and range of scores created
With these steps we have created a form in Google Drive and with it fully manage the responses that are generated.