The screenshots in Windows 10 is a task that we perform often attach to processes, evidence or simply to supplement the information we store in the working file. It is important to know that there are different options to take screenshots in Windows 10 and TechnoWikis will explain the different ways in which these tasks can be performed, remember that when a screen is captured it is housed in the clipboard and from there we can paste it where necessary ..
With the Windows 10 screenshots we can cut a part of what we are seeing on the monitor at that time. By taking a screenshot we can save some content that we have seen and that we do not want to lose, from a website to a photo that we cannot download.
We also leave you the video tutorial to take a screenshot on PC Windwos 10..
To stay up to date, remember to subscribe to our YouTube channel! SUBSCRIBE
1. Take screenshot on PC with Print Screen key
Step 1
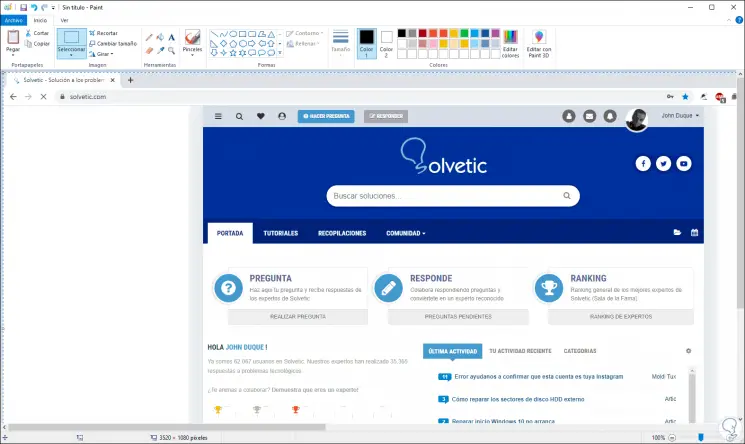
This key is found in the alphanumeric section of the keyboard and when you press it, it will capture everything that is on the main screen, it will be housed in the clipboard and then we simply paste it into some text editor:
Step 2
This method captures the entire current screen, if we want to only capture the current window we must use the following combination:
Alt + Print Pant
2. Take screenshot on PC with Windows key + Print Screen
Step 1
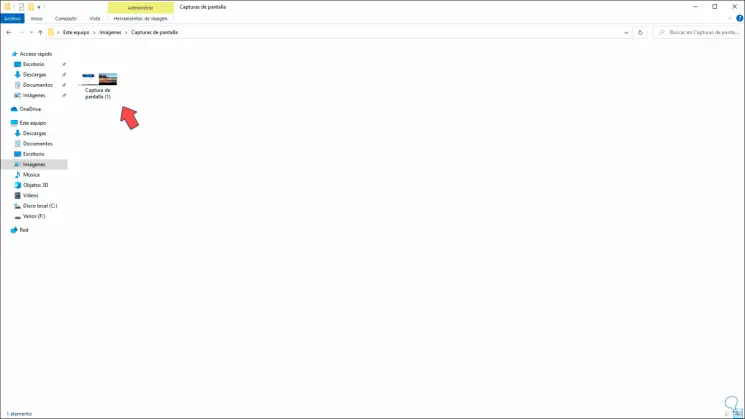
This option allows capturing the current screen with the difference that when using the following keys the image will be automatically saved in the following path:
+ Print Pant
C: \ Users \ user \ Pictures \ Screenshots
Step 2
From there we can manage the images as necessary, this image will be saved in PNG format.
3. Take screenshot on PC with Alt key + Print Screen
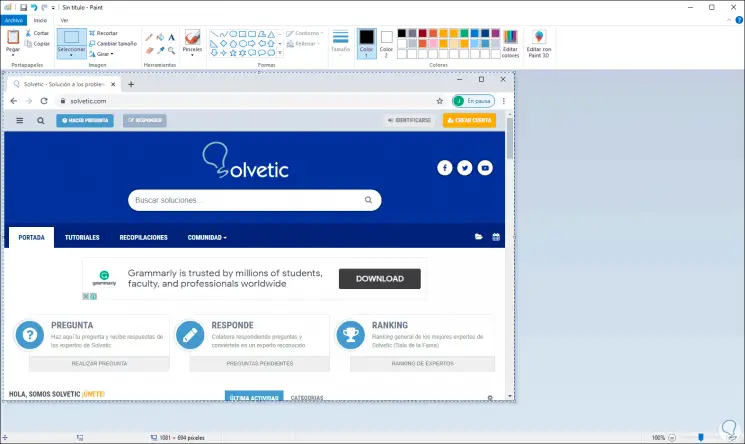
As we mentioned, it is possible to capture only the current window (which is open) but not the entire screen in general, in this case we must use the Alt + Print Screen keys for this, then paste the image in the desired text editor:
Alt + Print Pant
4. Take screenshot on PC with Crop key
Step 1
This is a Windows 10 functionality with which we can take screenshots such as:
Step 2
Each image we take can be saved in the desired location in formats such as PNG, GIF or JPEG.
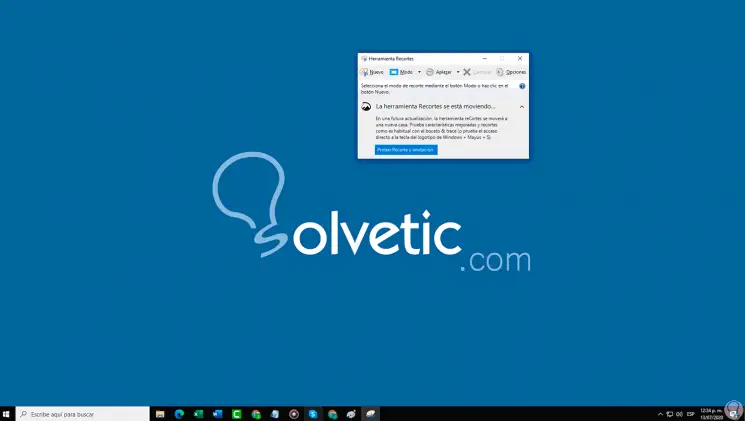
To make use of it, we go to the Start search engine and there we enter "clippings" and select the utility or we combine the following keys and execute "snippingtool". The following will open:
+ R
snippingtool
Step 3
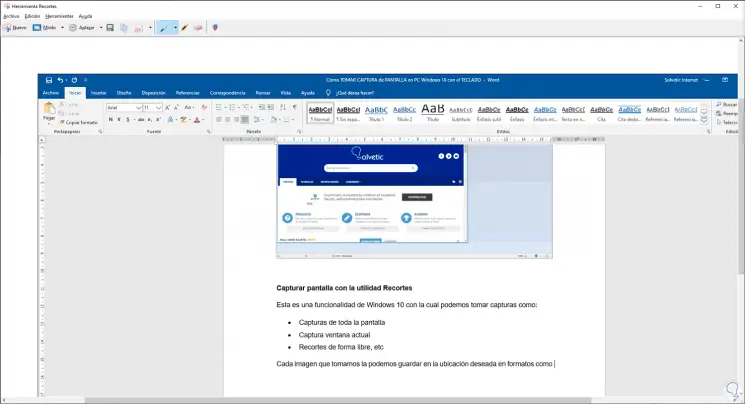
In Mode we select the type of crop to use and after capturing the desired image we can save it or edit it as necessary:
Step 4
At the top we find all the options to edit the image such as:
- Edit it with Paint 3D and much more
5. Take screenshot on PC with Crop key and annotation
This is the new tool that Windows 10 is integrating with which we can capture the entire desktop, only the current window, or create a freeform cutout or a rectangular cutout.
Step 1
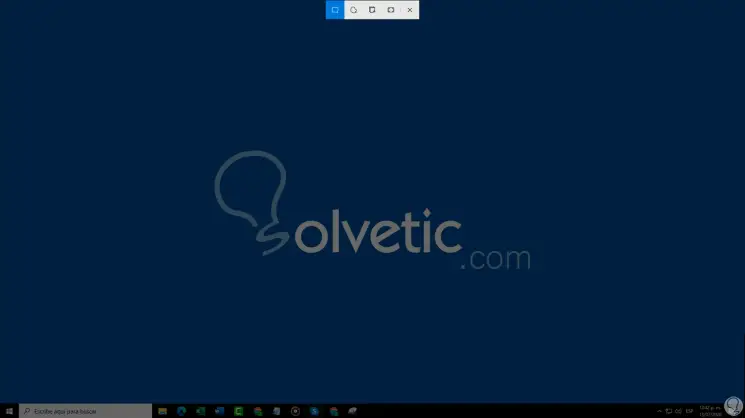
For its activation, we combine the following keys and we will see the following:
+ Shift + S
Step 2
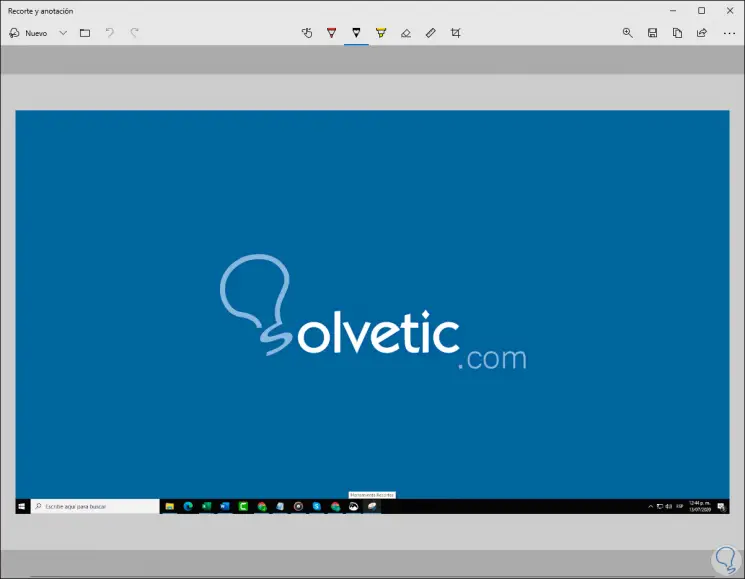
At the top we find the different usage options and once the screen is captured, we can click on the capture message to open its editor:
Step 3
There we can:
- Save the image as PNG, GIF or JPG
- Share it with other users
- Apply pencil, pen, or marker effects
- Delete sections of the image
- Integrate the rule and more
With these options to capture screen in Windows 10 it is possible to have the most suitable option according to the particular case of each one of us..