The space on the Linux hard disk is one of the key points in any system since it depends on the performance in terms of reading and writing the data that is the most optimal and in addition to this, with a good space on Linux disk it is possible install new applications or use the disk as a backup point. To manage the space on the hard disk in Linux systems we have a tool called "BleachBit" and in TechnoWikis we will explain in detail what it is and how to install it, in this case we will use Ubuntu 20.04..
What is BleachBit
BleachBit is a utility with which it is possible to free cache, delete cookies, delete Internet history, delete temporary files, delete records and this will finally have an impact on the overall performance of the disk, as well as its readiness for more important tasks.
On Linux systems it is possible to use the “rm” command for this type of object deletion, but one of the great advantages of using BleachBit is that it is possible to perform a full scan of the disk and then delete a specific type of files.
BleachBit Features
Among the features of BleachBit we find:
- Ability to delete private files
- Available in multiple languages
- Compatible with Linux and Windows operating systems
- Option to shred files in order to hide the content and avoid data recovery with various tools
- Overwrites the free space on the hard drive in order to hide files that have been previously deleted
- It has a portable application for Windows which can be run without installation and integrates a command line interface for scripting and automation tasks.
BleachBit Cleaners
BleachBit integrates within its application different element cleaners which specialize in a certain application such as Firefox or Internet Explorer, then each cleaner adds options to clean the cache, cookies or log files, some of the cleaners (for application) available are:
BleachBit Advantages
One of the strengths of BleachBit is the advanced cleaning ability which performs tasks such as:
- Clean RAM and Swap memory of the system
- You can clear the Firefox URL history without deleting the entire file
- Clean APT packages on Debian, Ubuntu, Kubuntu, Xubuntu and Linux Mint
- It is able to detect scattered junk files
- Delete Windows registry keys
- Allows you to run yum clean on CentOS, Fedora and Red Hat in order to remove cached package data
- You can delete the list of recent documents from OpenOffice.org without deleting the Common.xcu file
- Manage databases in Firefox, Google Chrome, Liferea, Thunderbird and Yum in order to delete unnecessary files
- You can overwrite data in SQLite3 before it is deleted in order to avoid recovering it
Let's see how to install and use BleachBit on Linux..
1. How to install BleachBit on Linux
Step 1
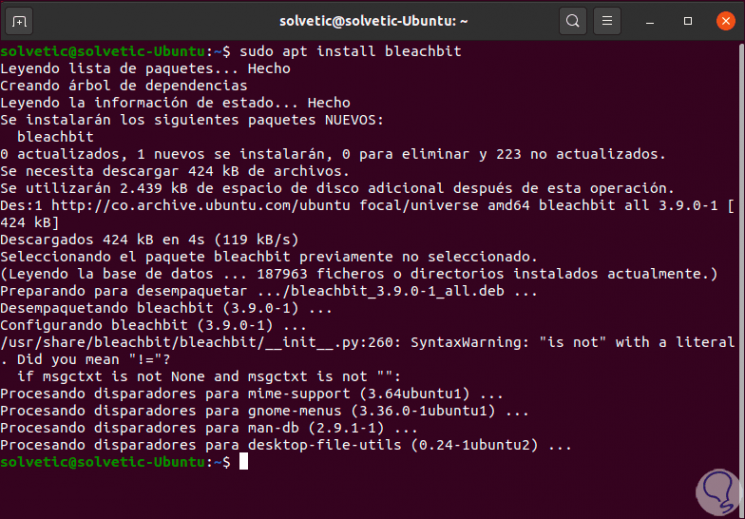
In the case of Ubuntu or its derivatives we will execute the following command in the console:
sudo apt install bleachbit
Step 2
If we install BleachBit in Manjaro we must execute:
sudo pacman -Syu bleachbit
Step 3
If we did it in fedora we would execute the following line:
sudo dnf install bleachbit
2. How to run BleachBit on Linux
Once the application is installed on the system, it is important to note that if we start BleachBit with sudo, we will have access to the temporary and log files of the system and, by the way, to the files of the root account (root).
In case of running it without sudo, we will only have access to the files of the current user, in this case we can access more details of files since the specific files of the application user that has been installed are integrated.
Step 1
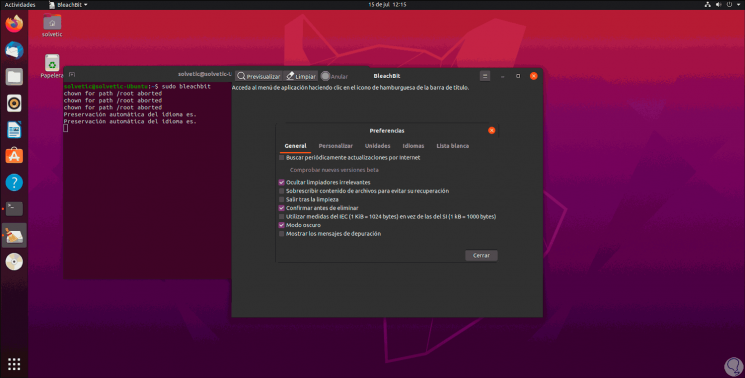
We execute the following:
sudo bleachbit
Step 2
Running this will open the utility window:
Step 3
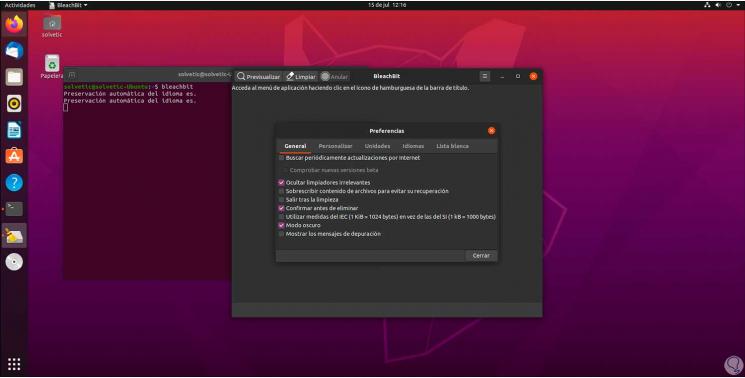
In case of running as a normal user we must run:
Bleachbit
Step 4
We can see that the design of the program varies a little:
3. Configure BleachBit on Linux
Step 1
When running as sudo we will see that the BleachBit preferences window is displayed which offers us different options:
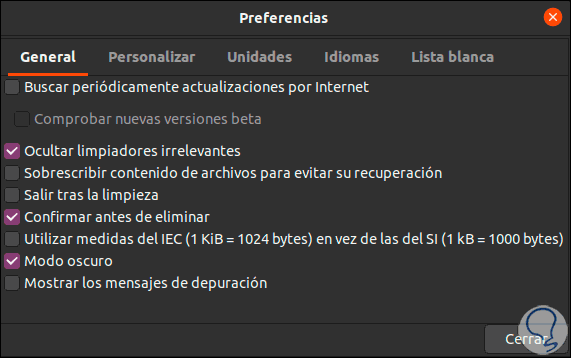
Step 2
In the "General" tab it will be possible:
- Constantly search for available updates
- Do not deploy cleaners that do not have a high impact
- Require confirmation before deleting files
- Exit the application after executing the task
- Activate dark mode (default)
- Allow BleachBit to overwrite content so that it is not retrieved
- Allow user to view created debug messages
Step 3
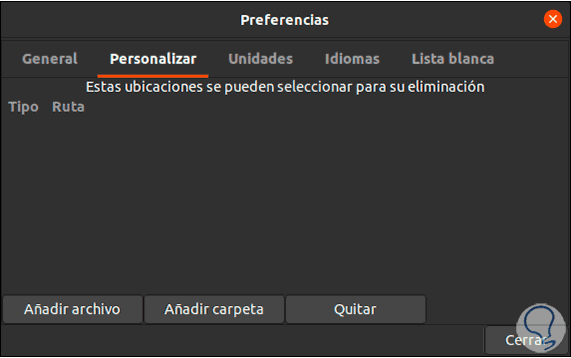
In the "Personalize" tab it is possible to:
- Define which are to be selected and which are to be included or excluded from scanning and deletion
- We can add new custom locations
Step 4
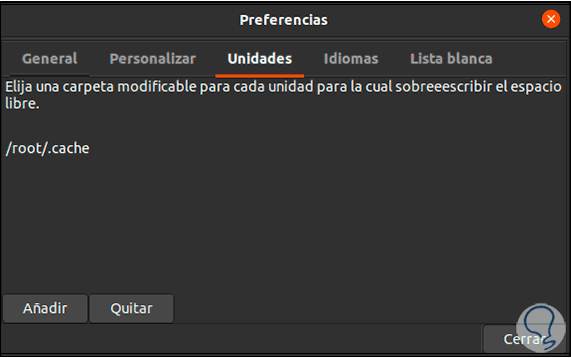
In the "Units" tab it is allowed to edit the units to be scanned, if we have more partitions, we must create a recordable folder and add its path in this place, if we only have one partition we leave the default values:
Step 5
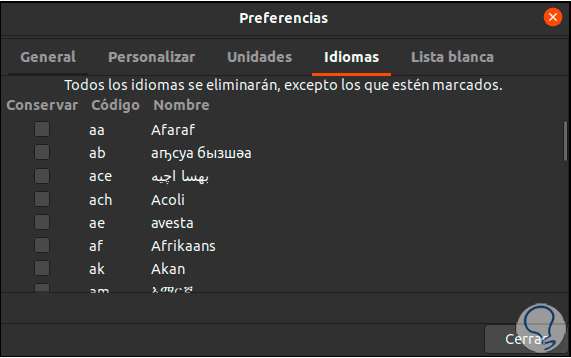
In the “languages” tab it will be possible to define in which language BleachBit should be run on Linux:
Step 6
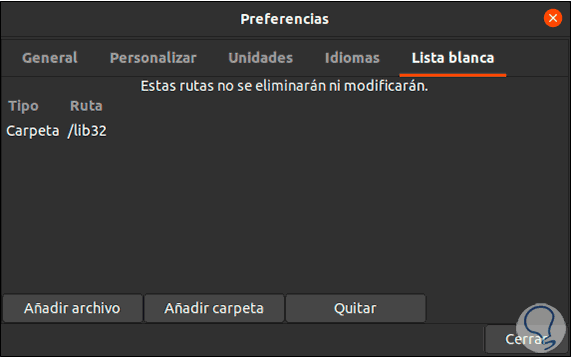
In the "White List" tab we add the files or folders that have not been analyzed by BleachBit. We leave the preferences panel by clicking Close.
4. Use BleachBit on Linux
Step 1
Once we exit the preferences this will be the BleachBit working environment:
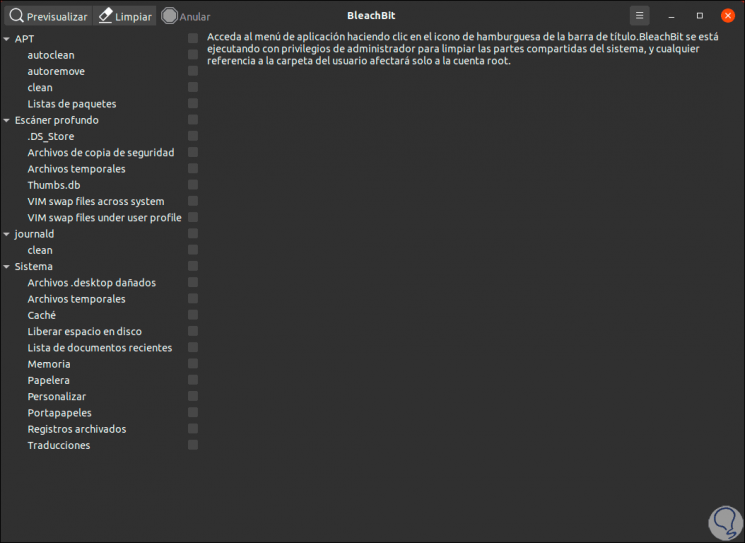
Step 2
Its scheme is divided into two sections, the list of file categories on the left and on the right we find the options that make up each category. We can click on the checkbox to select it, or we can click on the name of a category to select all the options available in it:

Step 3
The moment a category is selected, BleachBit will display a description of the options within it:

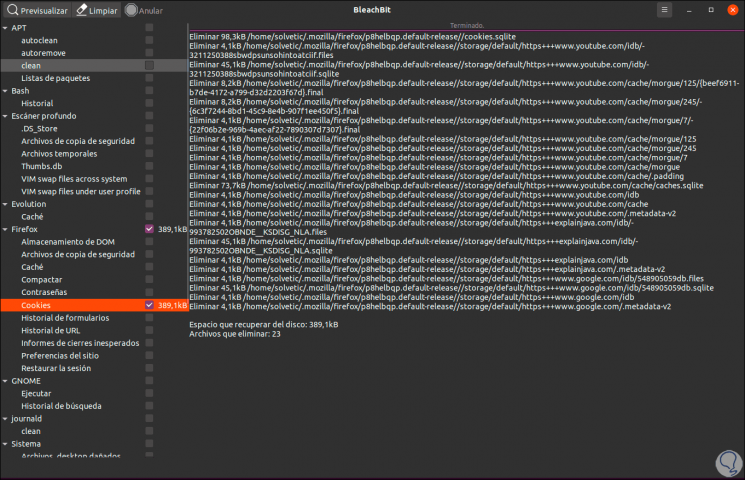
Step 4
When we select the objects we can click on the “Preview” button in order for BleachBit to scan the file system based on the configuration and options we have chosen, this displays a report where we will see the number of files to delete and the amount of hard disk space to be freed:

Step 5
As we mentioned, when running as sudo it displays system folders, if we run BleachBit without sudo we access the local applications of the user who is logged in:
Step 6
If we are sure of the elements to be removed, we click on the “Clean” button and the following warning will be activated:
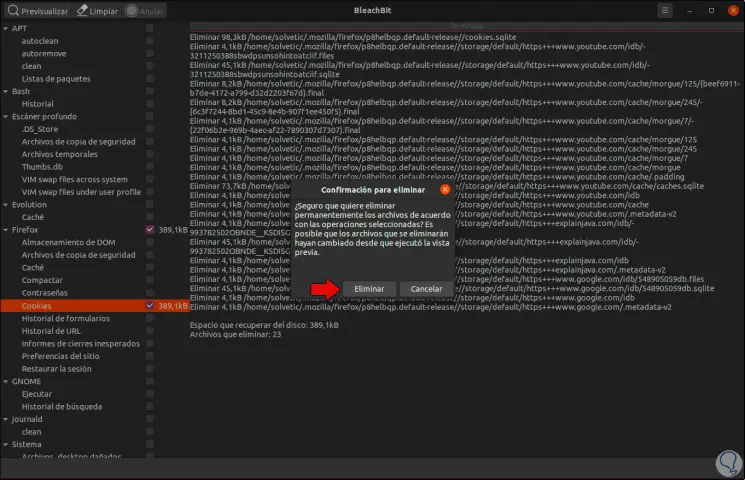
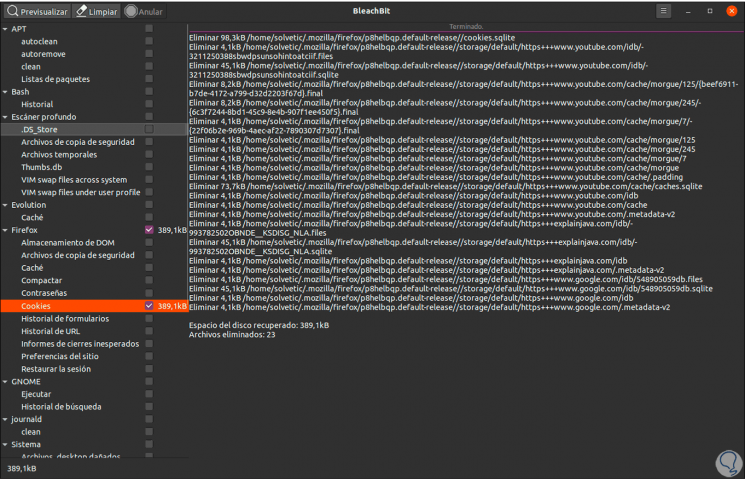
Step 7
We click on "Delete" and after the process we will see the number of files that were deleted, as well as the amount of space recovered:
Thanks to BleachBit we have a reliable and complete utility to manage the space of our hard disk in Linux..