Sports bracelets and smartwatches have become one of the preferred accessories for millions of users who use their services on a daily basis, both related to mobile phones and related to health and fitness..
The fact that these devices are synchronized with the phone, means that we can receive notifications through them directly on our wrist, so that in this way we have quick access to this type of content, without having to take out the phone every time that we want to see it. However for this to be possible on our website, we must activate and give permission to the notifications. Depending on the model and brand, this may vary, so below we show you all the steps you must follow to know how to activate notifications on Xiaomi Mi Smart Band 5.
Note
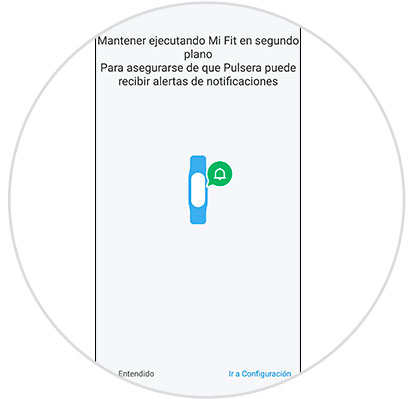
Remember that for the app notifications to reach you correctly, it will be necessary for Mi Fit to always be running in the background.
To stay up to date, remember to subscribe to our YouTube channel! SUBSCRIBE
Step 1
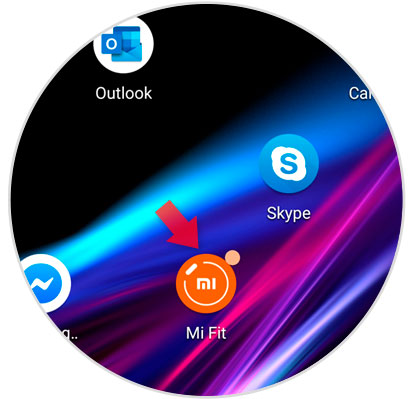
The first thing you should do is enter the "My Fit" app, which must have been previously downloaded to synchronize the band with the phone.
Step 2
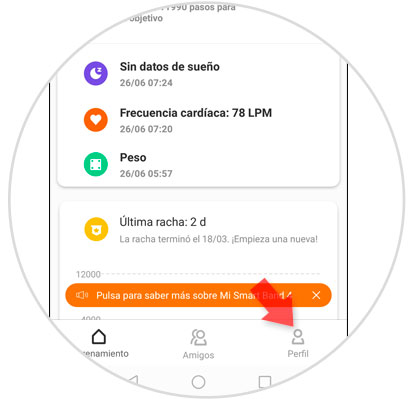
The next thing to do is select the "Profile" section at the bottom.
Step 3
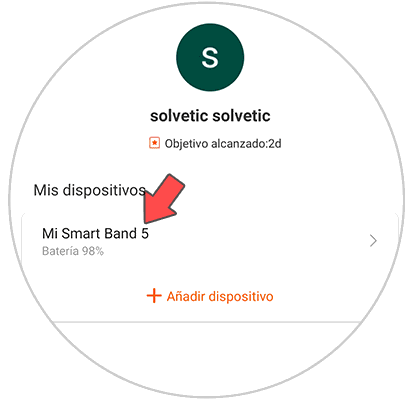
Here, select "My Smart Band 5" and you will enter a settings menu.
Step 4
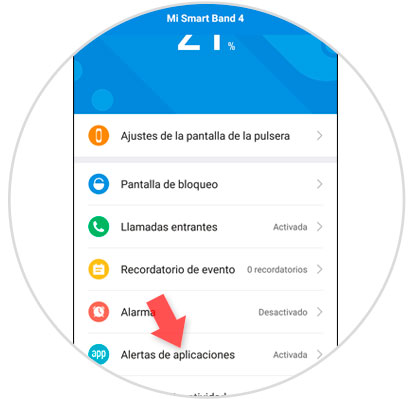
You will see several options available. In this case select "Application Alert" to continue.
Step 5
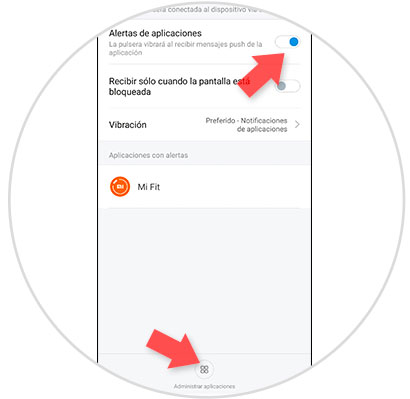
When you have activated the "Application Alert" tab, you must select "Manage applications" to choose which ones you want to activate.
Step 6
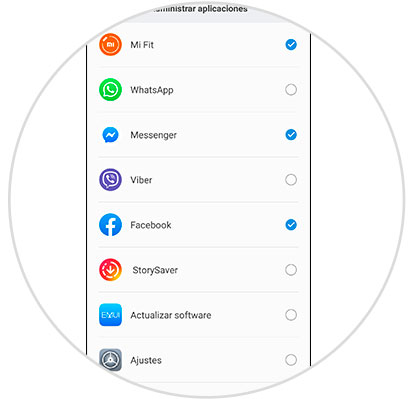
Select from the list the applications from which you want to receive notifications in the band. Press back.
Step 7
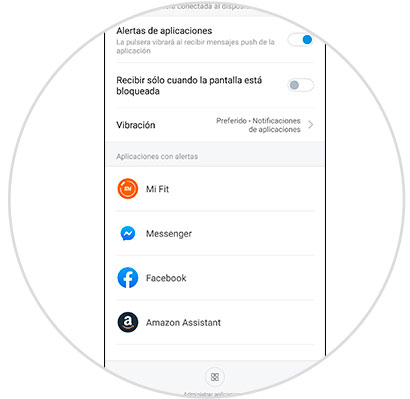
You will see that a list appears with the "Applications with alerts" that you have marked so that they broadcast content on your Mi Band 5.
Step 8
Finally, when you receive any news in one of the selected apps, you will see how it appears on the screen of your Xiaomi Mi Smart Band 5
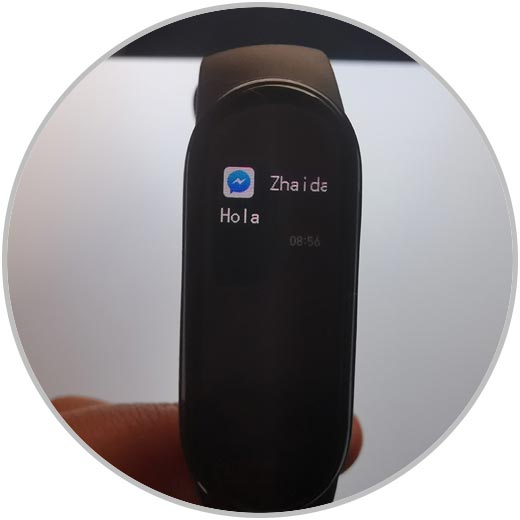
This way you will have activated the notifications of the applications that you want to send content to your band. In the event that you want to deactivate this, you can do it by following the same steps, and deactivating that app..