Windows 10 has a mechanism with which it is possible to host the password for accessing the Wi-Fi network so that each time that network is detected by the computer there is the possibility of automatically connecting, this is functional, but at the same time it is a security risk since some user with access to the equipment will be able to see the network password..
The WiFi passwords are automatically stored in our computer if you have thus set to the connect. When we choose to automatically remember or connect, those network passwords are saved on our computer. If someone knows the correct path, they will be able to see our Windows 10 WiFi passwords under the characters. So it is important to see how to hide WiFi passwords and thus improve our security.
We also leave you the video tutorial to hide the WiFi password and its characters in Windows 10..
To stay up to date, remember to subscribe to our YouTube channel! SUBSCRIBE
1. View hidden password Windows 10
Step 1
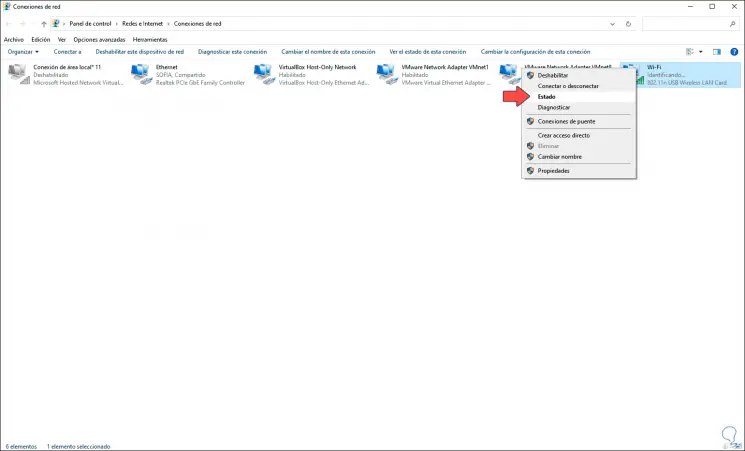
This is accomplished on the following route:
Step 2
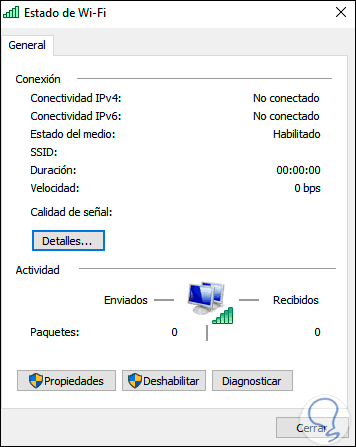
There we right-click on the Wi-Fi network adapter and select "Status":
Step 3
We will see the following:
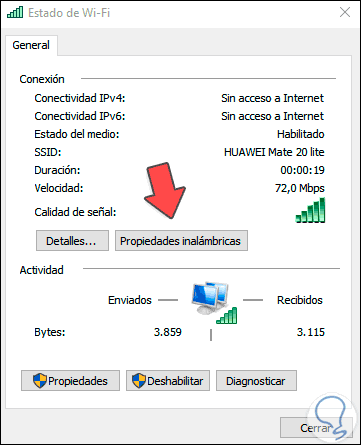
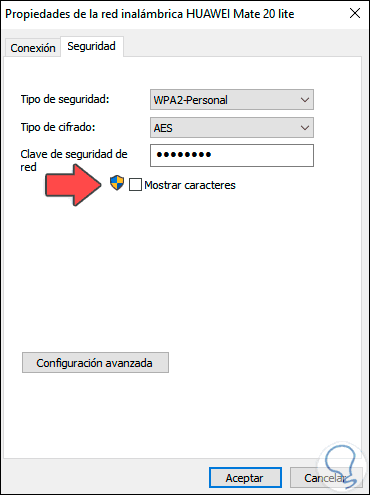
Step 4
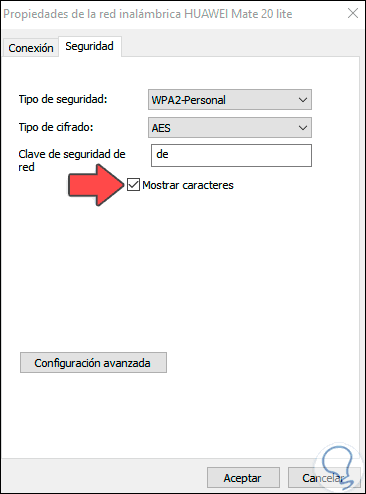
We click on "Wireless properties" and in the next window we go to the "Security" tab and there we activate the "Show characters" box to display the Wi-Fi password:
Now TechnoWikis will explain how to prevent this password display.
2. Hide WiFi password Windows 10 regedit
Step 1
Before this TechnoWikis recommends you create a restore point or backup of the system data, then we open Run and enter the following command:
regedit
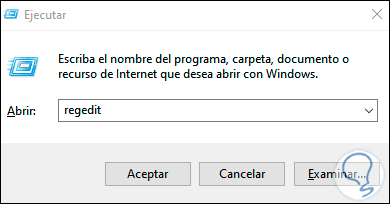
Step 2
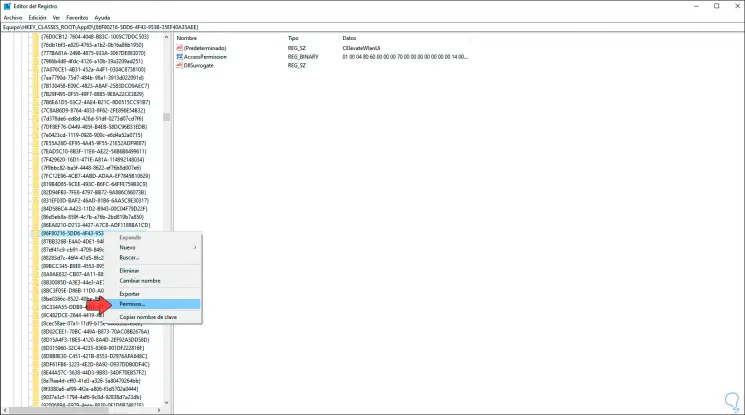
We click OK or press the Enter key and in the editor we will go to the following path:
HKEY_CLASSES_ROOT \ AppID \ {86F80216-5DD6-4F43-953B-35EF40A35AEE} Step 3
We right click on this key and select "Permissions":
Step 4
We will see the following:
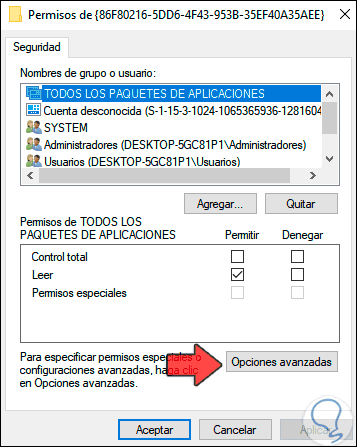
Step 5
We click on the "Advanced Options" button and the following will be displayed:
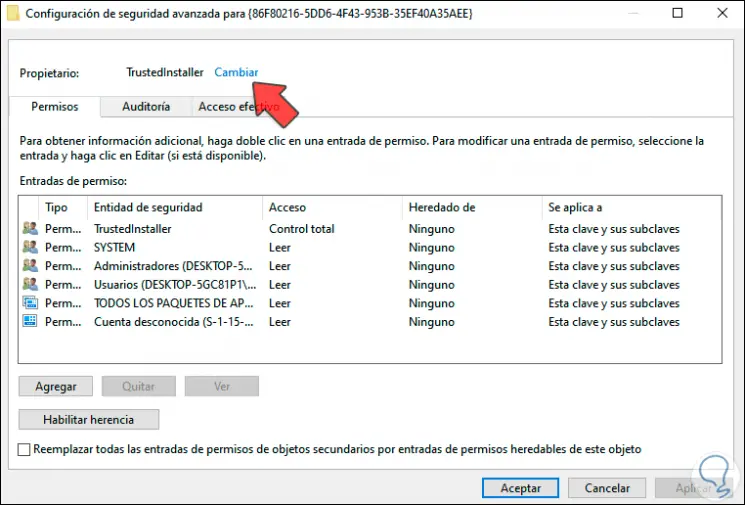
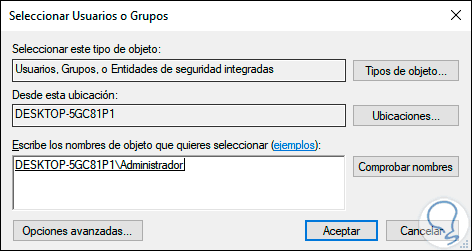
Step 6
At the top we click on the “Change” line and after that we must add the Administrator group, we click on “Check names” to make sure it is the correct group:

Step 7
We click OK and we will see the group added correctly:
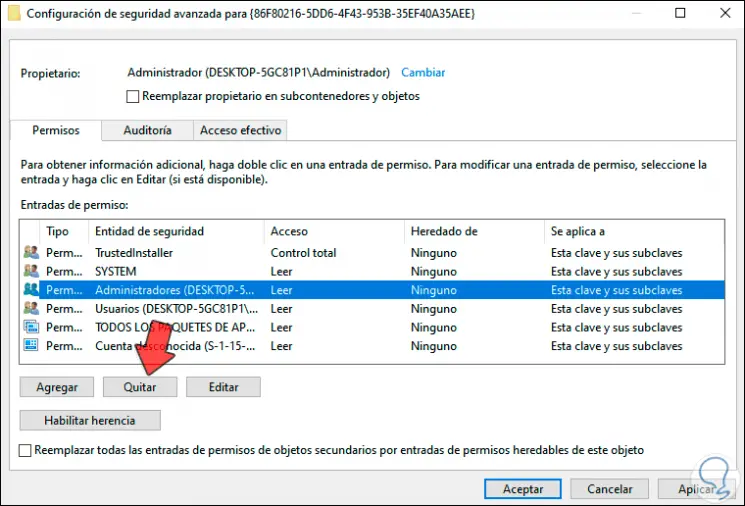
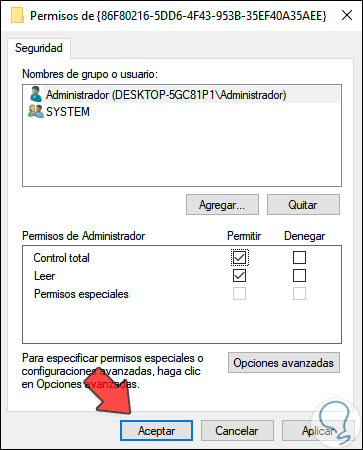
Step 8
Now we must delete all the entries except the "System" line, for this we select each one and click "Remove". We click Apply and OK to save the changes.
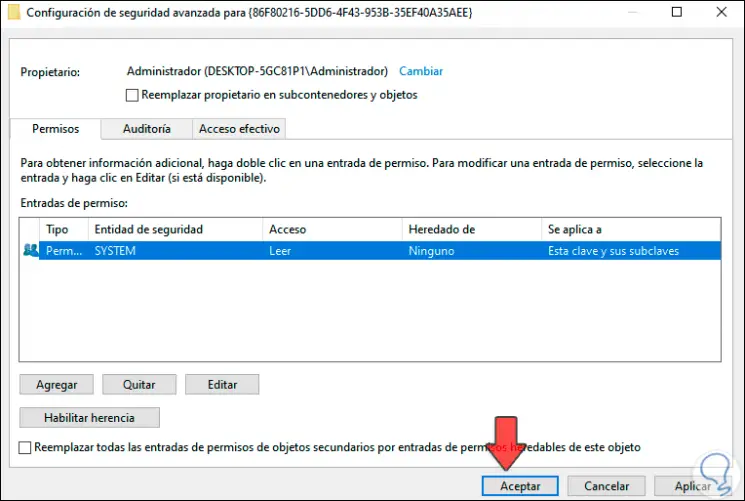
Step 9
This process will make the "Wireless Properties" button unavailable to access network details:
Step 10
Or in other cases we can access the wireless properties, but when the “Show characters” box is activated, you will simply not see anything:
Step 11
The moment we want to see the password again, we go back to the previous password and select Permissions:

Step 12
We click Add and add the Administrator group:
Step 13
We click OK and we will give you the appropriate permissions:
We save the changes and in this way we have hidden the Wi-Fi network password in Windows 10..