All wireless networks available both in homes and in offices and public places such as libraries and airports, have something in common and is that each of them has been assigned an SSID which is an identifier so that we have clarity what is the name of the network and thus connect to the one that is correct. In the case of Windows 10, we can see that when we click on the Wi-Fi icon in the taskbar, all the Wi-Fi networks available in the coverage range of our network adapter are deployed and each one has its own name (SSID) assigned..
If we have configured Windows 10 to automatically connect to a Wi-Fi network, we will not need to click on the respective network since the Windows 10 operating system itself detects this network and automatically connects to it as soon as it is available. A simple security measure that can be of great help is to hide our SSID from the other networks and this is especially practical to prevent attackers from knowing the name of the network and using the various current techniques to connect to it because This would cause us to lose performance and in some cases our privacy would be violated.
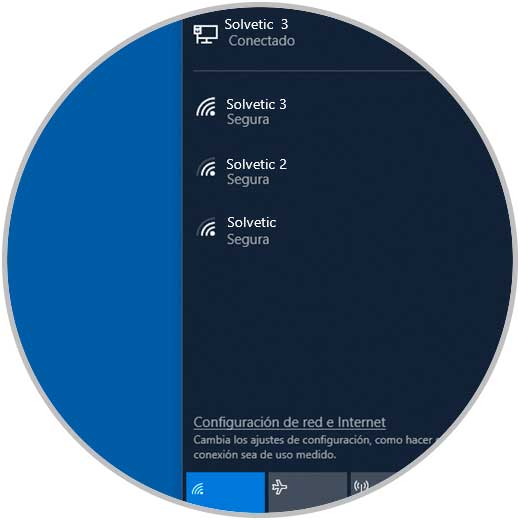
TechnoWikis will explain the way to hide, or see if necessary, the SSID of the Wi-Fi network..
To keep up, remember to subscribe to our YouTube channel! SUBSCRIBE
1. Hide SSID name of Wi-Fi networks in Windows 10
Step 1
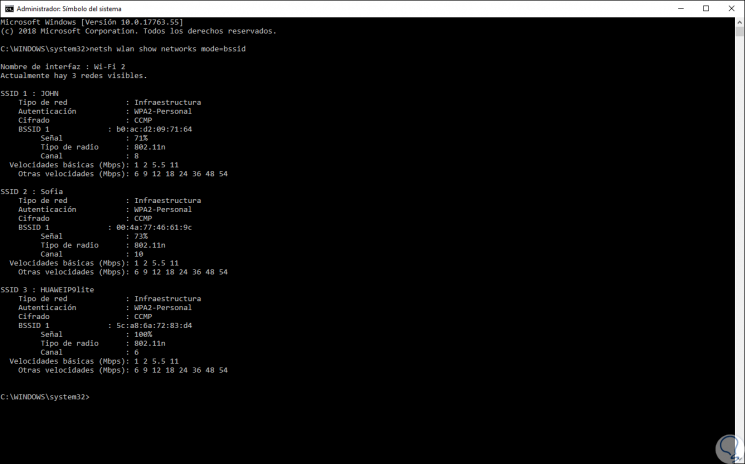
To start this process we must access the command prompt as administrators and in the deployed console we will execute the following line to check the available Wi-Fi networks and thus define exactly the name of the Wi-Fi network to be hidden:
netsh wlan show networks mode = bssid
Step 2
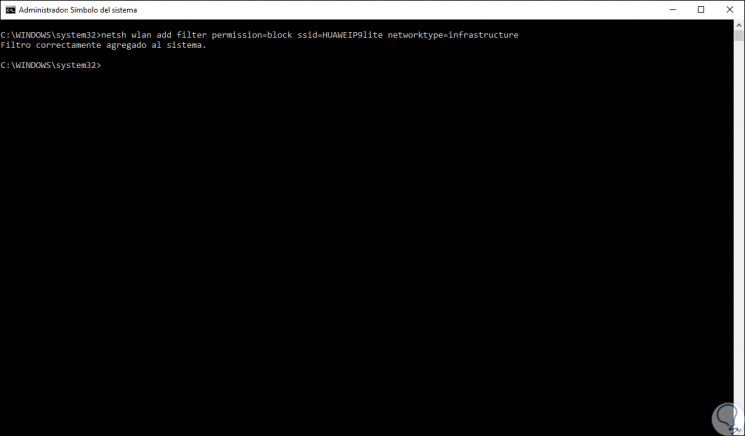
Now, let's run the following syntax to hide the Wi-Fi network from the environment or coverage range. By pressing Enter we can see that the filter has been applied correctly.
netsh wlan add filter permission = block ssid = â€Wi-FI network name†networktype = infrastructure
In this example we will hide the HUAWEIP9lite network so we will execute the following:
netsh wlan add filter permission = block ssid = HUAWEIP9lite networktype = infrastructure
Step 3
If we now go back to the taskbar to check the available networks we can see that the selected network is not available, although it is active:
2. See SSID name of hidden Wi-Fi networks in Windows 10
Step 1
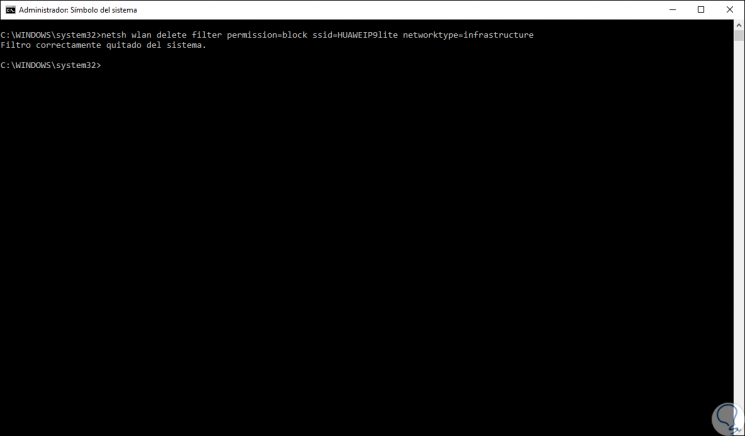
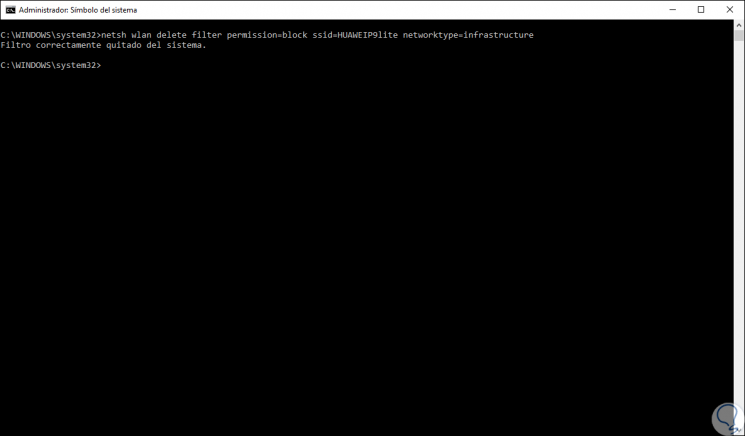
If the goal is to show the hidden Wi-Fi network again in the Wi-Fi drop-down menu, it will be necessary to run the following syntax. We see that the filter has been removed from the system.
netsh wlan delete filter permission = block ssid = â€Network name†networktype = infrastructure
In this case we execute:
netsh wlan delete filter permission = block ssid = HUAWEIP9lite networktype = infrastructure
Step 2
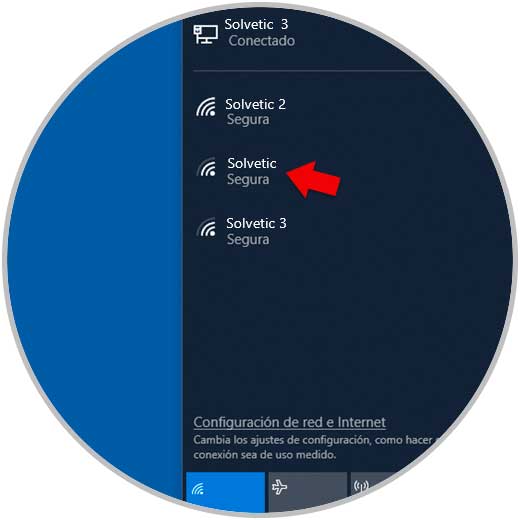
If we now access the Wi-Fi menu, the selected network will be visible again:
With this simple process it will be possible to hide or view Wi-Fi networks in Windows 10.