Windows 10 offers the end user a series of special options to globally manage the system and that is why when Windows 10 is installed on a computer we will see that a special partition is created called " Partition Reserved For The System ". As such, this is a partition that as Windows 10 users we do not use since access to it is restricted for security reasons and something to note is that the Windows system itself does not assign a drive letter to these partitions, so it will only be visible when we use the disk management tool:
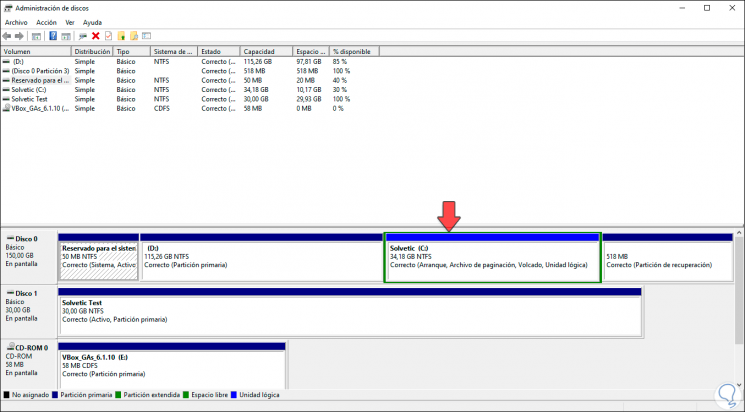
In this case we can see that the space that has been allocated is 50 MB..
Reserved partition
This type of partition was introduced since Windows 7 and within it are two key elements that are:
- The boot manager and boot configuration data, the boot manager in Windows 10 starts from the moment we turn on the computer and will read the boot data from the stored boot process configuration data (BCD), like this, Windows 10 runs the bootloader of the partition reserved for the system based on the configuration data that is stored in the active partition.
- The startup files for BitLocker drive encryption , in case of encrypting the hard drive using the BitLocker tool, the partition reserved for the system will be in charge of hosting the files necessary to start the computer.
The partition reserved for the system needs around 500 MB in Windows 10 for effective work, so if its size is limited, as in this case, we must find a way to extend its size, but by right-clicking on We will see that the option "Extend volume" is not active by default in Windows 10:
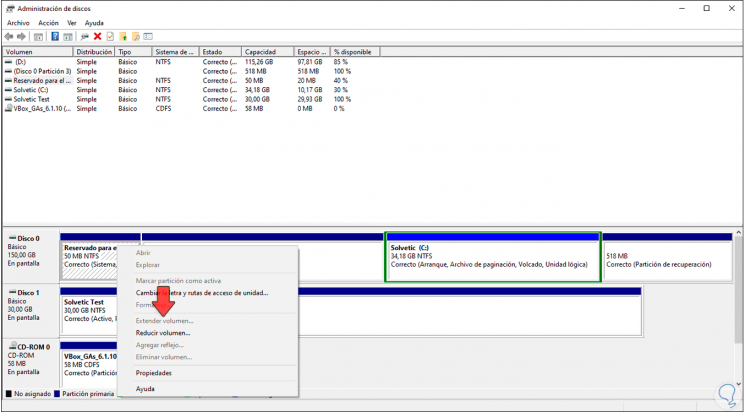
To correct this we must use the Minitool Partition Wizard tool which can be found for free at the following link:
Minitool Partition Wizard
To stay up to date, remember to subscribe to our YouTube channel! SUBSCRIBE
1. What is Minitool Partition Wizard
This tool gives us the ability to edit the hard drive partitions, format the partition, check the file system, align the SSD partition, analyze SSD performance, convert FAT file systems to NTFS and much more in a safe and secure way. fully functional.
Features Minitool Partition Wizard
Among its characteristics we find the following:
- Create, delete or format partitions
- Move or resize a partition
- Clean a disk or partition preventing its information from being accessed later
- Convert FAT systems to NTFS
- Merge and / or split a partition
Now with TechnoWikis we will see how to increase the size of the system reserved partition in Windows 10 with this utility..
Minitool Partition Wizard
2. Increase reserved partition for Windows 10 system
Step 1
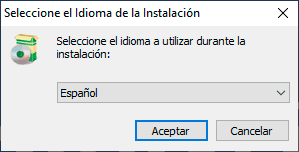
Once the utility has been downloaded, we proceed to its execution where we first define the installation language of this:
Step 2
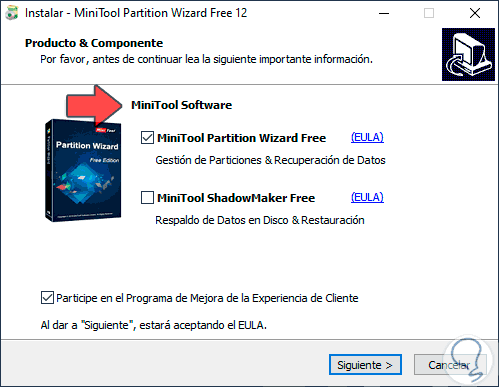
We click OK and in the next window we will only leave the "MiniTool Partition Wizard Free" box active:
Step 3
We click Next and define where this utility will be installed:
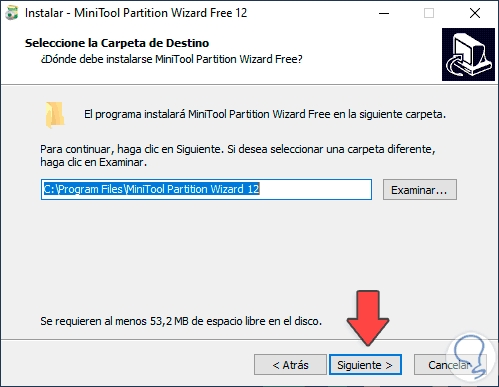
Step 4
We click Next to proceed with the installation:
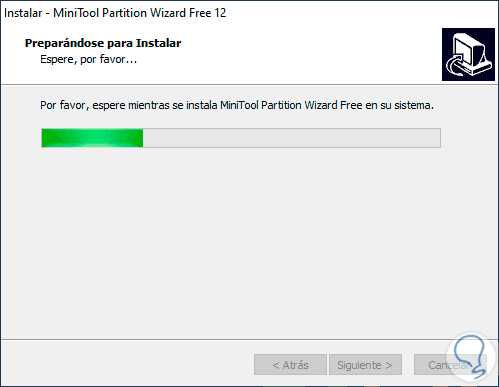
Step 5
At the end we will see the following:
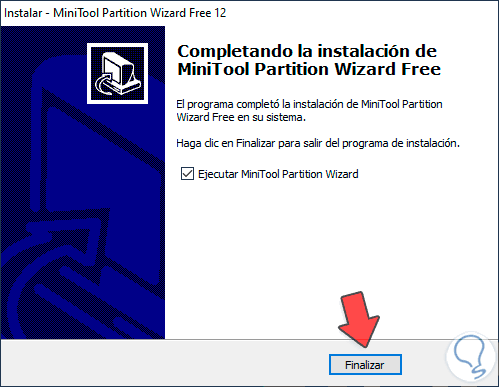
Step 6
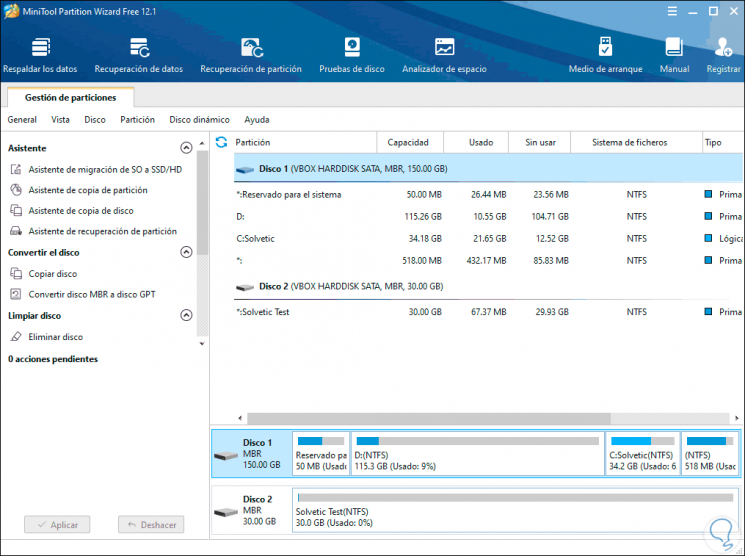
We click Finish to complete the process and this redirects us to the MiniTool site, we can exit and we will see the administration console of the utility:
Step 7
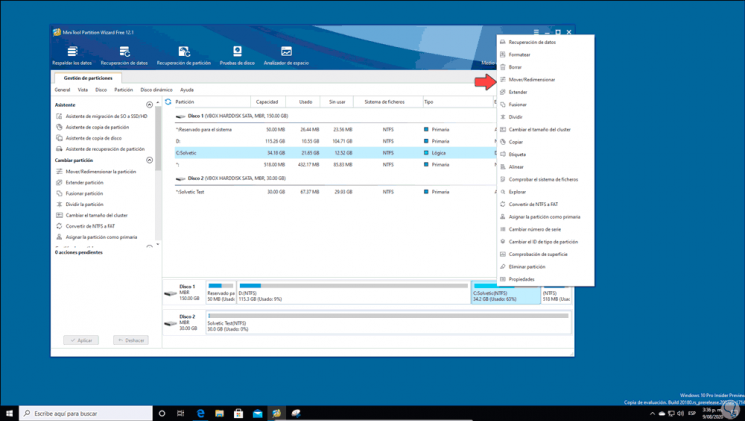
As we can see, there are listed all the options available to perform with the current partitions of the computer, to increase the size of our partition we will right click on the C drive and in the displayed list we select "Move / Resize":
Step 8
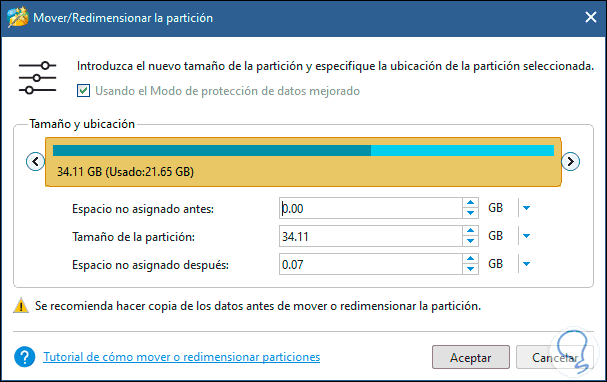
The following wizard will be displayed:
Step 9
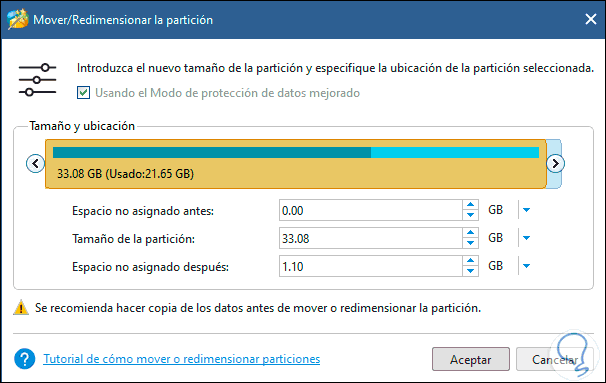
In the upper part we move the sliding bar to the size that will be free and that we will see in the "Unallocated space later" field:
Step 10
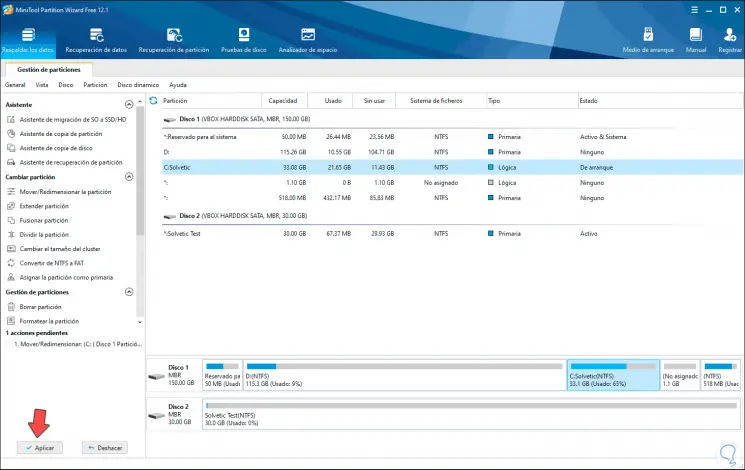
We click "OK" and in the main console we will see the following:
Step 11
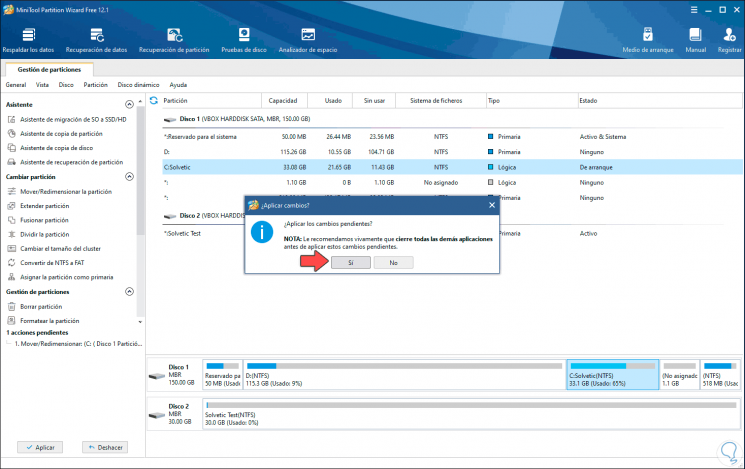
We confirm the changes by clicking "Apply" and we will receive the following warning:
Step 12
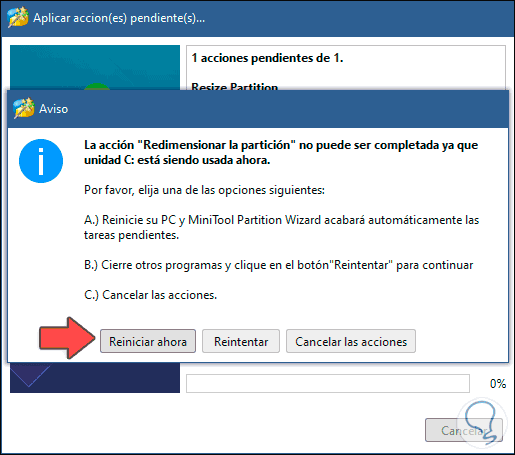
We click Yes and after this we will see the following:
Step 13
This message occurs because the main partition is active, we will click on "Restart now" and the operating system will restart:
Step 14
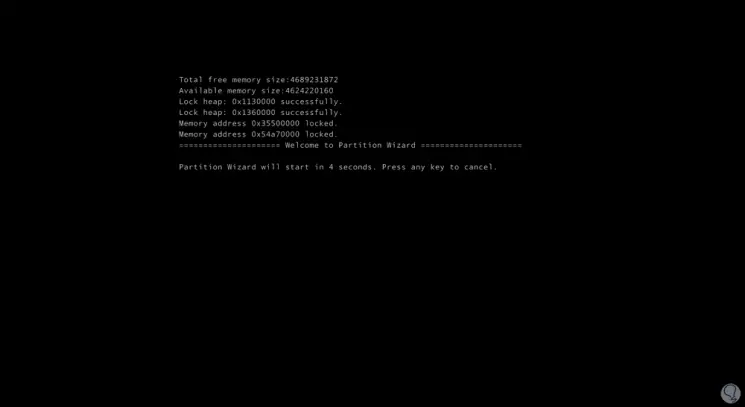
After this we will see the following associated with MiniTool Partition:
Step 15
We leave this process so that the partition is resized according to what we have specified:
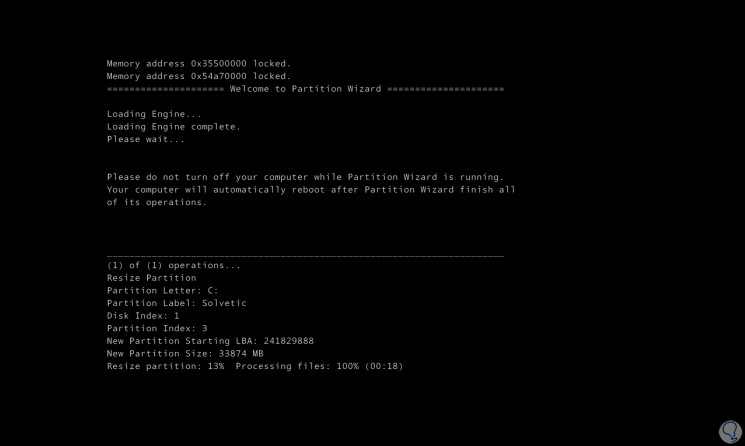
Step 16
After this process is completed, the system will be restarted again and upon logging in we access the MiniTool Partition utility where we will see the space that has been freed and is currently unallocated:
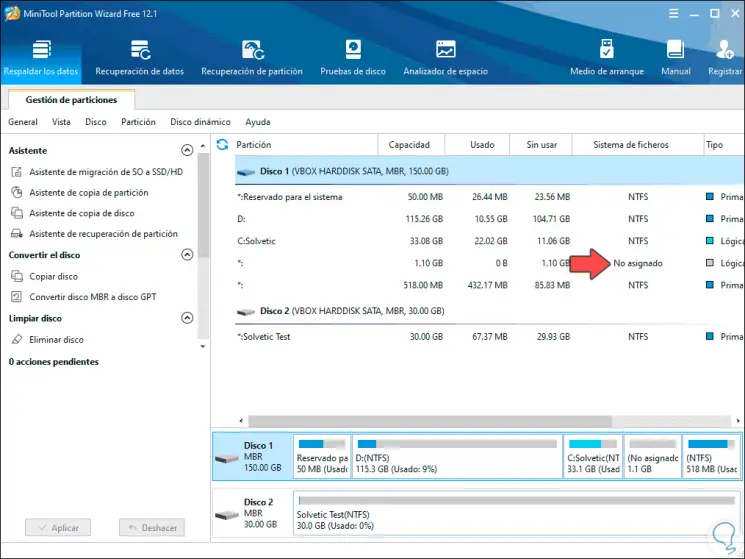
Step 17
As we can see, the unallocated space is available there, to increase the size of the reserved partition we will right click on it and in the displayed list select "Extend":
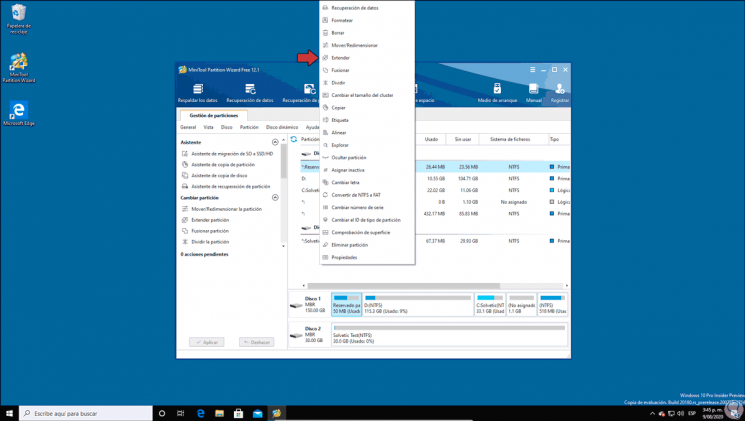
Step 18
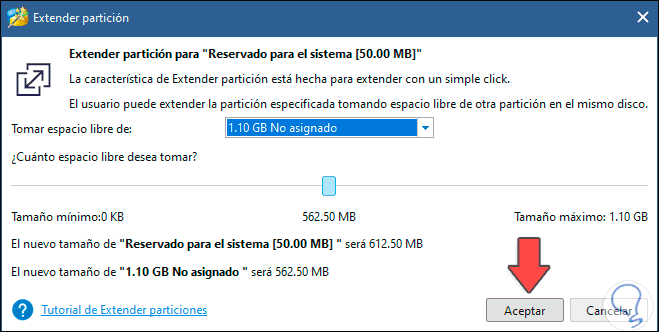
The following wizard will be displayed where we display the options of the "Take free space from" field and select the unallocated space:
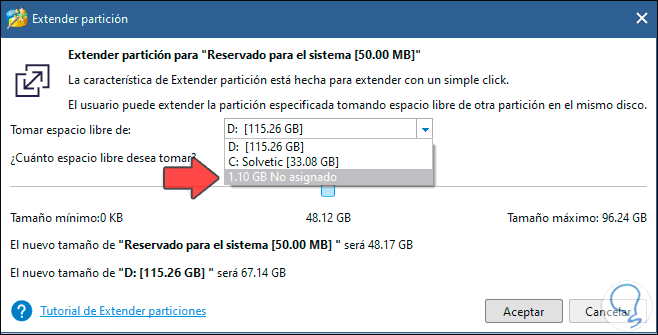
Step 19
By selecting it we will see the following:
Step 20
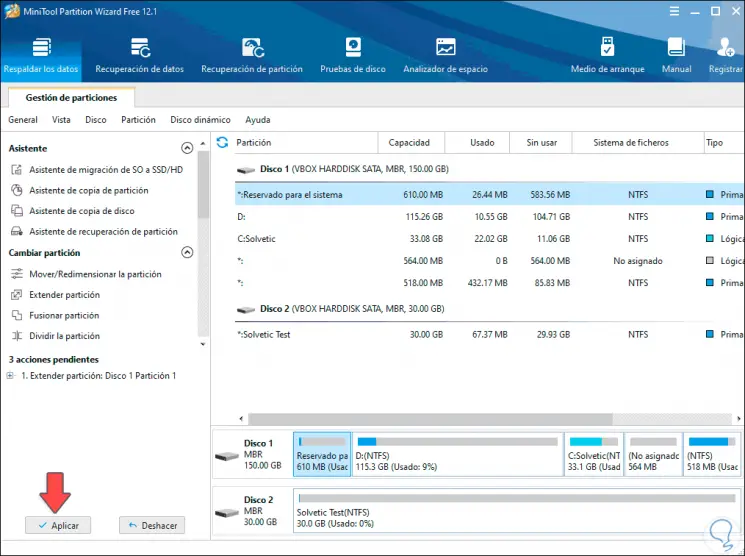
We click OK and we will see the following:
Step 21
We click Apply to complete the process:
Step 22
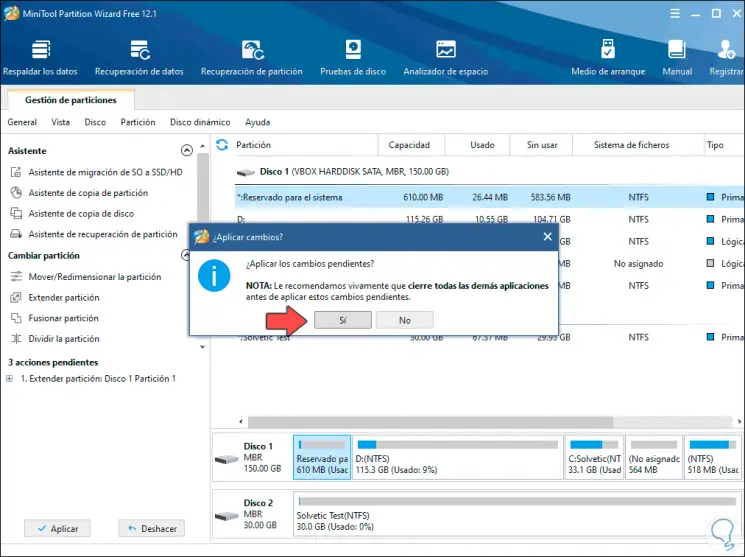
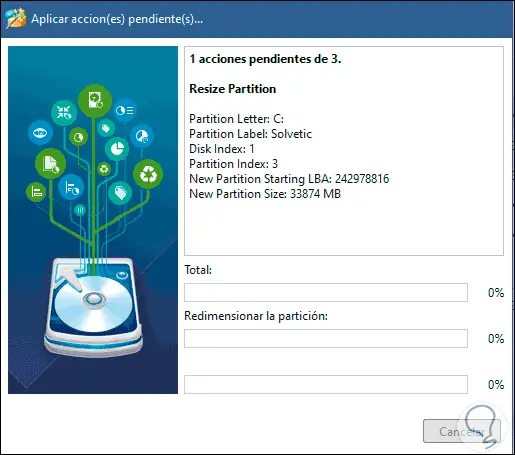
We confirm by clicking Yes and the extension process of the selected partition will start:
Step 23
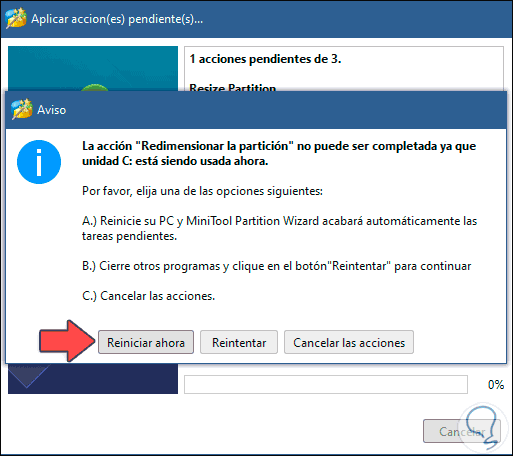
Then we will see the following warning:
Step 24
As we can see, it is necessary to restart the system again to complete the process correctly:
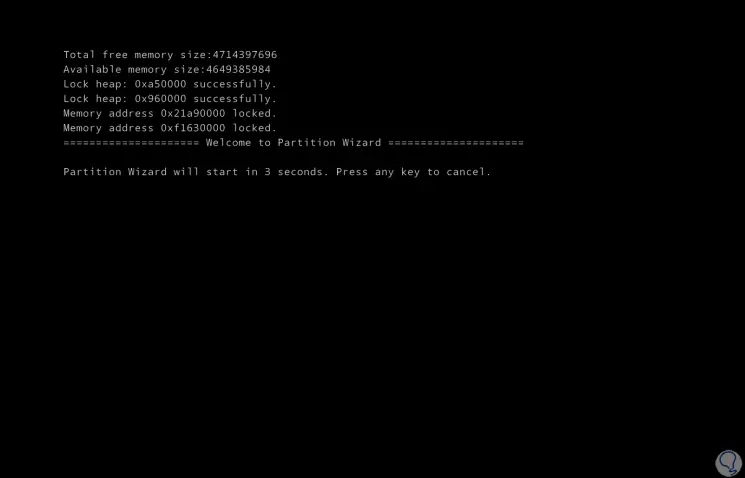
Step 25
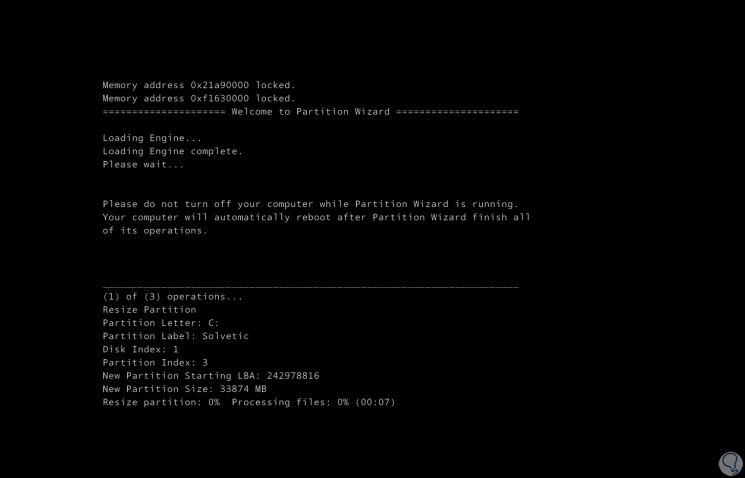
There we wait for the utility to apply the changes:
Step 26
After this the system will be rebooted automatically:
Note
On many occasions Windows 10 takes the selected space for internal administration tasks.
Step 27
When we log in we will go to the MiniTool tool and we will see that the size of the reserved partition has been increased:
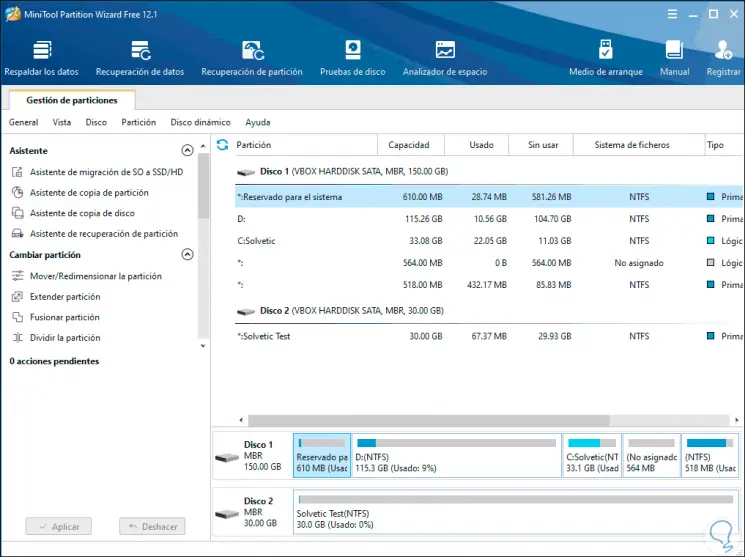
Step 28
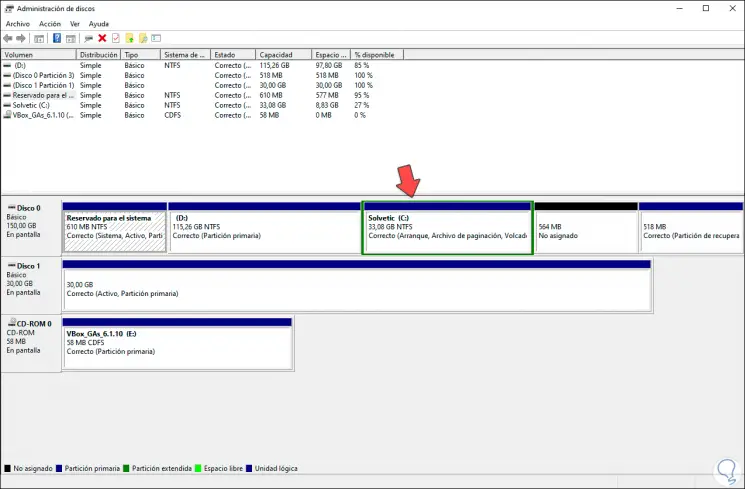
We can get out of this and in the Windows 10 Disk Manager we check that initially we had 50MB and now 610 MB:
Thanks to this simple, but complete tool, we are able to increase the size of the reserved partition in Windows 10 and thus manage these support aspects better.