When Windows 10 is installed, a partition between 500 MB to 600 MB will be created automatically, which is reserved for system tasks, this is a Windows 10 reserved partition where components of the operating system are installed to perform administrative tasks or of support. This partition will be visible, but for safety we recommend hiding this unit from the view of other users since if it remains there it can be vulnerable to inappropriate tasks on it..
When we perform a clean installation of our Operating System, a partition will be created under the name " Reserved for the system ". Normally, this partition does not have a letter assigned and it must be managed from the Disk Administrator. As it contains system elements, we can choose to hide Windows 10 partition and avoid problems with this Windows 10 partition.
TechnoWikis will explain how to hide this reserved partition from Windows 10 system..
To stay up to date, remember to subscribe to our YouTube channel! SUBSCRIBE
Hide system reserved partition in Windows 10
Step 1
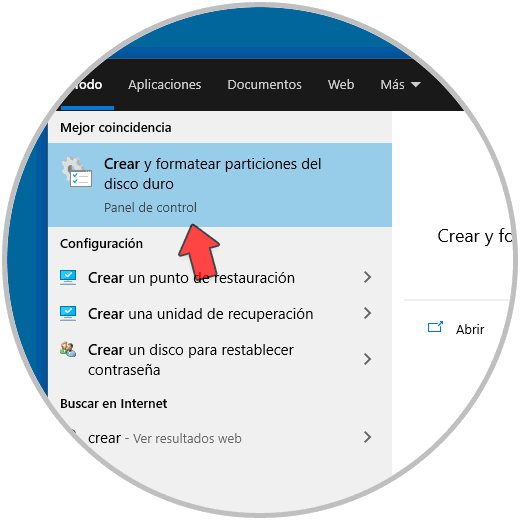
To hide this reserved partition we enter the term "create" in the Start search box, in the results we select "Create and format hard disk partitions":
Step 2
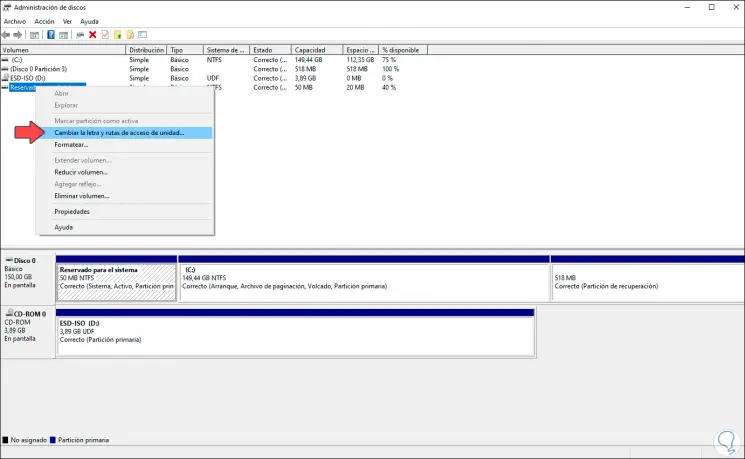
In the Disk Administrator window we must right click on the reserved partition and in the options displayed we will select "Change the drive letter and paths":
Step 3
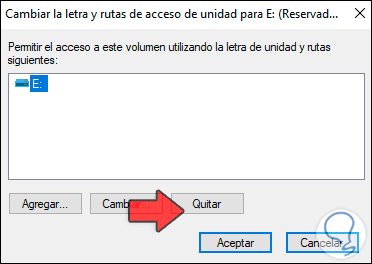
In the displayed window we will see the details of the letter that the system has assigned by default:
Step 4
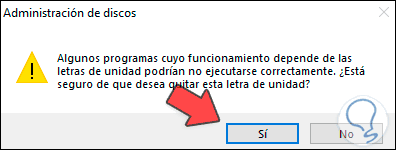
To hide it, click on "Remove" and the following warning will be launched:
Step 5
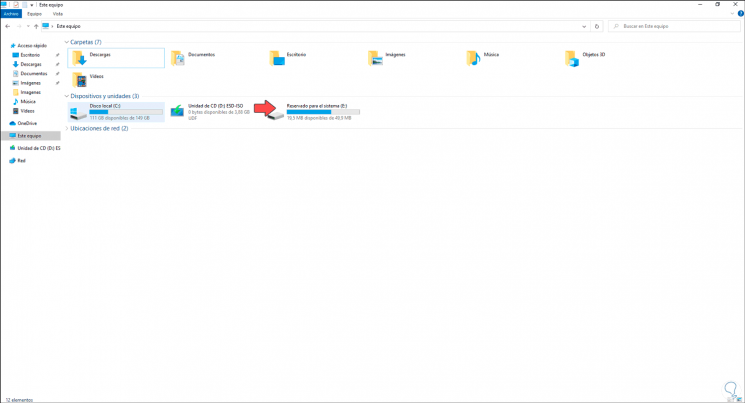
Before hiding the letter we can see from the Explorer that this partition is visible:
Step 6
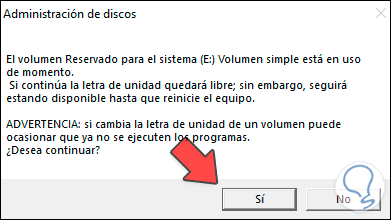
In the warning window we click Yes and we will receive a new warning about the risks of removing said letter:
Step 7
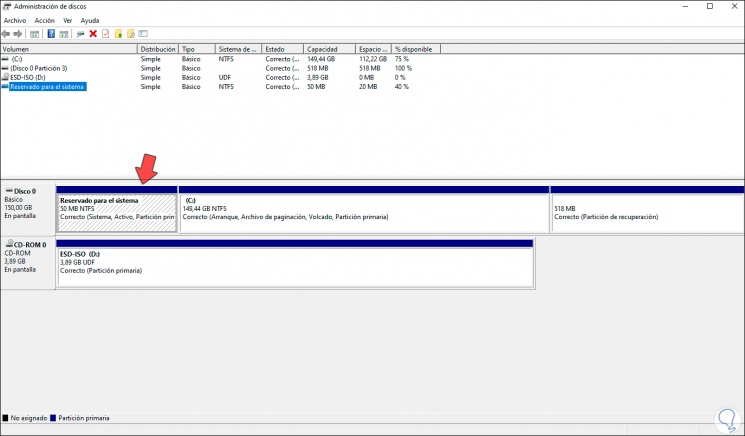
We click Yes and we will see that the unit has been hidden from the Windows 10 Disk Manager:
Step 8
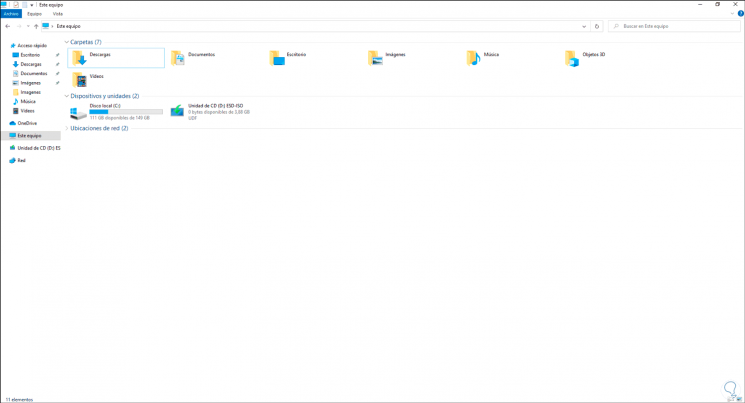
If we go to the Explorer, this partition will not be visible:
With this simple, but practical step we can hide the reserved system partition in Windows 10.