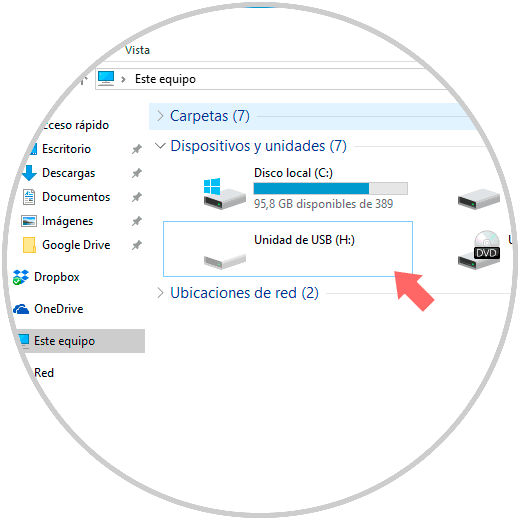
Automatically hardware developers for the various operating systems create a special partition of approximately 500 MB intended for system recovery, this has been added there so that at the time it is necessary to recover the operating system for some type of error just double click on that partition and from there follow the steps of the wizard:
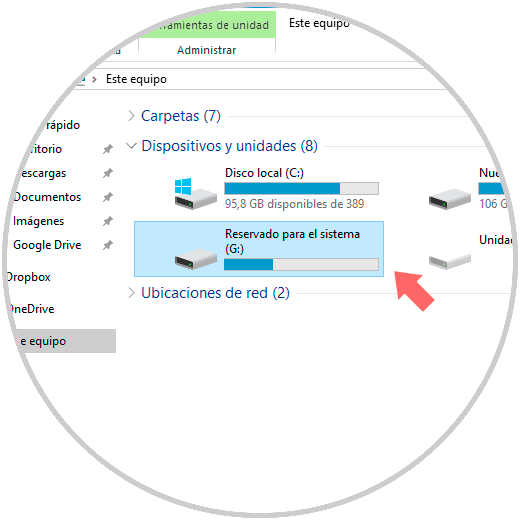
Although it is a unit created automatically for the system, in some situations it may be ideal to hide it to avoid accidentally accessing it and thus corrupt something in the optimal operation of the operating system.
Next, we are going to see some steps to hide this unit from File Explorer and thus have better security on Windows systems..
1. Hide drive using Disk Manager in Windows 10, 8, 7
The disk manager is the graphical way that Windows gives us to manage everything related to the storage units connected in the computer.
Step 1
To access this administrator we can use one of the following options:
Disk Manager
Step 2
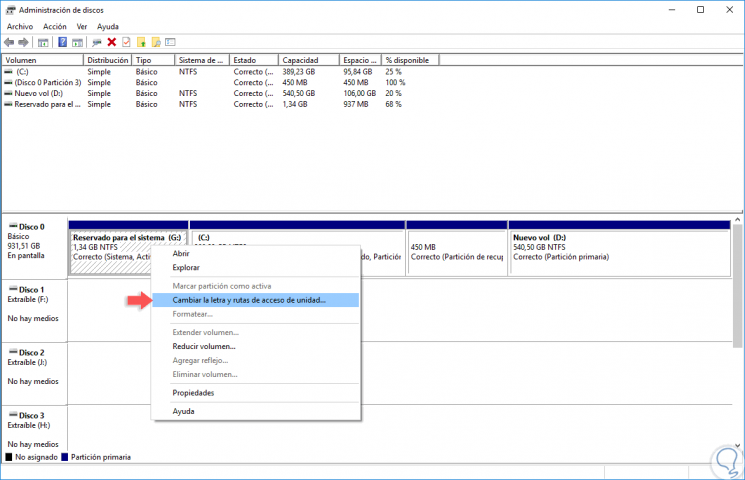
In the displayed window we will locate the partition where the system recovery is located and we will right click on it and in the options displayed we select the option “Change the letter and drive pathsâ€:
Step 3
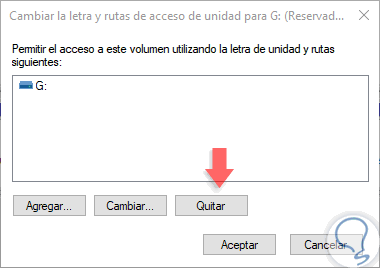
The following window will be displayed where we will select the letter currently assigned to the unit and click on the “Remove†button:
Step 4
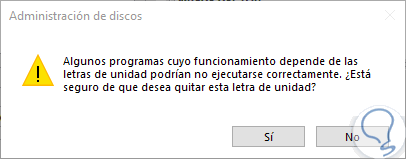
By pressing this option we will see the following:
Step 5
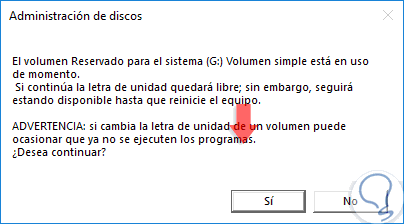
There we click on the Yes button and we can see the following message. Again we click on the Yes button to execute the action and we can see that this partition has been hidden from the Windows file explorer. This will hide the browser partition, but we can continue to access it from Disk Manager.
2. Hide partition using the diskpart command in Windows 10, 8, 7
The diskpart command is the command line utility that Windows offers for managing hard drives.
Step 1
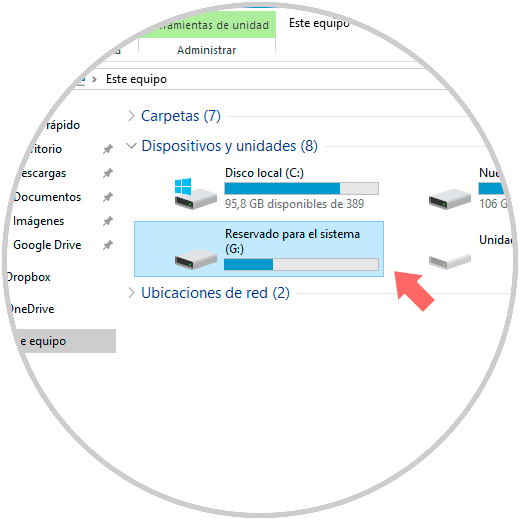
For this, from the file explorer we will detect which letter is assigned to the partition to hide, in this case we see that it is the letter G:
Step 2
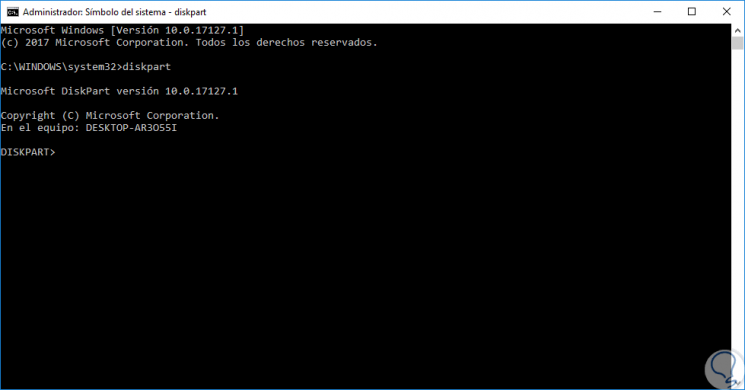
Now, we will access the command prompt as administrators and execute the "diskpart" command:
Step 3
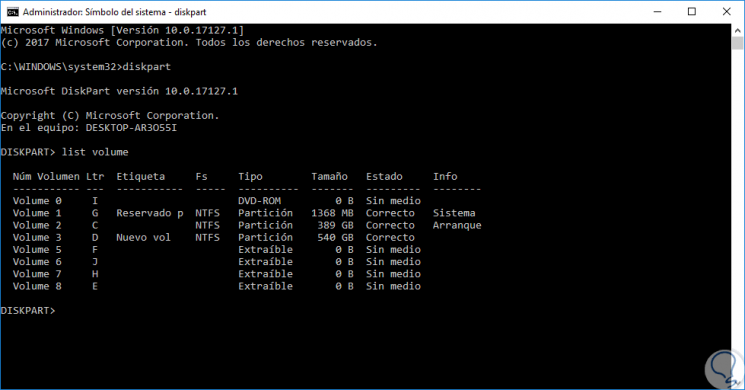
Once we access the diskpart utility we will execute the following:
list volume
Step 4
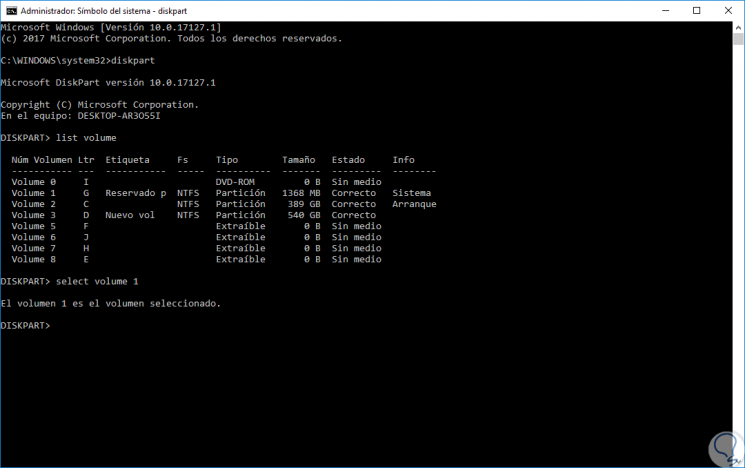
We see that all current units of the equipment are listed. Now, we must select the volume where this partition is located in this case Volume 1 and for this we will execute the following line in the terminal:
select volume 1
Step 5
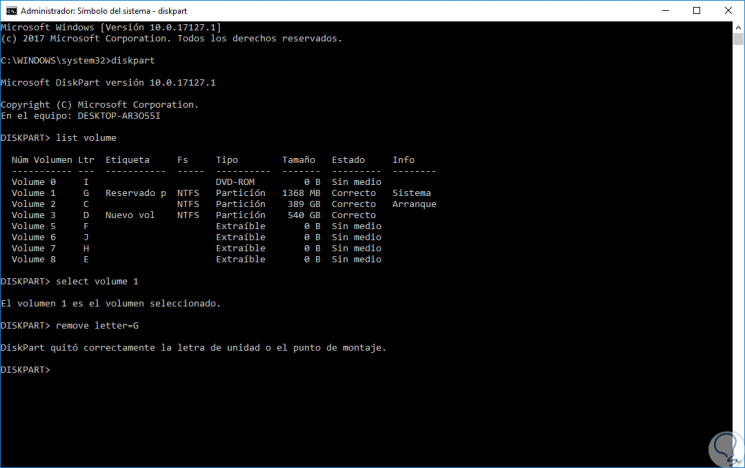
Next, to remove the letter assigned for this partition, in this case the G, we will execute the following:
remove letter = G
Step 6
With any of the mentioned methods, we can hide this partition in a practical way in Windows:
