In this world that has been impacted by external reasons, it has become essential to have optimal tools that allow the relationship with friends, family, co-workers and others not to be affected and this is achieved thanks to videoconferencing platforms being Jitsi one of those that is gaining strength today.
What is Jitsi
Jitsi is a free code utility available for Linux, macOS, Windows, iOS and Android operating systems , Jitsi complies with audio, video and instant messaging functions and is written in Java.
It is a versatile utility since it is compatible with telephony and instant messaging protocols such as IP, Jabber / XMPP,, AIM, ICQ, MSN, Yahoo! Messenger and more.
Jitsi is based on the OSGi architecture making use of Apache's Felix implementation, with which its extension and versatility options increase significantly.
Jitsi Features
Within the broad portfolio of Jitsi functions we find:
- Allows you to make audio calls, video calls, desktop streaming, audio conference calls and more
- Assisted transfer and blind transfer options
- At the security level, it offers call encryption with SDES / SRTP and ZRTP
- Wideband audio with SILK, G.722 and Speex
- Echo cancellation and noise suppression
- Password protection using a master password
- Call encryption with SRTP, SDES and ZRTP for XMPP and SIP
- Encrypted password storage
- Supports Opus, SILK, Speex, G.722, PCMU / PCMA (G.711), iLBC, GSM, G.729 audio protocols
- At the video level it supports H.264, H.263-1998 / H.263 +
- SIP and XMPP compatible IPv6 protocol
- You can discover the servers using DHCP and mDNS (Bonjour)
- Allows drag and drop options for file transfers
- Support for LDAP directories
- Support for Google contacts
- Allows for cross protocol conference calls
- Missed call notifications
- Integration with Microsoft Outlook and Apple's address book
- Online contact list storage with XCAP
- Certificate-based client authentication
TechnoWikis will explain in detail how to install Jitsi on both Ubuntu (20.04) and Windows 10.
1. How to install Jitsi on Ubuntu 20.04
Step 1
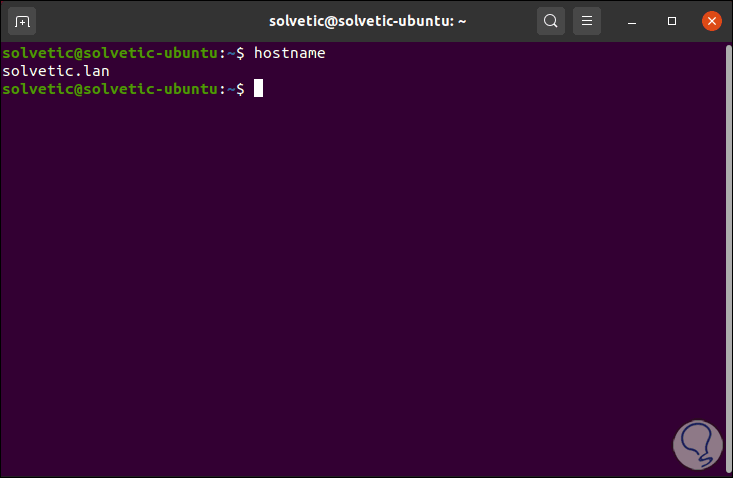
First, we will use the command "hostname" to know the current name of the computer:
Step 2
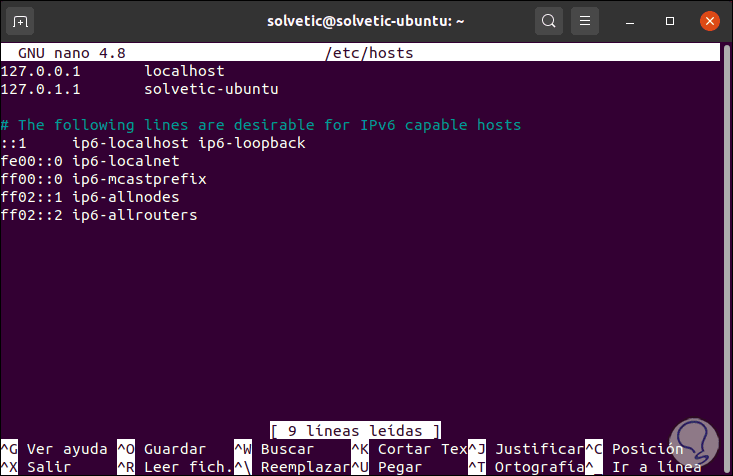
Now we access the / etc / hosts file with some editor:
sudo nano / etc / hosts
Step 3
There we are going to create the FQDN (Fully Qualified Domain Name) which is established by the domain name system (DNS) and will be the key for Jitsi to identify it. In the hosts file we will add the desired FQDN, in this case it will be "jitsi.technowikis.lan":
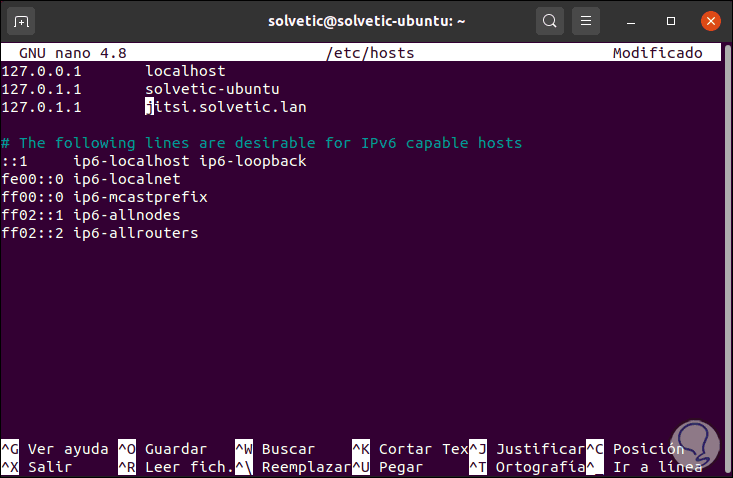
We save the changes with the Ctrl + O keys and exit the editor with the Ctrl + X keys.
Step 4
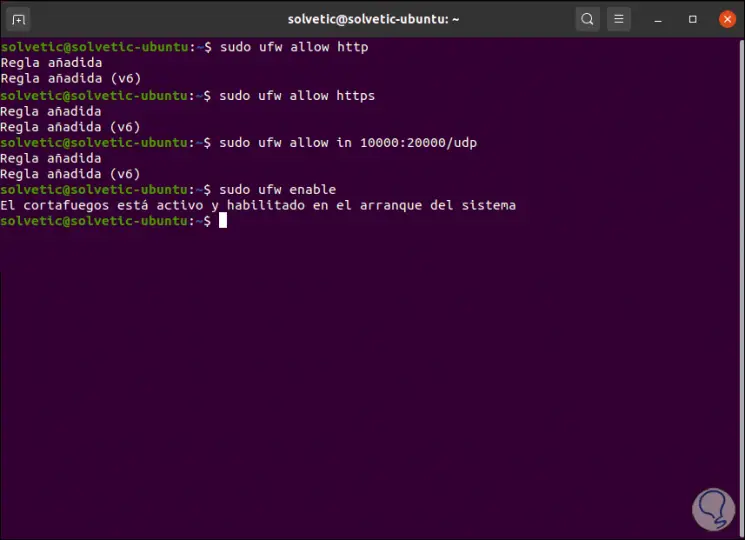
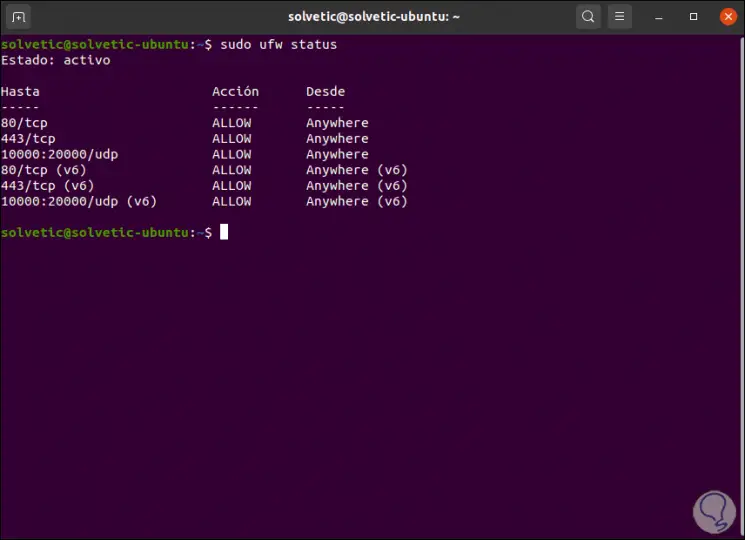
After this we will add the following protocols and ports to the Ubuntu Firewall:
sudo ufw allow httpsudo ufw allow httpssudo ufw allow in 10000: 20000 / udpsudo ufw enable
Step 5
We check this with the following command:
sudo ufw status
Step 6
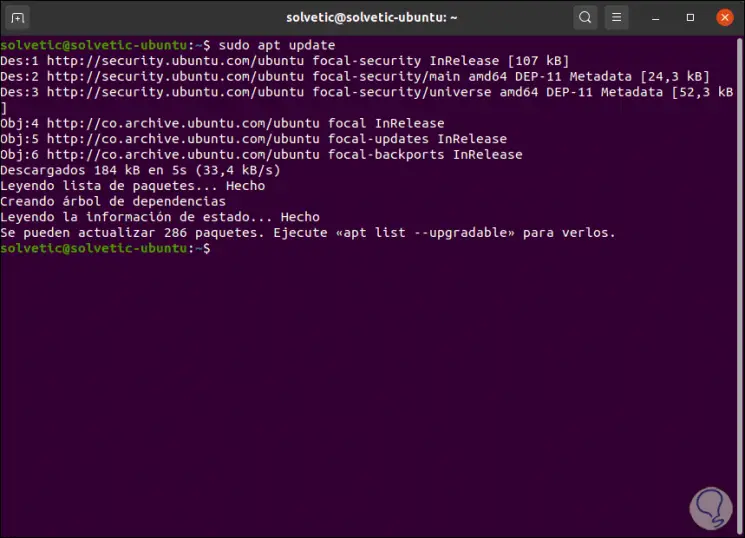
After this we will update the system:
sudo apt update
2. How to install OpenJDK Java Runtime Environment (JRE) 8
Step 1
Jitsi needs a Java Runtime Environment for its operation, if we do not have this we can install OpenJDK JRE 8 with the following command:
sudo apt install -y openjdk-8-jre-headless
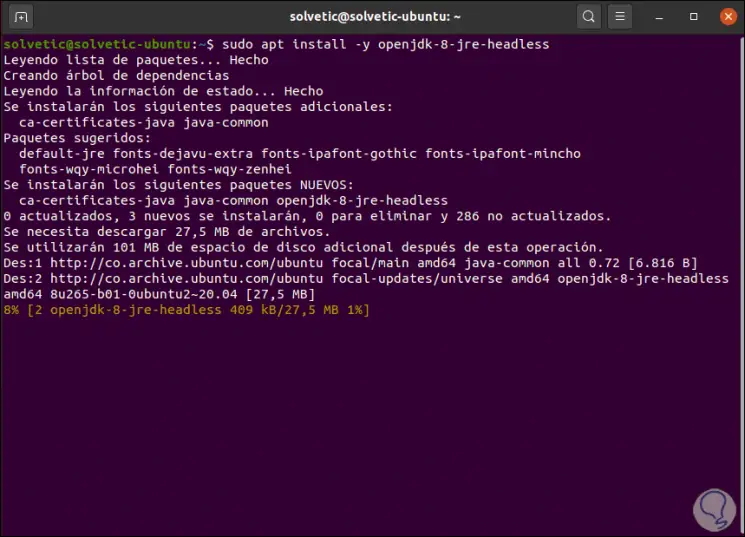
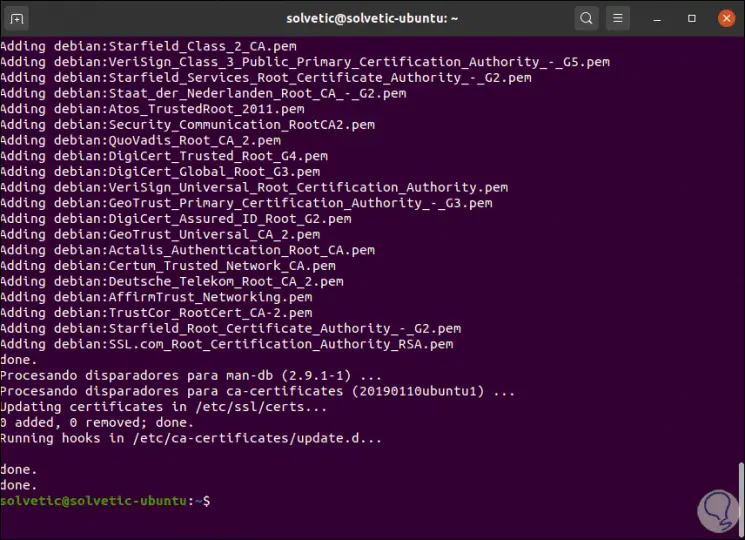
Step 2
When this process ends we will see the following:
Step 3
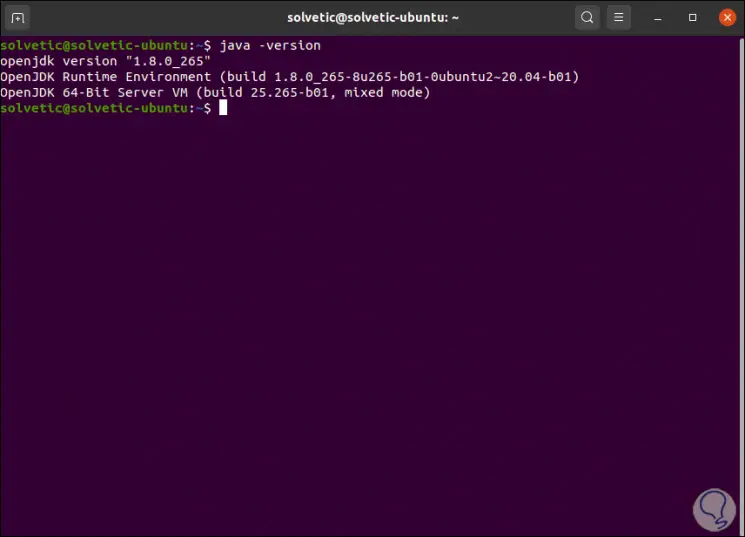
We check the Java version with the command:
java -version
Step 4
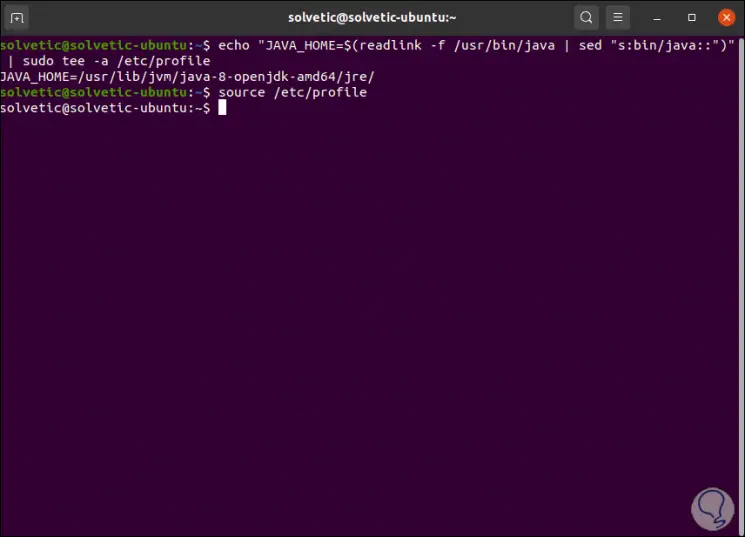
Next we will set the environment of the JAVA_HOME variable:
echo "JAVA_HOME = $ (readlink -f / usr / bin / java | sed" s: bin / java :: ")" | sudo tee -a / etc / profilesource / etc / profile
3. How to install Nginx web server
Jitsi performs better working with Nginx and will automatically configure all Nginx configuration processes if it is installed before Jitsi.
Step 1
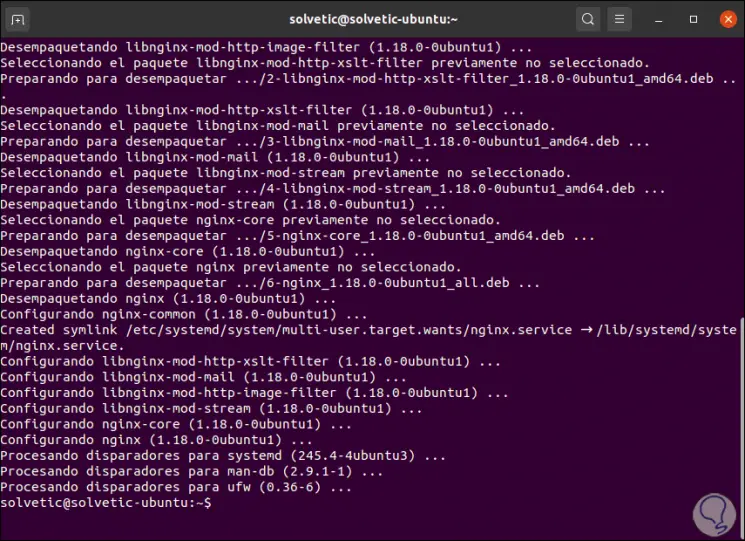
To install it we execute:
sudo apt install -y nginx
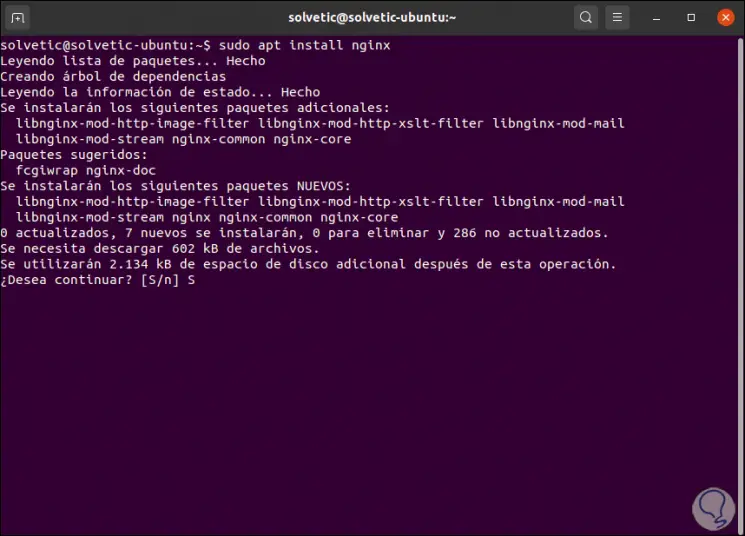
Step 2
We enter the letter S to proceed with the download and installation of Nginx:
Step 3
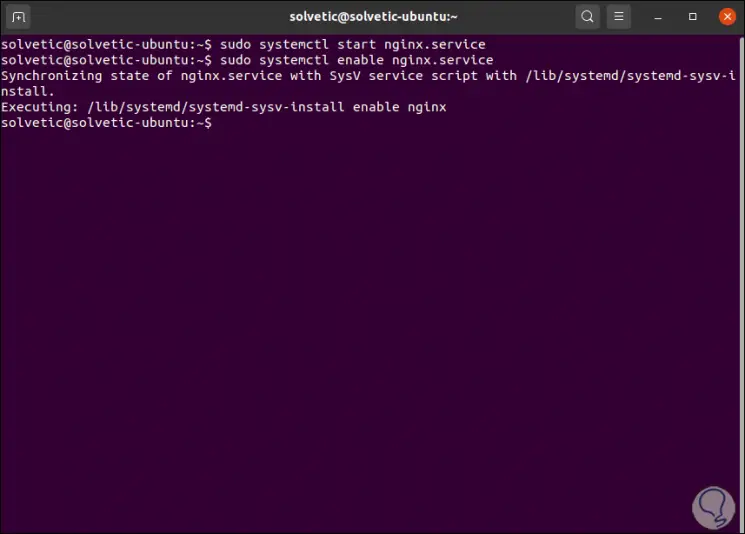
Now we start the service and enable it at Ubuntu 20.04 startup:
sudo systemctl start nginx.servicesudo systemctl enable nginx.service
4. How to install Jitsi Ubuntu
Step 1
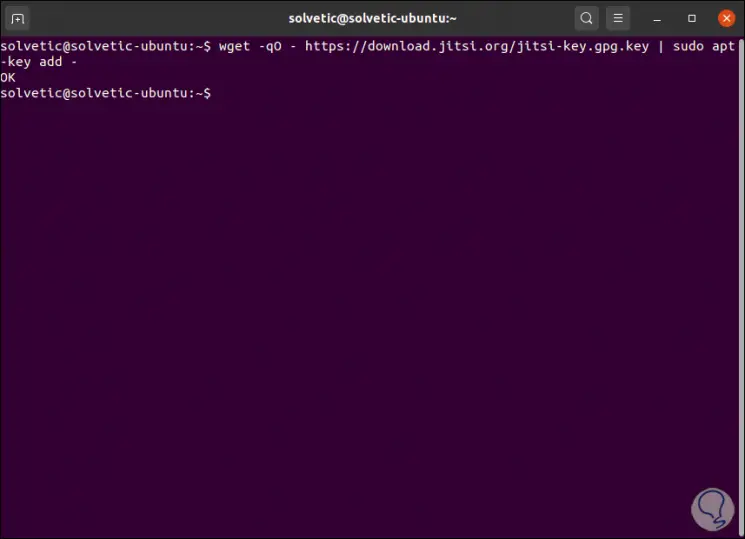
It is time to install Jitsi on Ubuntu 20.04. To do this, first of all we download and add the key:
wget -qO - https://download.jitsi.org/jitsi-key.gpg.key | sudo apt-key add -
Step 2
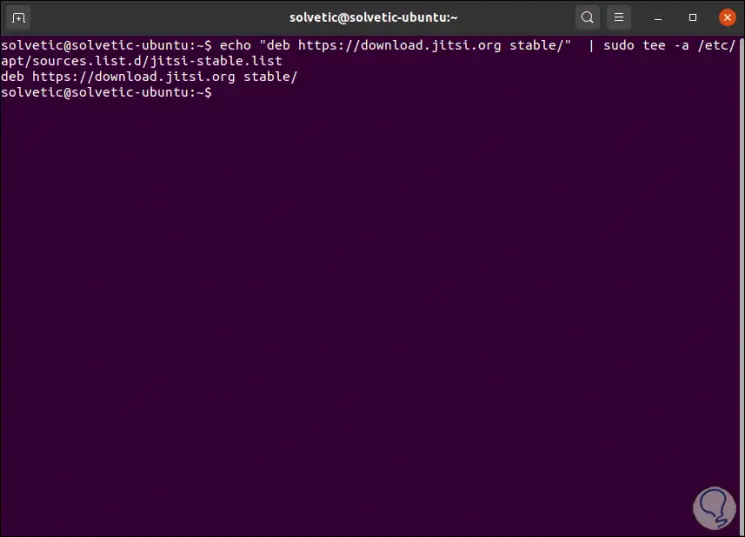
Now we add the stable version of Jitsi to /etc/apt/sources.list:
echo "deb https://download.jitsi.org stable /" | sudo tee -a /etc/apt/sources.list.d/jitsi-stable.list
Step 3
We update the system to apply the changes:
sudo apt update

Step 4
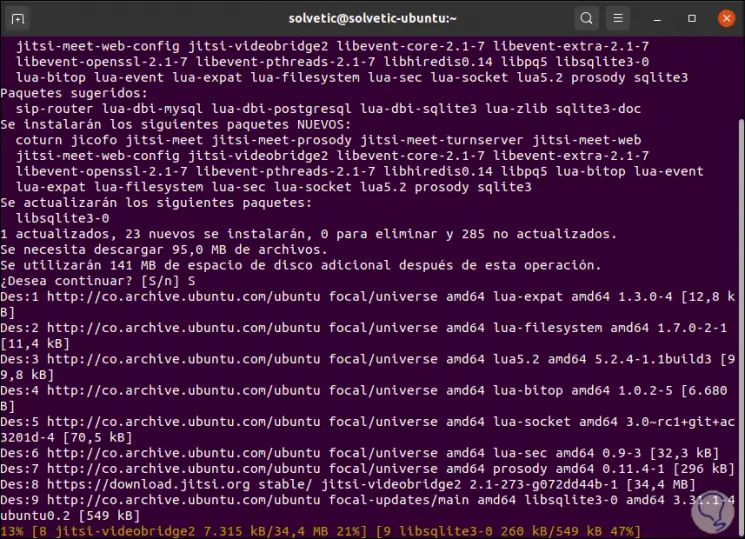
Finally we install Jitsi with the following command:
sudo apt install -y jitsi-meet
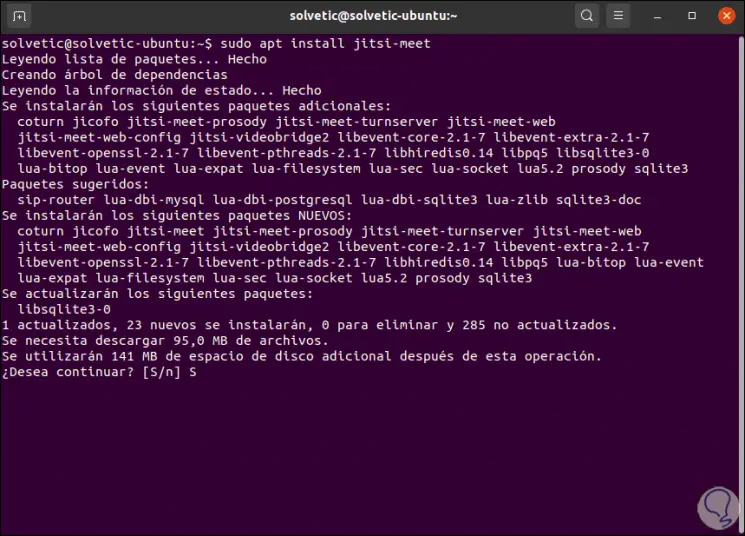
Step 5
We enter the letter S to confirm the process:
Step 6
After this we must enter the FQDN that we have assigned:
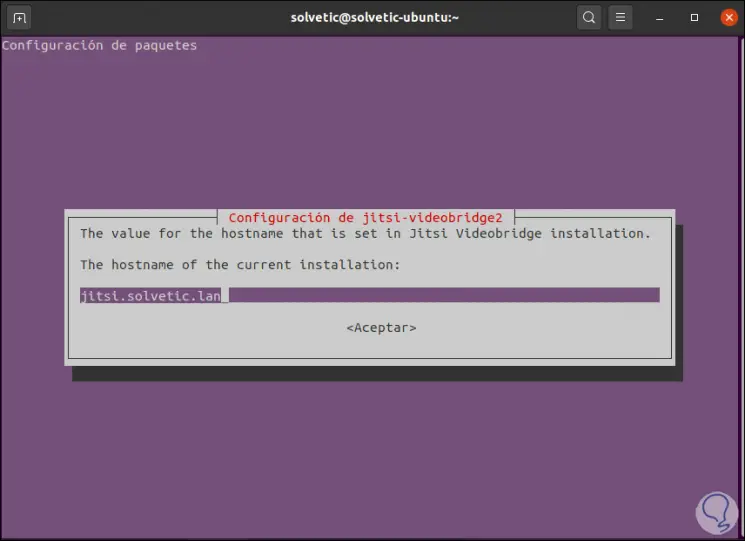
Step 7
We click OK and then we will see the following:
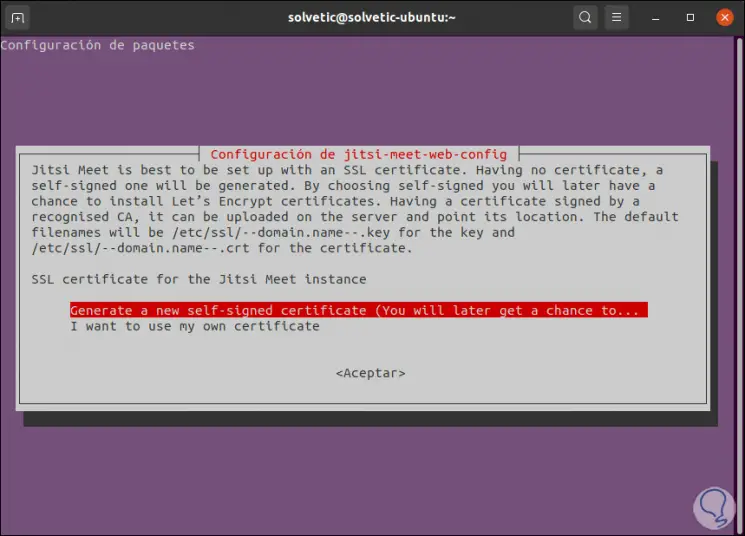
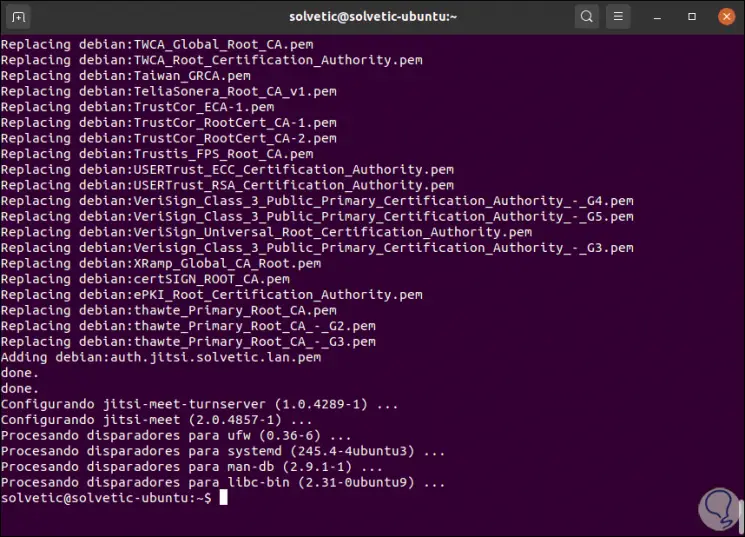
Step 8
We leave the default option for Jitsi to assign the certificate. Then the Jitsi installation process will complete:
5. How to install SSL certificate
Step 1
We execute the following order to configure the Jitsi SSL certificate, we must enter an email for support:
sudo /usr/share/jitsi-meet/scripts/install-letsencrypt-cert.sh
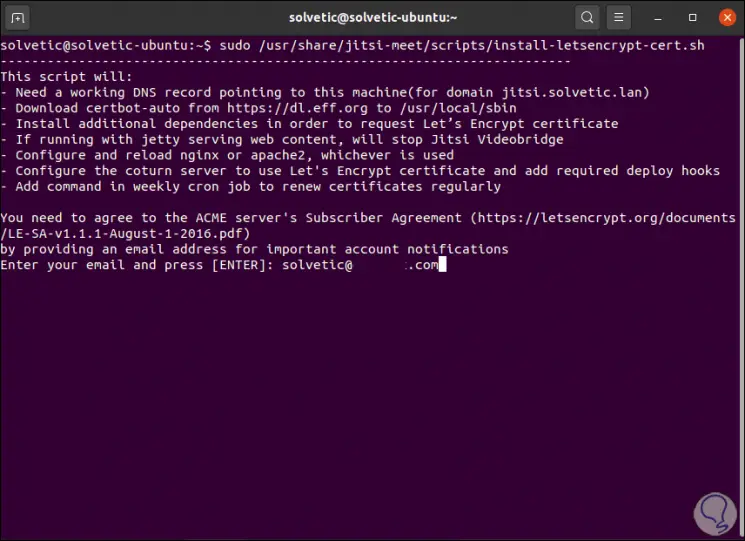
Step 2
We press Enter and it is normal for the result of this process to be the following:
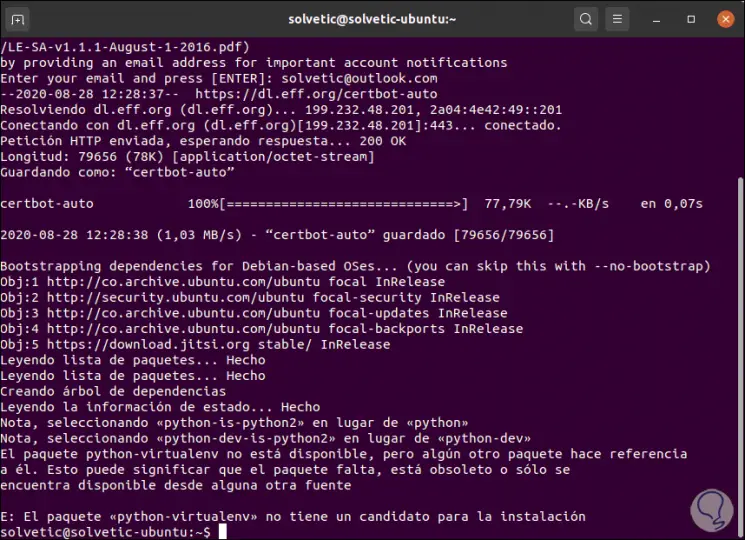
Step 3
As we can see at the bottom the "python-virtualenv" package is not available. To correct this we will install the "certbot" package with the following command:
sudo apt install certbot
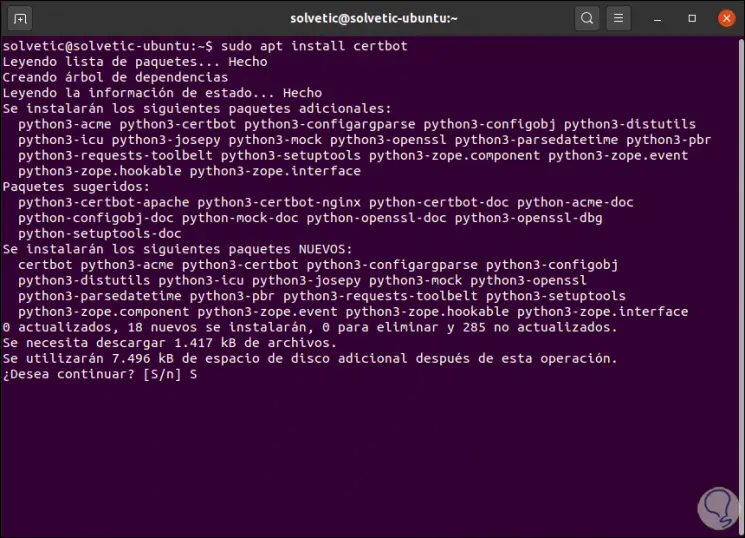
Step 4
We enter the letter S to confirm the installation:
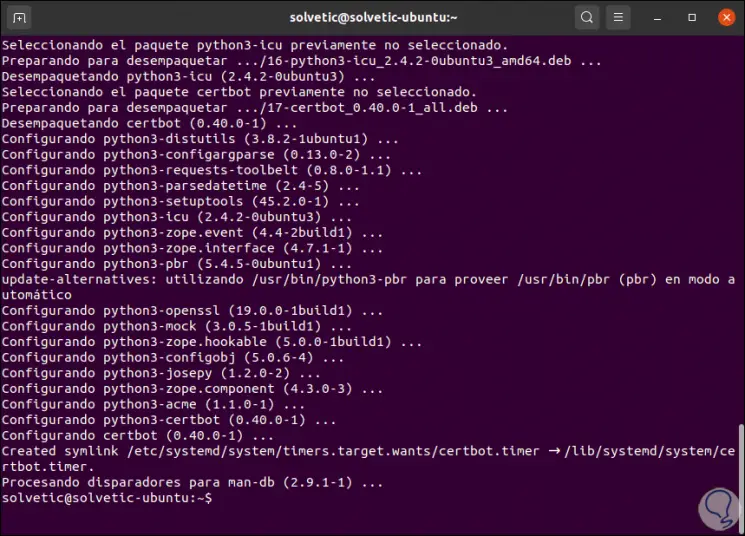
Step 5
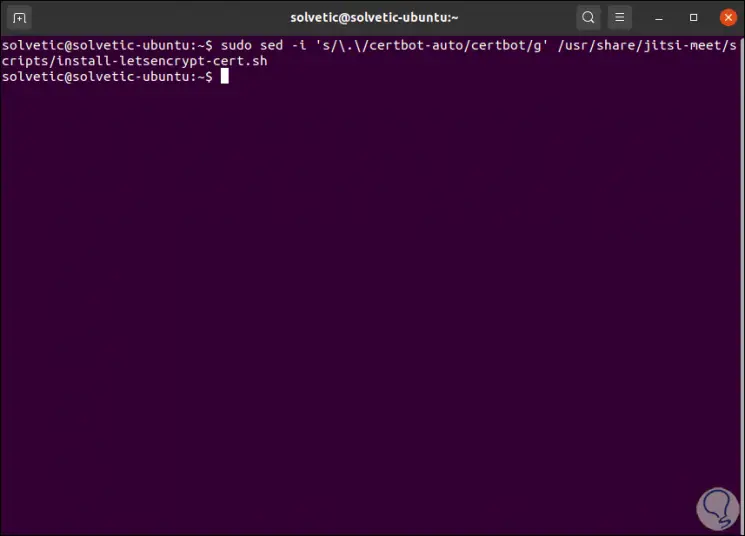
We update install-letsencrypt-cert.sh to use certbot instead of certbot-auto:
sudo sed -i 's /\.\/ certbot-auto / certbot / g' /usr/share/jitsi-meet/scripts/install-letsencrypt-cert.sh
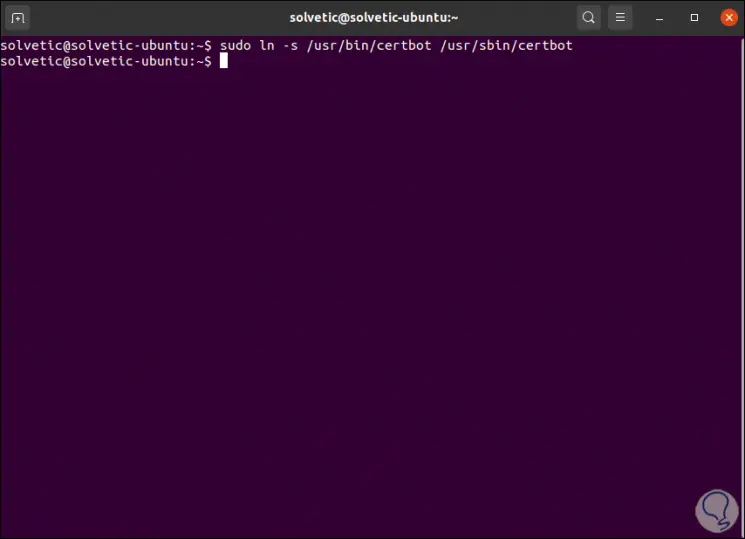
Step 6
We will create the respective symbolic link:
sudo ln -s / usr / bin / certbot / usr / sbin / certbot
Step 7
Again we run the script:
sudo /usr/share/jitsi-meet/scripts/install-letsencrypt-cert.sh
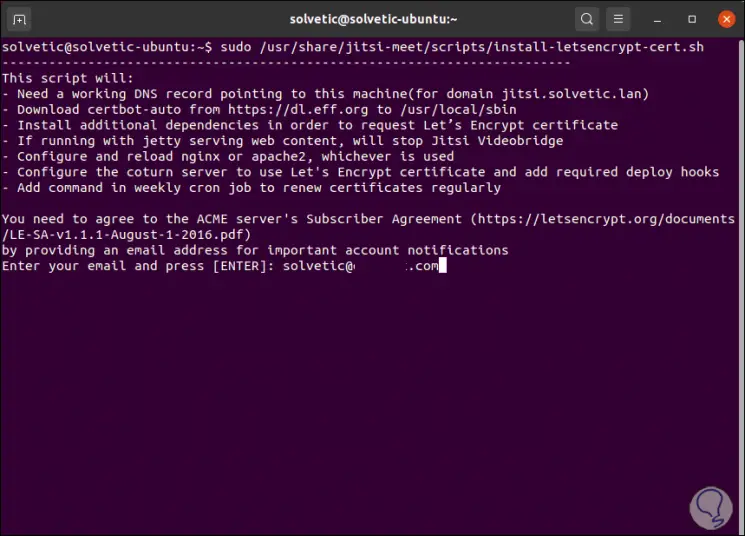
Step 8
We press Enter and this time the process will be satisfactory:
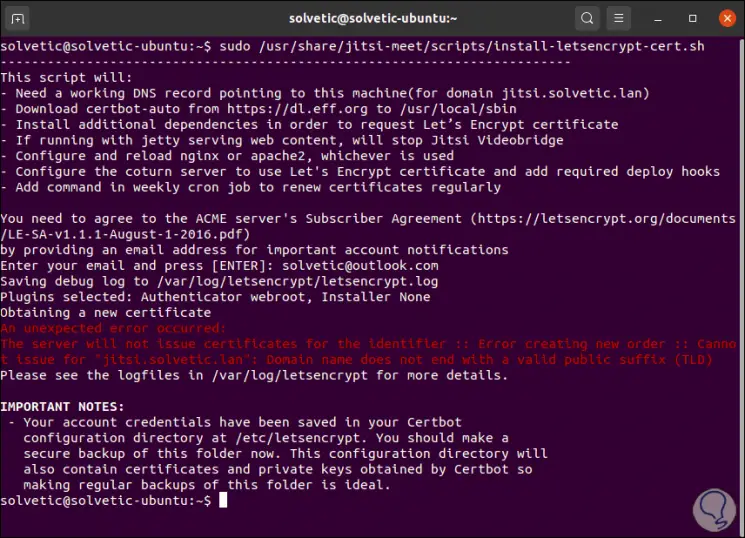
The error we see is related to the certificate, but it does not affect Jitsi at all.
6. How to access Jitsi
Step 1
To check that everything is correct we go to a browser and in this case we enter:
https: //jitsi.technowikis.lan
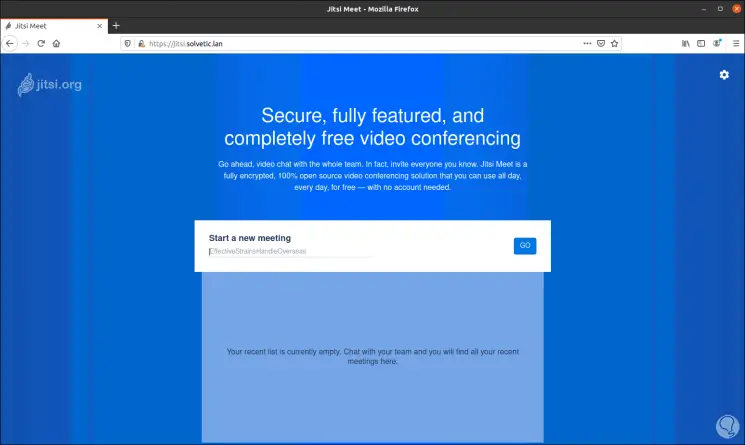
Step 2
There we can enter the desired name of the meeting and click on "Go" to access it:
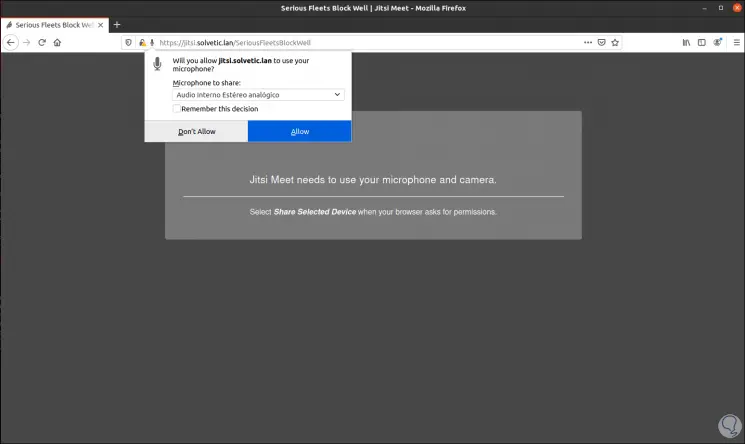
There we can allow audio, video, etc.
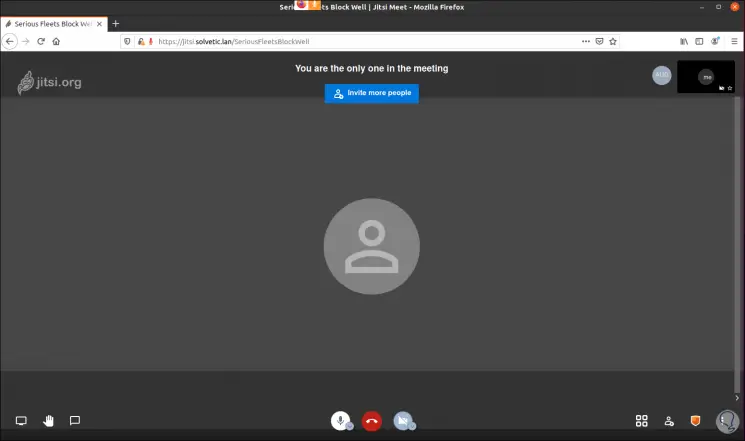
Step 3
After this we will see the Jitsi environment in Ubuntu 2:
7. How to configure user authentication in Jitsi
By default, any user can go to the Jitsi Meet profile, create a room and start a meeting if they wish, we can add more security.
Step 1
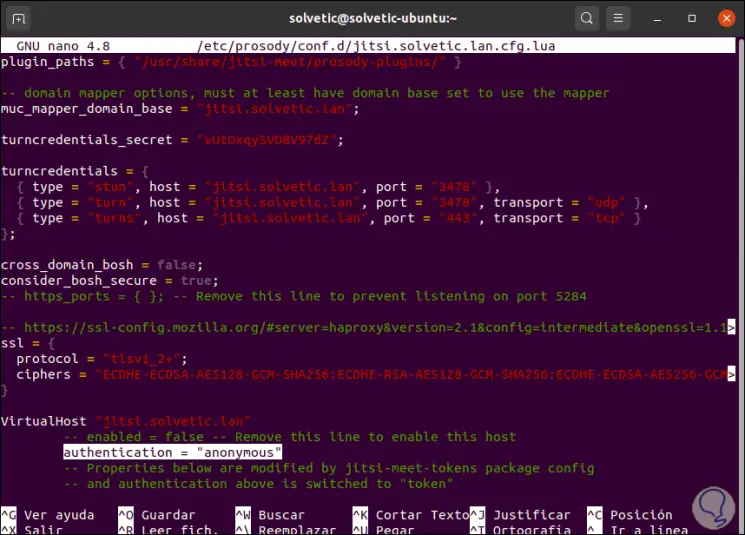
First, we will configure the Prosody file:
sudo nano /etc/prosody/conf.d/jitsi.technowikis.lan.cfg.lua
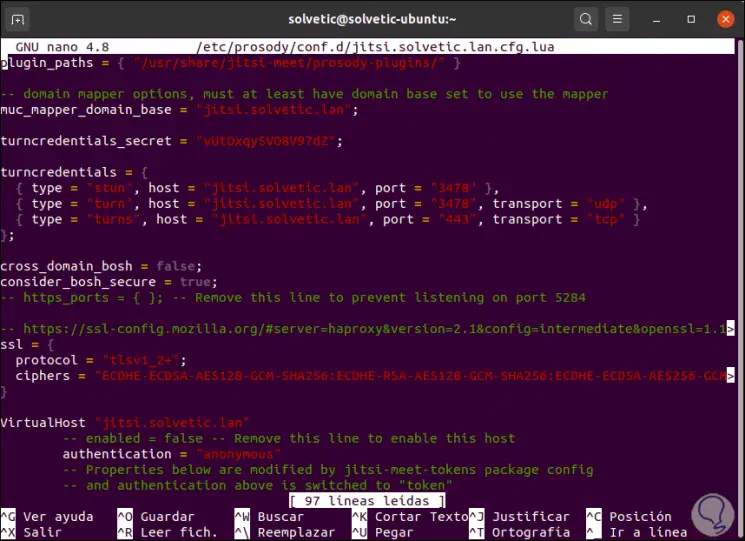
Step 2
There we find the line:
authentication = "anonymous"
Step 3
We replace this line with:
authentication = "internal_plain"
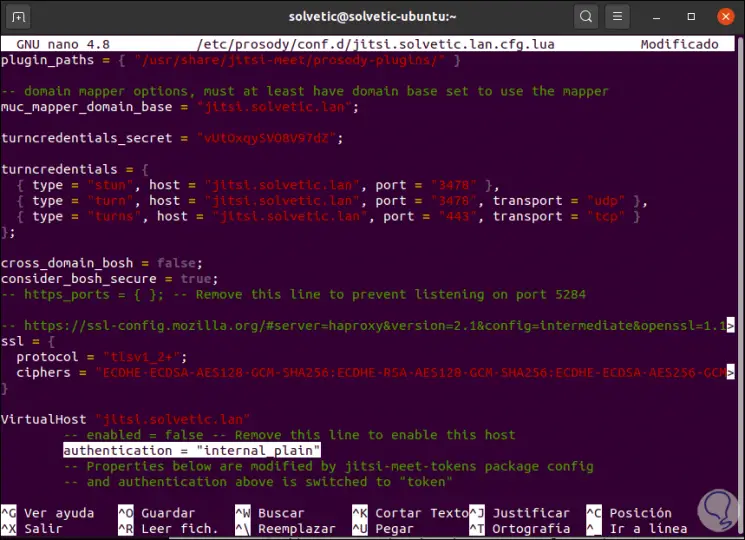
This will cause the user to enter a password and username.
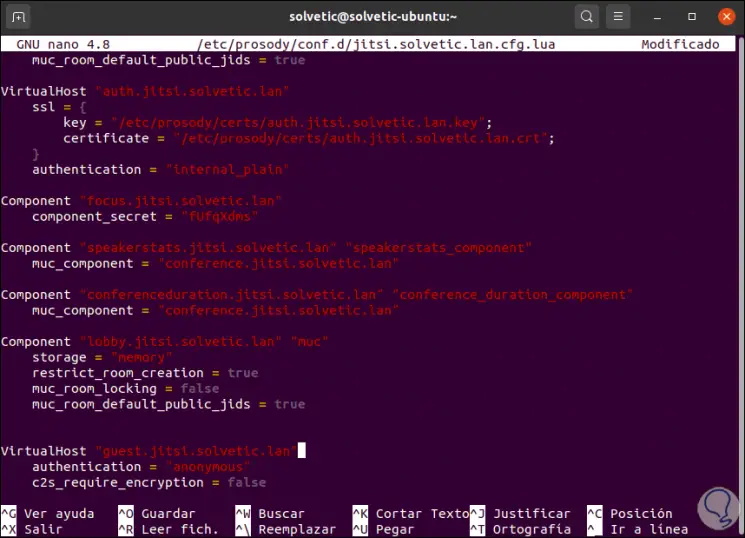
Step 4
It is possible to create an anonymous login for guests, for this we will add the following lines to the end of the file:
VirtualHost "guest.jitsi.technowikis.lan" authentication = "anonymous" c2s_require_encryption = false
Step 5
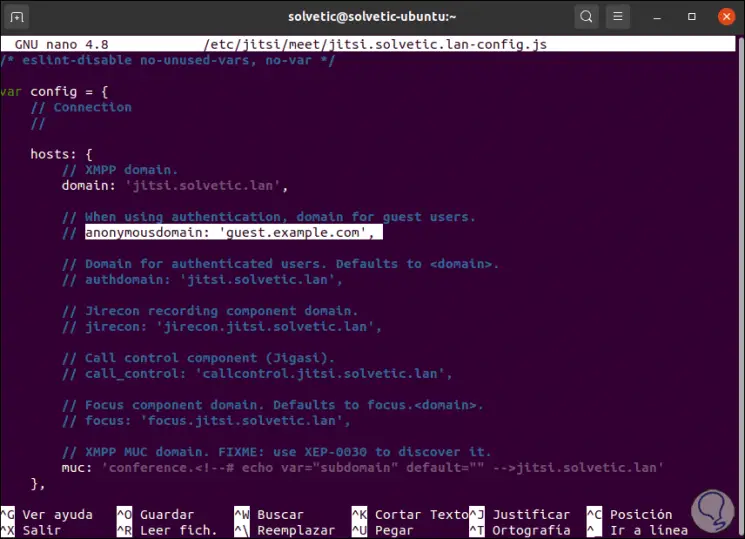
We save the changes with the Ctrl + O keys and exit the editor with Ctrl + X. Now we edit the Jitsi Meet configuration file:
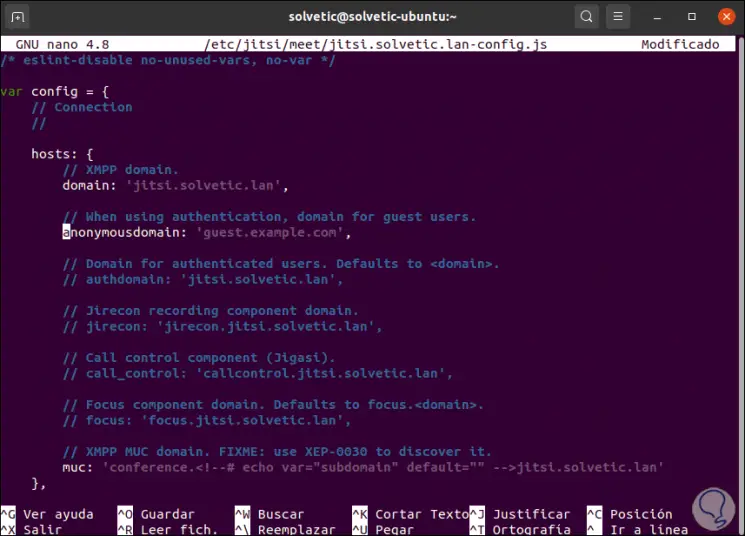
sudo nano /etc/jitsi/meet/jitsi.technowikis.lan-config.js
Step 6
There we locate:
// anonymousdomain: 'guest.example.com',
Step 7
We remove the // at the beginning for its activation:
anonymousdomain: 'guest.meet.example.com',
We save the changes and exit the file.
Step 8
We open the jicofo configuration file:
sudo nano /etc/jitsi/jicofo/sip-communicator.properties
Step 9
There we add the following to the end of the file:
org.jitsi.jicofo.auth.URL = XMPP: jitsi.technowikis.lan
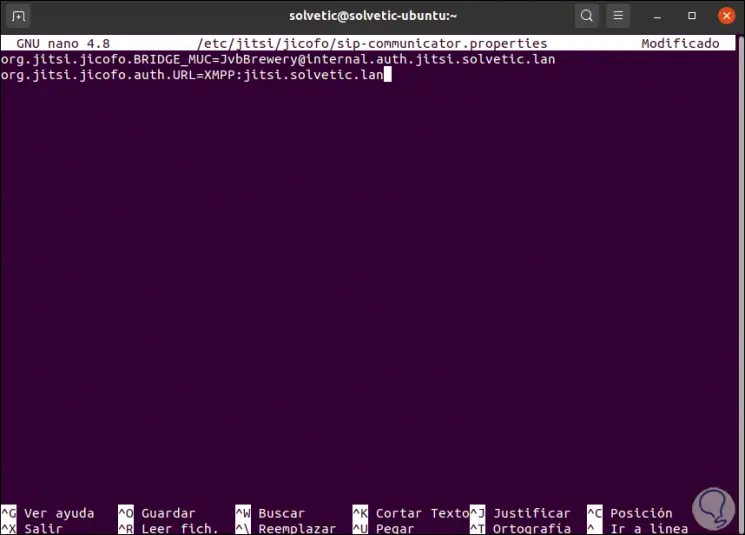
We save the changes and exit this file.
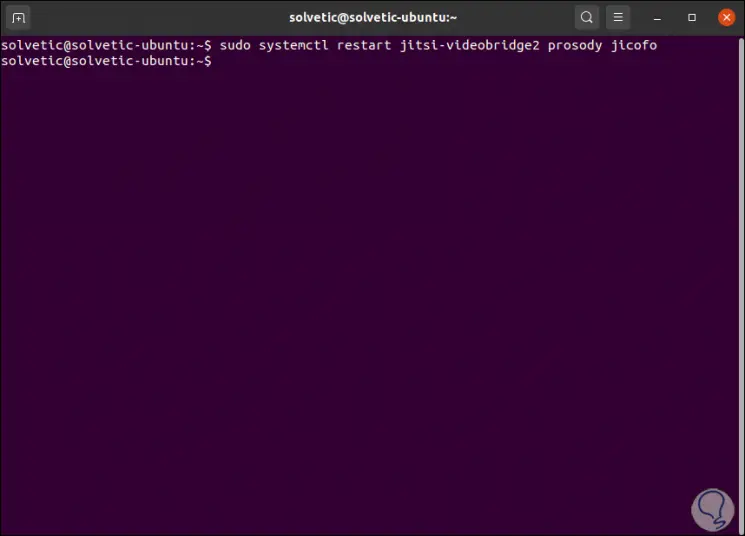
Step 10
We restart the services to apply the changes:
sudo systemctl restart jitsi-videobridge2 prosody jicofo
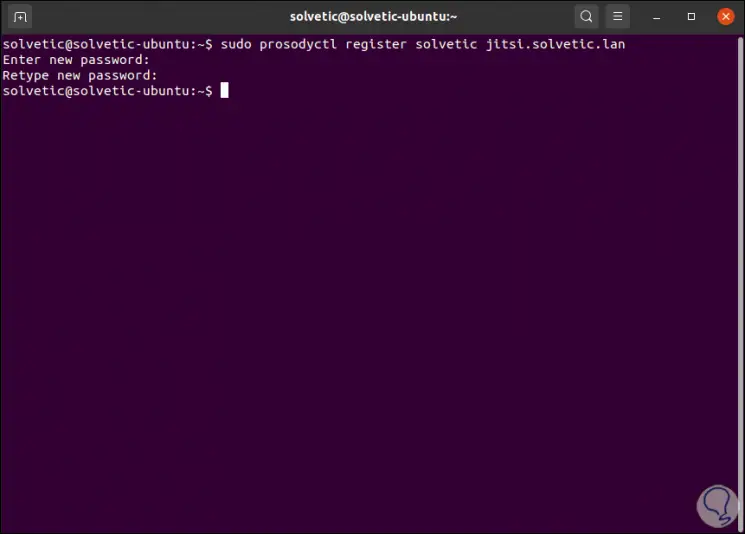
Step 11
If we want to create a new user we will execute the following:
sudo prosodyctl register "user" jitsi.technowikis.lan
We will enter the name and desired password:
Step 12
After doing this we can safely access Jitsi:

We have seen how to install Jitsi in Ubuntu 20 in a functional way.
8. How to install Jitsi on Windows 10
Step 1
In the case of Windows 10, the process is different, for this we must go to the following Jitsi download link:
Jitsi
Step 2
We will see the following:
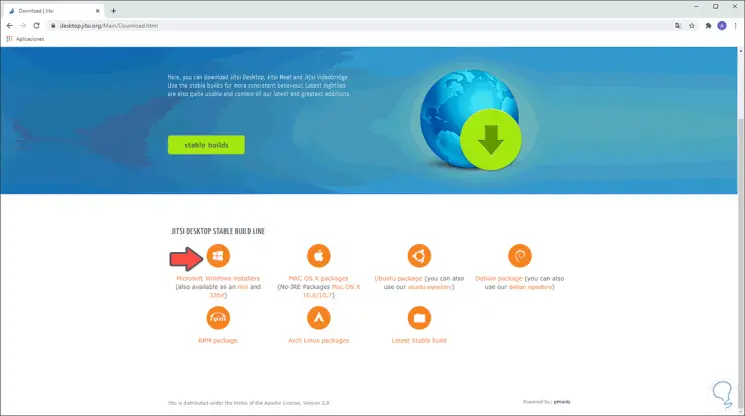
Step 3
We click on "Microsoft Windows Installer" to proceed with the download of the installer. We will go to the folder where it has been downloaded:
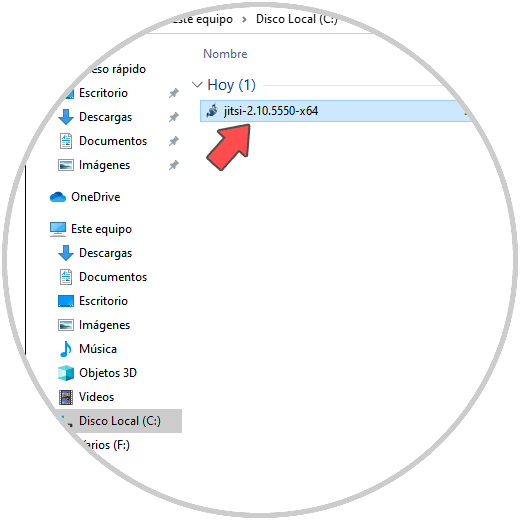
Step 4
We double click on the installer and we must accept the Windows 10 security policy:
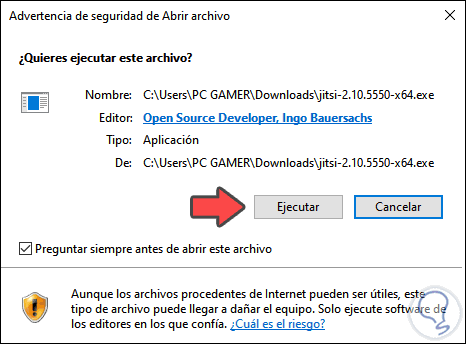
Step 5
We click on Run and the Jitsi installer will be displayed:
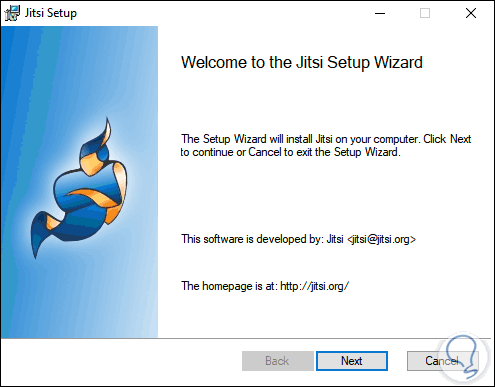
Step 6
We click Next and we must accept the license terms:
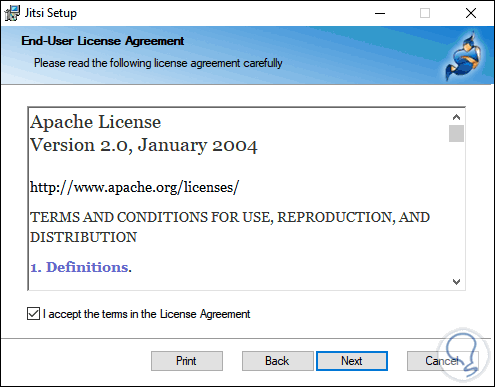
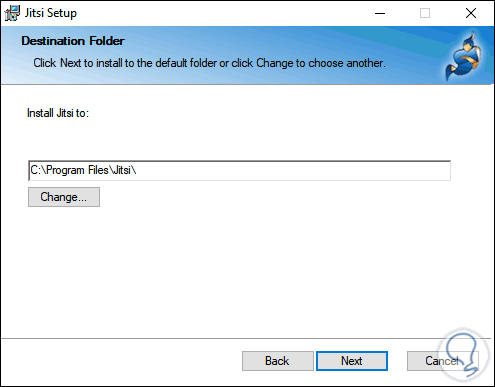
Step 7
Again we click on Next and we will define the installation path of Jitsi in Windows 10:
Step 8
In the next window we can create the shortcuts, as well as define if Jitsi is allowed to start with Windows 10:

Step 9
Note: at the bottom we recommend leaving the established protocols active.
We click Next and we will see the following:
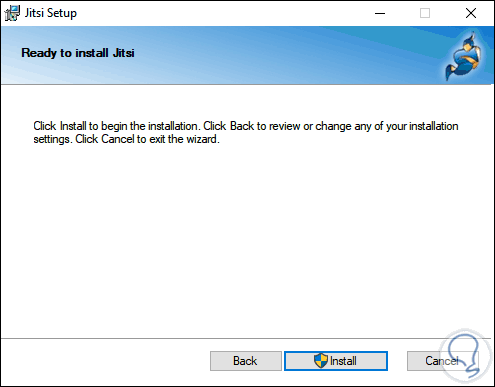
Step 10
We install Jitsi by clicking on "Install":
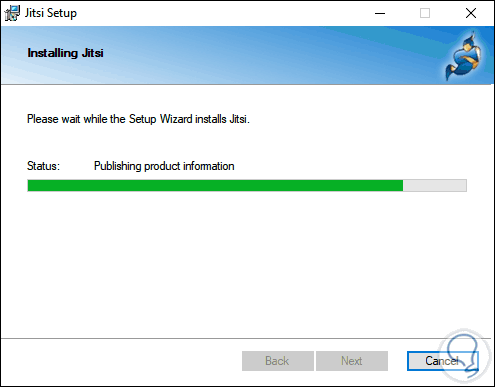
Step 11
When this ends we will see the following:

Step 12
There we can automatically run Jitsi either later from the Start menu or from the accesses created.
In the first access the system will request Firewall permissions:
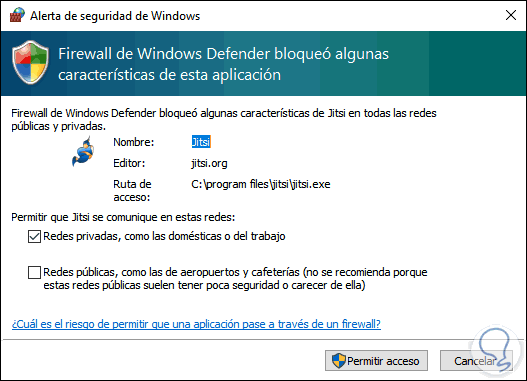
Step 13
We click on "Allow access" and then Jitsi gives us the ability to log into several chat accounts at the same time, we must complete the username and password of our account:
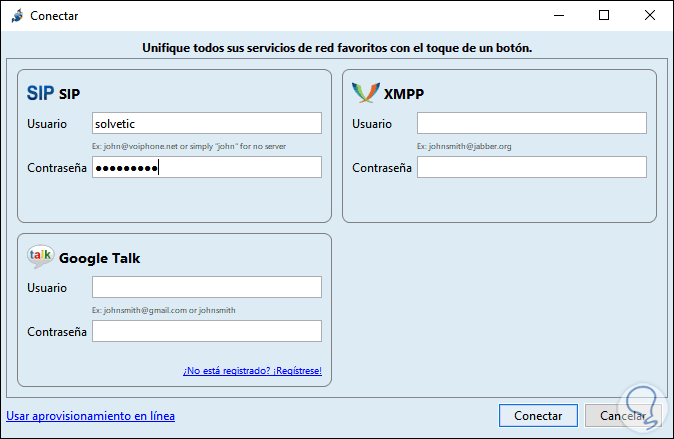
Step 14
We click on "Connect" and this will create the pop-up window to chat and there we can adjust our status and more variables:

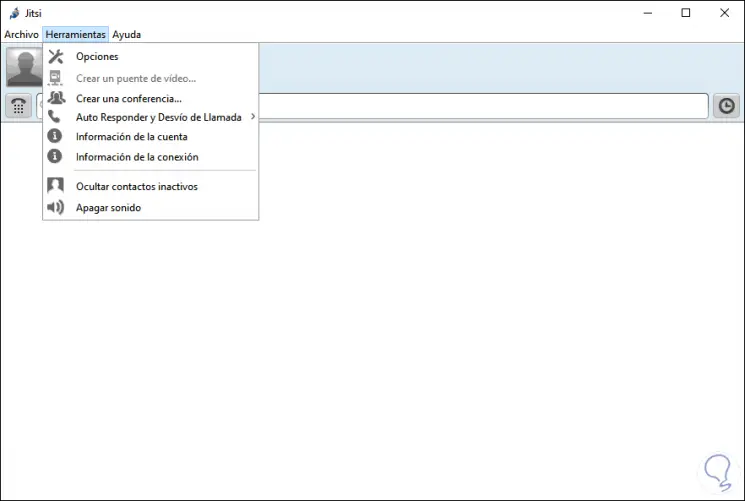
Step 15
From the Tools menu we have additional configuration options:
TechnoWikis has explained how to install Jitsi in both Ubuntu 20 and Windows 10 and thus be able to have an extra secure and complete communication tool.