Android Studio is the ideal platform to emulate the use of Android in a series of compatible devices, it is ideal because we will not need to buy modern equipment to learn about the latest Android features, that is why Android Studio gives us functionalities such as:
Android Studio Features
- APK analyzer which analyzes resources and DEX files
- High-speed emulator with which it is possible to install and run applications in a faster way as happens on a physical device, in addition to this it is possible to simulate multiple configurations and functions, such as ARCore, which is a Google platform for augmented reality.
- Integrates a visual design editor for application management
- Smart code editor which is compatible with the Kotlin, Java and C / C ++ languages.
- Profilers in real time with which we can analyze the network behavior, memory and CPU of the installed applications
- Android Studio allows you to edit the compilation in order to create multiple compilation variants if it is the case
Android Studio Features
The new version of Android available is Android 11 which gives us new features and API for developers, some of these are:
- Device controls via the ControlsProviderService API
- Media controls which we find in the quick settings
- Better support for cascading displays
- Angle sensor in hinge and folding modes
- Conversation improvements
- Visual indicators for the new 5G network
- New biometric authentication updates
- Extra support for authentication keys per use
- Secure sharing when using large amounts of data
- Option to use file-based encryption after OTA restart without user credentials
- Installing ADB Incremental with APK
- Neural Networks API 1.3 enhancements
- Wi-Fi Passpoint improvements
- Supports multiple profiles with similar FQDN
- Integrates high performance VPN
- Expanded camera support in Android emulator (Android Studio)
- Better support for HEIF images
Android Studio can be downloaded from the following link:
Android Studio
Let's see with TechnoWikis how to install the Android 11 emulator on Windows 10 ..
To stay up to date, remember to subscribe to our YouTube channel! SUBSCRIBE
1. Download and install Android Studio
Step 1
The first thing will be to go to the link indicated above, there we will see the following
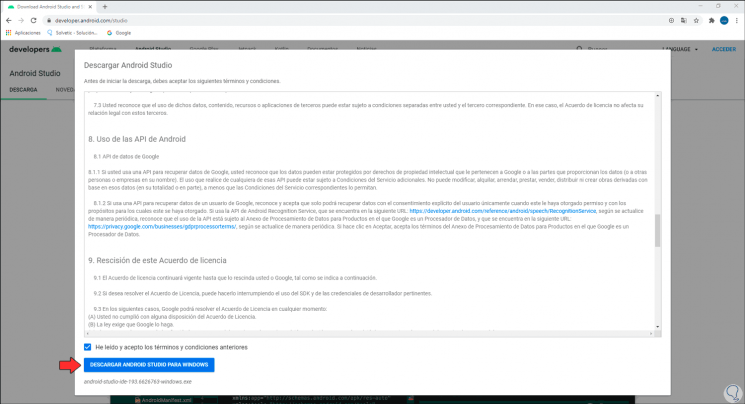
Step 2
We click on "Download Android Studio", after this we must accept the application license. Once the box is activated, click to download the executable
Step 3
Once downloaded, we double-click on it and we will see the following Windows 10 message:
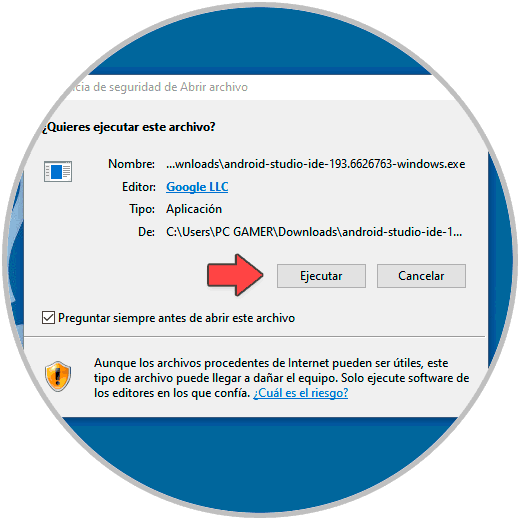
Step 4
We click on "Run" and the Android Studio installation wizard will open:
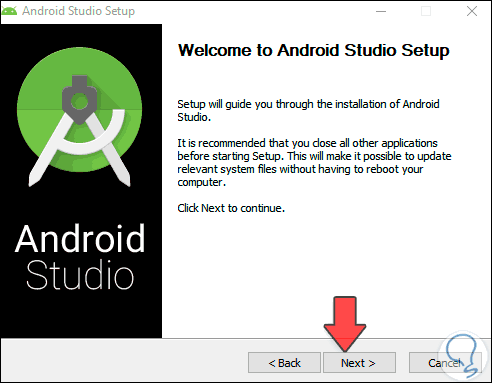
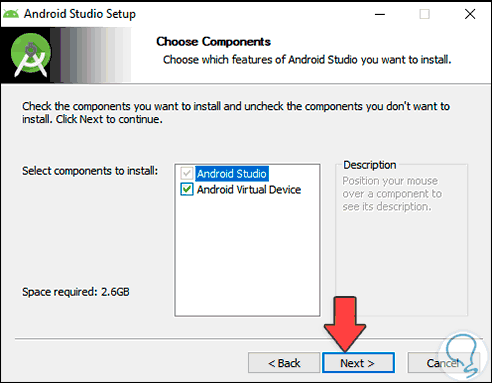
Step 5
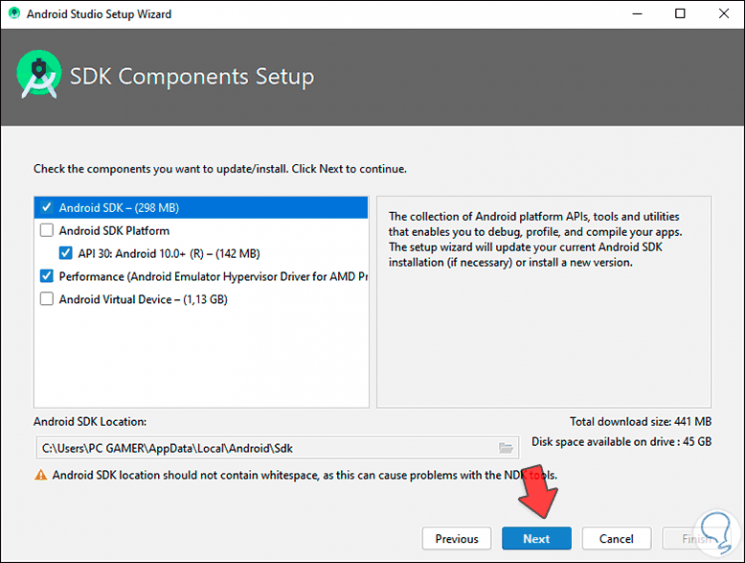
Click Next and define the components to install:
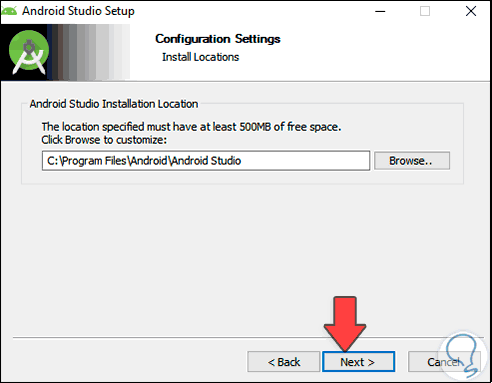
Step 6
Now we define the Android Studio installation path:
Step 7
We indicate where the access to the application will be located:

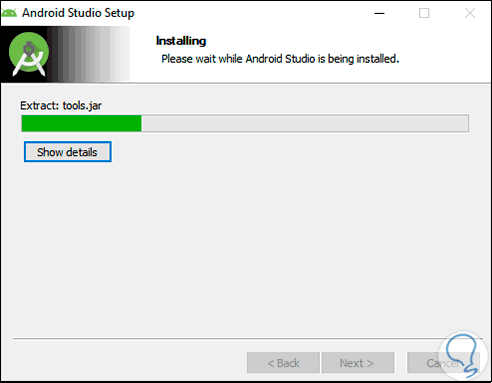
Step 8
We click on "Install" to proceed with the process:
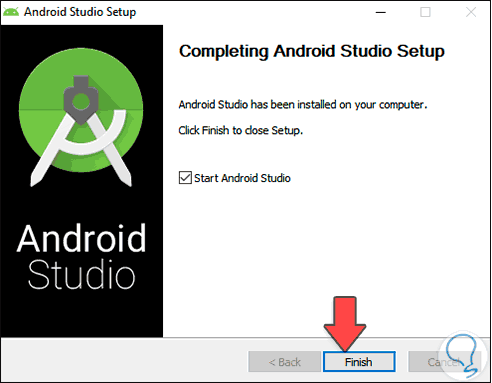
Step 9
When this ends we will see the following. We click on "Finish" to finish and access Android Studio.
2. Configure and use Android Studio Windows 10
Step 1
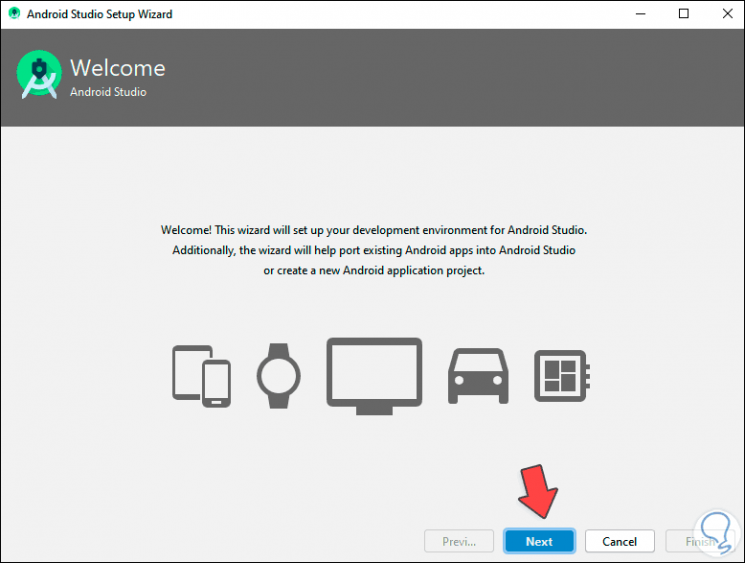
When accessing the application we will see the following:
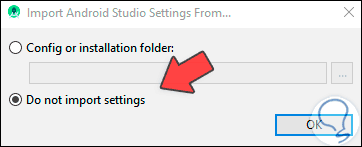
Step 2
We leave the default value and click OK, we access the Android Studio environment in Windows 10:
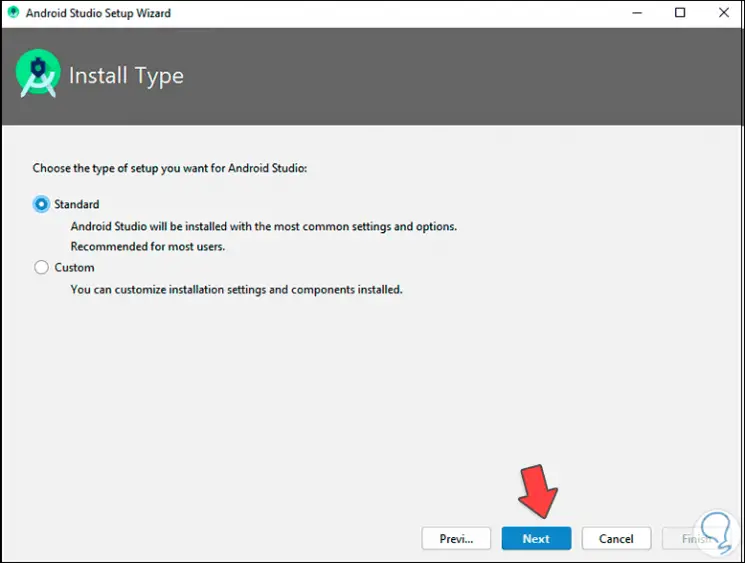
Step 3
We click Next and define the type of configuration to use (we leave the default value):
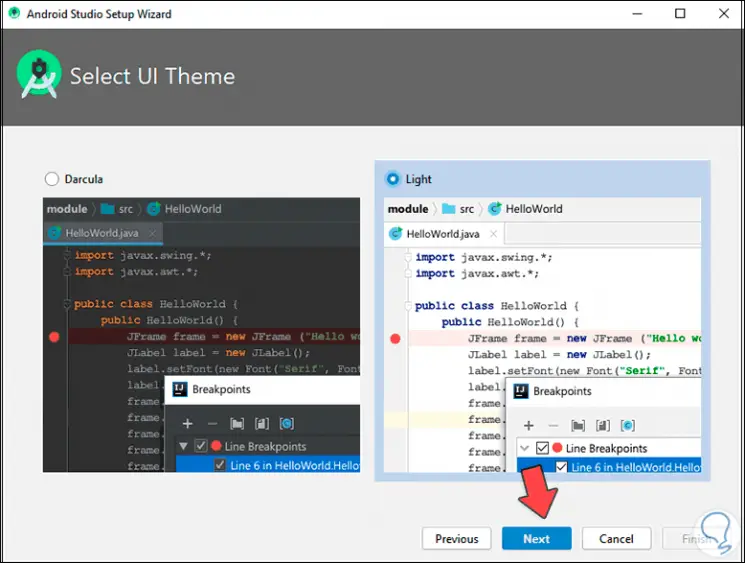
Step 4
Click on Next and we can configure the theme to use, light or dark:
Step 5
In the next window we select the components to use:
Step 6
Click Next and we will see a summary of what we are about to install:

Step 7
We click on "Finish" to proceed with the download and installation of these components:
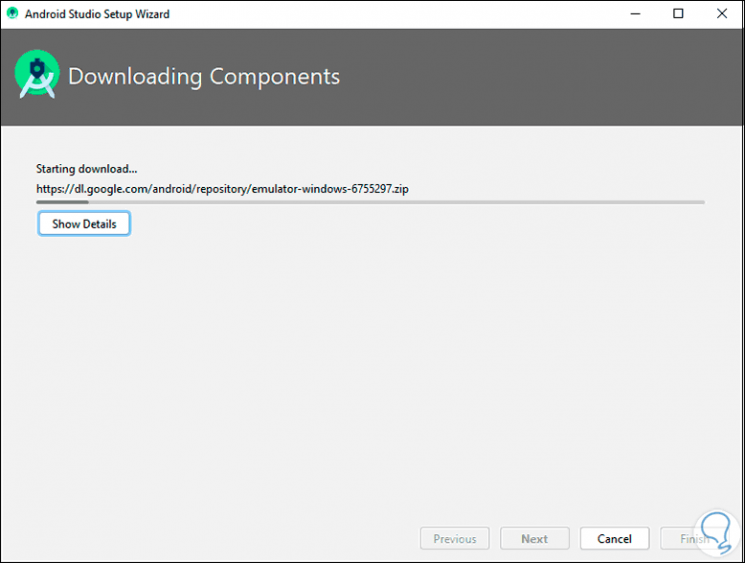
Step 8
We can click on the "Show Details" button to see what we are installing:
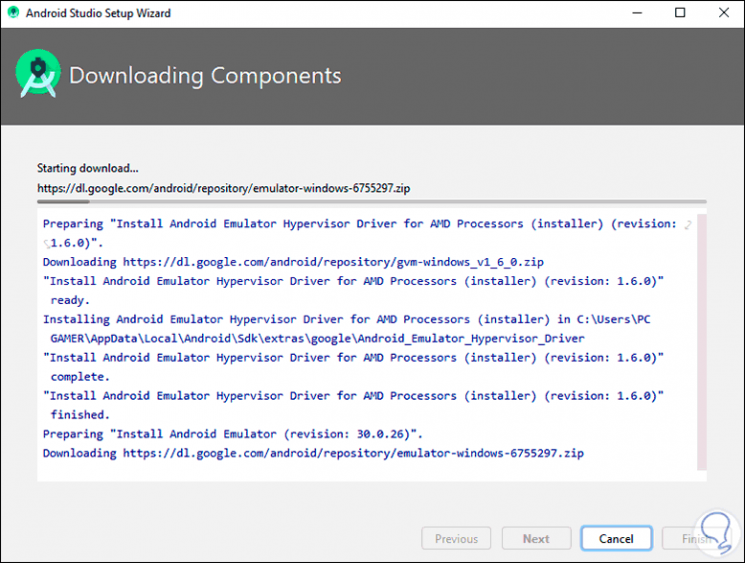
Step 9
When this process comes to an end we will see the following:
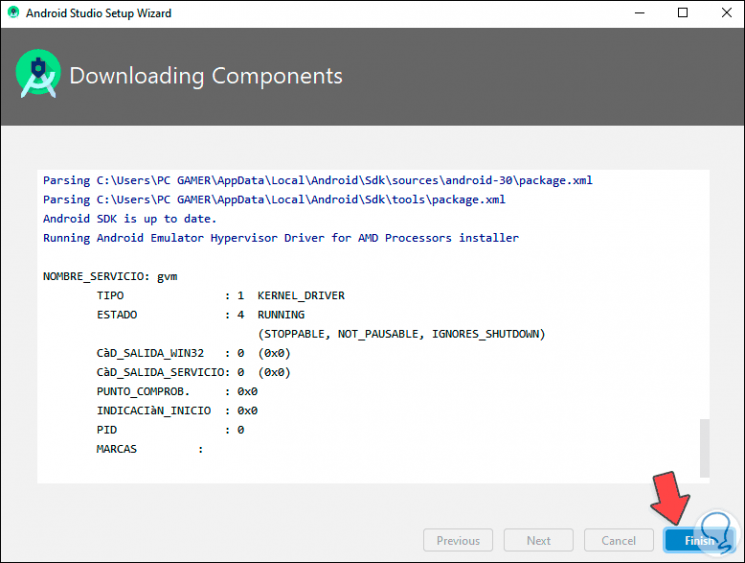
Step 10
We click Finish to close the wizard. After this we will directly access Android Studio:
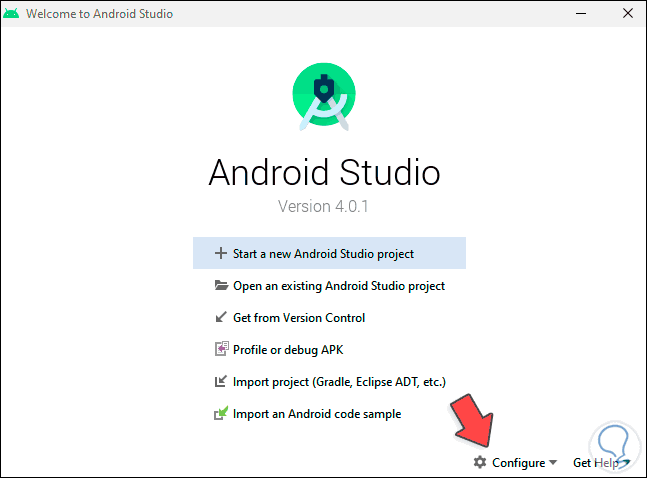
Step 11
To create our device with Android 11 we click on "Configure" and in the displayed list we select "ADV Manager":

Step 12
We will see the following with this administrator:
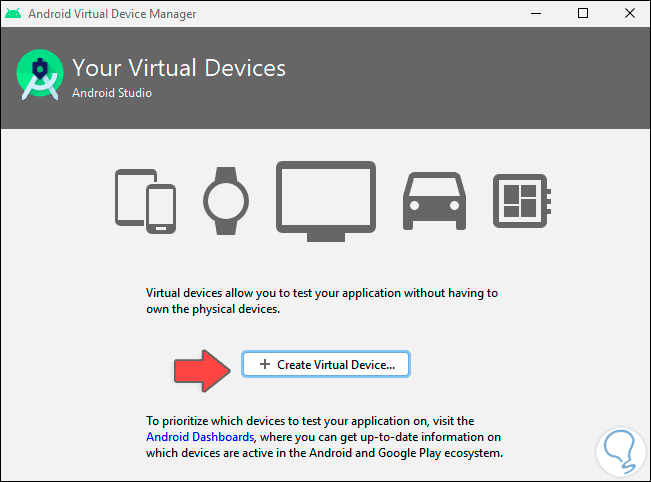
Step 13
We create our device by clicking on "Create Virtual Device" and after that we select the type of device to use which must be compatible with Android 11:
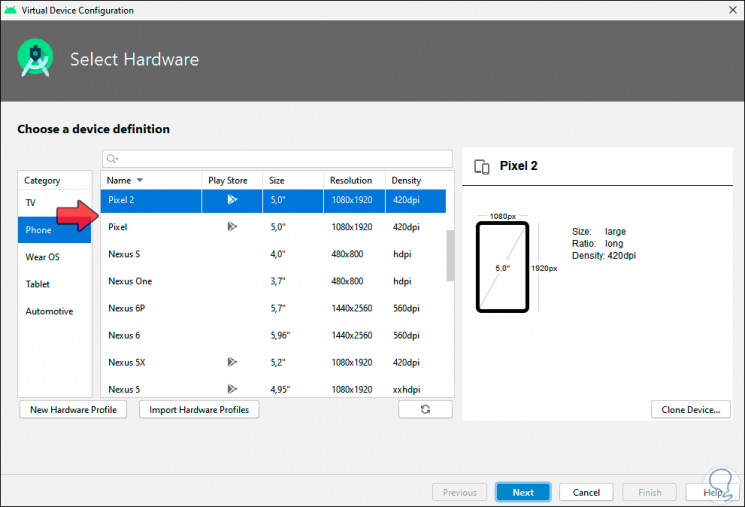
Step 14
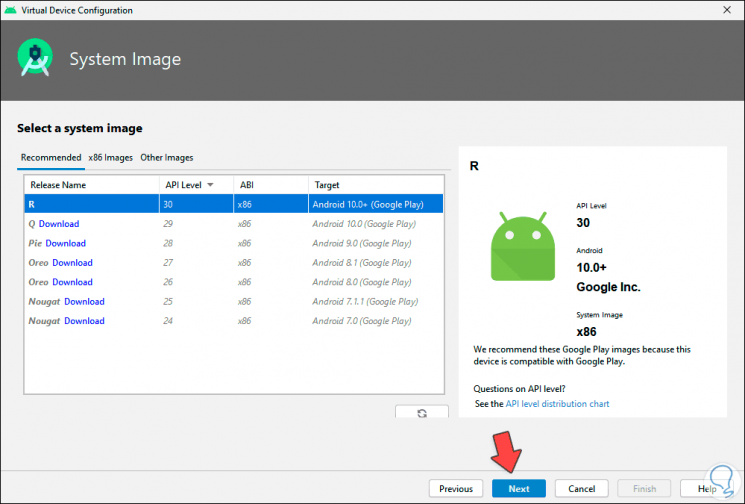
In this case, we will select Pixel 3, click Next and we will see the list of available operating systems:

Step 15
We click on "Download" in line R (Android 11) and we must accept the terms for downloading this system:
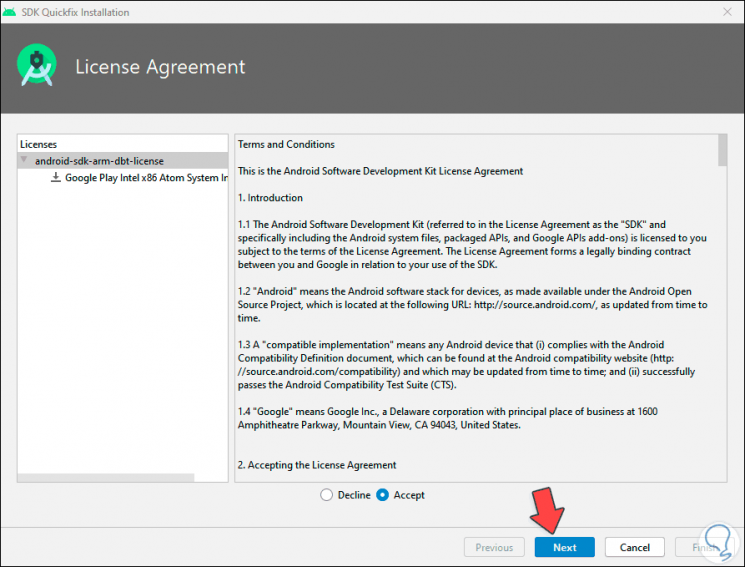
Step 16
We activate the "Accept" box and click Next to start the download:
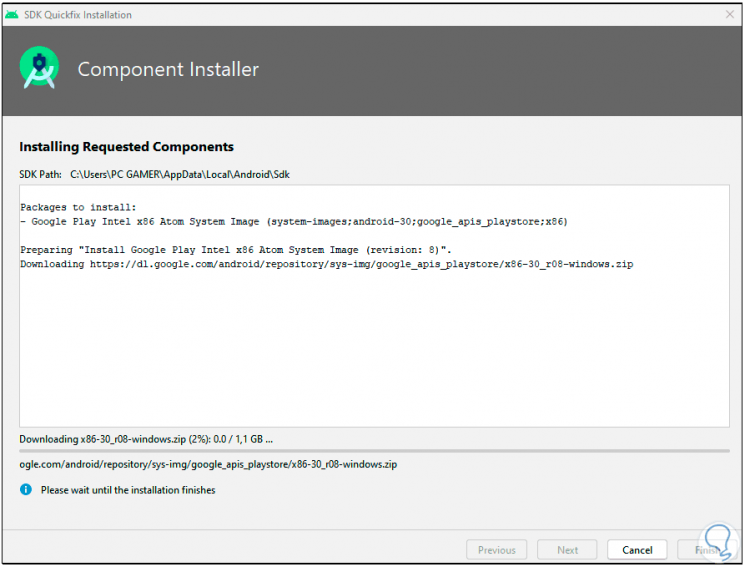
Step 17
Once downloaded, it is decompressed:
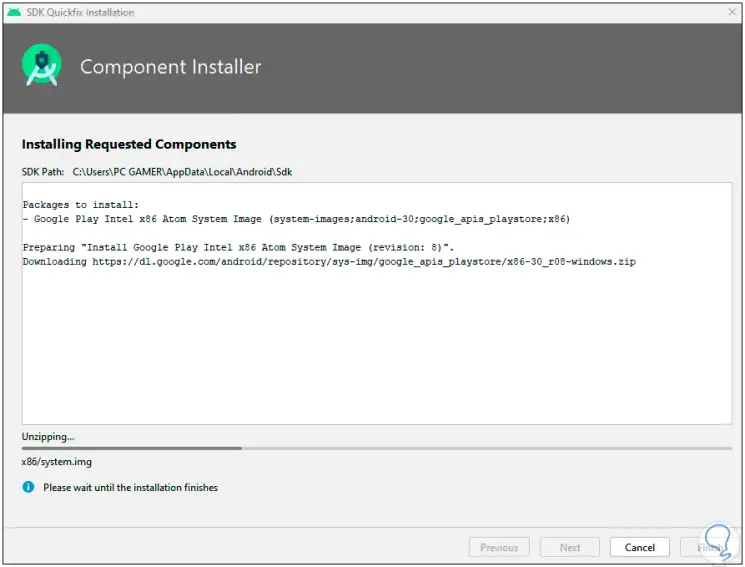
Step 18
At the end we will see this:
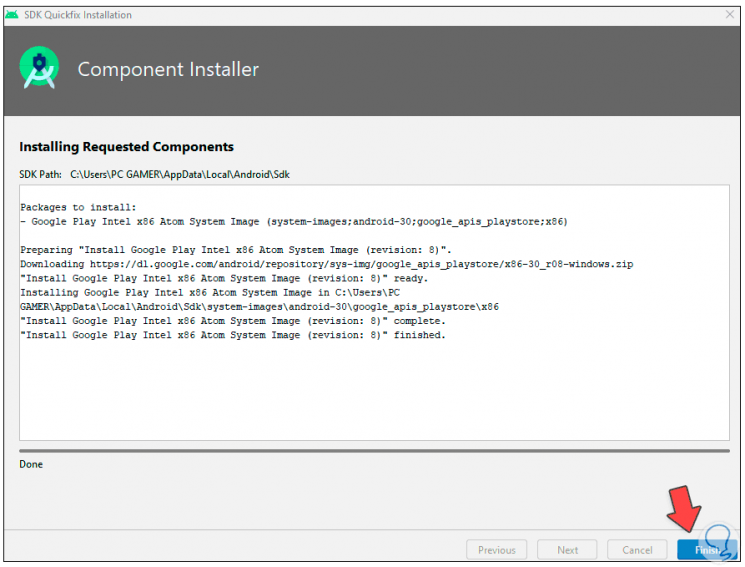
Step 19
Click on “Finish” and the system is ready to be used with the created device:
Step 20
We click Next and configure general aspects of the mobile:
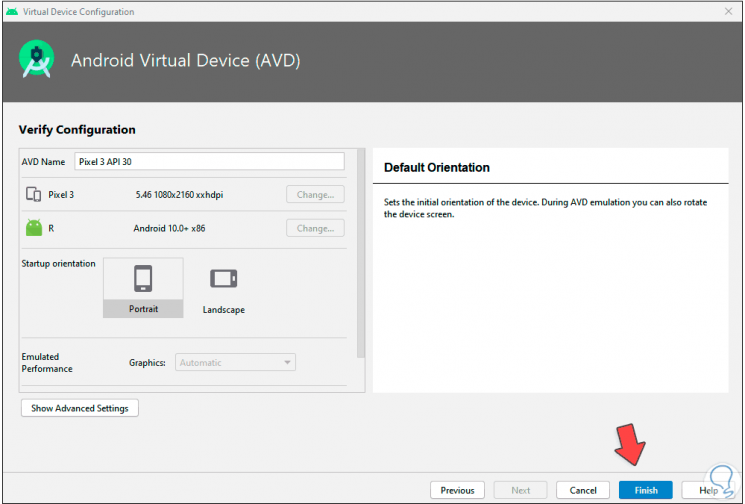
Step 21
To complete the process we click on "Finish". This redirects us to the following virtual environment:
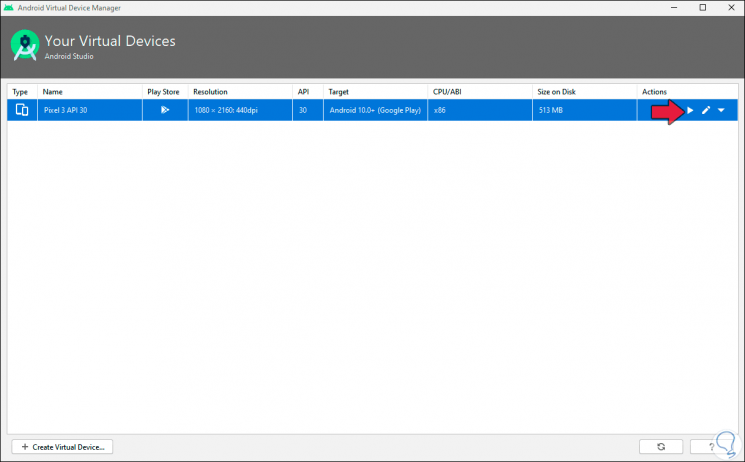
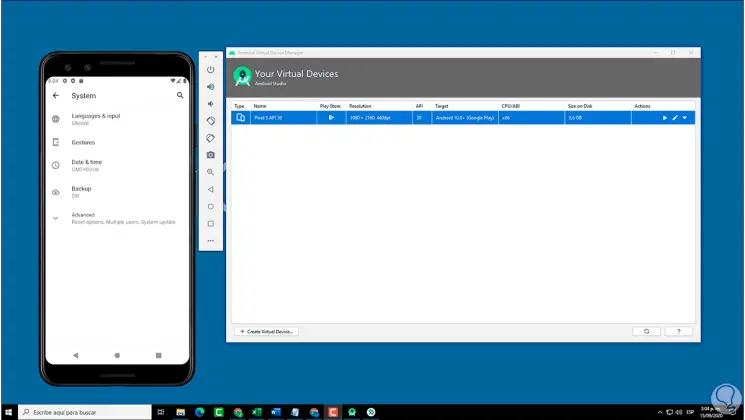
Step 22
There we find the details of the selected device, to start it we click on the play icon and we will see that the mobile is launched to one side:
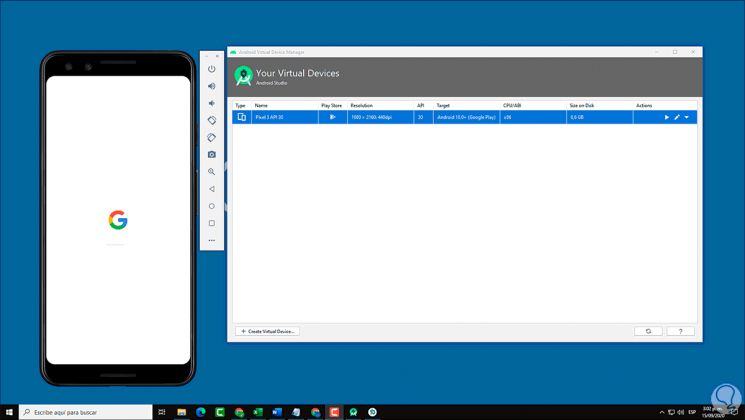
Step 23
This will start the virtual team as if we had a physical mobile in front of us:

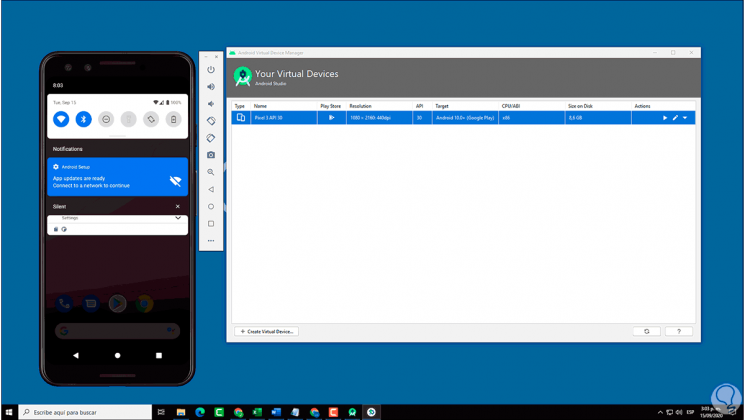
Step 24
When accessing we will see the design of Android 11 and we can navigate in its configuration:
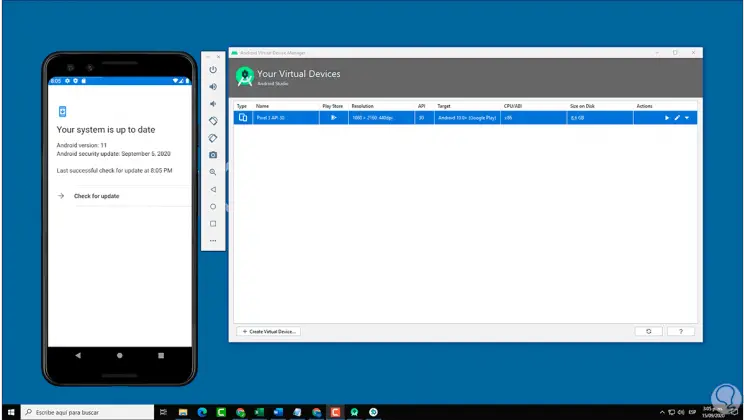
Step 25
We can go to the System section:
Step 26
There we verify that it is Android 11:
With Android Studio we have a wide portfolio of options to find out what's new in Android even when we don't have a physical device.