File systems are a fundamental part of operating systems since they are what allow the operating system (Linux, Windows or macOS) to read and access files and their content, there are different file systems such as APF or HFS in macOS, NTFS in Windows 10 or Ext3, Ext 4 in Linux, the problem is that the file systems are not compatible with each other, that is, we cannot read an APF device in Windows 10 or in Linux and vice versa..
Therefore, if you handle a device with this file system, TechnoWikis will explain how to access its content in Windows 10 in a simple and functional way without having to format the medium, since we cannot always do so since its content will be erased.
We also leave you the video to be able to read USB memory Mac in Windows 10,8,7..
To stay up to date, remember to subscribe to our YouTube channel! SUBSCRIBE
1. Configure USB in macOS
Step 1
The first thing is to format the USB in macOS with the APF or HFS format, for this we go to Utilities and select "Disk Utility":

Step 2
In the utility we select the USB drive connected to the computer:
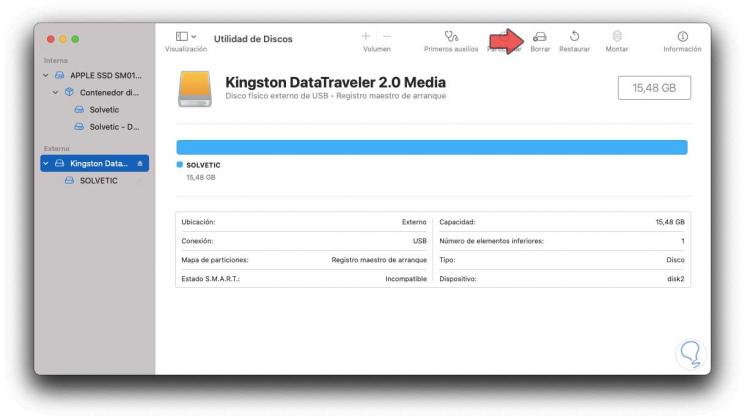
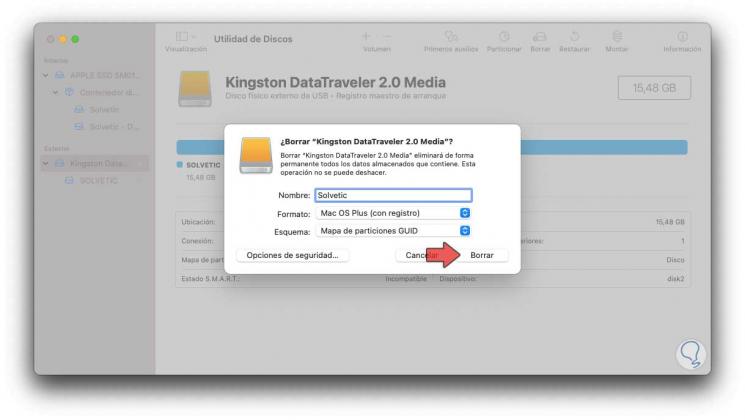
Step 3
We click on the "Delete" button and then define the name and type of format to use:
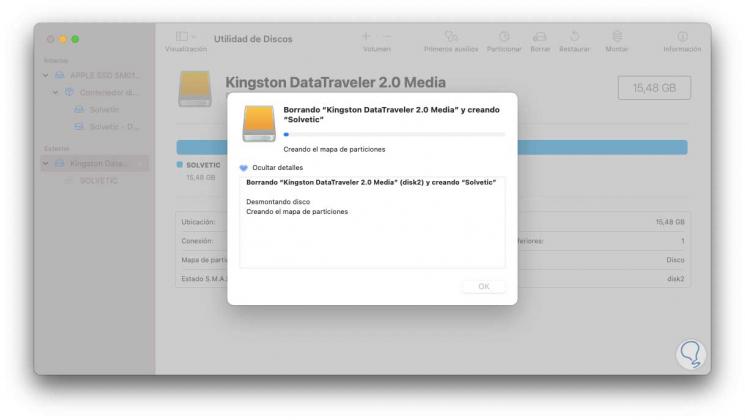
Step 4
We click on "Delete" to start the process:
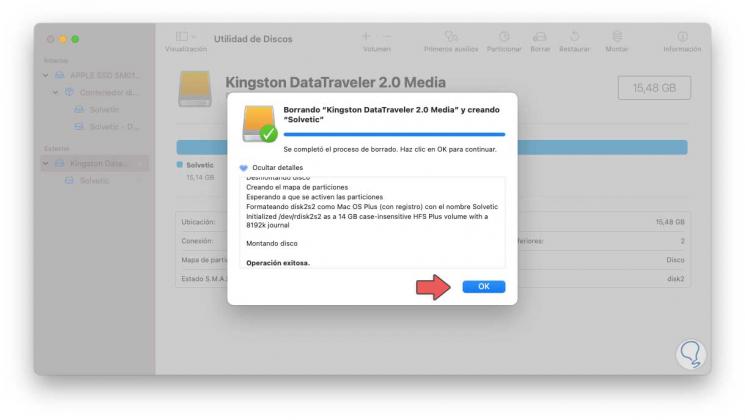
Step 5
Once this ends we will see the following. We click OK and now we can copy the elements that we want to see in Windows 10 to the USB.
2. Open USB Mac in Windows 10
To have access in Windows 10 to USB media with macOS format we will use the HFSExplorer utility, it can be downloaded at the following link:
HFSExplorer
The HFSExplorer application is a small application thanks to which it is possible to access and read hard drives and disk images that are in macOS format.
HFSExplorer Features
HFSExplorer is able to read formats such as:
- HFSX (Mac OS Extended with case-sensitive file names)
HFSExplorer gives us an interface from where it is possible to explore the volumes with macOS format using a graphical file system, it will be possible to extract files, view detailed information about the volume or create disk images from the volume that we have connected in Windows 10..
Using this utility it is possible to read .dmg / .sparsebundle disk images created on a Mac computer, zlib / bzip2 compressed images, AES-128 / AES-256 encrypted images and in addition to this it is compatible with Master Boot Record partition schemes , GUID Partition Table and Apple Partition Map natively.
Now we are going to see how to install and use HFSExplorer in Windows 10 and thus have access to the macOS media.
Step 1
Once the file is downloaded, double-click on it and the installation wizard will be activated:

Step 2
We click Next and we must accept the license terms:
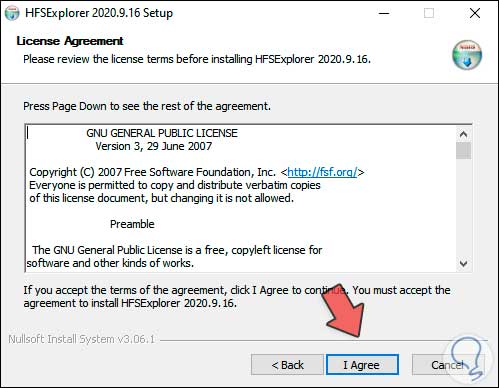
Step 3
We click on I agree and then define the type of installation to use:
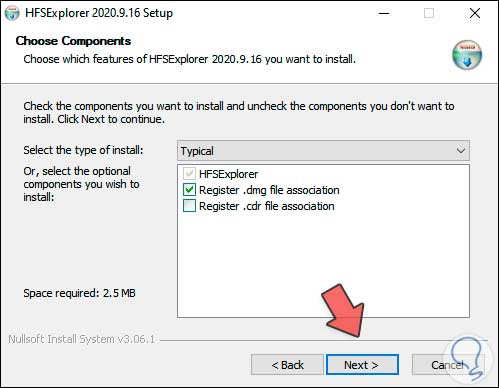
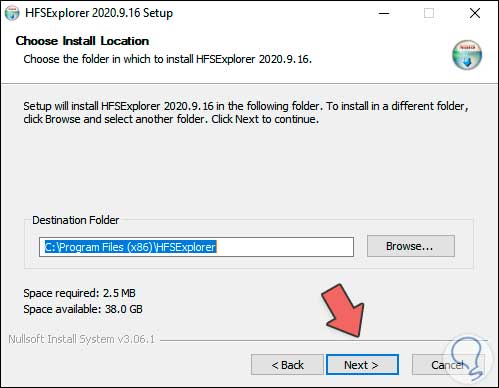
Step 4
In the next window we define the path where HFSExplorer will be installed:
Step 5
In the next window we assign the application to the Start menu:
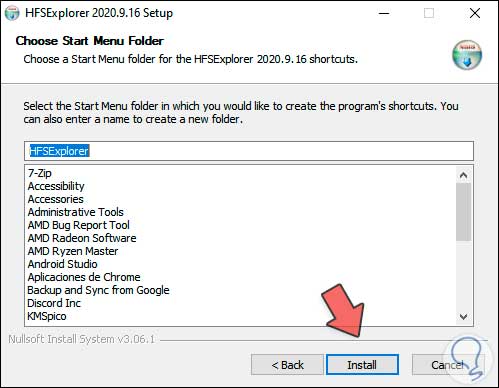
Step 6
We click on "Install" to complete the process:
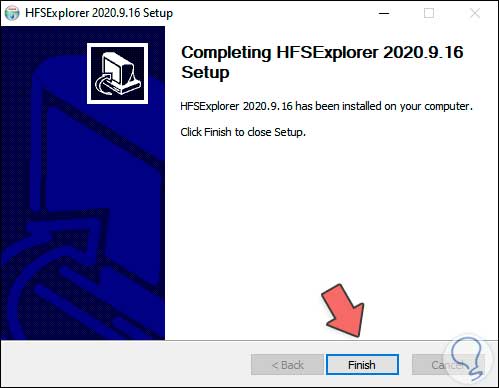
Step 7
We click Finish to close the wizard.
Note
For correct operation of the application we must have Java in Windows 10, if we do not have it we can download it at the following link:
Java
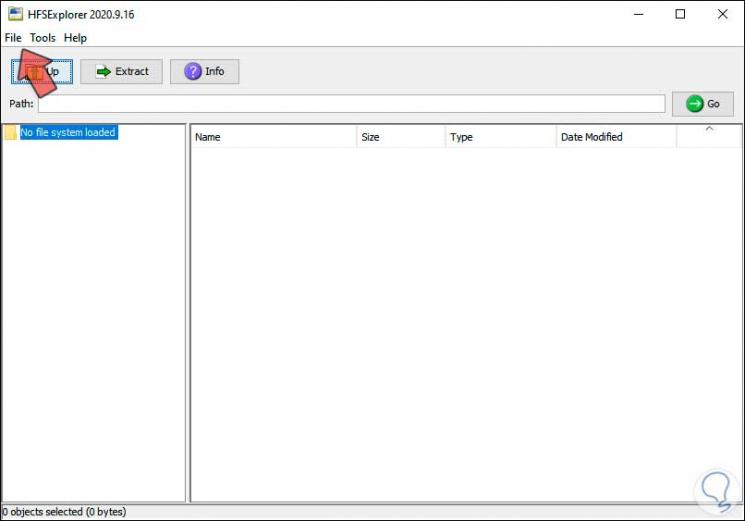
Step 8
Once the installation is finished, we access the application where we will see the following:
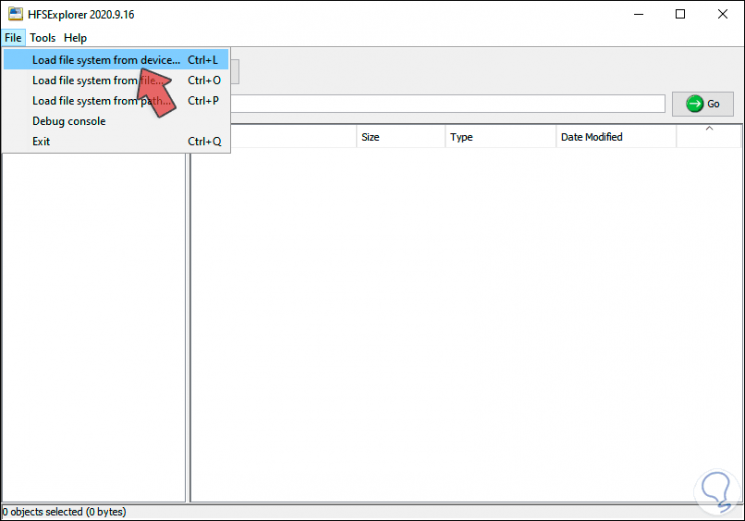
Step 9
We click on “File” and in the displayed list we select “Load file system from device”:
Step 10
The following pop-up window will be displayed:
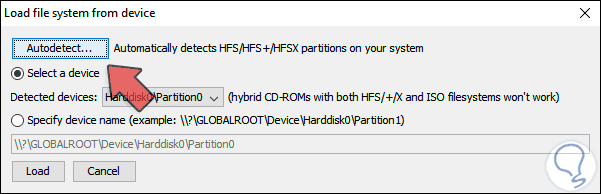
Step 11
There we can select the device manually, but it is much more functional that we click on "Autodetect" and HFSExplorer will launch a window with the device in macOS format:
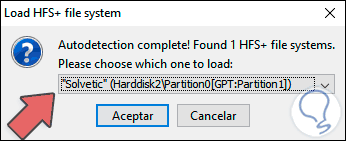
Step 12
We click OK and we will see the content of this USB:
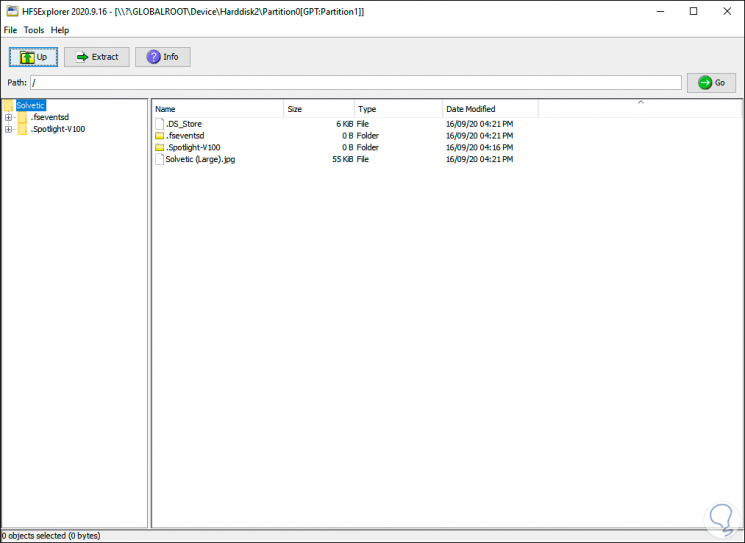
Step 13
We double click on the object to open, in this case an image, and we will see the following message:
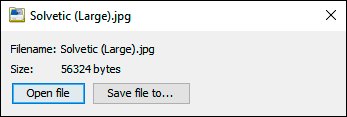
Step 14
We click on "Open file" to see the content of this:
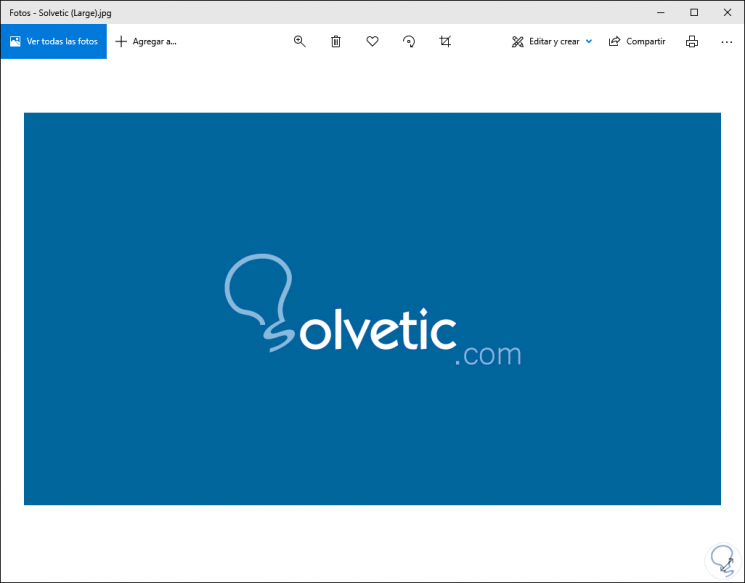
Thus we have seen that it is possible to access the content of a USB media in macOS format from Windows 10.
3. Create USB for Windows 10 and Mac
As we mentioned, the extfat file system is compatible with all operating systems, so if we are in a position to erase the content, we can format the USB in Windows 10.
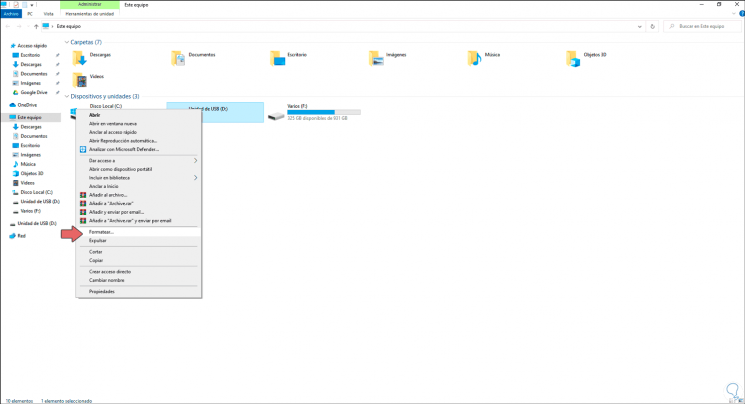
Step 1
To be used in both systems, we open the File Explorer in Windows 10, right-click on the USB medium and select "Format":
Step 2
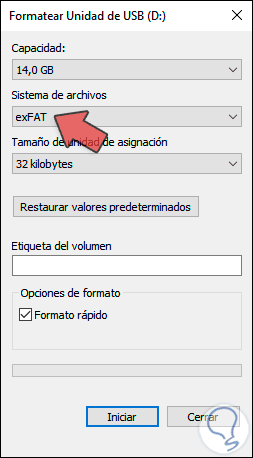
In the pop-up window we select the name and type of file system (extfat):
Step 3
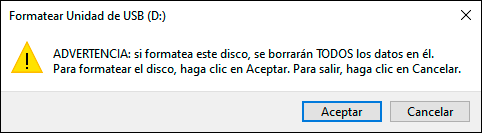
We click on Start and we will see the following warning:
Step 4
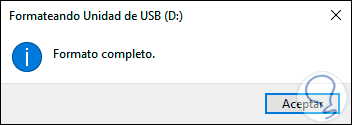
We click OK to complete the process:
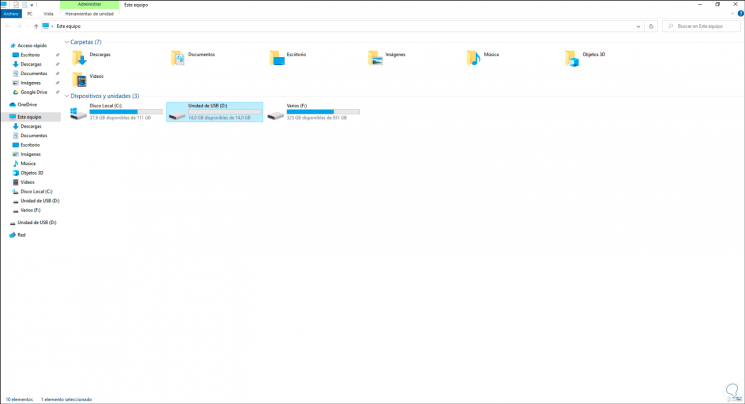
Step 5
With this we can see the structure of the USB in Windows 10:
We can see that it is not impossible to access content on a macOS USB media in Windows 10 and TechnoWikis has explained in detail how to achieve it.