The different components of our team have the ability to perform even in forced situations, but they will not always be able to respond correctly. The CPU temperature in our operating system is key for a correct operation of this since an overheating in the equipment incurs factors such as:
It is ideal to frequently check the temperature in Windows 10 since if there is an overheating it may be due to services or processes that run without authorization and it is key to take corrective measures soon. If we notice a continuous overheating of our equipment we must check the temperature in addition to seeing if these elements are working correctly or not..
We also leave you the video tutorial to see the Windows 10 CPU temperature.
To stay up to date, remember to subscribe to our YouTube channel! SUBSCRIBE
How to see the temperature Windows 10
To check this we will use the CoreTemp utility which is available at the following link:
CoreTemp
What is CoreTemp
This utility is responsible for monitoring the temperature of the processor and its latest updates give us a report on the temperature of each processor core individually which gives more direct control over this.
This information is possible thanks to the fact that processor manufacturers integrate a "DTS" (Digital Thermal Sensor) into the CPU and it is thanks to this sensor that accurate temperature readings are delivered, CoreTemp is compatible with Intel processors, AMD and VIA..
Step 1
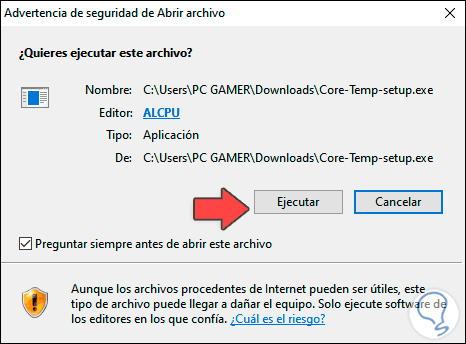
Once we download the file, we proceed to its installation, double-click on it and we will see the following:
Step 2
We click on Run and the installation wizard will open:
Step 3
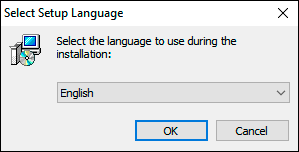
We select the installation language and click OK to continue:
Step 4
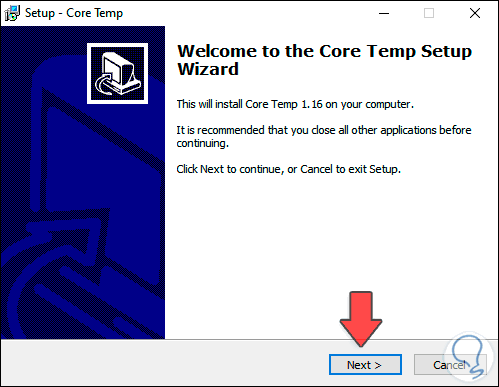
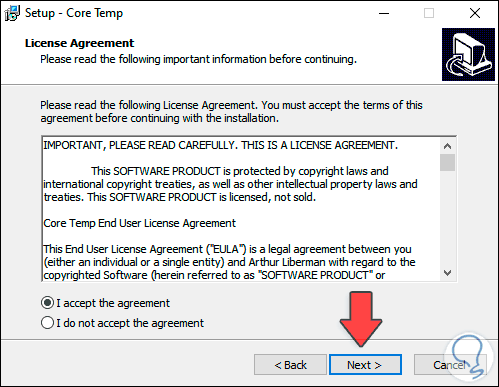
We click Next and we will accept the license terms:
Step 5
We click Next and define the installation path of CoreTemp:
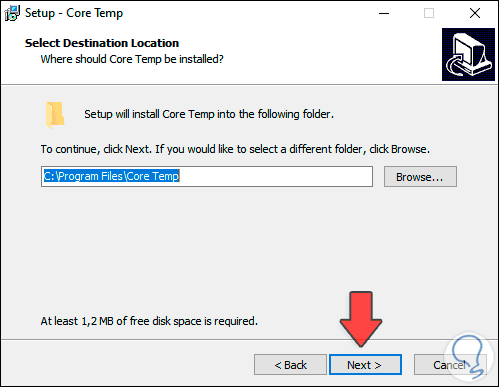
Step 6
Click Next and we can select additional tasks to use:
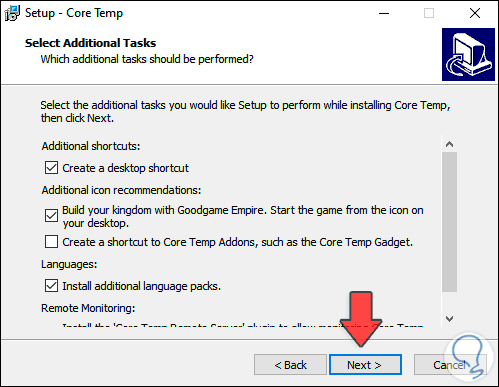
Step 7
Click on Next again and we will see a summary of the task to be carried out:
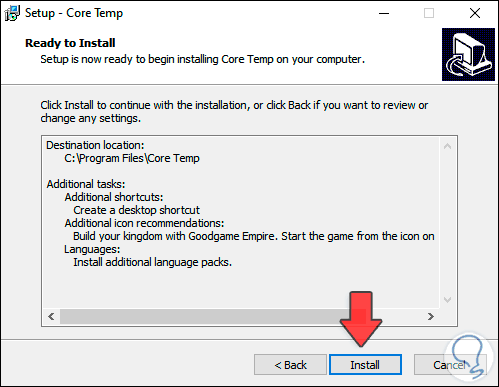
Step 8
We click Install to install it locally in Windows 10, we will observe the following:
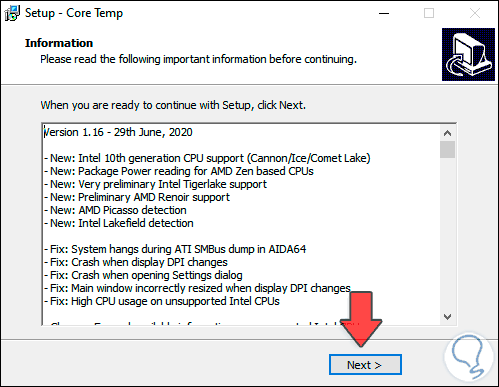
Step 9
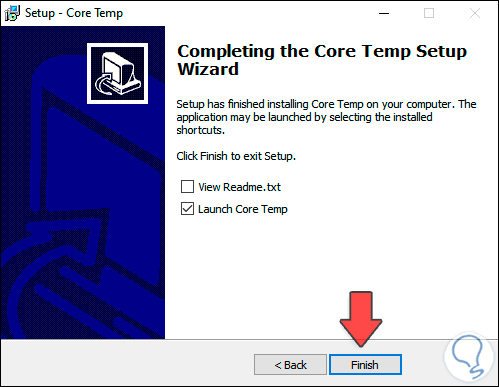
We click Next to complete the installation process. Click Finish to close the wizard and access the utility.
Step 10
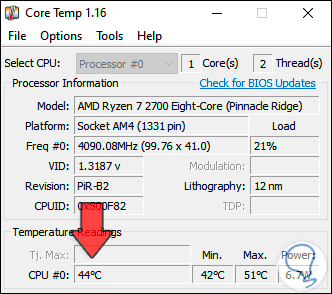
When accessing the utility we will see the following:
Step 11
There we find details such as:
- Processor model installed
- Current processor frequency
- Current temperature both minimum and maximum
Step 12
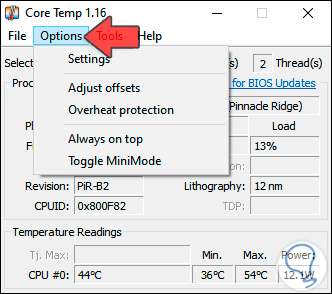
From the Options menu we will see the following:
Step 13
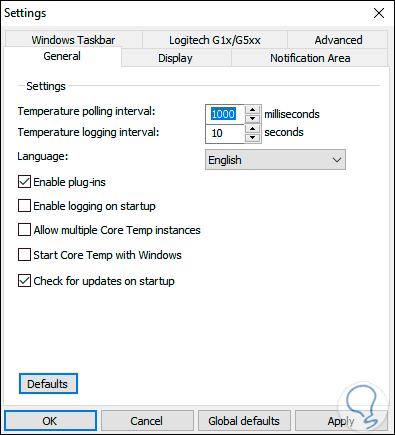
There it is possible to access the CoreTemp configuration where it is possible to adjust values such as:
- Temperature measurement interval in milliseconds
- Set the colors to represent the data
- We also have the option to enable protection in case of high consumption (overhead).
With this simple application we can have complete information about the real-time status of the CPU in Windows 10 and, as we have mentioned, be able to take actions in the event of an overheating that is not natural in the system, let's remember what the temperature can do in the system.