Desktop environments are vital for the user experience to be as complete as possible, each of them offers different functionalities according to the type of desktop selected, one of the most outstanding is KDE Plasma which is currently in its version 5.1 .0 and it should be noted that all KDE Applications work natively in GNU / Linux, BSD, Solaris, Windows and Mac OS X. By using KDE Plasma., We will be taking an environment that offers us office applications, mail electronics, graphics, photography and much more..
KDE Plasma 5.1 integrates many improvements, such as better stability, higher performance and new and some improved features for the user to enter in a more striking way.
KDE Plasma Features
Some of the features of KDE Plasma are:
- The Breeze widget is available for Qt4-based applications
- Icon Tasks task changer improvements
- clipboard manager revamped
- support for multiple time zones on the watch
- notifications improvements
- integration of a new binary window manager 'kwin_wayland'
With all this in mind, let's see how we can install KDE Plasma in Ubuntu (Kubuntu) which by default is with the GNOME or Cinnamon environment..
To stay up to date, remember to subscribe to our YouTube channel! SUBSCRIBE
Install KDE Plasma on Ubuntu 20.04
The first step we must take is to install "tasksel" which is a task manager in Ubuntu, as its name indicates (Task Selection) offers a wide group of options to install multiple applications or services on the system including graphical environments.
Step 1
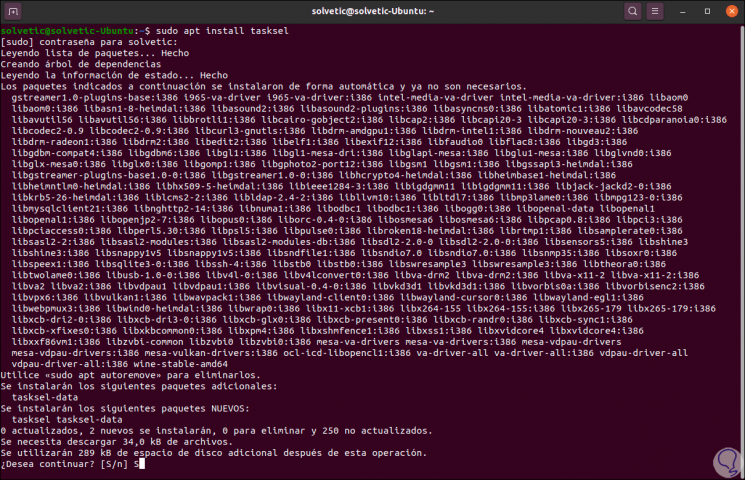
To install tasksel we execute the following command:
sudo apt install tasksel
Step 2
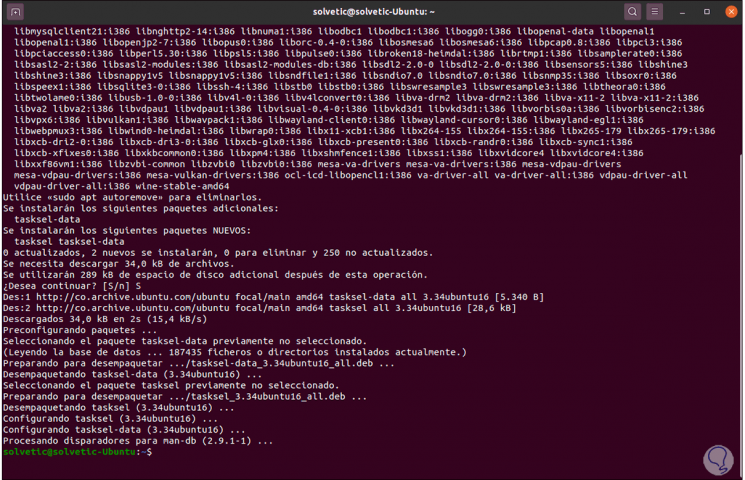
We enter the letter S to confirm the download and installation of the KDE packages:
Step 3
Once tasksel is installed, let's run the following to download KDE Plasma:
sudo tasksel install kubuntu-desktop
Step 4
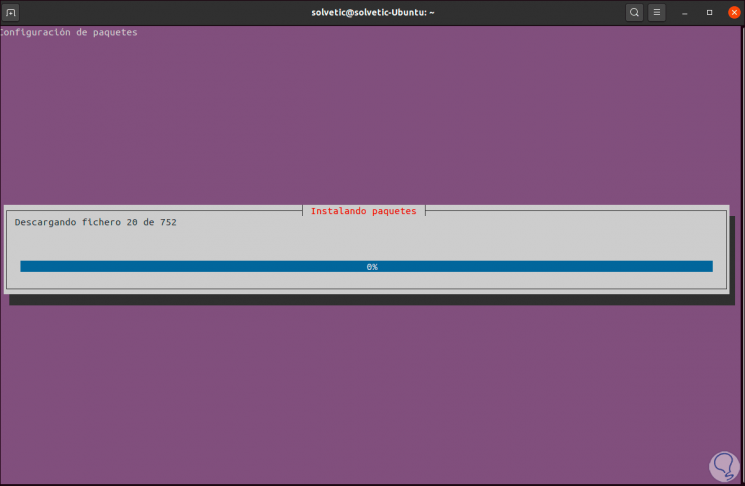
Pressing Enter will start an extensive download process of all the necessary packages:
Step 5
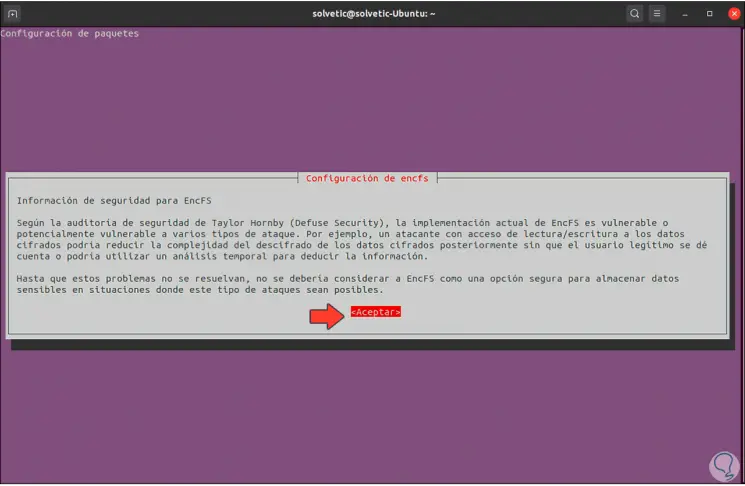
After this we will see the following:
Step 6
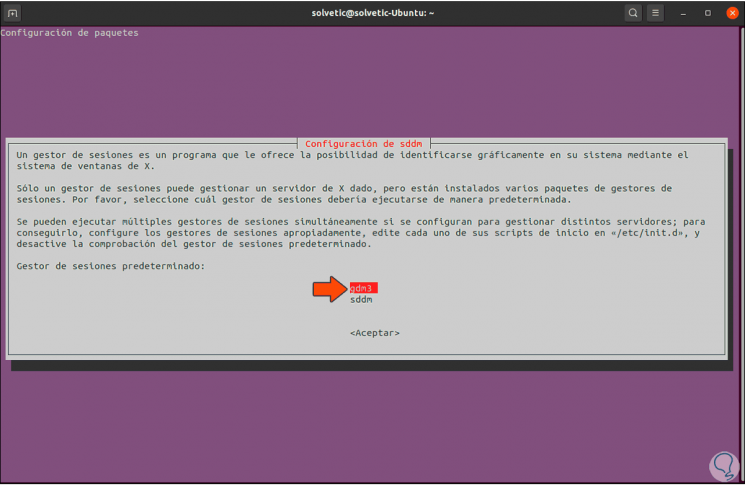
There the EncFS security information is displayed, we click OK, then we select the screen and session manager (we leave the default value):
Step 7
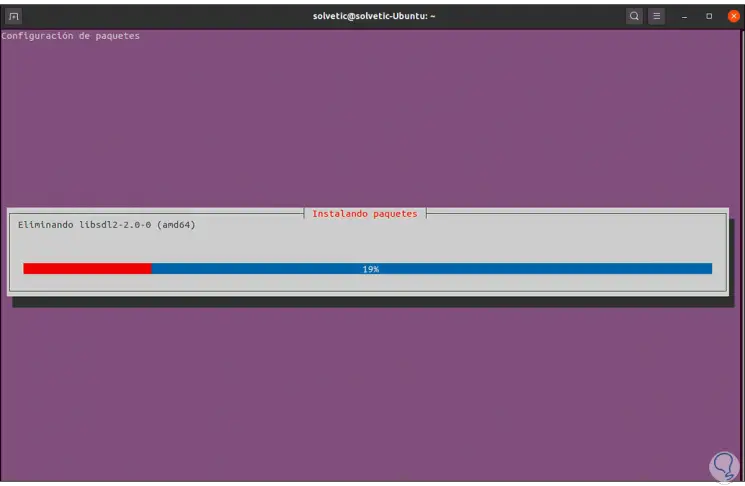
Click OK and the KDE Plasma installation process will continue:
Step 8
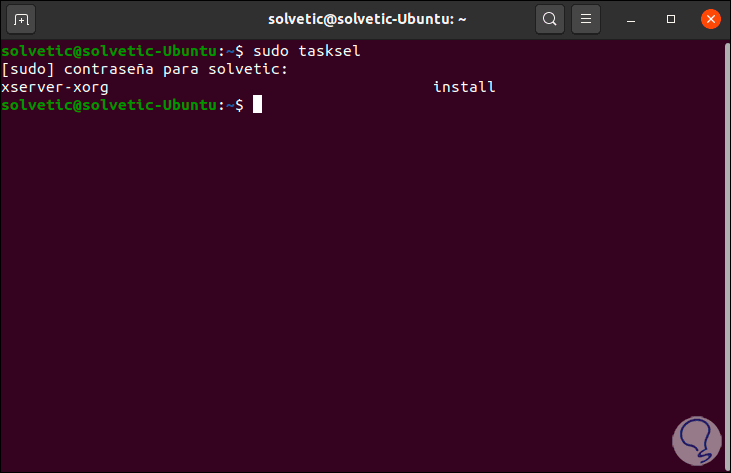
The installation process will continue, at the end we will see the following:
Step 9
After this, to apply the changes, we execute
sudo reboot
Step 10
When starting we can see that the new Kubuntu graphical environment is applied:

Step 11
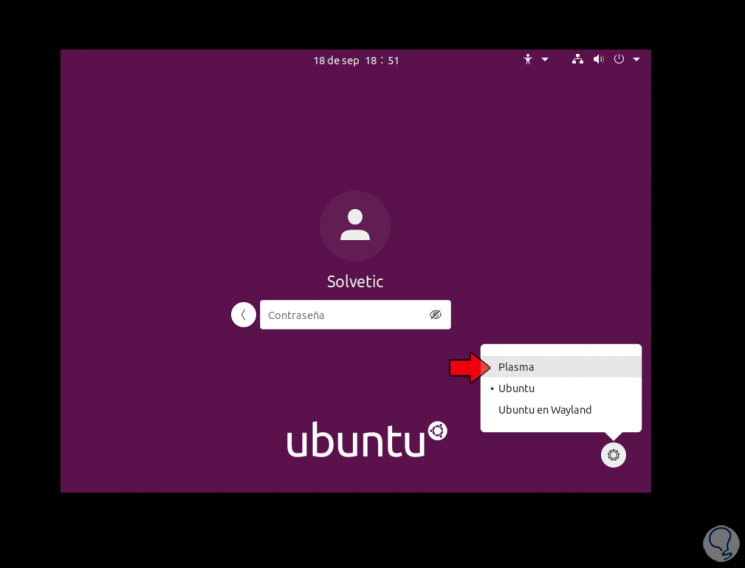
In the login screen we select "Plasma" in the desktop manager located on the lower right side:
Step 12
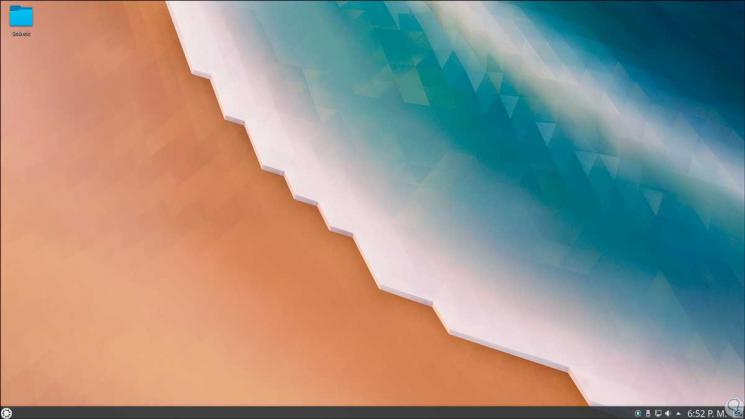
We enter the password of our access user and when we log in we can see the KDE Plasma environment in Ubuntu 20.04:

Step 13
After this step we access the new Ubuntu 20.04 KDE Plasma environment:
Step 14
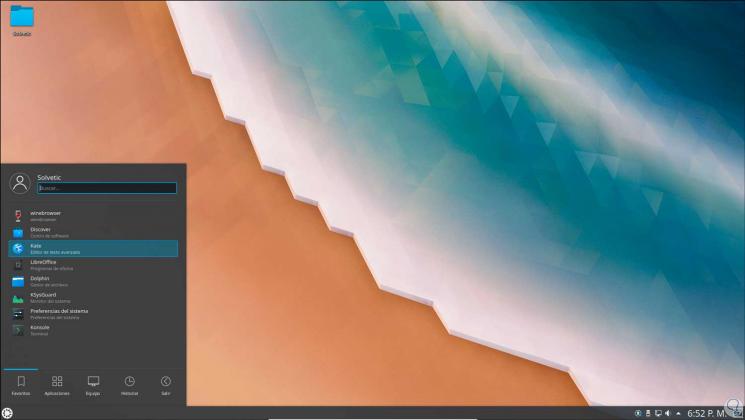
We can click the Start button to view the KDE Plasma design:
With these steps we have installed KDE Plasma on Ubuntu 20.04..