Kali Linux is one of the most used distributions for security issues since it is a Linux distribution based on Debian which has the purpose of advanced penetration testing and security auditing in environments where information can be vulnerable..
Its integrated tools offer us a solution in topics such as Linux information security parameters , penetration tests, security investigation , computer forensics and reverse engineering with which we search for even the smallest detail of errors or holes that can be exploited by an attacker.
Kali Linux Features
Among its characteristics we highlight:
- It has more than 600 analysis utilities
- It has a custom kernel, patched for injection issues
- Wireless Device Compatibility
- GPG-signed packages and repositories
- ARMEL and ARMHF compatibility
- You have a minimal and reliable set of repositories to avoid unwanted services
If you want to use Kali Linux but do not have a team available to pass it, Linux virtualization is the ideal solution for this, having a virtual environment we do not require physical hardware, thus taking advantage of what we have at hand and one of the best options for this it is VirtualBox ..
For this reason TechnoWikis will explain how you can install Kali Linux in VirtualBox in an Ubuntu 20.04 environment.
To stay up to date, remember to subscribe to our YouTube channel! SUBSCRIBE
1. How to install Kali Linux in VirtualBox on Ubuntu 20.04
Step 1
We will go to the Kali Linux website at the following link:
Kali Linux
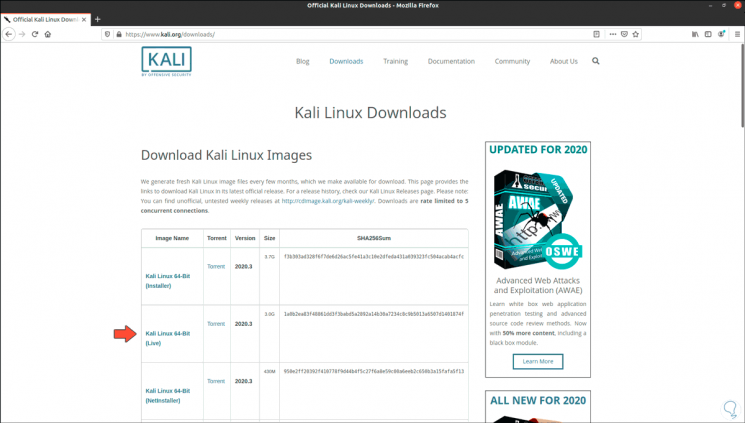
Step 2
In the download section we download the ISO image of the desired Kali architecture, it can be 32 or 64 bits (for this case we have used the 32 bits one):
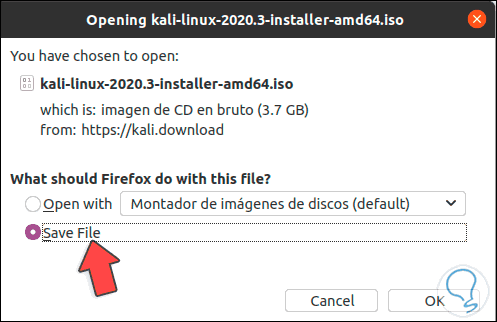
Step 3
By clicking there we will save the ISO image locally:
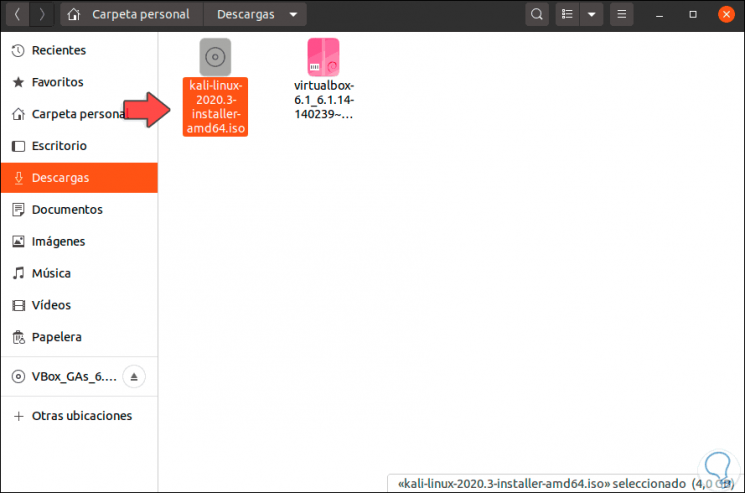
Step 4
We click OK and then validate in the Downloads folder that the image is available there:
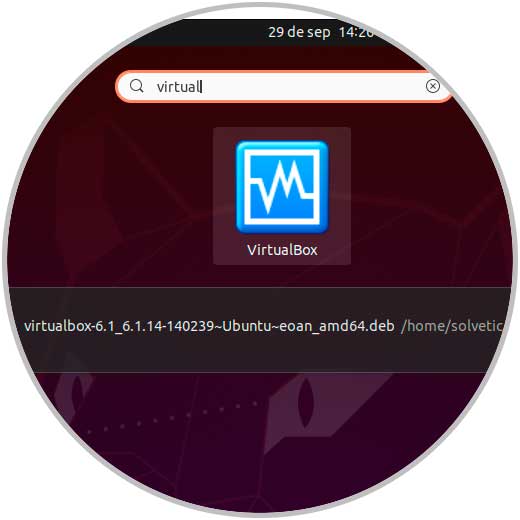
Step 5
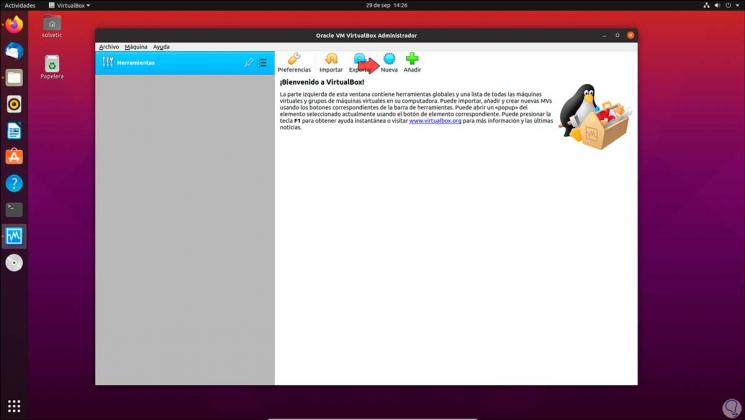
From Activities we open VirtualBox:
Step 6
VirtualBox will open in Ubuntu 20.04:
Step 7
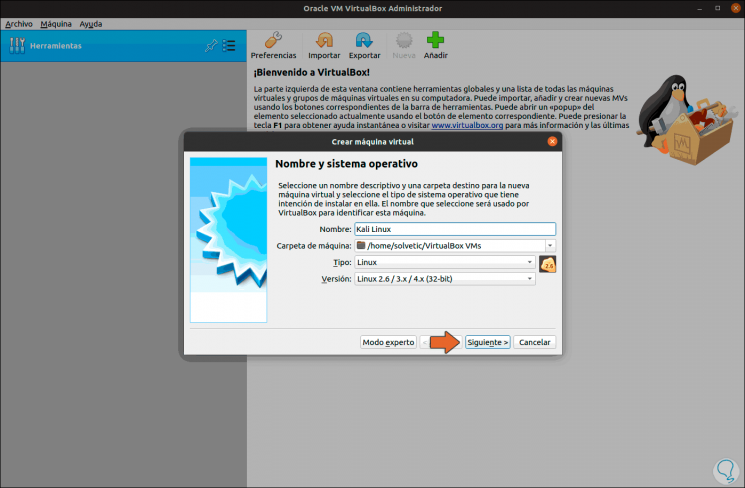
We create our virtual machine with any of the following options:
- From the "Machine - New" menu
Ctrl + N
Step 8
In the displayed window we define the following:
- In Version we set Linux 2.6 / 3.x / 4.x (32 bits)
Step 9
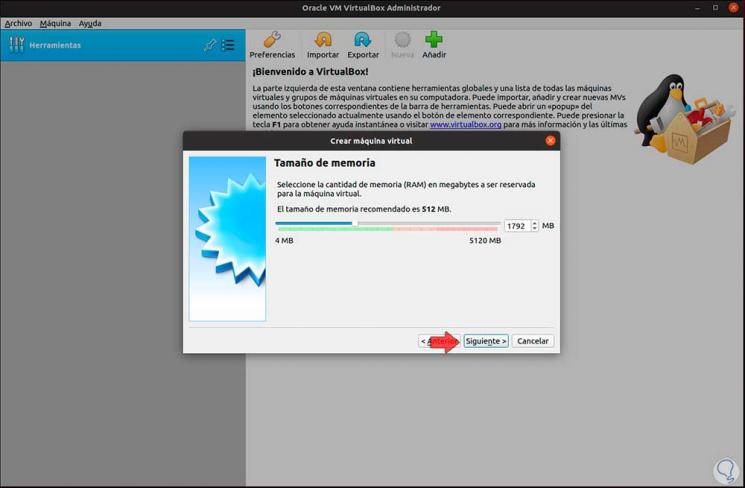
We click Next and define the amount of RAM to use:
Step 10
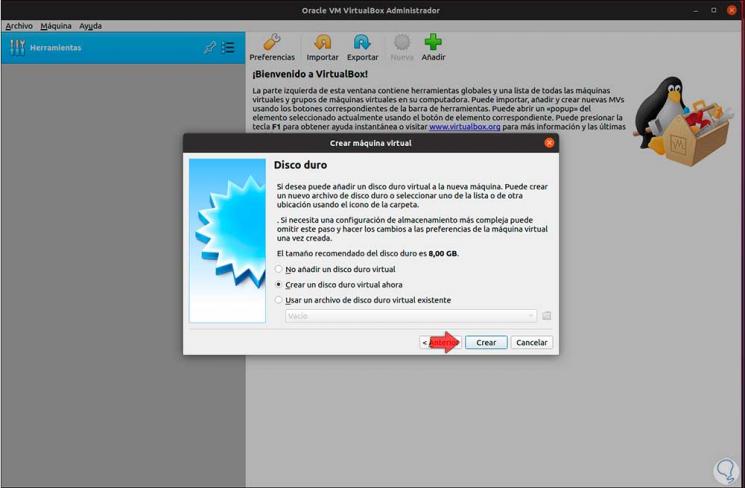
Next, we select the "Create a virtual hard disk now" box:
Step 11
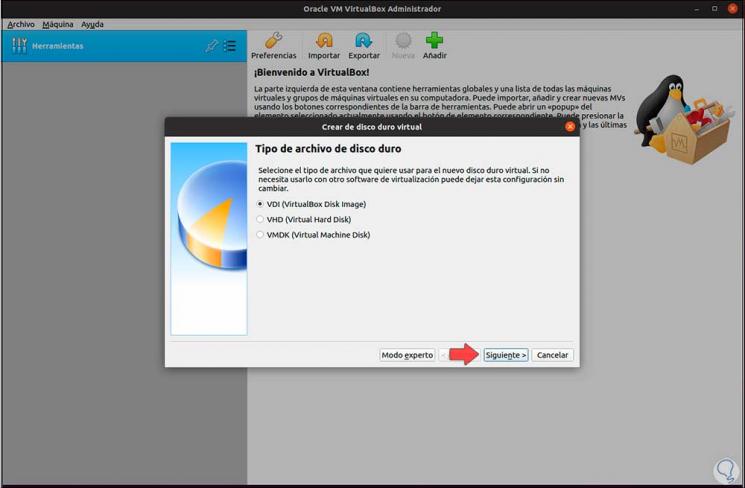
We click on "Create" and then define what type of disk to use:
Step 12
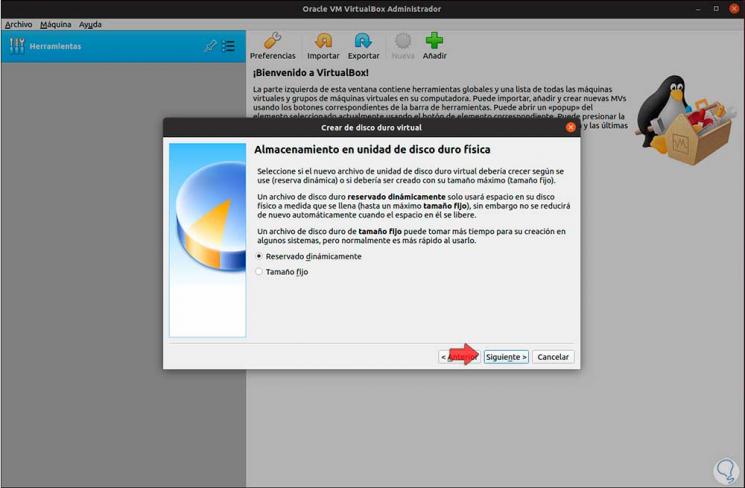
We leave the default value and click on "Next", we establish the way the storage will behave (fixed or dynamic):
Step 13
In the next window we define:
- The path where the virtual disk will be installed
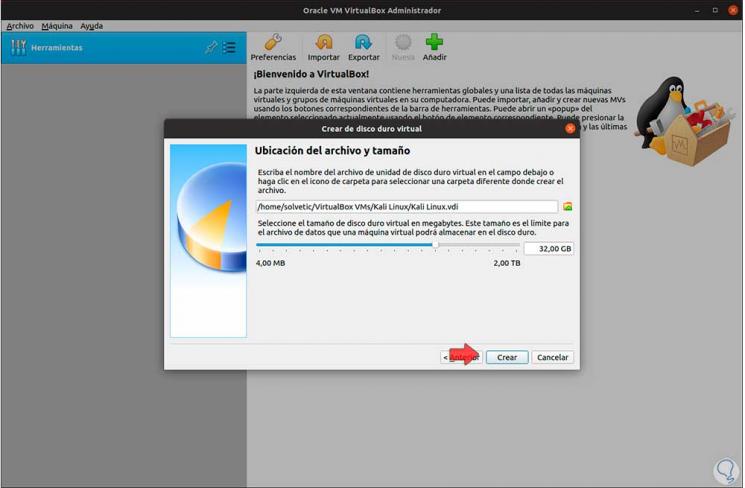
Step 14
Click Create to complete the process:
Step 15
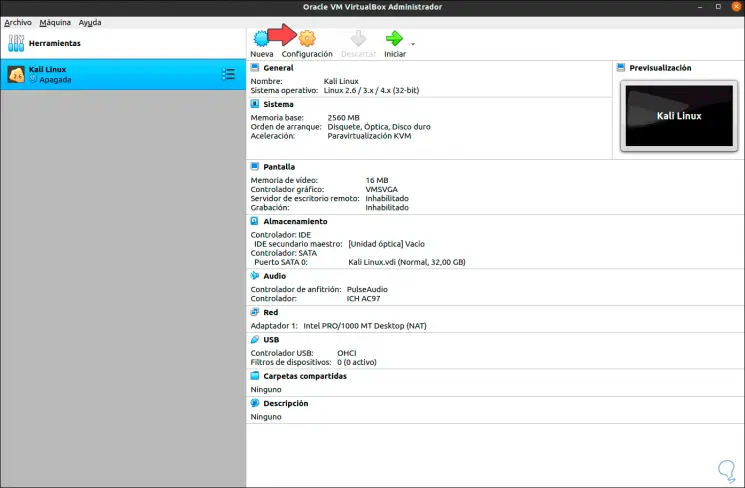
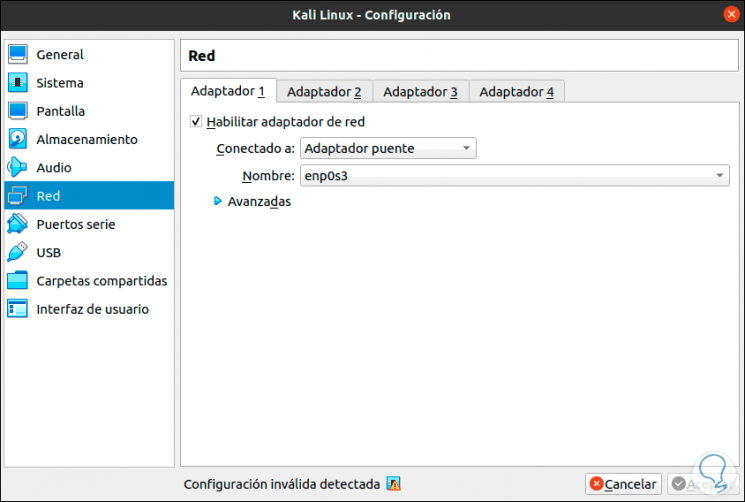
It is possible to go to "Configuration" to make virtual machine settings such as more RAM memory, activate the network adapter, etc:
Step 16
We click on "Start" to start the virtual machine and we will see the following window:

Step 17
We click on the folder icon to see the following:
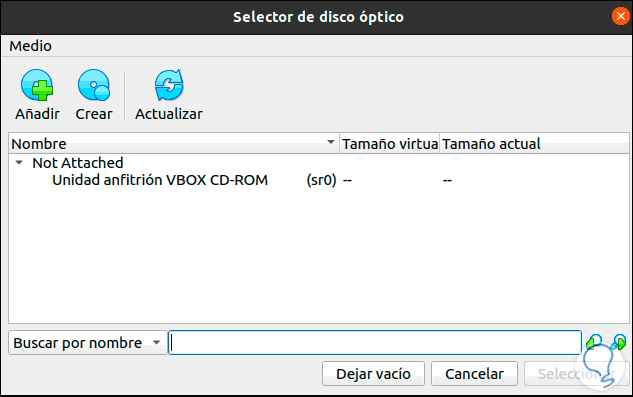
Step 18
We click on "Add" and we will go to the path where the Kali Linux ISO image has been downloaded:
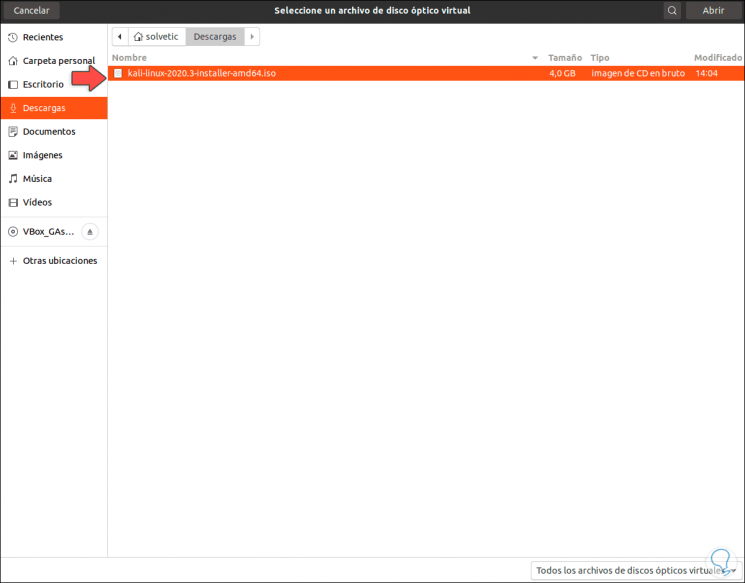
Step 19
We select it and click Open to integrate it:
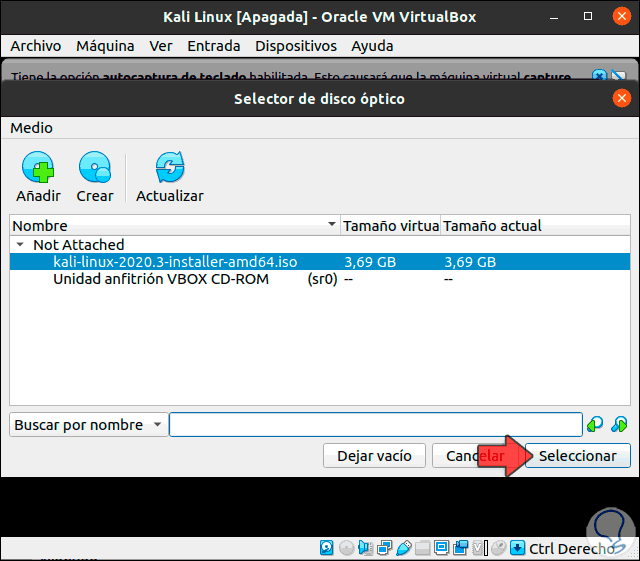
Step 20
We click Select to run the virtual machine with this ISO image:
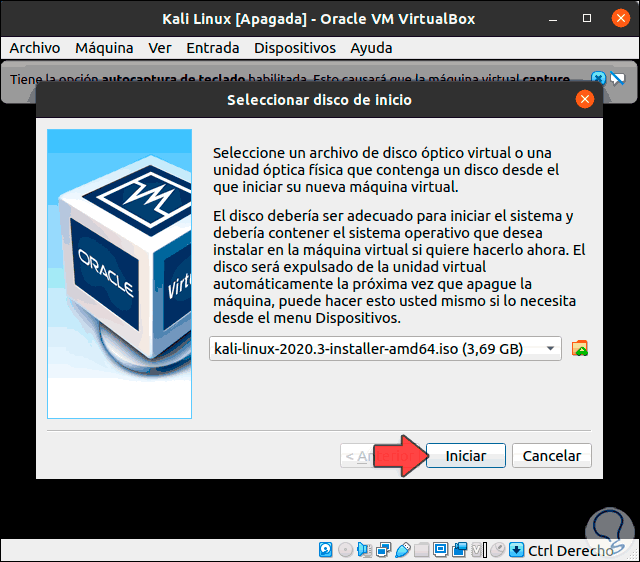
Step 21
Click on "Start" and if we see this error:
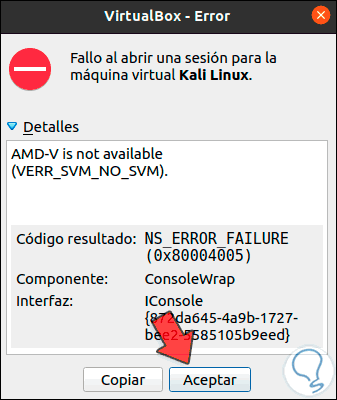
Step 22
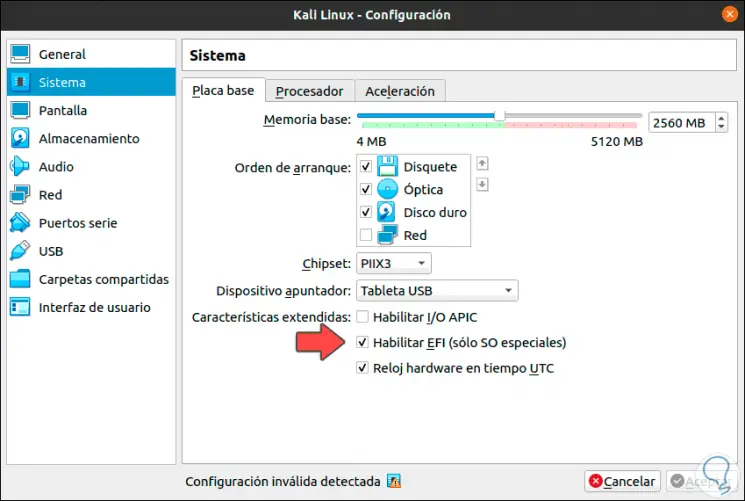
TechnoWikis will give you the solution, for this we turn off the virtual machine and go to Configuration, in the System section we activate the box "Enable EFI (Only Special OS)":
Step 23
We click OK to apply the change, we start the machine again and we will see the initial screen of Kali Linux:
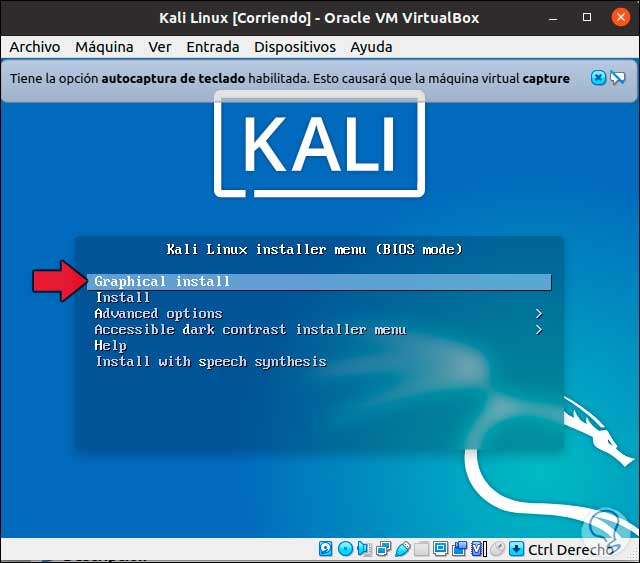
Step 24
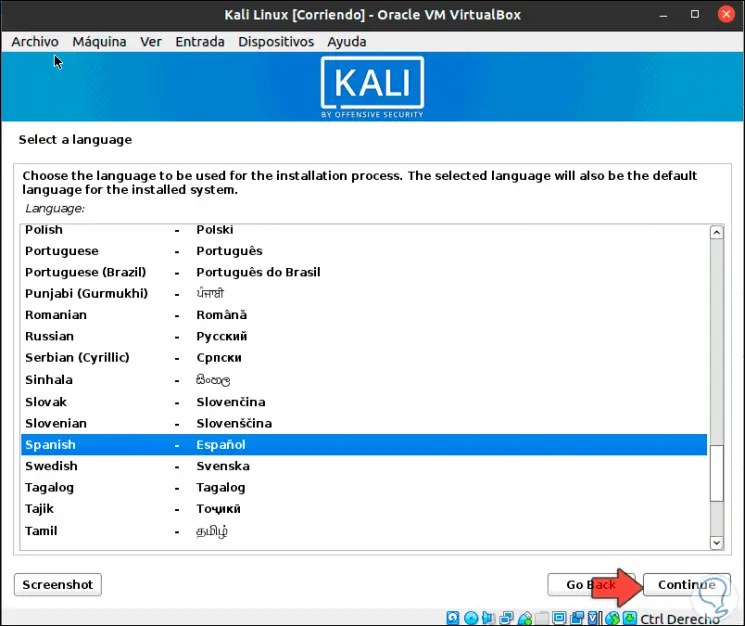
We select "Graphical Install" and define the language to use for Kali Linux:
Step 25
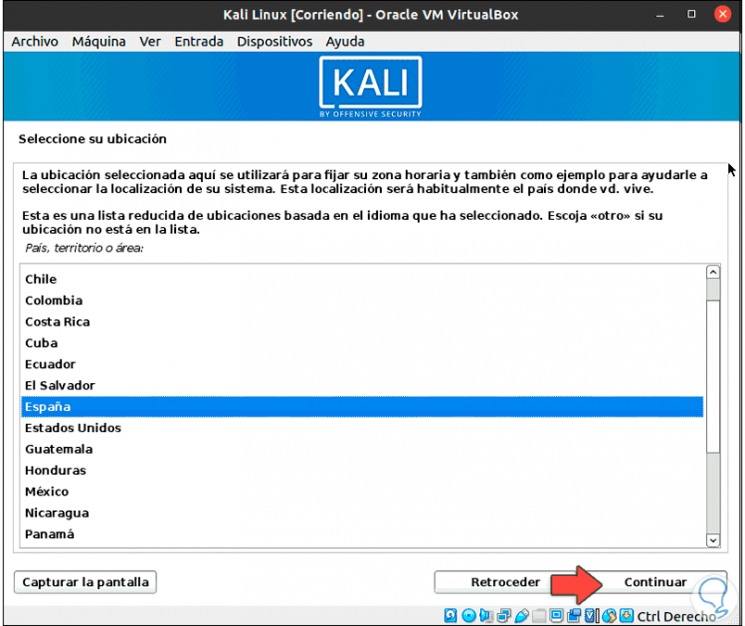
We click on "Continue" and select the country where we are located:
Step 26
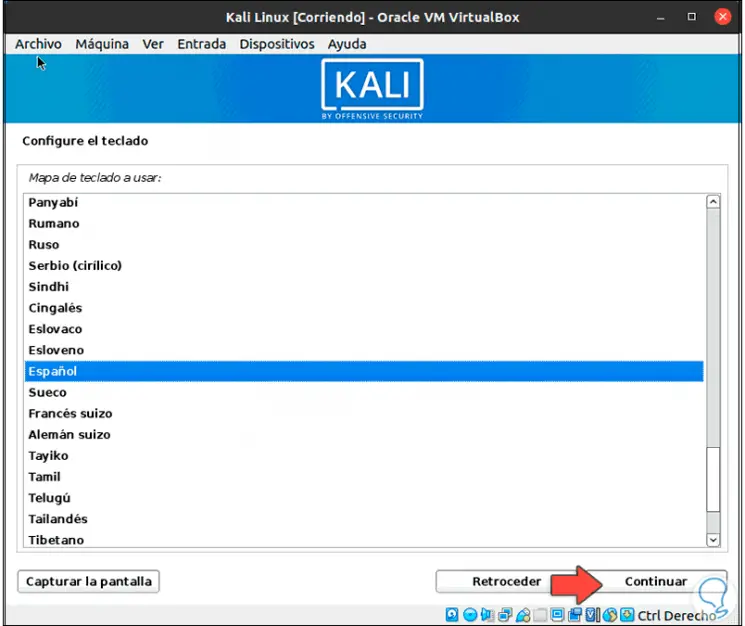
We set the keyboard language:
Step 27
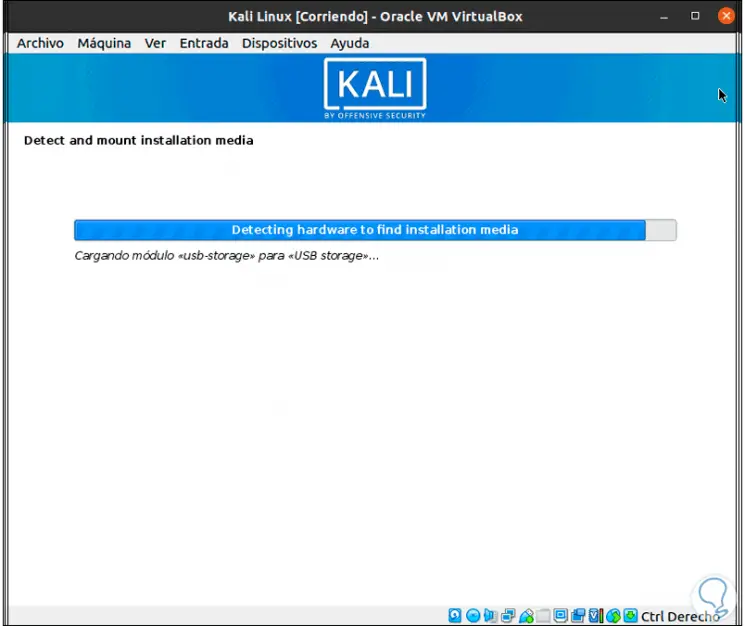
We click on Continue and an analysis of the installation media will be made:
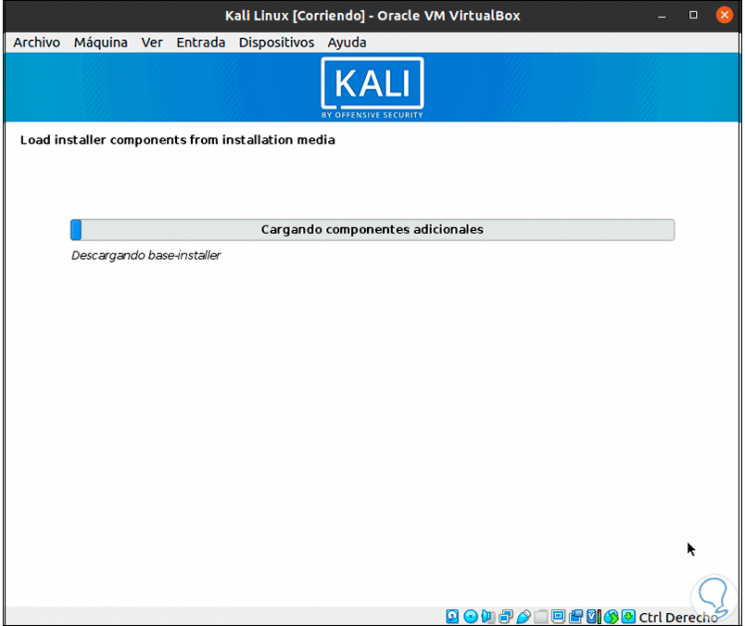
Step 28
Components will be loaded:
2. How to configure Kali Linux in VirtualBox on Ubuntu 20.04
Step 1
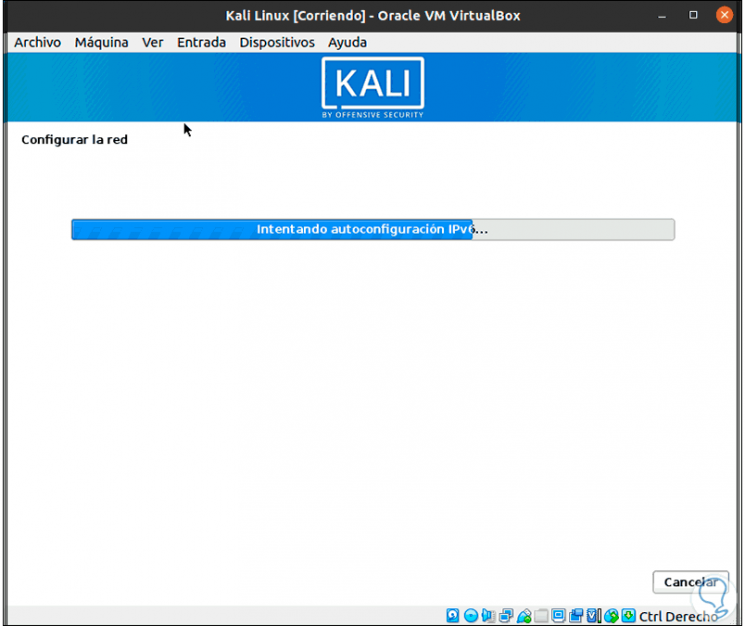
After this, the network configuration is carried out:
Step 2
When it has been validated, we establish the name of the machine:

Step 3
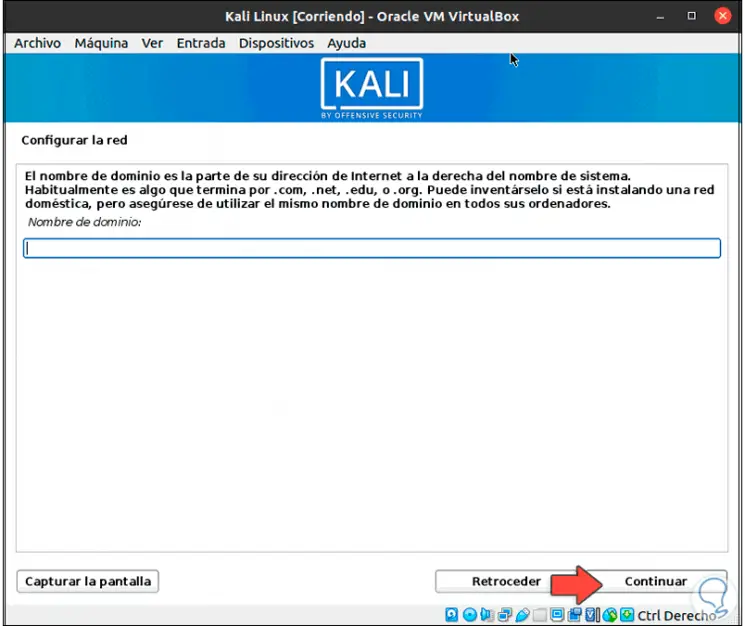
Then the domain name will be asked if we have one:
Step 4
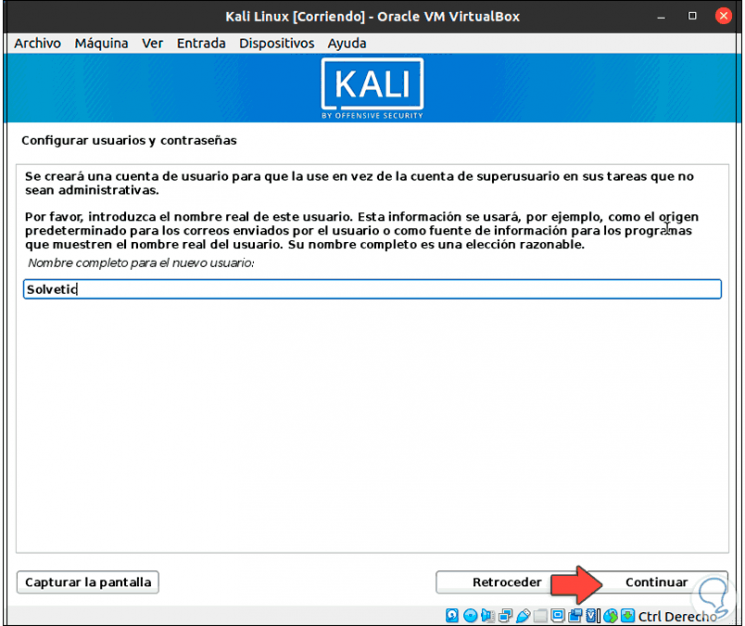
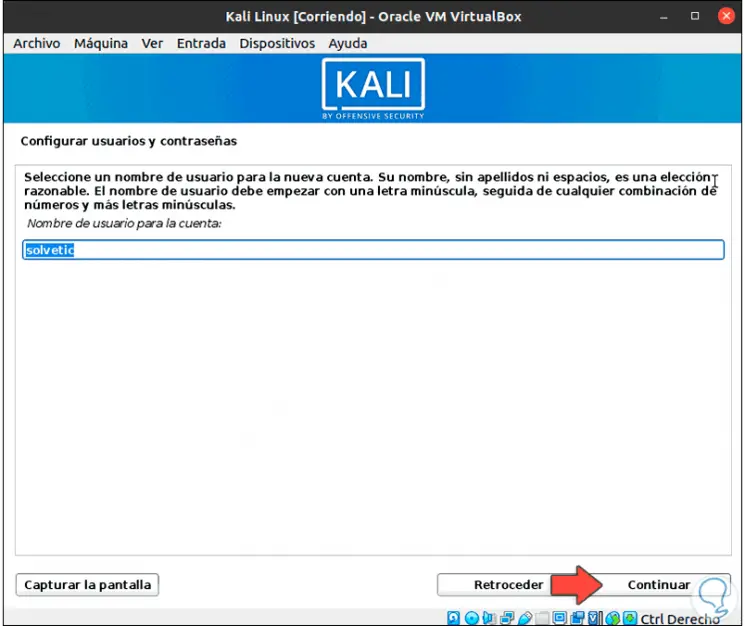
After this we enter the username:
Step 5
We validate the account user:
Step 6
We assign the password and confirm it:

Step 7
We click on Continue and the user changes for Kali will be applied and we will see that the disk configuration process takes place:
Step 8
The following options will be launched:
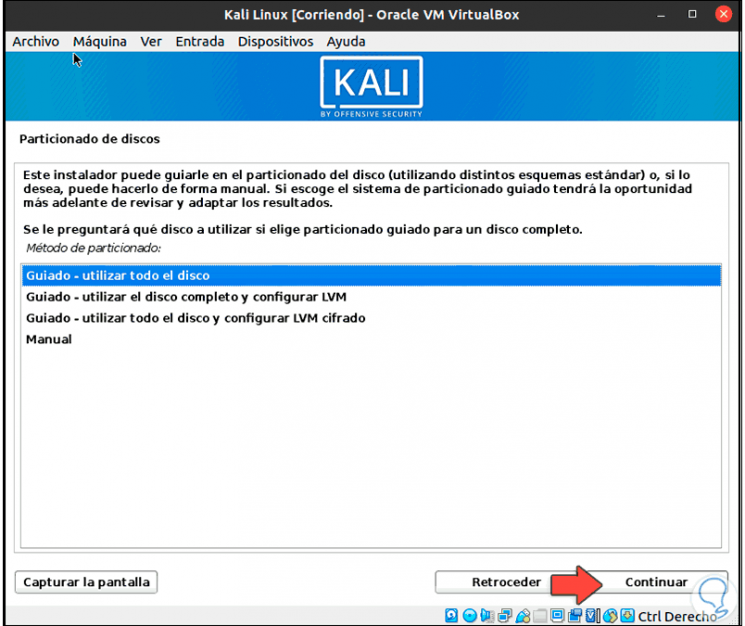
Step 9
We can use the “Manual” option to create our own partitions, but we recommend leaving the default option “Guided - use the entire disk”, we click on Continue and select the disk where Kali will be installed:
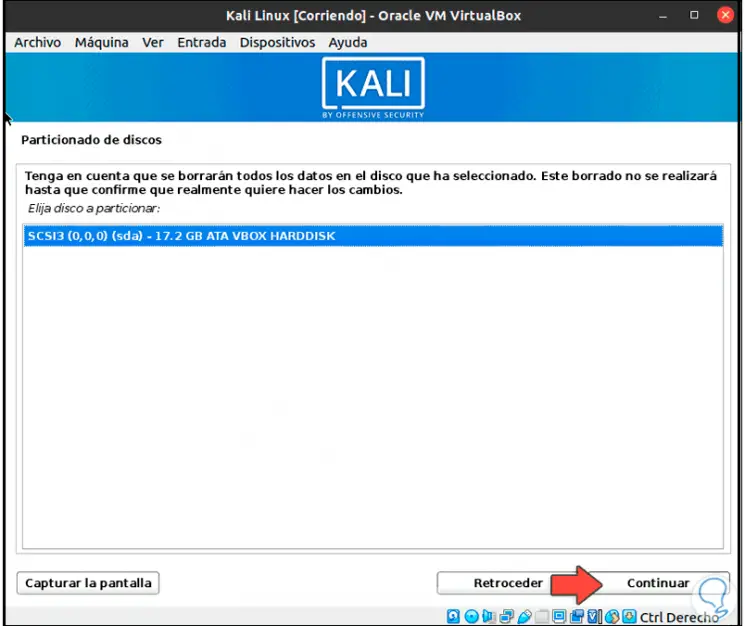
Step 10
In the next window we will see the following:
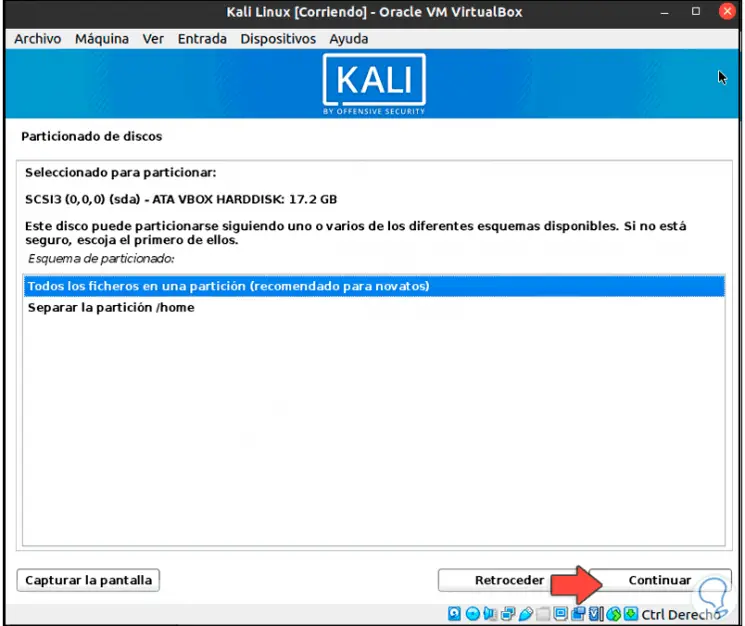
Step 11
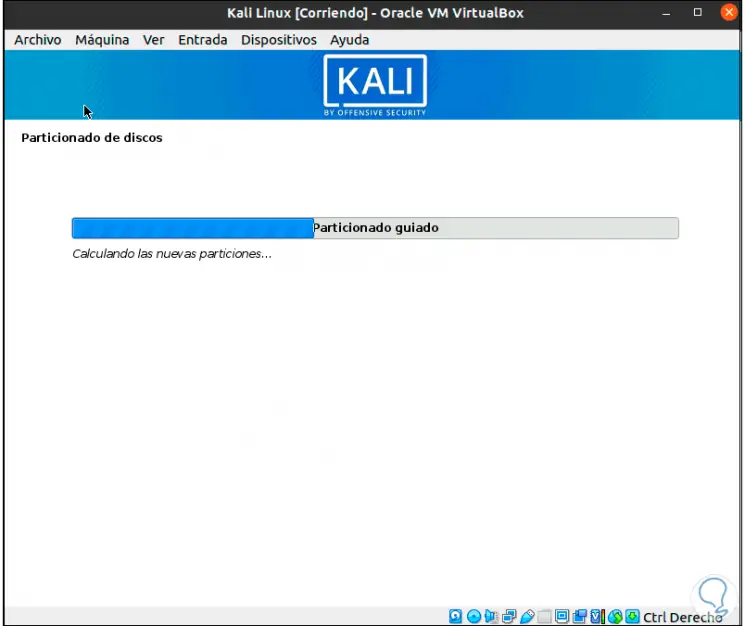
There we can separate the / home directory or leave the default value, click on Continue and the disk partition process will be done:
Step 12
At the end we will see the structure of the disc:
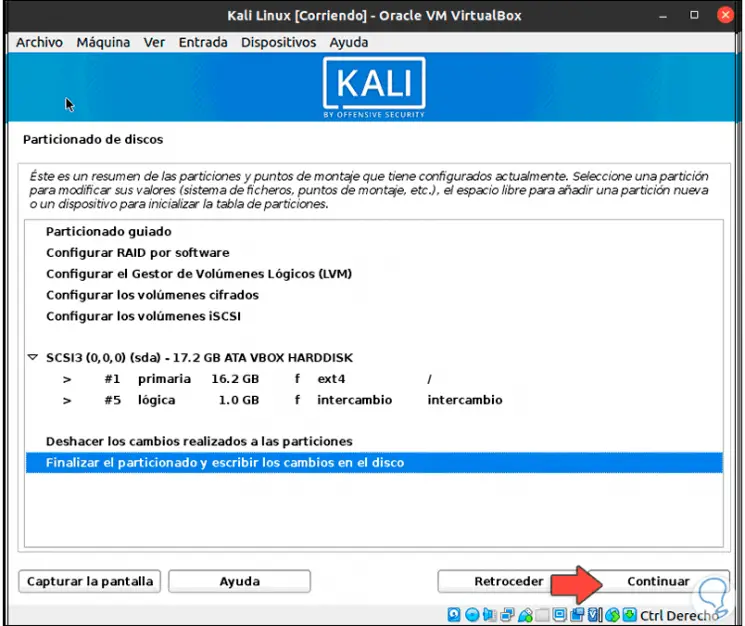
Step 13
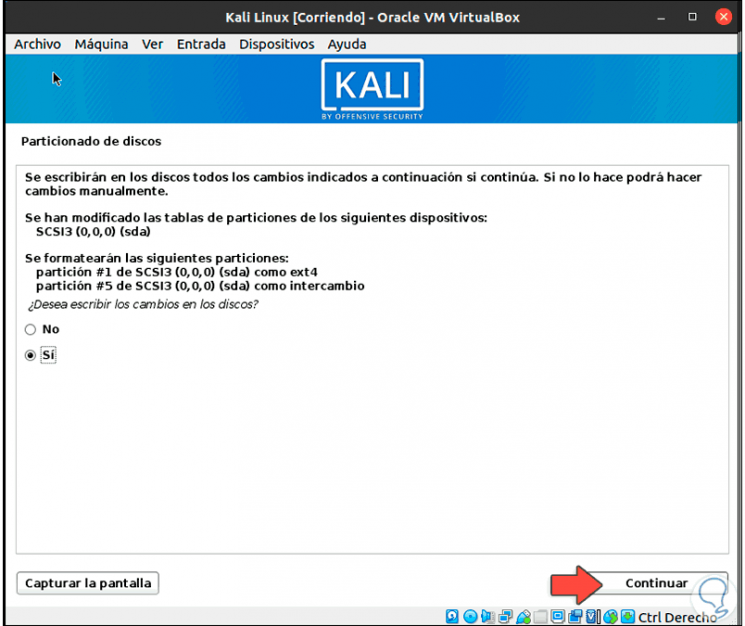
If we agree we click on "Finish partitioning and write changes to disk", click Continue and we will see the following. We confirm the changes by activating the Yes box.
Step 14
We click on Continue and the Kali system will be installed on the disk:
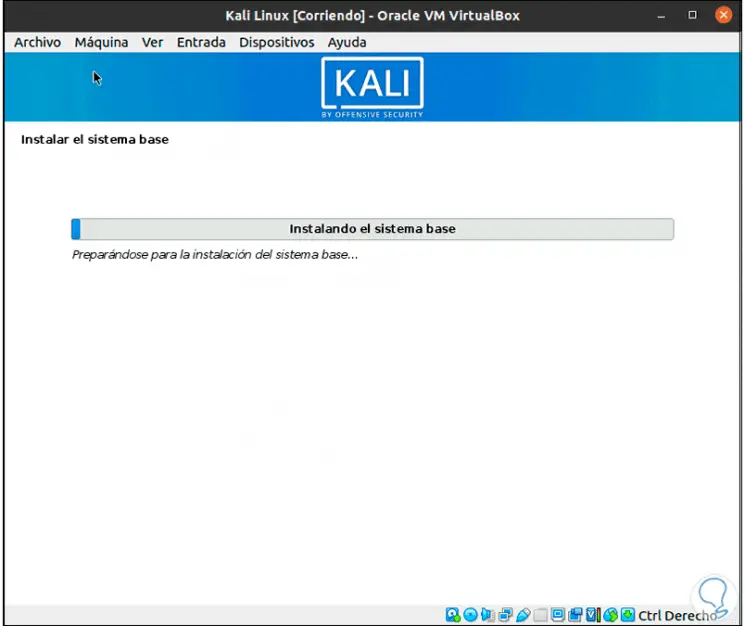
Step 15
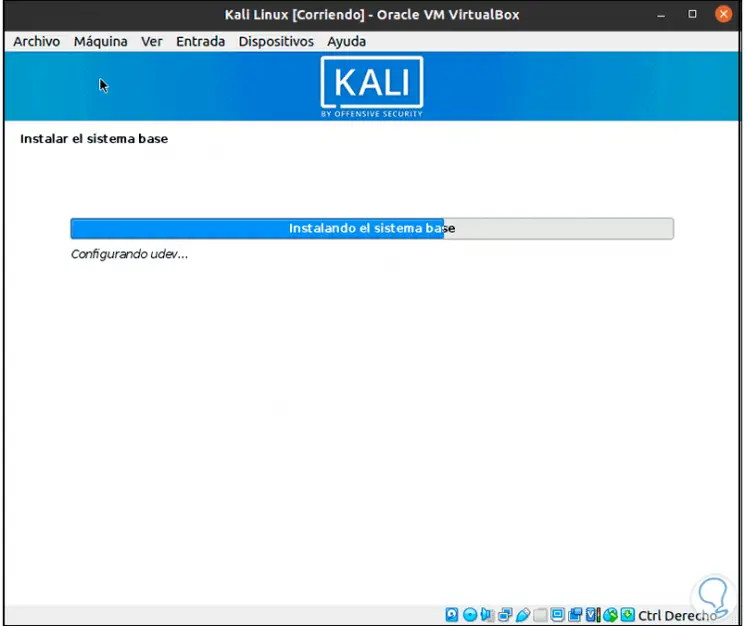
The installation process will follow:
Step 16
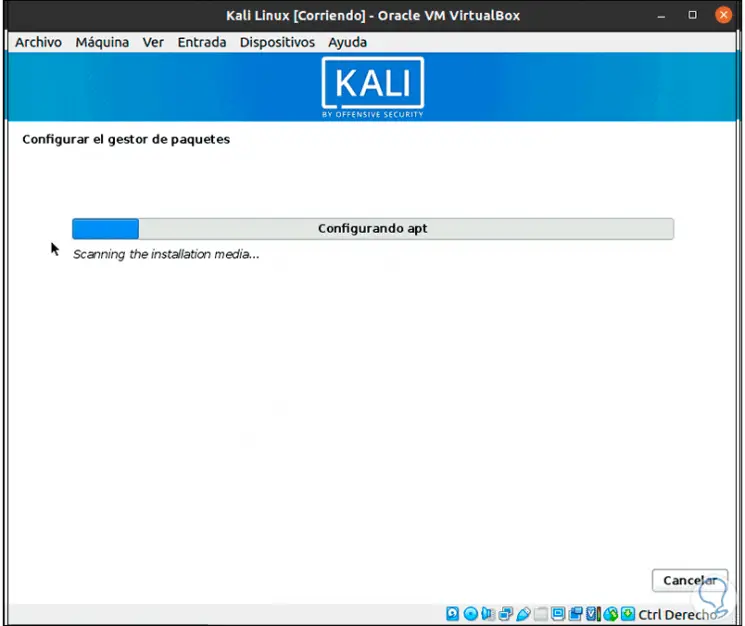
You will reach the APT package manager section:
Step 17
This will direct us to the programs section:
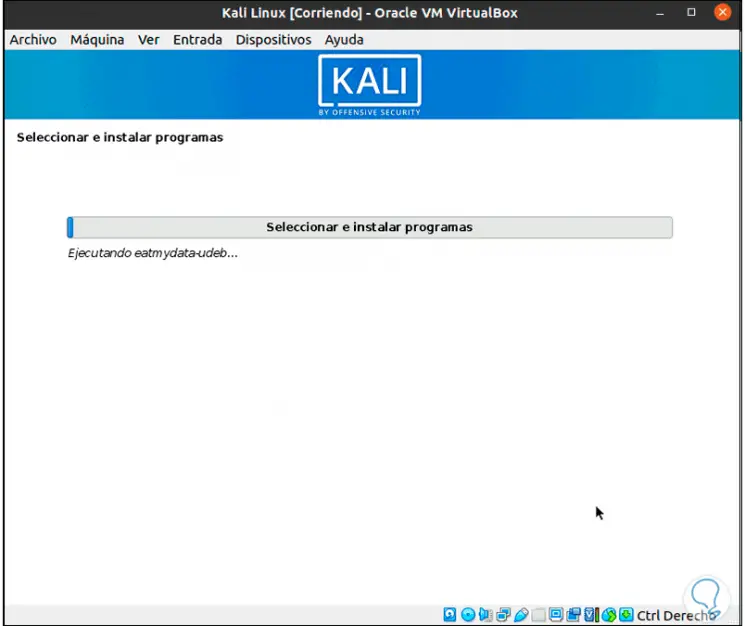
Step 18
In the next window we can define which components to install:
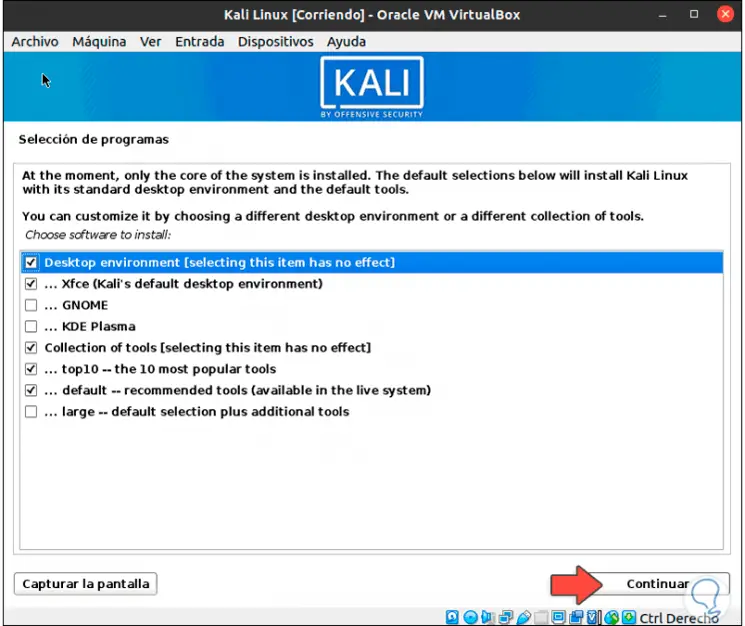
Step 19
Once selected, click on Continue to start the installation of these:
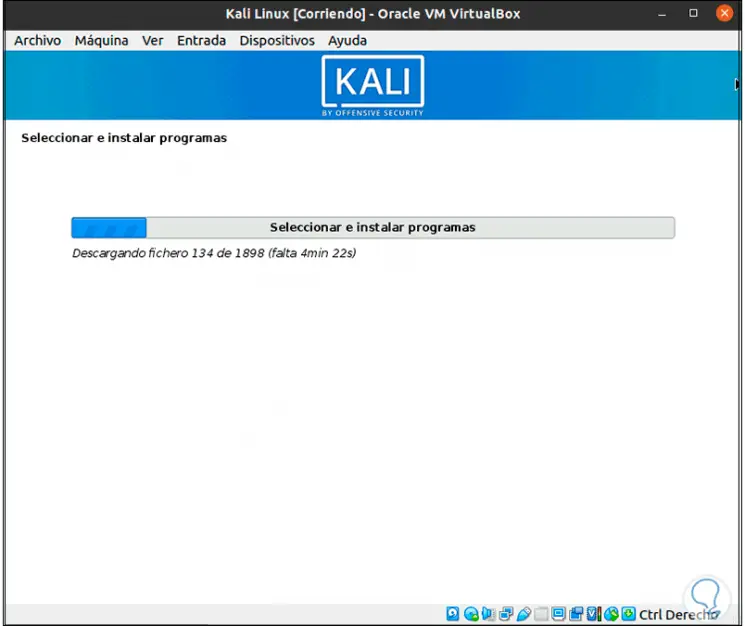
Step 20
Later we must confirm the installation of the GRUB boot loader:
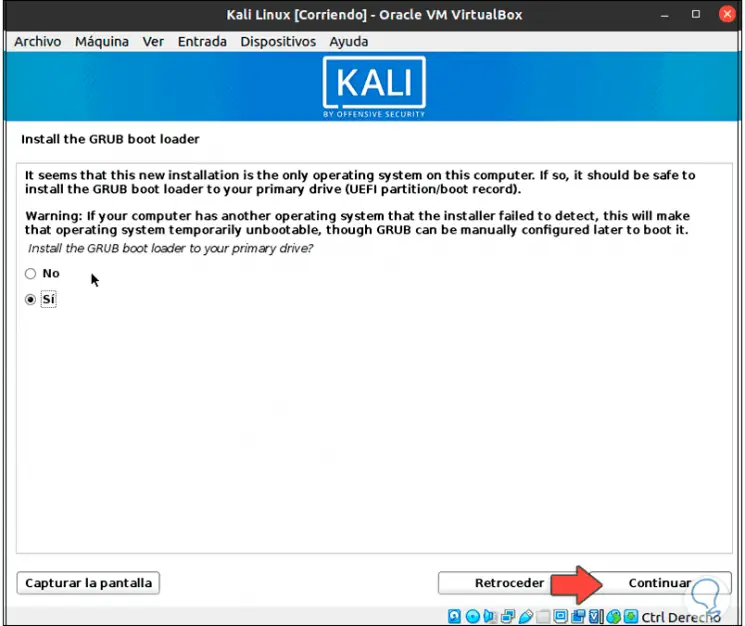
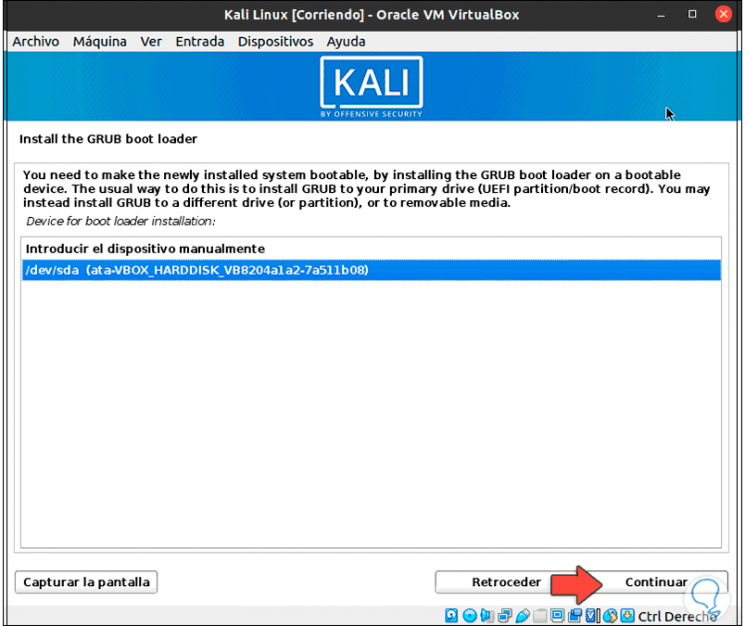
Step 21
Now we define the disk where it will be installed:
Step 22
Click Continue to install GRUB:
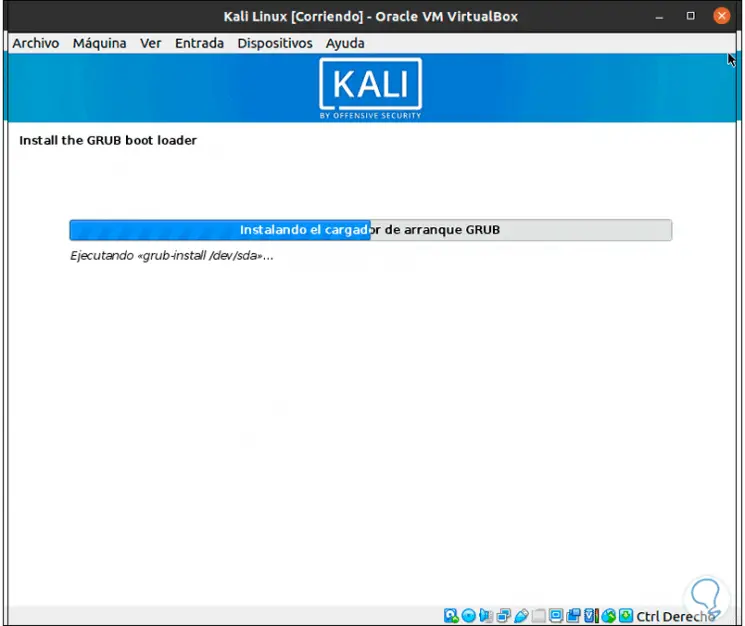
Step 23
After this we enter the final stretch of the installation of Kali Linux in Ubuntu VirtualBox:
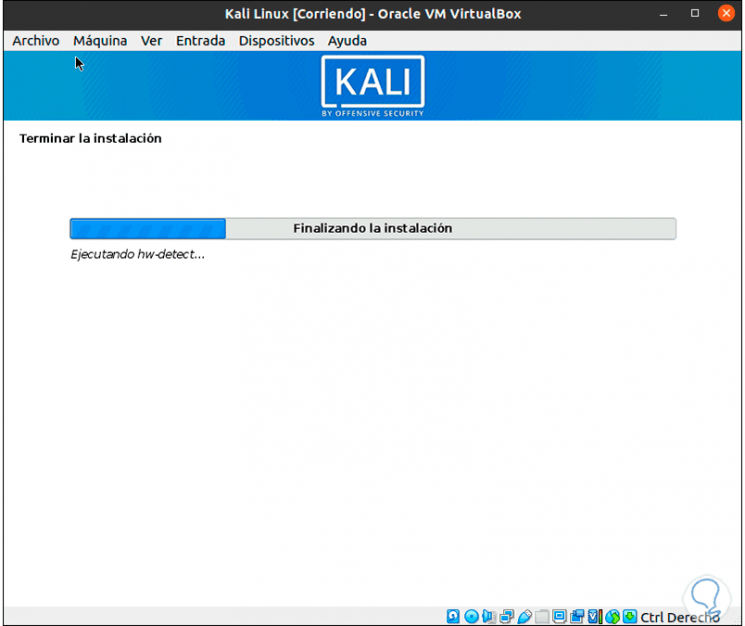
Step 24
At the end we will see the following:
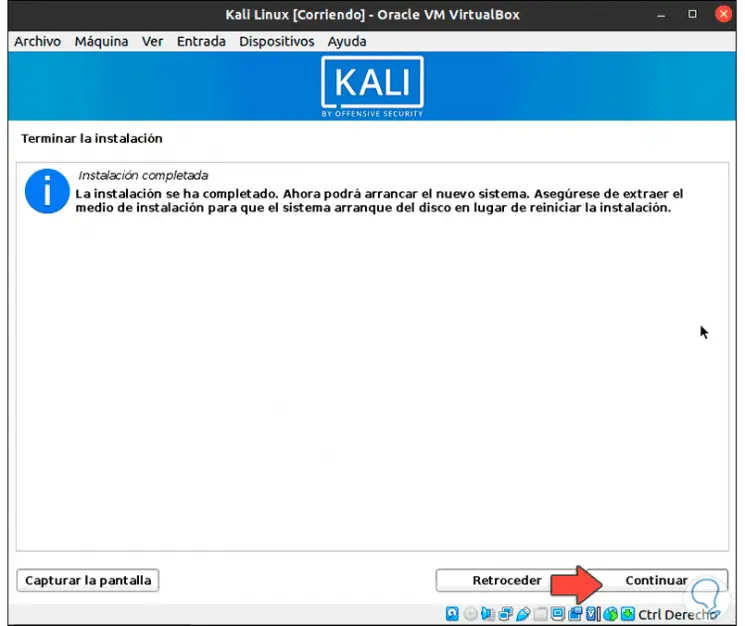
Step 25
We click on Continue and the system will be restarted:
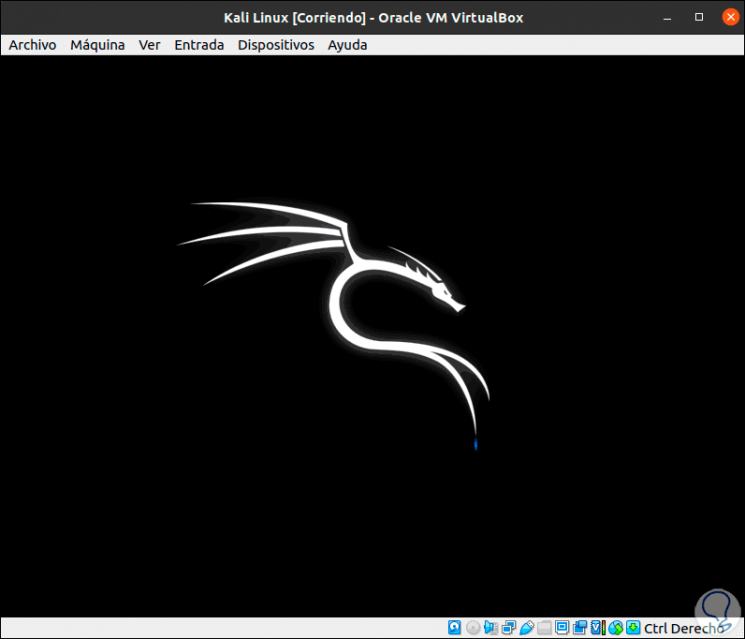
Step 26
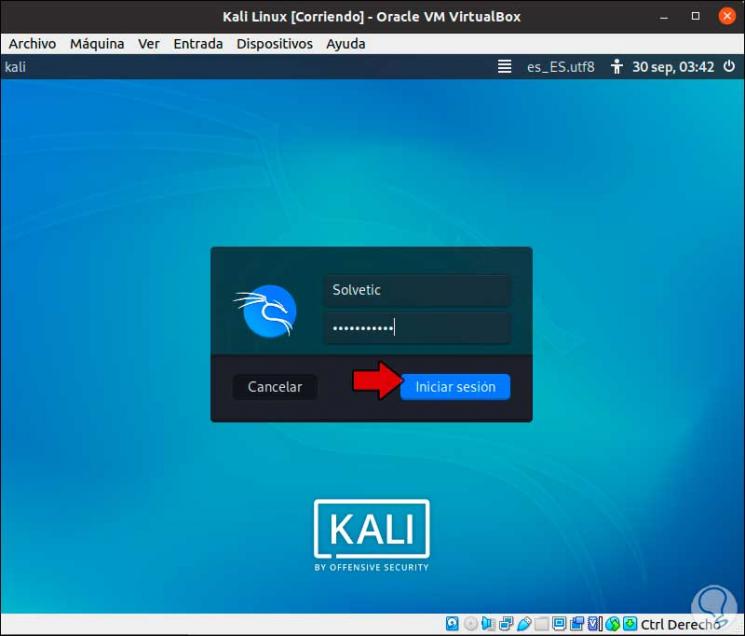
Then we access the login screen:
With this we have seen the process to install Kali Linux on Ubuntu 20.04 using VirtualBox..