Microsoft operating systems integrate tools that have been designed to facilitate the life of the user and provide the best work options and one of these utilities that has been present for many years is Microsoft Paint with which we learned to combine colors and use shapes, by Microsoft provides certain default settings that allow us to modify the size of the eraser..
This in case something of what we are doing is wrong and the size of the rubber allows us to specify large areas or delicate areas, but apart from the integrated options we can use our keyboard to define a custom size.
Today we will see how to modify the size of the eraser in Paint in Windows 10..
To keep up, remember to subscribe to our YouTube channel! SUBSCRIBE
1. How to select the eraser in Paint directly in Windows 10
Step 1
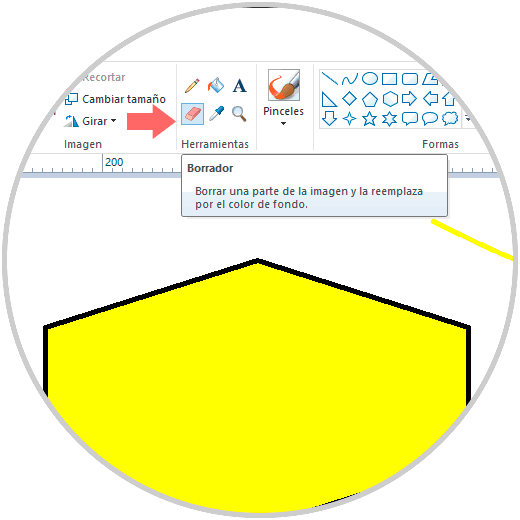
For this process we go to the “Tools†group and there we select the draft:
Step 2
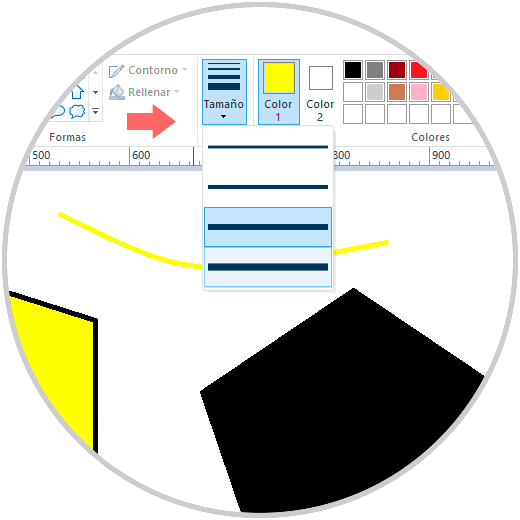
Once the eraser is selected we click on the Size option to define the thickness of the eraser in Paint. Based on the selected dimension, this will be the content erase area.
2. How to change the rubber size using the keyboard in Windows 10
Step 1
This option is simple since we can use one of the default sizes in Paint by selecting the Eraser option and then using the right Ctrl key and then pressing + or - on our numeric keypad to increase or decrease its size.
+ - + + -
Step 2
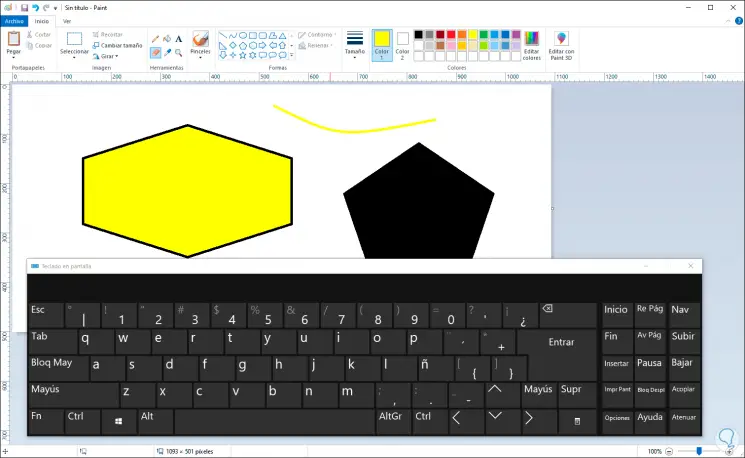
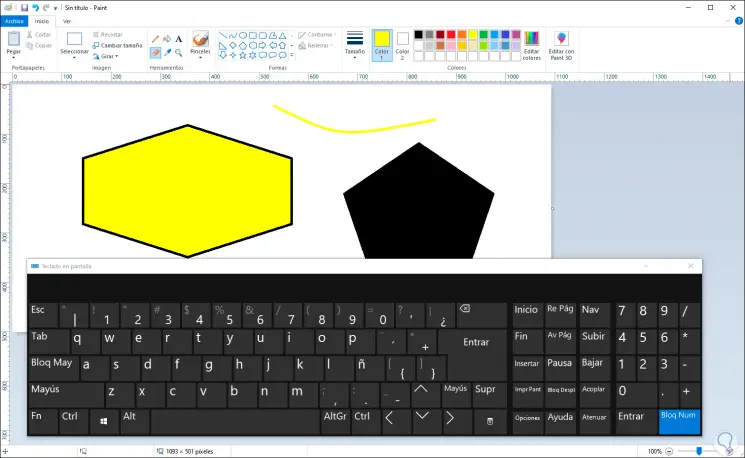
If you want to use the on-screen keyboard, this in case our keyboard does not have the numeric section or is damaged, just open the Windows 10 on-screen keyboard and it will remain active on the screen:
Step 3
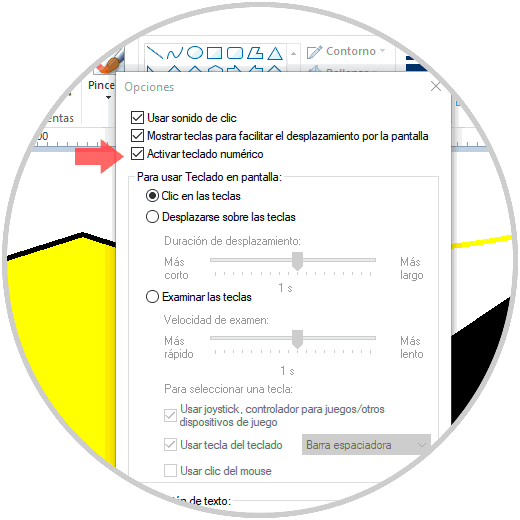
There we click on the Options key and in the displayed window we activate the “Activate numeric keypad†box:
Step 4
The objective of this is to achieve the numerical section and then from there use the Ctrl and + or - key as the case may be:
Note
To allow it to function properly we must first press the “Num Lock†button to enable this section.
On some laptops you can use the Ctrl + Fn and + or - keys to increase or decrease the size of the rubber and when we use the right Ctrl key and + we can increase the size of the rubber to the desired level and only limited to 4 integrated sizes in Paint.
This way you have learned to increase in Microsoft Paint in Windows 10..
3. How to enlarge the eraser in Paint 3D Windows 10
As we mentioned, Microsoft has renewed Paint a Paint 3D with new features and a focus on virtual reality, but we still have the option to change the size of the draft there.
Step 1
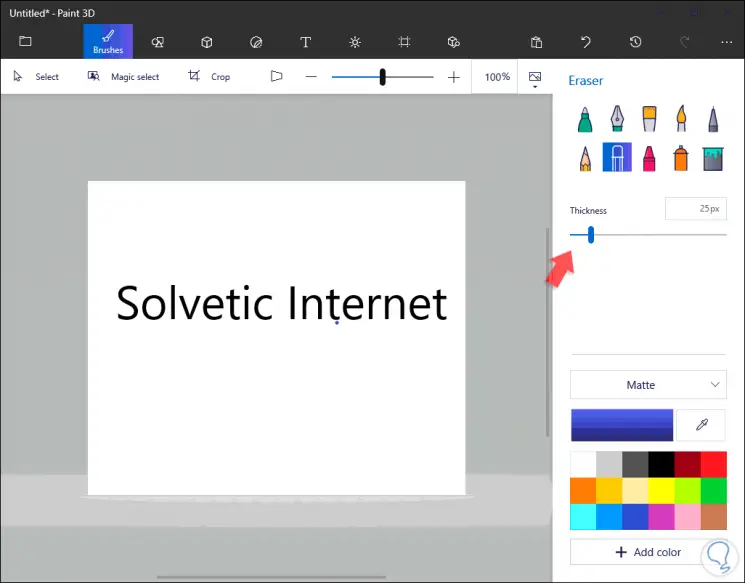
For this, we access Paint 3D and there we will go to the Brush menu (Brushes) and then select the eraser icon and at the bottom of it we find the line called Thickness which allows us to specify the increase or decrease (towards the right we increase the rubber and to the left we decrease it):
Step 2
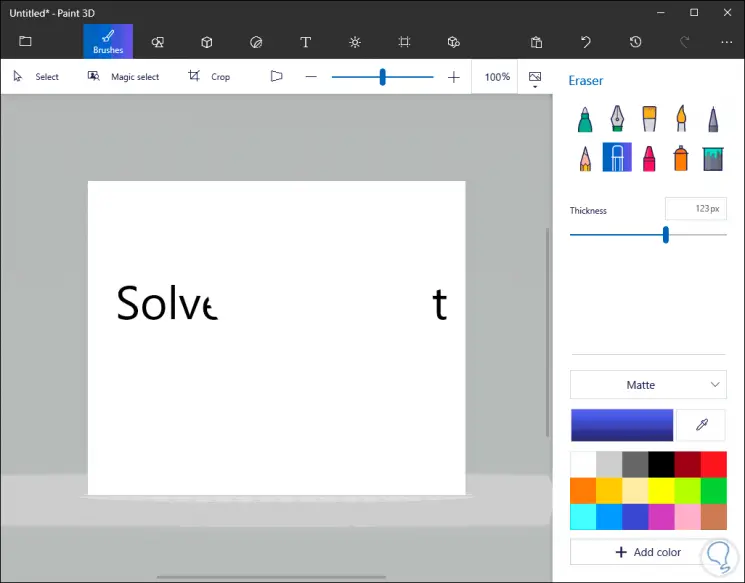
By increasing the thickness line the eraser will increase its size and we can see it reflected when applying the erasure somewhere in Paint 3D:
We can see that it is a simple but effective process by increasing or decreasing the size of the rubber in Paint or Paint 3D and thus better manage this aspect when working with objects in these applications.