The date and time are essential parts of Windows 10 since they not only keep us up to date on our tasks, but many services and applications depend on them for their execution, therefore a wrongly configured date and time can cause synchronization problems or application settings..
The Windows 10 date and time are important to keep the computer synchronized with the system tools and thus avoid possible failures. We can either have an automatic date and time configured or modify it manually if we need it. From the command prompt it is possible to manually modify these values and if you do not know how to use them TechnoWikis will explain how to do it in Windows 10.
To stay up to date, remember to subscribe to our YouTube channel! SUBSCRIBE
1. Change date and time Windows 10 graphically
Step 1
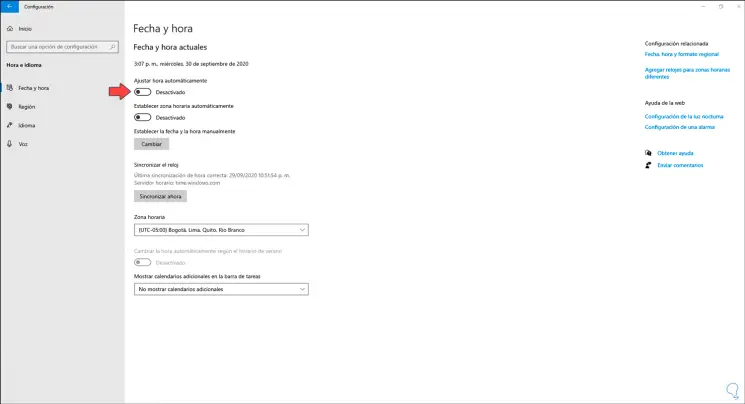
To change the time and date in Windows 10, first of all, we must deactivate the automatic adjustment of these, for this we go to the following route:
Step 2
In the "Date and time" section we deactivate the "Set time automatically" switch:
Step 3
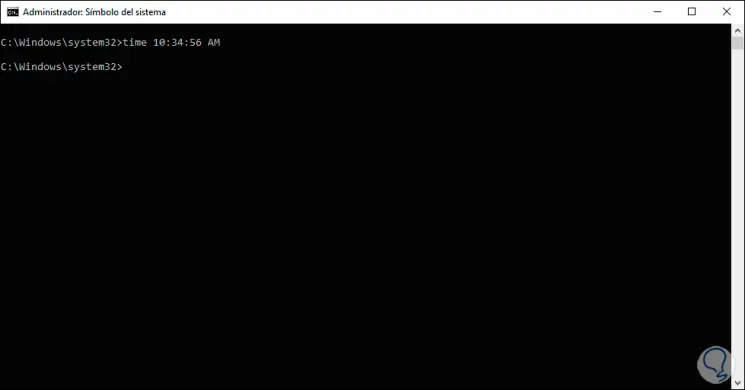
After this we access the command prompt as administrators and to change the time we can use the AM or OM format with the following syntax:
time HR / SEC / MIN AM / PM
Step 4
For example, to set a time in AM we execute:
Step 5
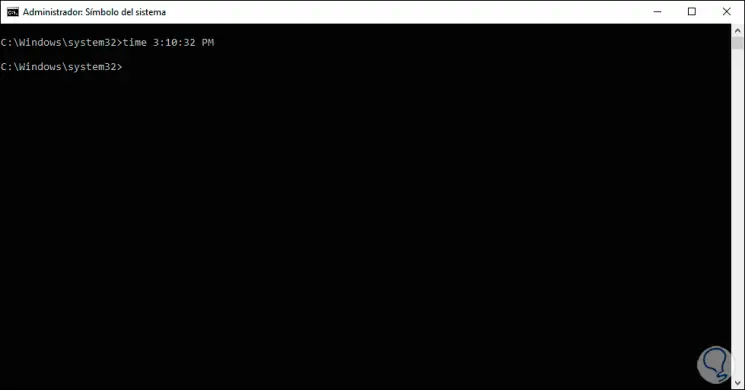
The change will be seen automatically in the taskbar, if we want to use the PM format we will use the following:
Step 6
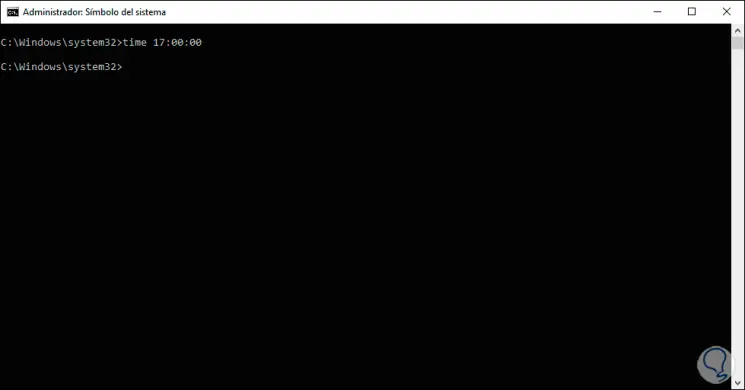
It is possible to use the 24-hour format for the command prompt to define the time zone used:
2. Change date and time Windows 10 CMD
Step 1
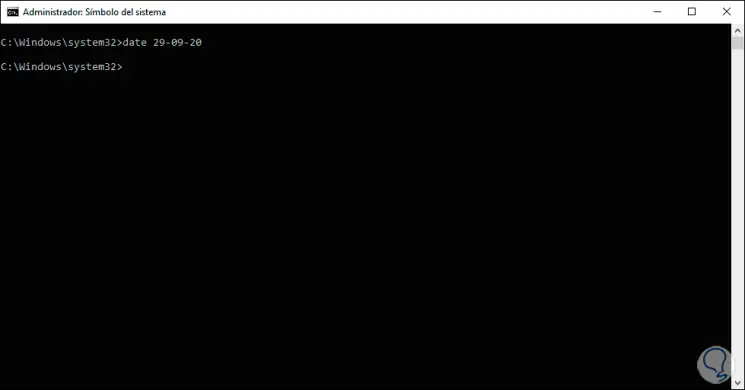
Now, to change the date using the command prompt we must resort to the date command with the following syntax:
date DD-MM-YY
Step 2
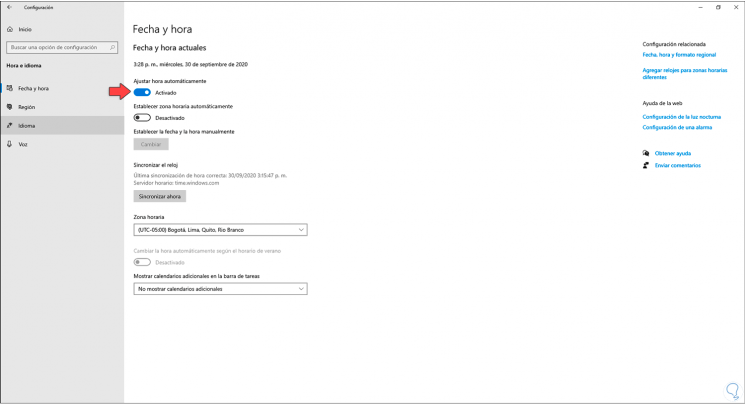
Once we no longer want to use this method, we simply activate the automatic adjustment:
With these simple commands we can manually adjust the date and time in Windows 10..