We use the computer for many things, so it is interesting that we have it adapted and personalized according to our needs, so that in this way we feel more comfortable during its use. Among all these configurations, one of them is that of assigning a name to our team..
The computer name in Windows 10 is essential for many tasks such as remote connectivity , support, auditing and many other actions. It is key to identify the computer on the network and that is why if we leave the default name with which Windows 10 is installed we find a complex name to remember as DESKTOP-XXXXX.
Therefore we have the opportunity to change the name of the computer through the command prompt console and TechnoWikis will explain how to do it in Windows 10..
To stay up to date, remember to subscribe to our YouTube channel! SUBSCRIBE
How to change the computer name in Windows 10 using the command prompt console
Step 1
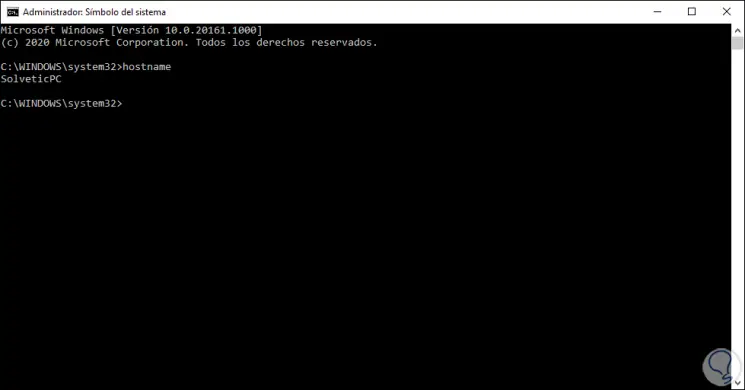
The first thing is to access the console as administrators and then identify the current name of the computer, for this we execute the following command:
hostname

Step 2
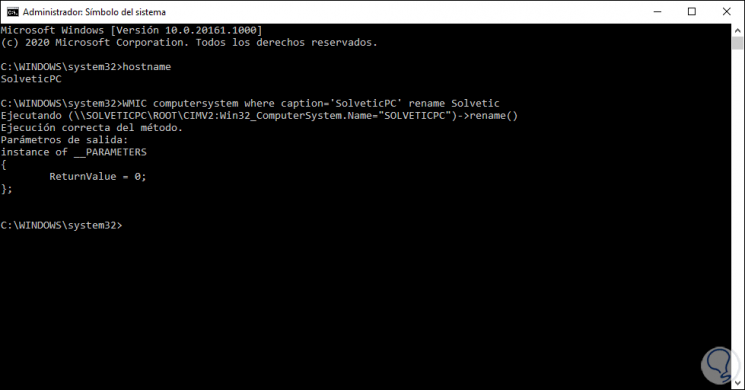
To establish a new name from the CMD console, we must execute the following syntax:
WMIC computersystem where caption = 'current name' rename new_name

As we see the command has been executed correctly, now we must restart the computer for the process to complete.
Step 3
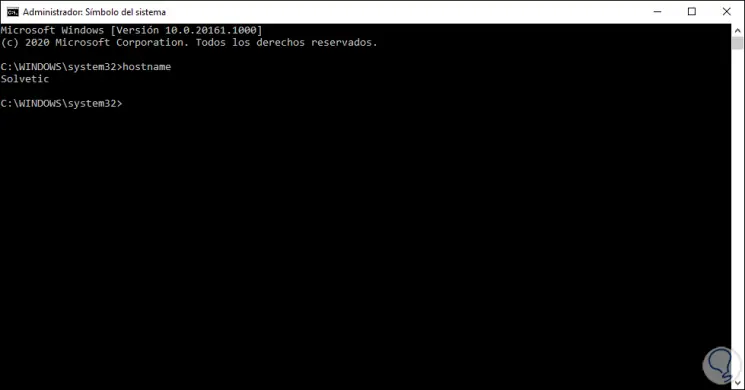
Once we log in, we access the command prompt console again as administrators and run “hostname” to verify that the name has been changed as indicated:

Let us remember that if we have the name of the team associated with online services, domains or processes, we must update them so that it takes the new name since otherwise an error will be generated when connecting to the team..
With this step it is possible to change the name of the computer in Windows 10 from CMS.