Windows Server 2016 or 2019 gives us the opportunity to manage the server and its processes remotely through the remote desktop function, this function allows us to access the server and perform administrative or support tasks there..
By default Windows 10 uses port 3389 for this connection and as it is a default port, it can be used by attackers to connect to the server and perform unauthorized actions there. This can have consequences for the entire structure of the Windows Server as well as for the data of users and administrators. A good practice that we can do by modifying this port and that is why TechnoWikis will explain how to do it in Windows Server 2019 or 2016.
To stay up to date, remember to subscribe to our YouTube channel! SUBSCRIBE
Change Remote Desktop port in Windows Server 2016 or 2019
Step 1
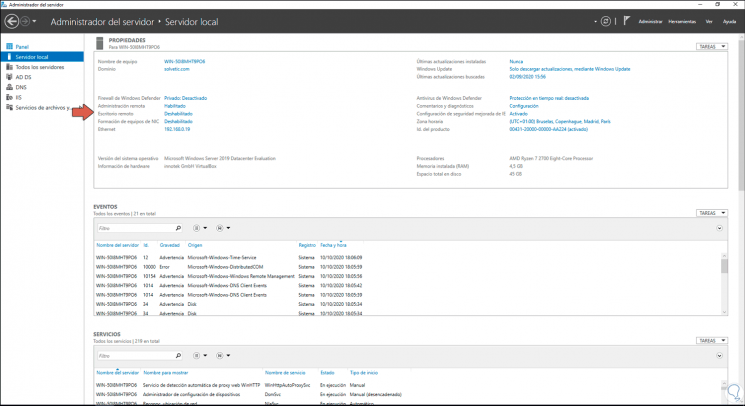
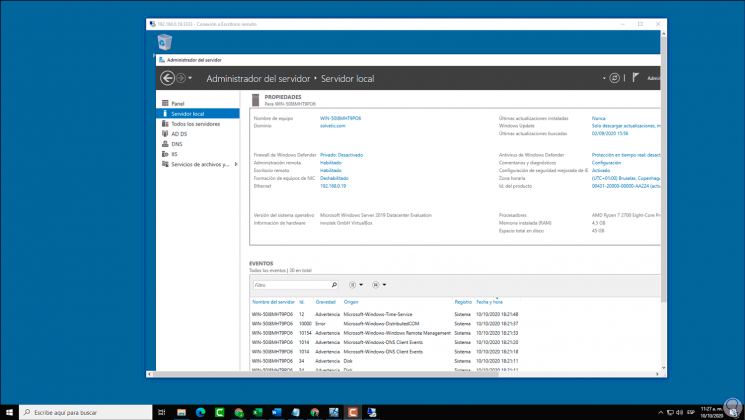
The first thing will be to enable the remote desktop function, for this we open the Server Manager and go to the "local server" section, we will see the following:
Step 2
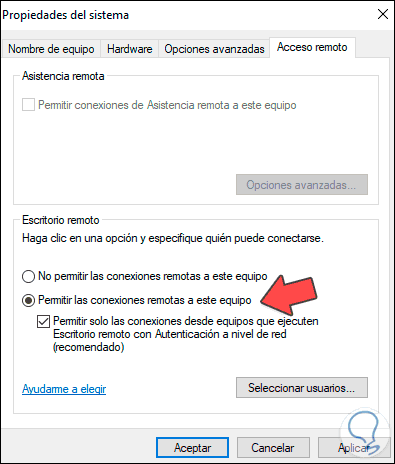
We click on the "Disabled" line in "Remote Desktop" and in the displayed window we must enable the remote desktop, for this we activate the "Allow remote connections to this computer" box.
Step 3
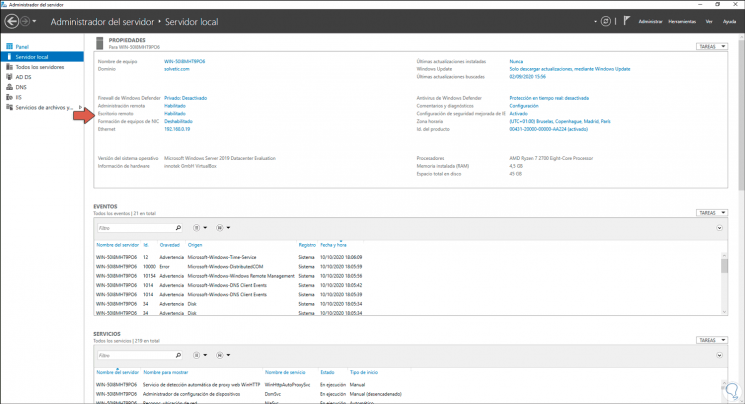
Click on Apply and OK to complete the process, we validate that the remote desktop has been enabled:
Step 4
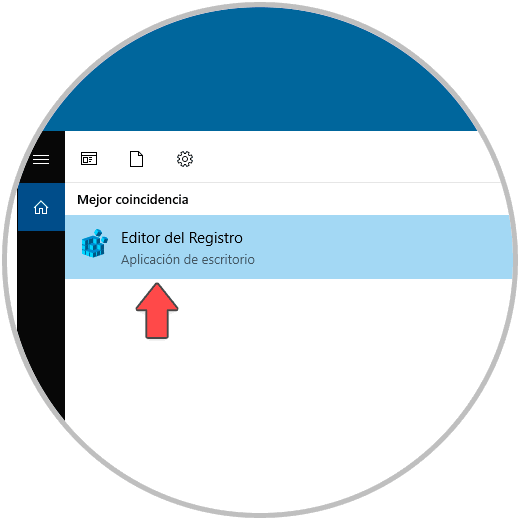
After this we access the registry editor by entering the word "regedit" in the Windows Server search box:
Step 5
In the editor we must go to the following route:
HKEY_LOCAL_MACHINE \ SYSTEM \ CurrentControlSet \ Control \ Terminal Server \ WinStations \ RDP-Tcp
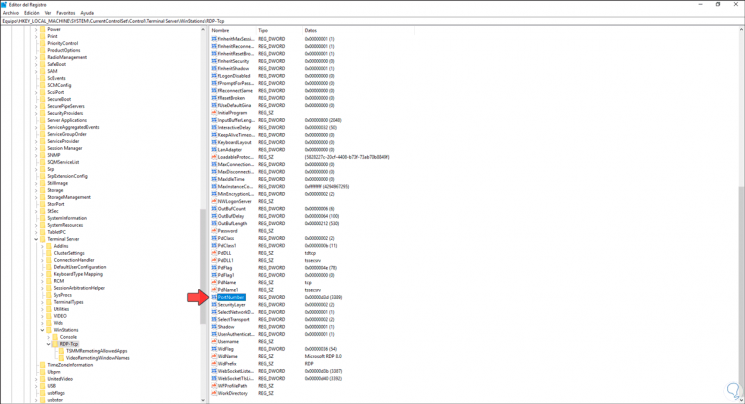
Step 6
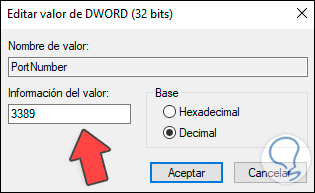
There we locate the DWROD value called "PortNumber", we right click on it and select "Modify" in the pop-up window, we activate the "Decimal" box and we can see the default port value which is 3389:
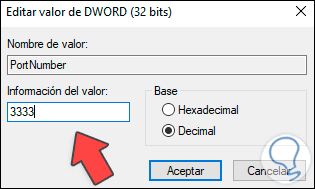
Step 7
There we enter the new port to use for remote desktop connections:
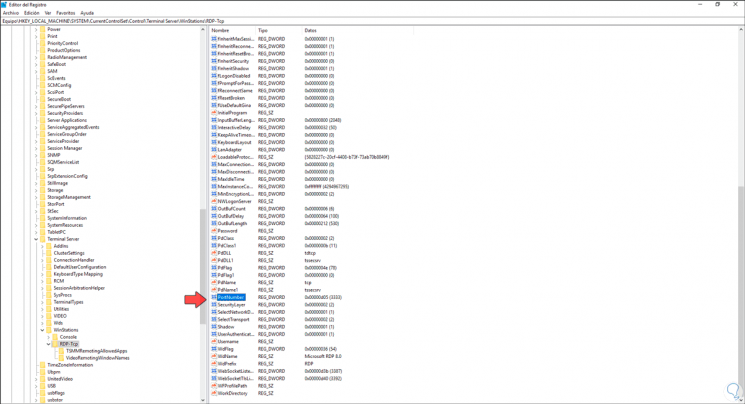
Step 8
We click OK and check that the change has been applied:
Step 9
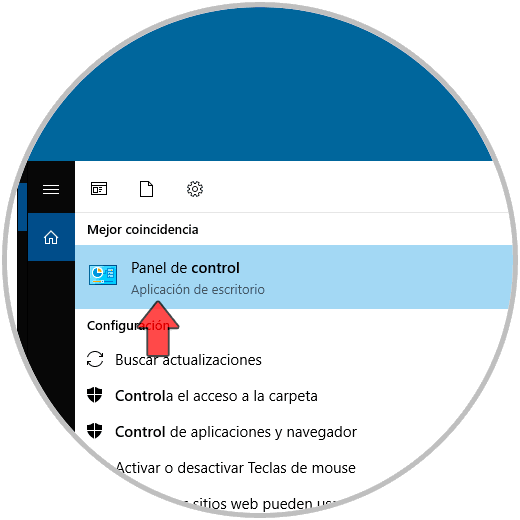
It is time to configure the Firewall in Windows Server to authorize the connection through that port, for this we enter "control" in the search box and select "Control Panel":
Step 10
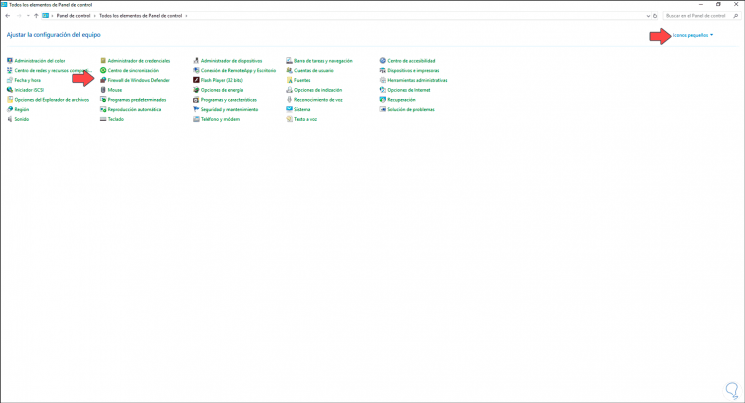
In the Control Panel we go to the "View by" field and select "small icons":
Step 11
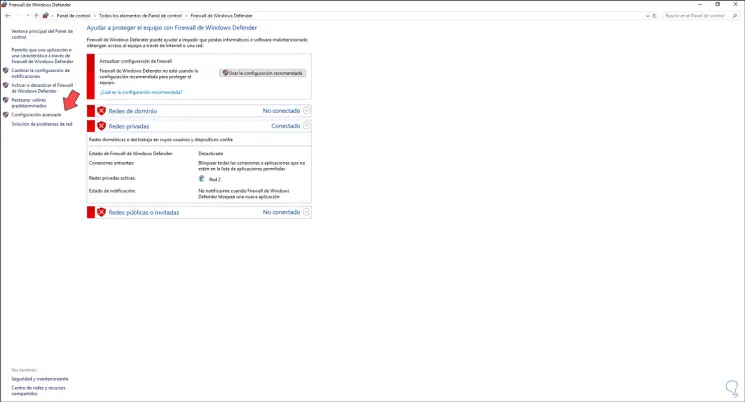
We click on "Windows Defender Firewall" and the following will be opened:
Step 12
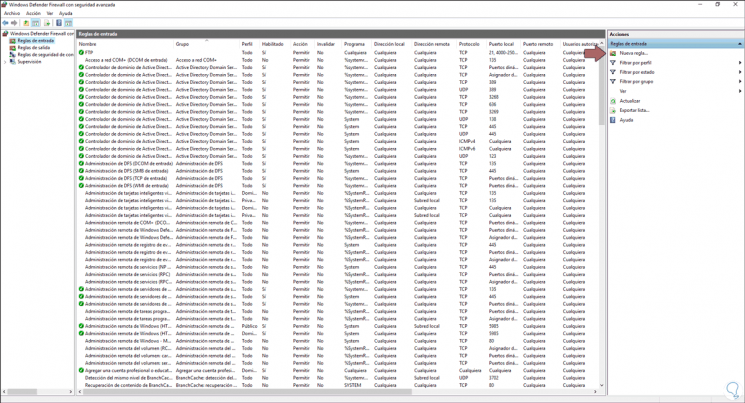
We click on "Advanced Settings" and go to the "Inbound Rules" section:
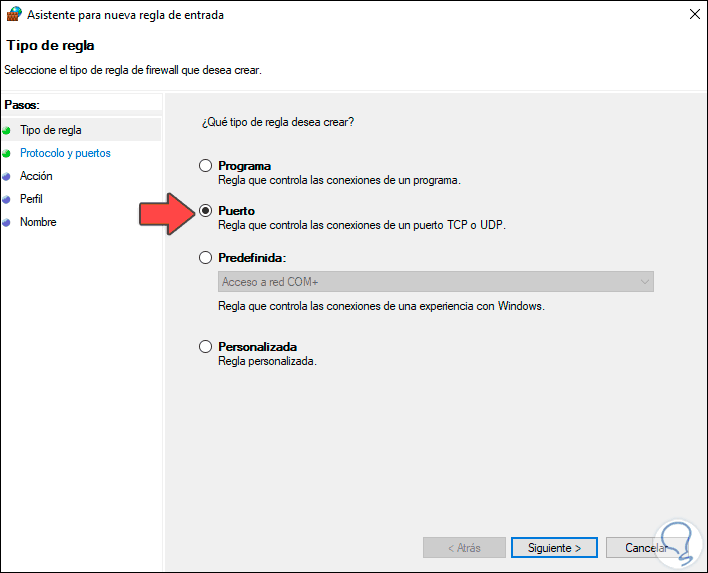
Step 13
There we click on "New rule" and the following wizard will open where we first activate the "Port" box:
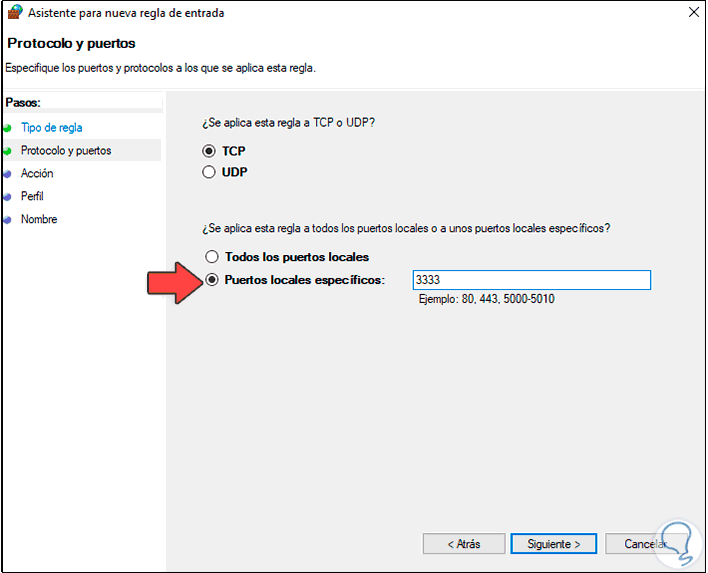
Step 14
We click Next and select the TCP protocol and enter the port number:
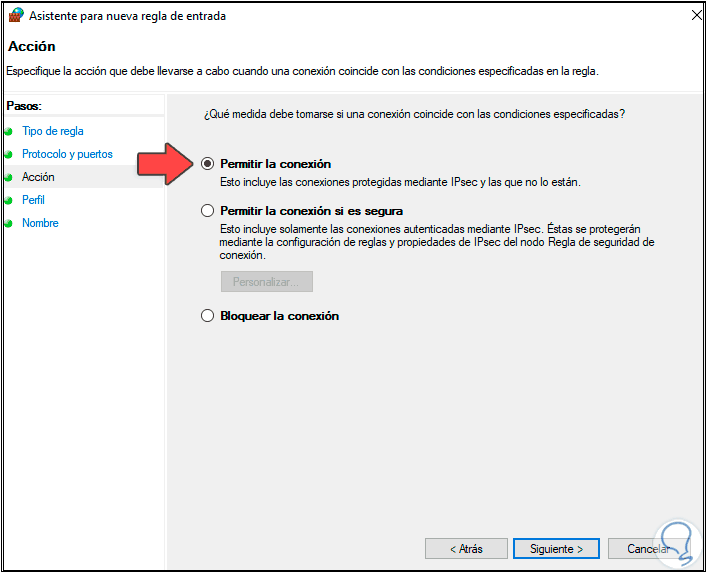
Step 15
We click Next and now we allow the connection through this port:
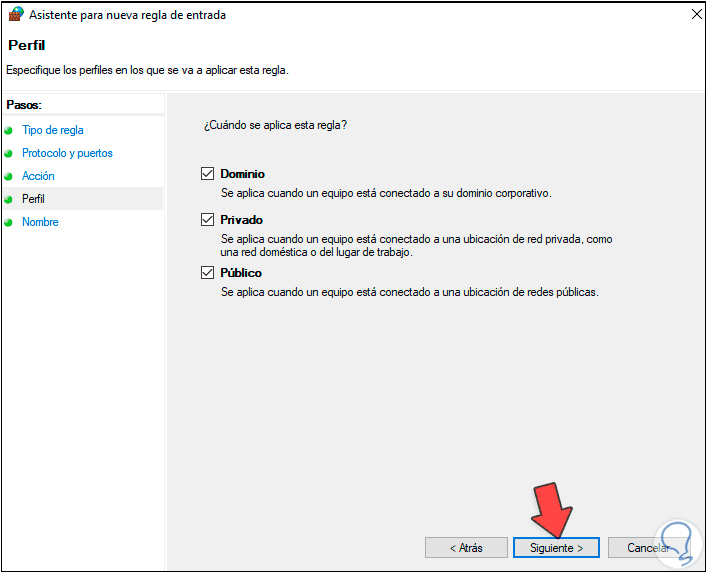
Step 16
In the next window we must define in which profiles this entry rule must be active in the domain and server:
Step 17
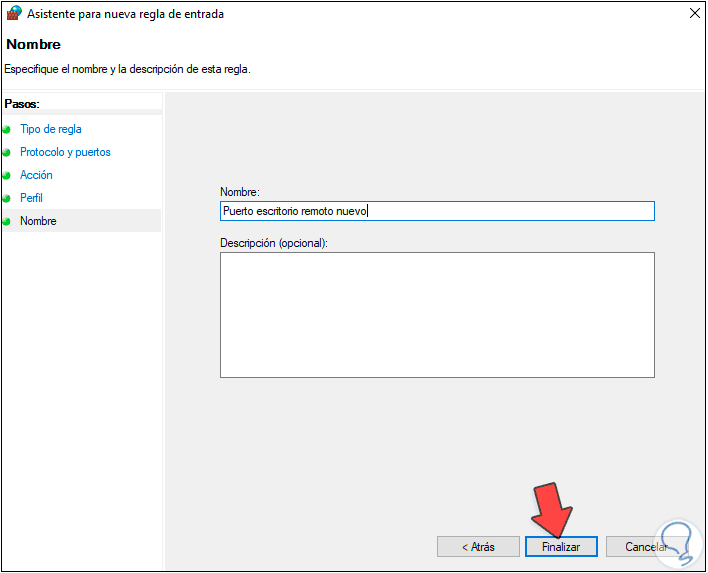
Click Next and assign a name for the rule to create:
Step 18
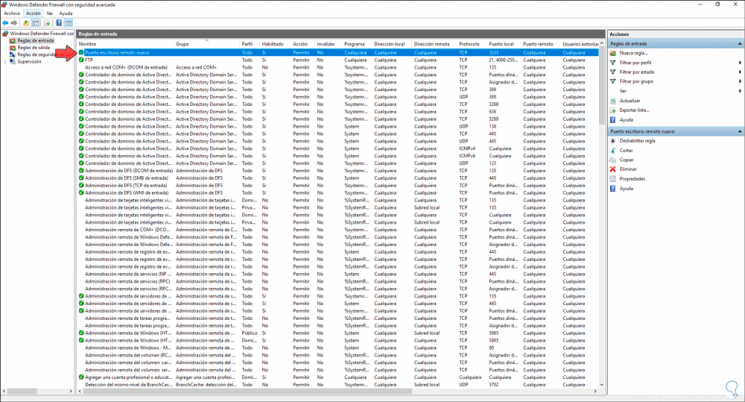
We click on "Finish" and we will see the new input rule created correctly:
Step 19
To apply the changes we must restart the Windows Server 2016 or 2019 server:
Step 20
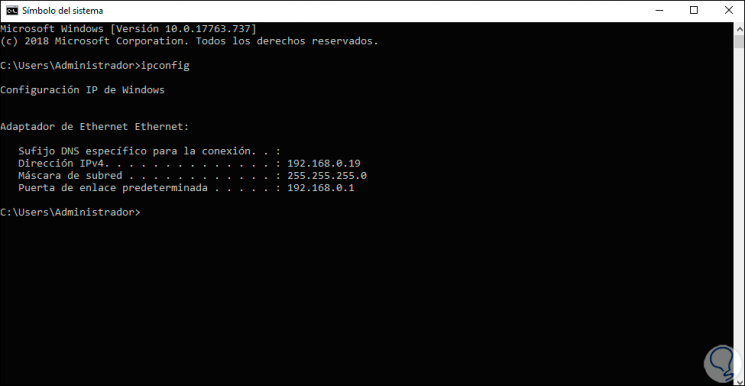
Once we log in, we open the command prompt and execute "ipconfig" to find the IP address of the server:
Step 21
To check that everything works correctly, we go to Windows 10, we open Run and there we enter "mstsc" which is the command to access the remote desktop:
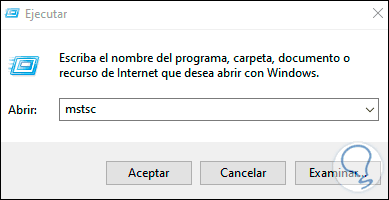
Step 22
We click on accept and in the pop-up window we enter the IP of the Windows Server 2016 or 2019 followed by the port we have assigned:
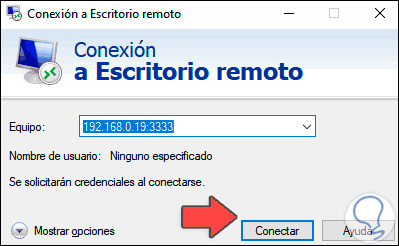
Step 23
We click on "Connect" and we must enter server administrator credentials:
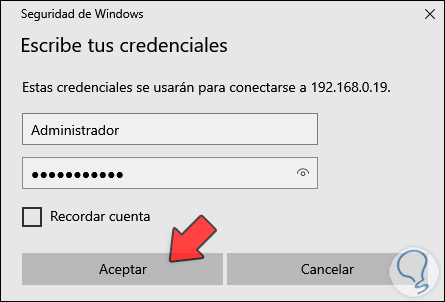
Step 24
We click OK and we will see a warning about the remote connection:
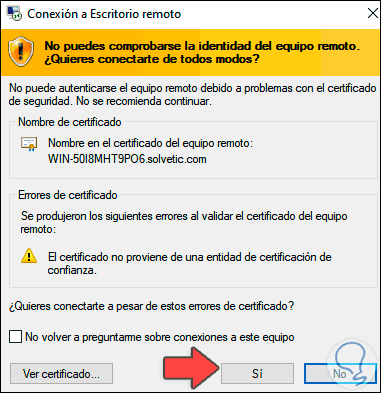
Step 25
We click Yes and we will see that it is possible to connect to Windows Server using the port that we have established:
It is a really simple process to change the remote access port to Windows Server through remote desktop, but it is advisable to do it for a security issue to prevent attackers who know the IP for some reason from using the default port for access. remote..