The virtual machines are currently one of the best options we have to try new operating systems, applications and check the recent behavior of these without making it look affected at any time the hardware. There are different platforms for this and one of the most popular for its performance and robustness is VMware..
VMware gives us the opportunity to install multiple operating systems and access all its functions fully, but to increase those capabilities and functionalities there are the VMware Tools.
What are VMware Tools
The VMware Tools have been developed as a group of utilities which have the objective of optimizing and improving the performance of the guest operating system of the virtual machine as well as carrying out different administration tasks of the virtual machine itself.
By installing the VMware Tools we acquire:
- Synchronization functions of the virtual machine clock with the desktop clock of the physical computer
- Option to implement shared folders between both computers
- Much improved graphics performance
- Integration of scripts designed to automate guest operating system operations
- Copy and paste text functions
With these features in mind, let's see how to manually install VMware Tools on a Windows 10 virtual machine on VMware..
To stay up to date, remember to subscribe to our YouTube channel! SUBSCRIBE
How to install VMware Tools
Step 1
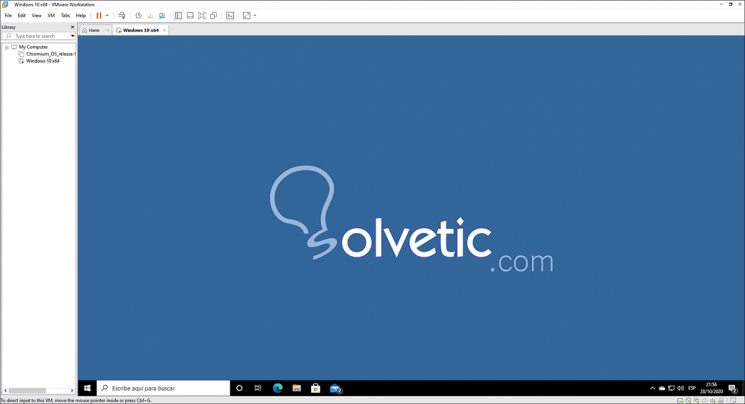
We can see the Windows 10 machine created in VMware:
Step 2
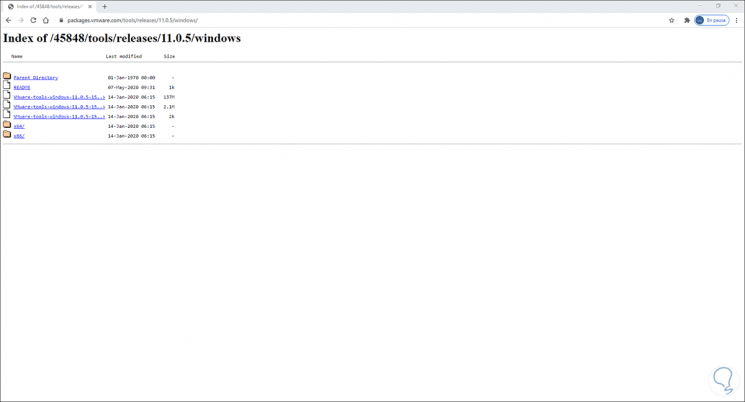
We go to the following link where we find the VMware Tools files:
VMware Tools
Step 3
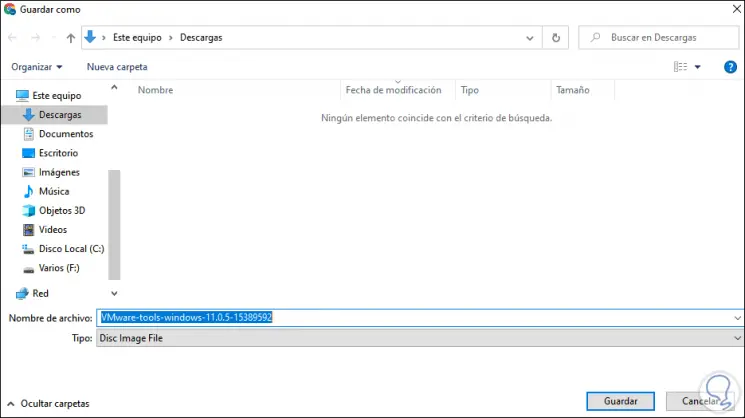
We click on the current file and save it locally on the computer:
Step 4
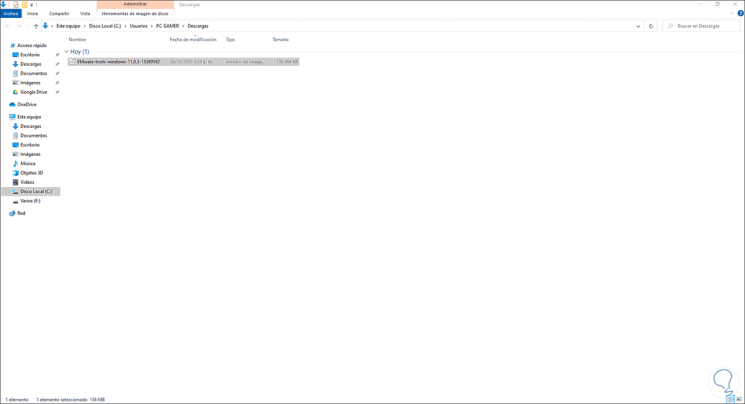
Click on Save and then we can access to see that it is an ISO image:
Step 5
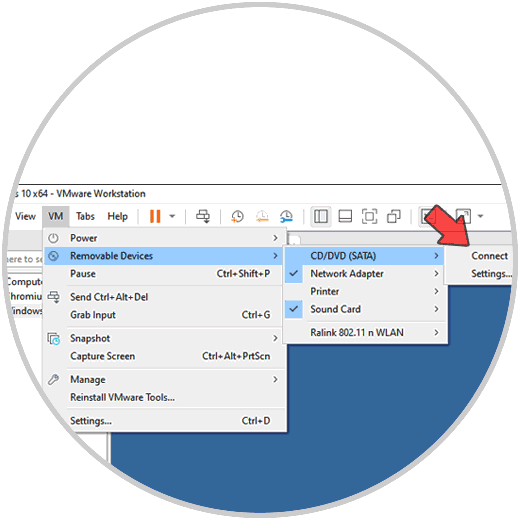
With this ISO, we go back to VMware and go to the menu "VM - Removable Devices - CD-DVD (SATA)" and click on "Connect":
Step 6
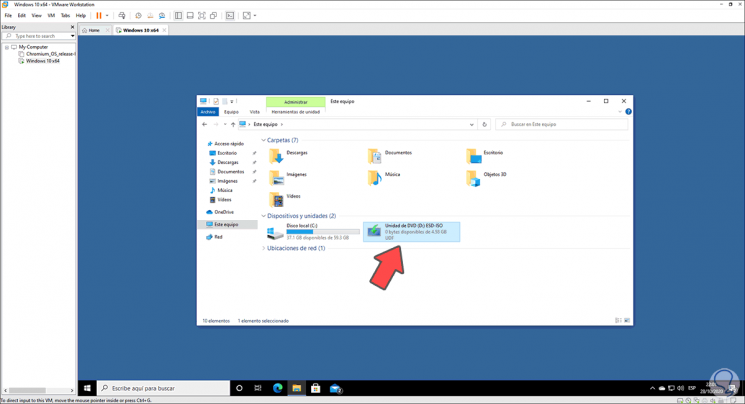
In the virtual machine we access the file explorer and in the DVD drive we can see the ISO of the operating system:
Step 7
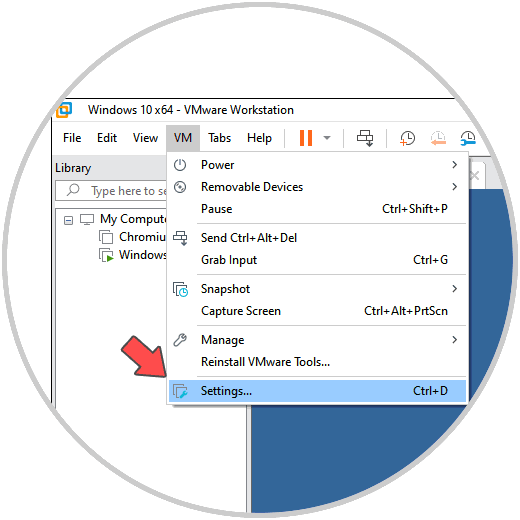
We must edit this, now we go to the "VM -Settings" menu:
Step 8
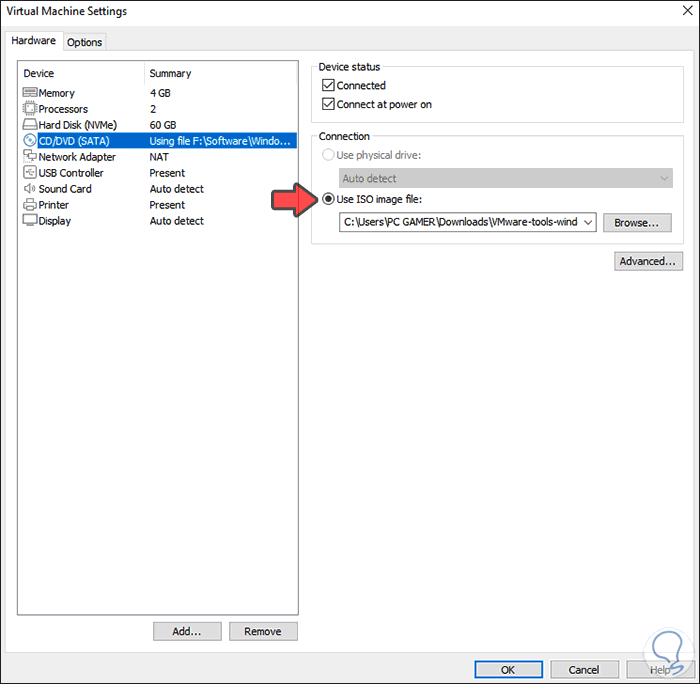
This will open the configuration of the virtual machine, we go to the "Removable Devices" section, we click on the "Browse" button in the "Use ISO image file" option and select the image of the VMware Tools that we have downloaded:
Step 9
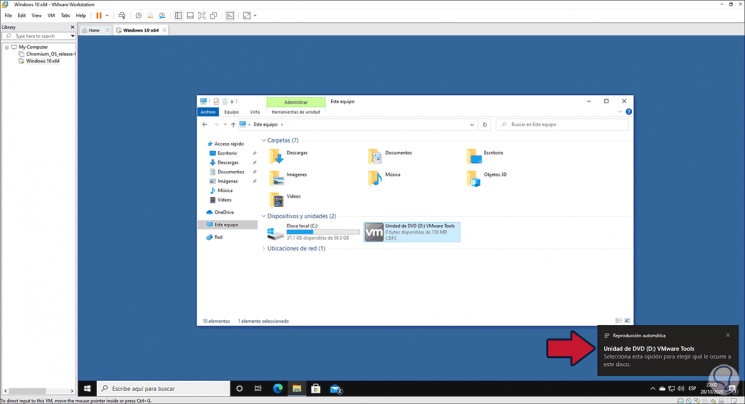
We click OK and we can see that the DVD drive changes and the autoplay message is activated:
Step 10
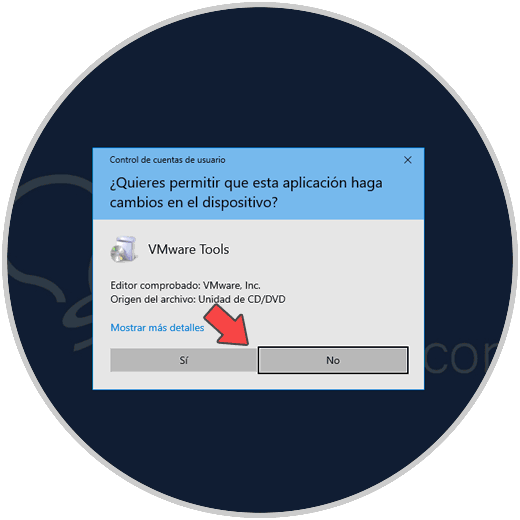
We double click on this unit and the VMware Tools installation wizard will open, but first we must accept this process:
Step 11
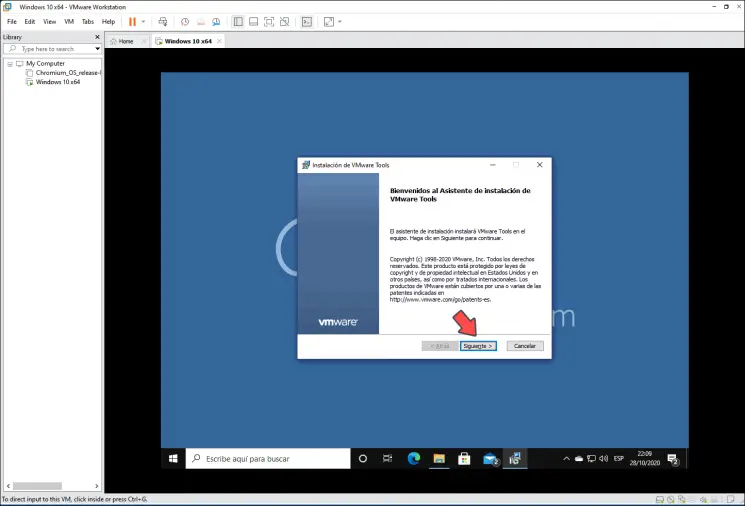
We will see this:
Step 12
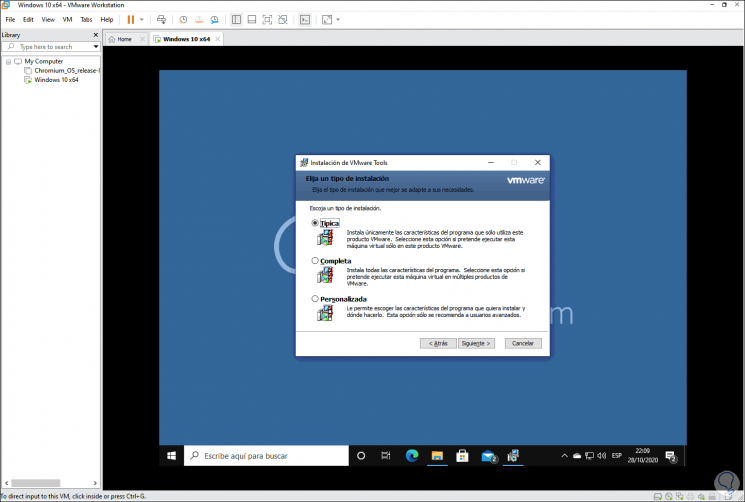
We click on Next and now we define the type of installation to use:
Step 13
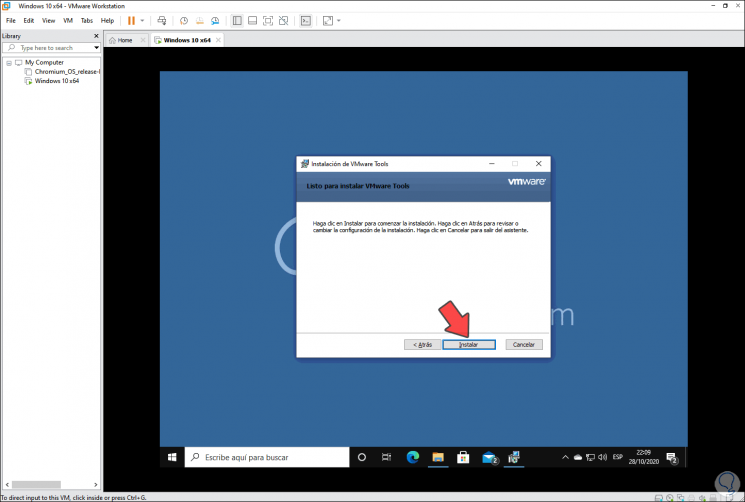
Click Next and click "Install" to start the process:
Step 14
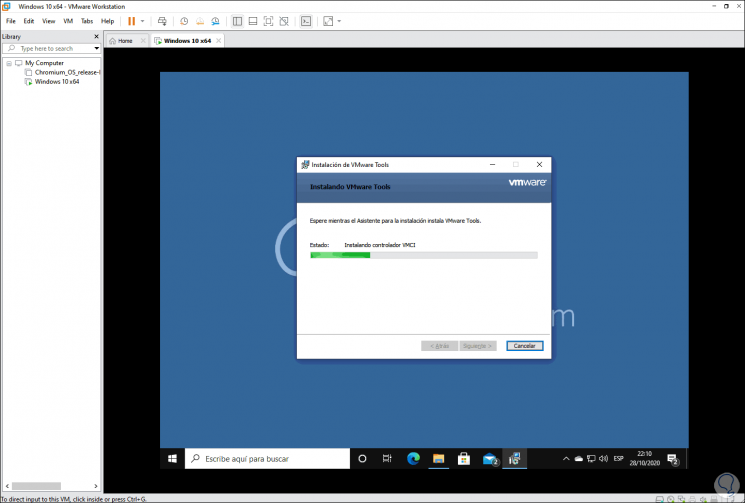
We can see that the changes are applied in the installation of VMware Tools in Windows 10:
Step 15
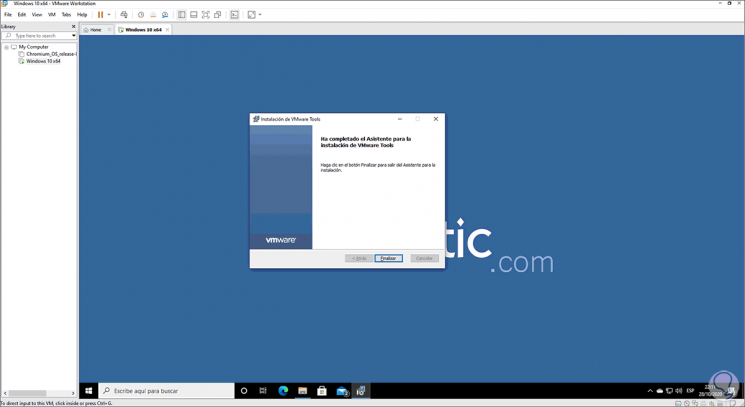
At the end of the process we will see the following:
Step 16
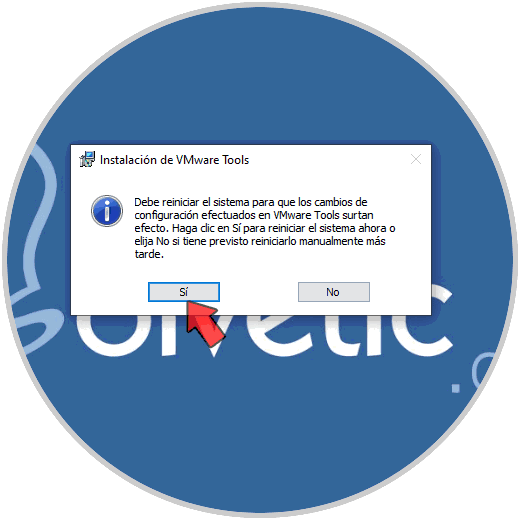
We click on "Finish" and the system must be restarted:
Step 17
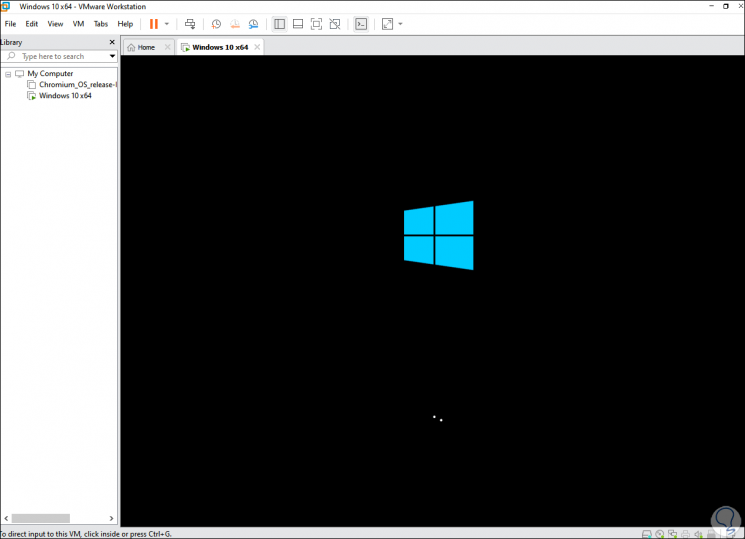
We restart Windows 10 to complete the process:
Step 18
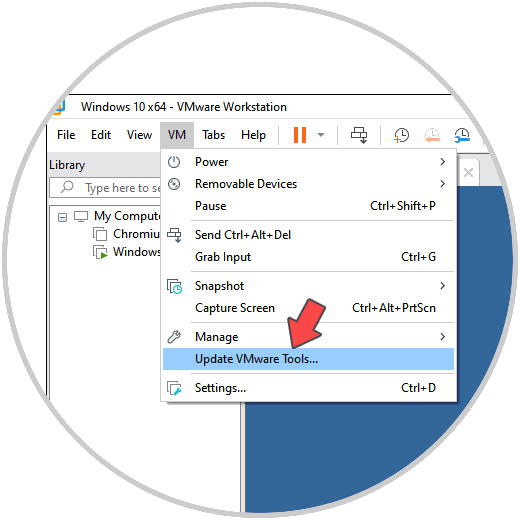
Once we access it, we are ready to use the extra functions of the VMware Tools. At any time, we can go to the VM menu and from there update the tools:
As we said, the VMware Tools are an essential and key part of the use of virtual machines in VMware since they provide us with extra functionality to interact between both worlds without noticing the changes drastically.