Currently, a high percentage of the applications and programs that we access are through the Internet using streaming or online status, so it is more than necessary to have the best audio or video options for this type of tasks or events. be as professional as possible..
One of these options is Snap Camera which gives us the possibility to apply or integrate different designs to our face while using the webcam. It is possible to use Snap Camera in various live streaming or video chat applications by selecting Snap Camera as the default video device.
By using Snap Camera, it is possible to have access to a preview of the physical webcam of our equipment.
Snap Camera can be used in systems:
To understand the use of this application a bit, we need to understand that Snap Camera will create a virtual webcam on the computer. In this way when Snap Camera is open, it will take the input of a physical webcam and then apply the magnification tasks using the selected lenses through its options and this augmented video will be sent to the virtual Snap Camera webcam..
TechnoWikis will explain the process to install Snap Camera in Windows 10.
To stay up to date, remember to subscribe to our YouTube channel! SUBSCRIBE
How to install Snap Camera in Windows 10
Step 1
We must go to the following link:
Snap camera
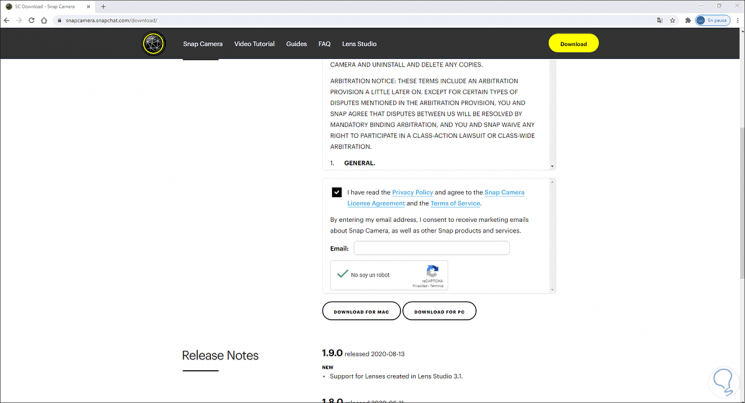
There we must accept the license terms, then enter a valid email and finally download the PC option:
Step 2
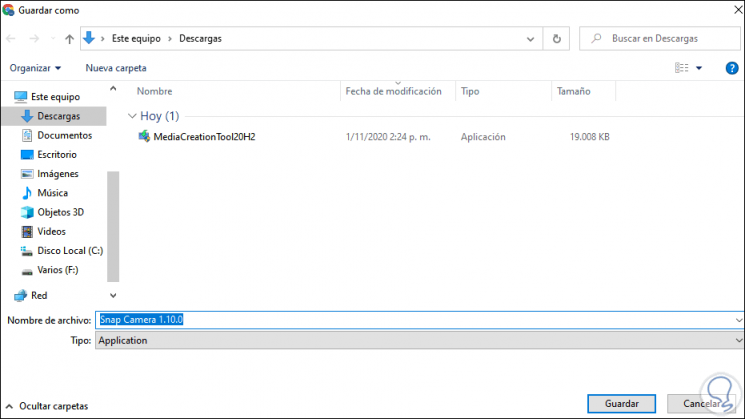
We define where this executable will be saved:
Step 3
Once downloaded, we double-click on it and first we must accept the UAL conditions:

Step 4
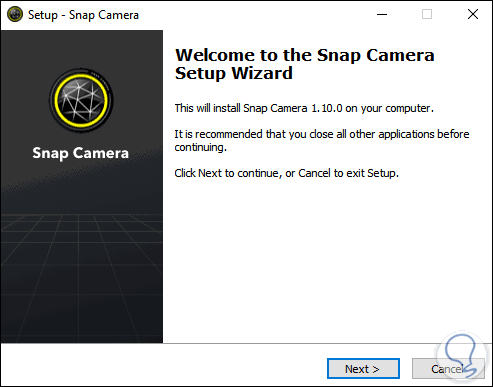
After this we will see the Snap Camera installation wizard:
Step 5
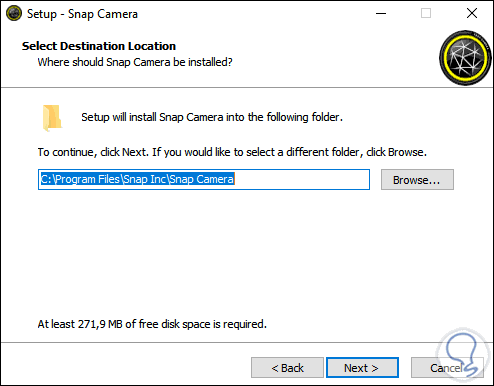
We click on Next and there it is possible to change the installation path if we wish:
Step 6
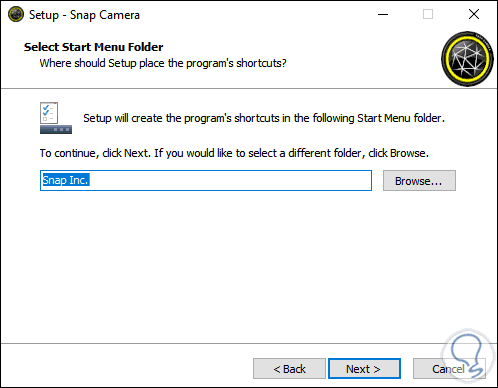
In the next window we define the folder where Snap Camera will be installed:
Step 7
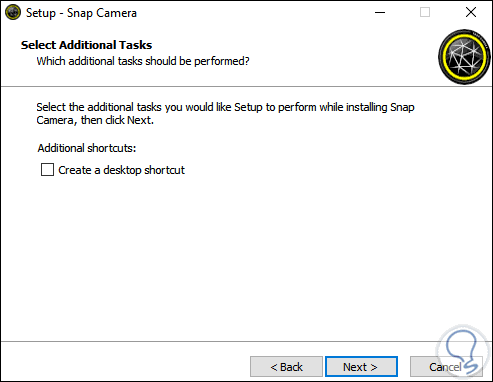
Click Next and now it is possible to create a shortcut to the application:
Step 8
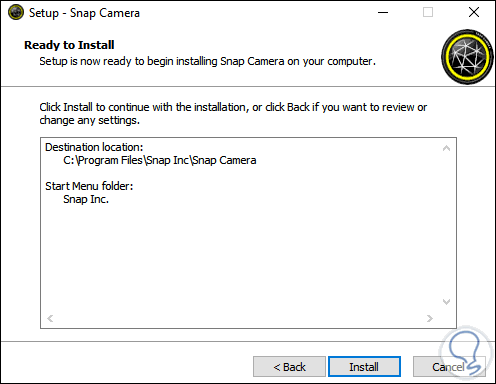
We click Next to see a summary of what has to be installed:
Step 9
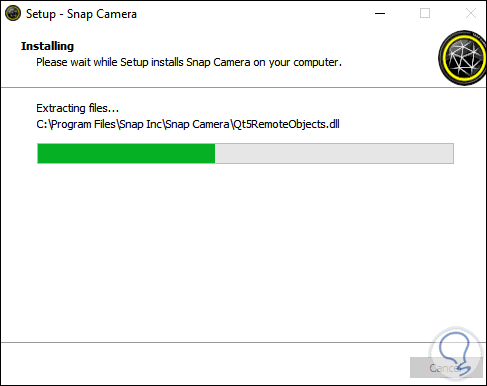
We click Install to proceed with the installation of Snap Camera in Windows 10:
Step 10
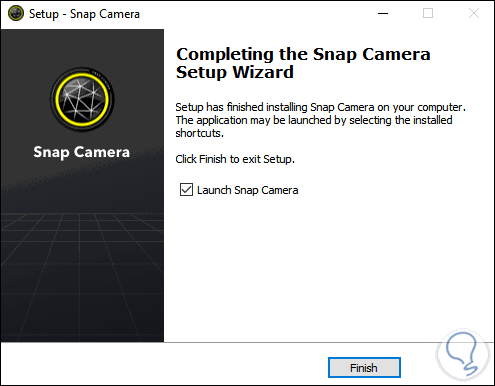
At the end we will see the following:
Step 11
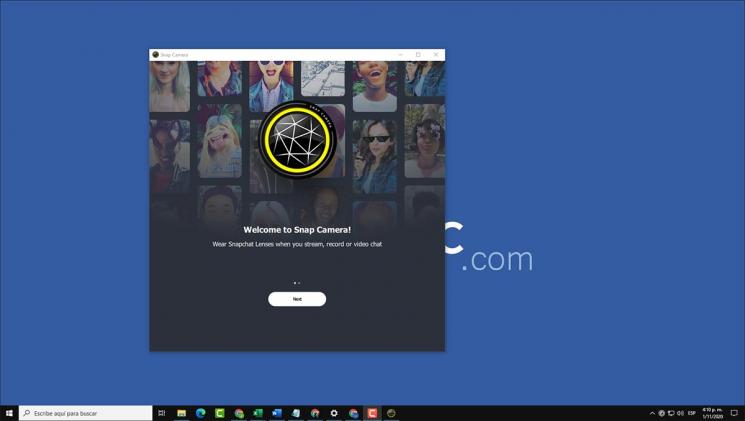
We click Finish and Snap Camera will open where we will see some initial tips:
Step 12
After this we access the application itself:

That is how simple it is to install Snap Camera in Windows 10. This way you can use this useful tool to make use of it whenever you need it..