Skype is one of the most used platforms for conversations, especially at the organization level, due to its integrated functions and compatibility with different operating systems, without a doubt that one of the most necessary elements when using Skype is the camera since the said "an image is worth a thousand words "applies to perfection as many users want to see the person on the other side of the screen and not just write or listen..
Occasionally, Skype may not recognize the camera built into our team either due to an issue of updating, privacy, security or bad configuration, so enabling it becomes really messy and ends with the patience of thousands of users . But to help correct this accounts with TechnoWikis that brings you the solution to this problem in Skype that is also available for download at the following link:
Skype
We will learn different ways how we can activate and correct errors associated with the camera in Skype.
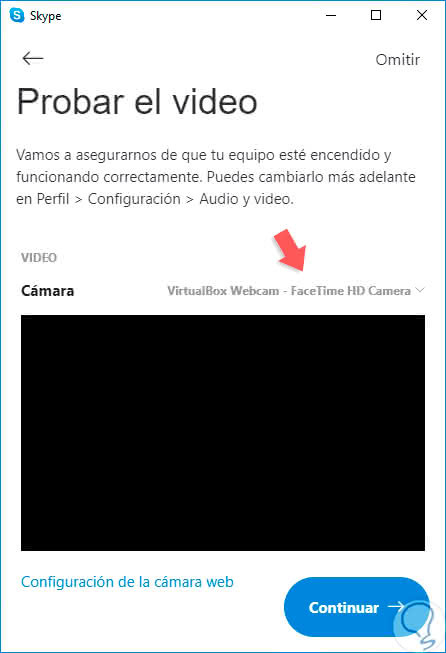
It is important to clarify that from the moment we install Skype we will have the possibility to configure the camera we are going to use. From there we must validate that everything works as expected, but if not, we will see how to activate it without problems..
1. Check privacy options on Skype
Step 1
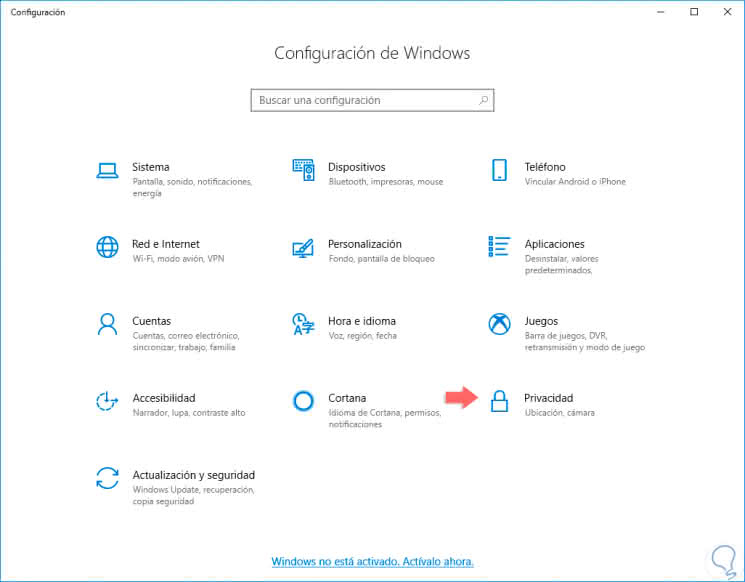
The first step is to validate how the privacy option is defined in terms of the Skype camera, for this we will go to the "Start" menu and select the "Configuration" utility there:
Step 2
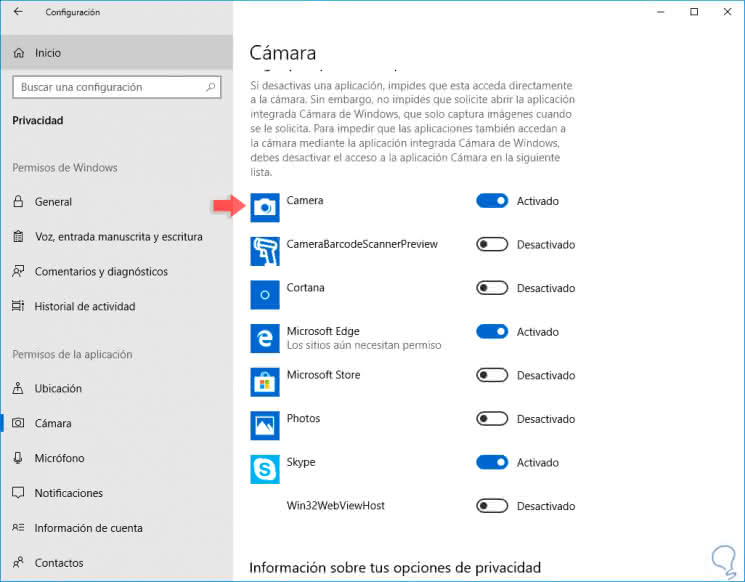
We select the category "Privacy" and in the new window we will go to the "Camera" section and go to the "Permissions" section of the application where we must confirm that the Skype switch is active for the use of the camera. This is the initial step to take.
2. Check the operation of the webcam on Skype
Another essential step is to check some key aspects of the camera as they are:
- Between the camera and my location there is some element that prevents its correct visualization.
- It is directed towards my face.
This is something essential that we often overlook but can avoid headaches. Within this segment we have another very useful alternative and if the webcam used is external, connected through a USB port, it is worthwhile trying to connect it to another of the available ports of the equipment since the problem may lie in that the USB connection is failing.
3. Run a DirectX diagnostic to detect camera on Skype
To enter context, DirectX is a collection of APIs that have been implemented in order to carry out various tasks associated with multimedia aspects of Windows 10
Therefore, we find some categories such as:
- Direct Graphics and many more
Step 1
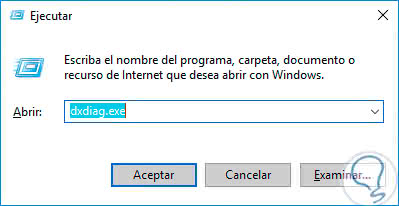
Obviously our webcam enters into this segment so take a look at this diagnosis is not bad, for this we will use the following key combination and execute the following command:
+ R
dxdiag.exe
Step 2
The following will be displayed:
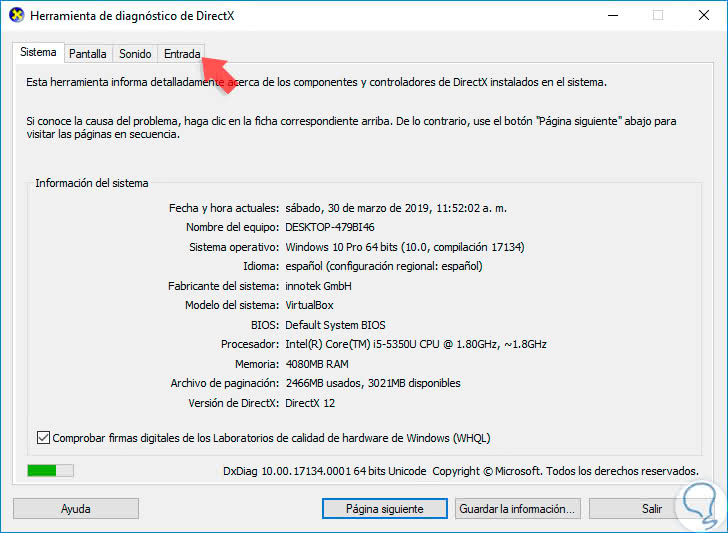
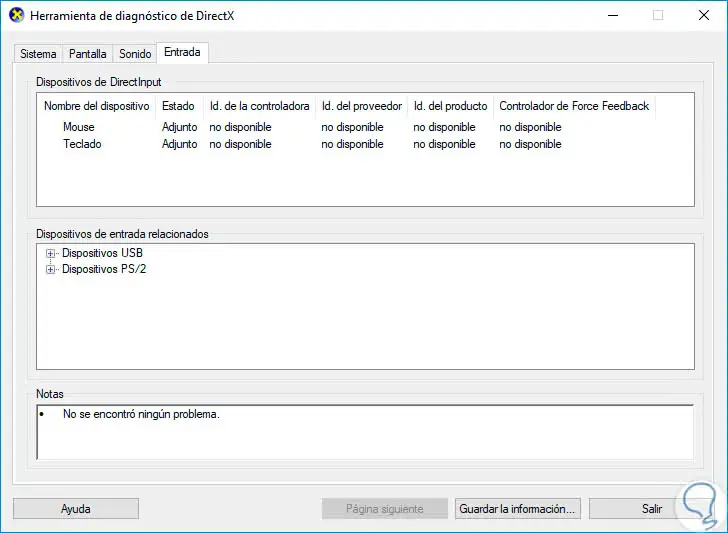
Step 3
There we find a complete summary of the aspects involved in DirectX, in the Input tab we can detect aspects of the webcam. In case of not detecting any webcam we must resort to more technical aspects to validate your connection.
4. Check the compatibility of the camera with Skype
Although it may sound illogical, Microsoft in its technical aspects can determine that certain models of webcams are not compatible with Skype and if we are within this "black list" it will be impossible for our device to allow us to see who is on the other side. To do this we must check the manufacturer's instructions included in the box or consult its official website. By buying the webcam you can certify that it has Skype compatibility and thus save you problems.

5. Finish applications that make use of the webcam in Windows 10
Sometimes the simultaneous use of applications with access to the webcam can be a trigger of Skype say "I do not work with them" and hence it does not work, an alternative is to check if any other app or program is using the camera to proceed with its closure.
For this task we will go to the "Task Manager" by right clicking on the taskbar and there selected the option "Task Manager", then on the "Processes" tab and there locate the process, right click on it and select the line "End task":

6. Uninstall the webcam in Windows 10
When we uninstall a device in Windows 10, the operating system itself automatically looks for the most updated drivers and this can be an effective solution when the camera does not want to react..
Step 1
To try this option, we will use the following keys and execute the command devmgmt.msc
+ R
devmgmt.msc
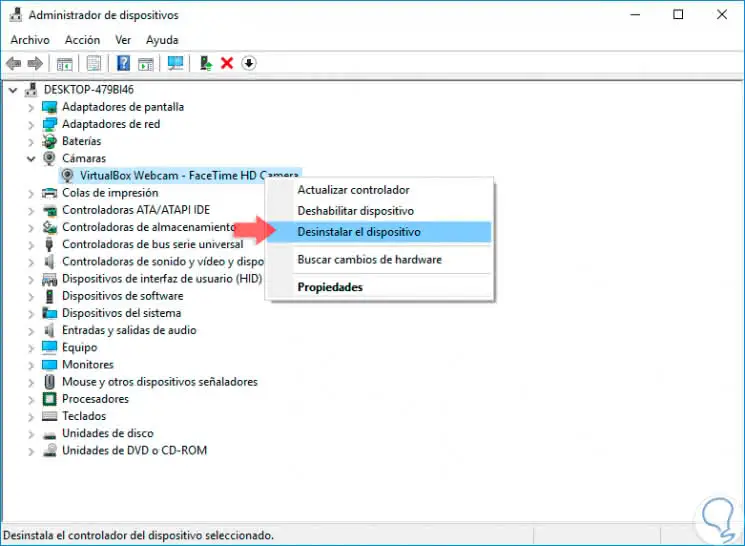
Step 2
In the window that will be displayed, go to the "Cameras" section, right click on the camera in conflict and select the option "Uninstall the device":
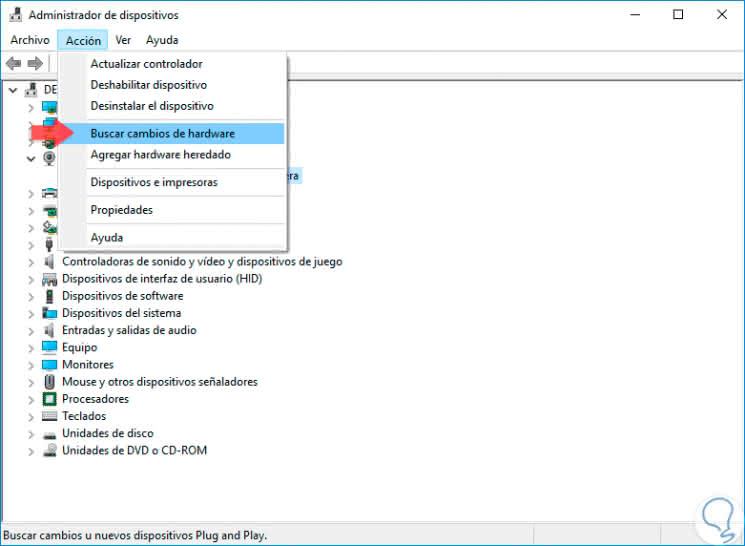
Step 3
Once this is done, we will go to the "Action" menu and there we select the option "Search for hardware changes". This will detect that the camera driver is not available and proceed with its installation.
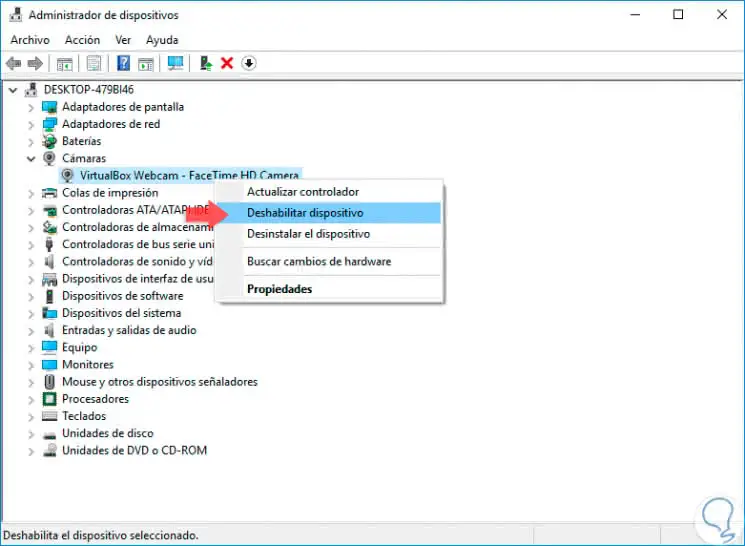
7. Disable and enable the camera driver again in Windows 10
This is a simple process by which we disable and reactivate the controller again in order for the system to refresh the services of this, for this, from the Device Manager, we will right click on the camera controller and this time we select the option "Disable device". After this, we click again right and this time we select "Enable device", we validate that the camera works as expected.
8. Set video options on Skype
Step 1
Skype integrates its own video configuration which may be wrong, to validate it we must access the Skype application and click on the "More" menu (three horizontal points) and choose the "Configuration" option:

Step 2
In the next window we will go to the "Audio and video" section:
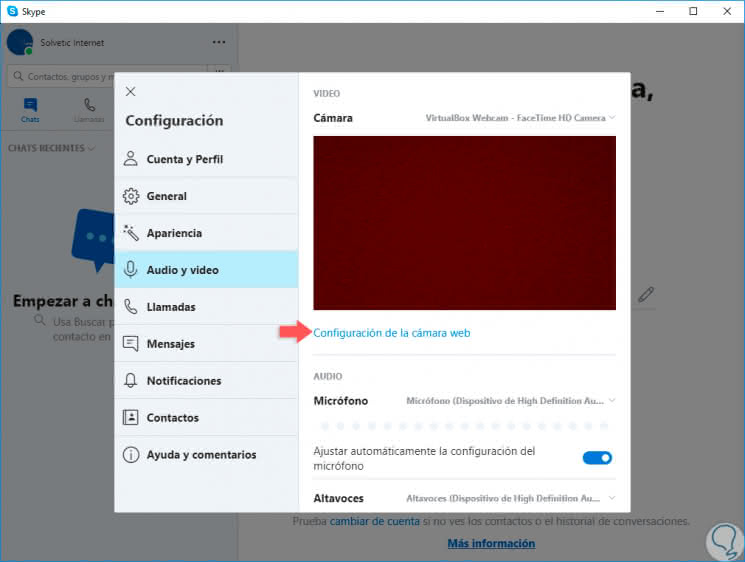
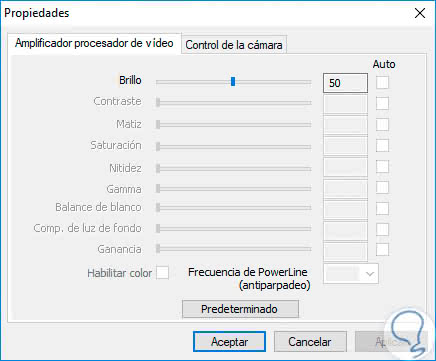
Step 3
There we can determine if Skype recognizes the webcam, if so we will see the name of it at the top, if it is active we can click on the line "Webcam Settings" and in the popup window validate each parameter:
9. Update Skype
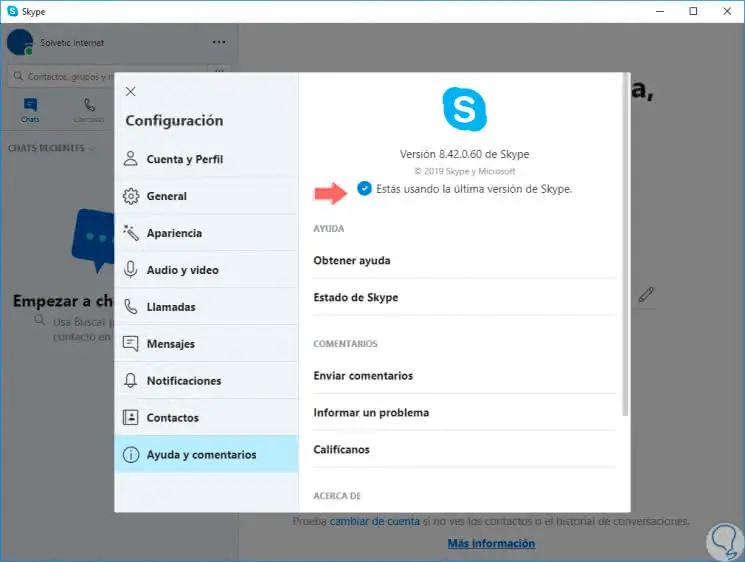
On many occasions when developers release updates, these come with improvements in compatibility and performance, in the case of Skype a new update may mean that it works as expected.
To validate if we use the latest available version of Skype, we access the app and from the menu More we select the option Configuration and then we go to the Help and comments section, there we will see what version of Skype we are using. In case of not being updated, the update process will be executed automatically.
10. Run the Windows 10 problem solver
Within the functions of Windows 10, a utility has been integrated to automatically correct errors in the configuration of Skype as well as its services
Step 1
To make use of this option we must go to the following route:
Step 2
There we must go to the "Solve problems" section and on the right side we will locate the line "Hardware and devices":
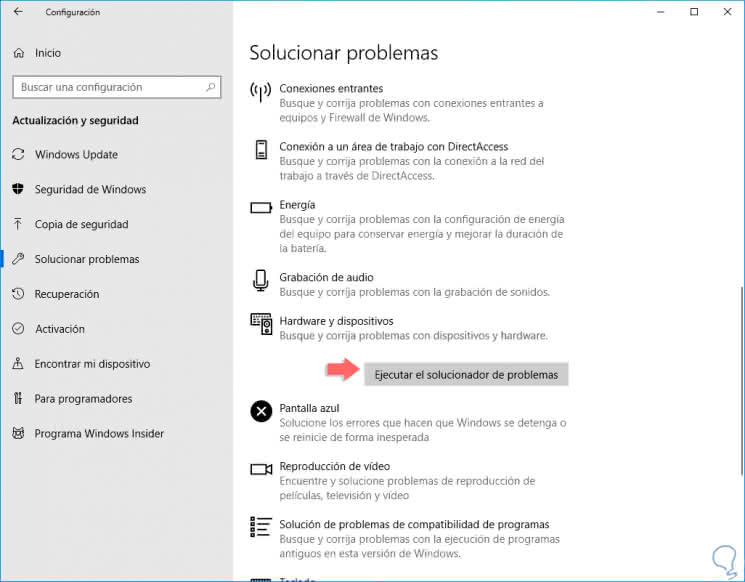
Step 3
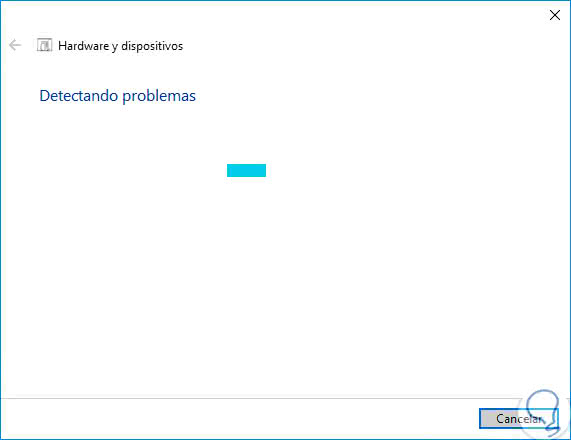
Clicking on it will display the "Run the problem solver" button which will perform a detailed analysis of what can affect the hardware devices, where the camera is. If any anomaly is detected, the available correction options will be provided.
11. Reinstall Skype in Windows 10
There are more drastic methods when one of the previous solutions does not work, one of these is to reinstall Skype so that all internal processes are executed from scratch.
Step 1
To do this we will use the following key combination and there we execute the following.
+ R
% appdata% \ skype
Step 2
The following window will be displayed. There we must copy the folders "My Skype Received Files" and the folder with the username to another location as a backup.

Step 3
After this we will go to the following route:
- Programs and characteristics
Step 4
There we will locate the Skype application and click on the Uninstall button located at the top:

Step 5
After this it will be necessary to delete the Skype entries from the system registers.
For this we will use the following key combination and execute the regedit command.
+ R
Regedit
Step 6
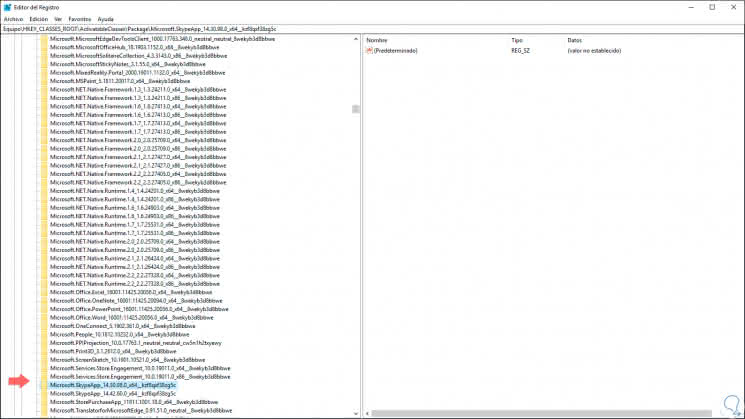
In the expanded window we go to the Edit / Search menu and in the field we enter Skype to access all the possible results.
We must select all the displayed results and eliminate them. After this we can reinstall Skype again by downloading it from the supplied link.
12. Update the webcam drivers in Windows 10
As we mentioned, the updates help the devices function correctly, Windows 10 gives us some options to execute the update task.
Step 1
First of all we will access the command prompt and there we execute the following line:
verifiergui.exe
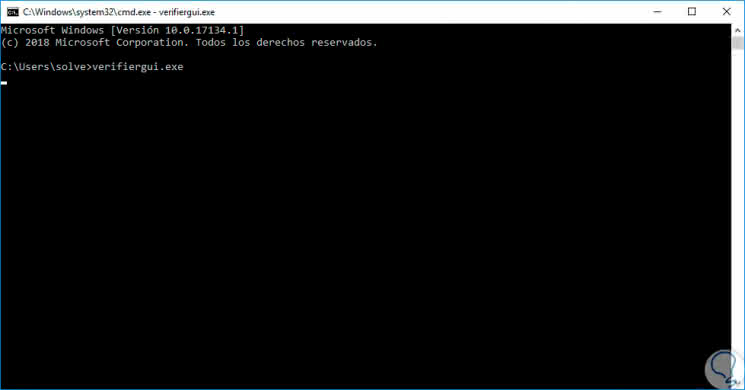
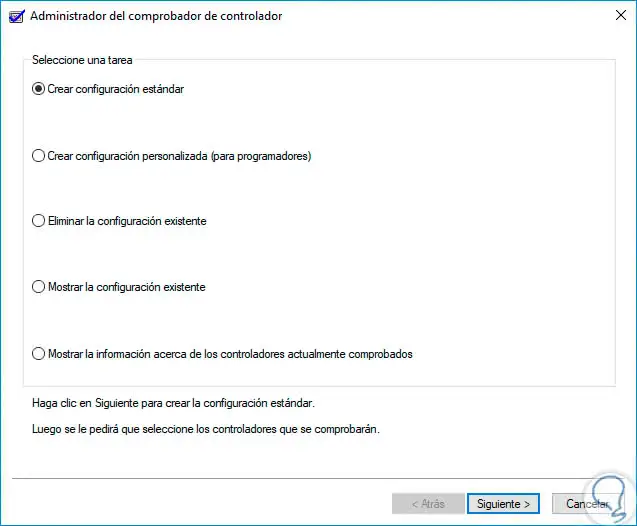
Step 2
This will display the following window. There we can choose the desired method to create the configuration. After this Windows will analyze the drivers and if it detects any update, it will proceed with its respective update.
Step 3
The most used method, which is the other option, to update a driver is through "Device Manager". To do this we access using the following keys and there we execute the command devmgmt.msc
+ R
devmgmt.msc
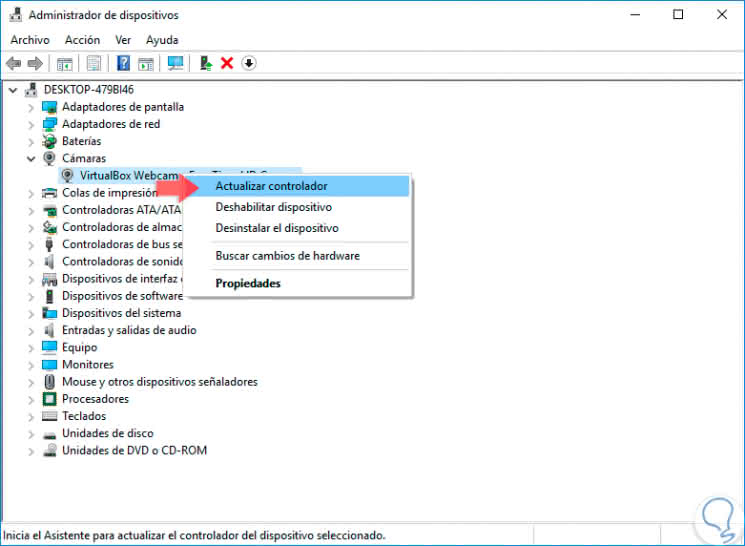
Step 4
There we will place the "Camera" section, right click on the controller and select the "Update driver" option:
Step 5
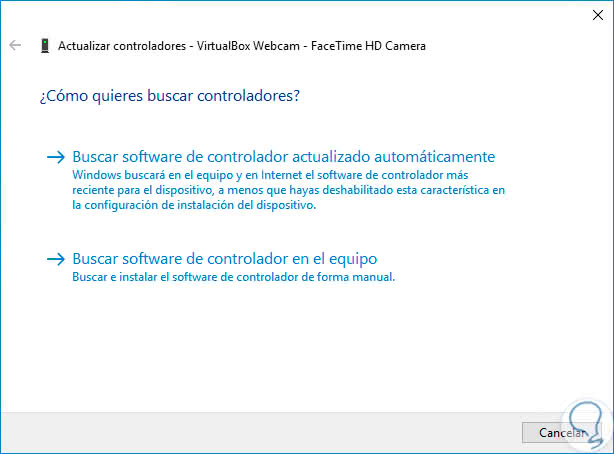
We have two update options:
- Automatically through the Windows Update servers
- Manually downloading the updated drivers first and then using them from the computer
13. Delete the StructuredQuerySchema.bin file in Windows 10
This is a file that is usually used for RunTime themes but that can affect Skype if we use previous versions.
Step 1
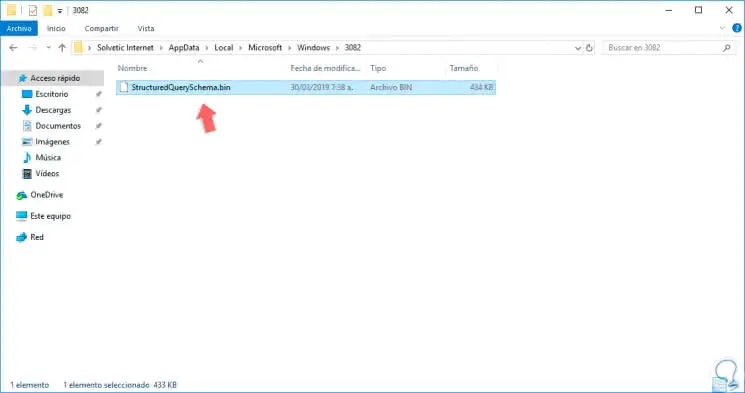
For this it is enough to eliminate it from the system, for this we will use the following keys and execute the following. There we must delete the existing file and proceed to verify that the camera works correctly.
+ R
% localappdata% \ Microsoft \ Windows \ 3082
Note
The number 3082 can vary in each team, we must keep this in mind.
14. Check the manufacturer to update the camera driver in Windows 10
Each manufacturer of equipment has serial and model which are necessary to find the right driver for the webcam, it is important to have clarity on the exact model and manufacturer to download the correct driver, so as not to lose your head and go directly to the point we access Windows PowerShell and there we execute the following line:
WmiObject win32_bios -> Enter

With the exact model we can go to the manufacturer's website and download the correct version of the webcam's drivers.
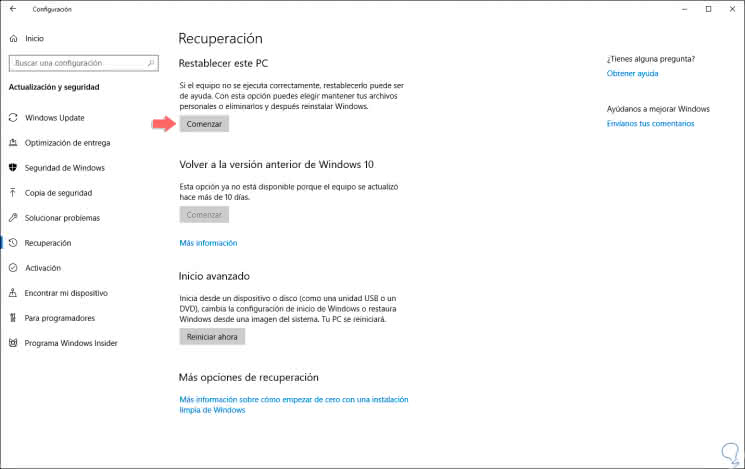
15. Reset the Windows 10 computer
If definitely none of the proposed solutions helps us correct the issue of the camera is to reset the computer which literally will make the entire system is updated from scratch.
To achieve this, we will go to the next route. There we click on the "Start" button located in the "Restore this PC" section and there we will follow the steps of the wizard.
Now, we can correctly use the Skype webcam in Windows 10 without any effect and thus be able to talk fully with friends and family.