In a world where social networks are increasingly booming, for better or worse, there are certain hardware components that are more than vital to be in that world without problem and always at the forefront of technology and one of these components It is the webcam . This comes by default integrated in portable computers while we get different prices for table computers but their task and function is one: Allow us to see and see us either in social networks, corporate chats, through family gatherings and more..
In addition, these cameras allow us to take photographs to be able to store them on your computer so that you can use them later in case you need them or for example to upload photographs to social platforms. By default Windows 10 has an application called Camera which allows you to use the webcam to record videos and take photos, but with certain limitations at the editing or quality level.
TechnoWikis will explain how to use and activate the camera in Windows 10..
1. How to access and activate the Windows 10 camera
Step 1
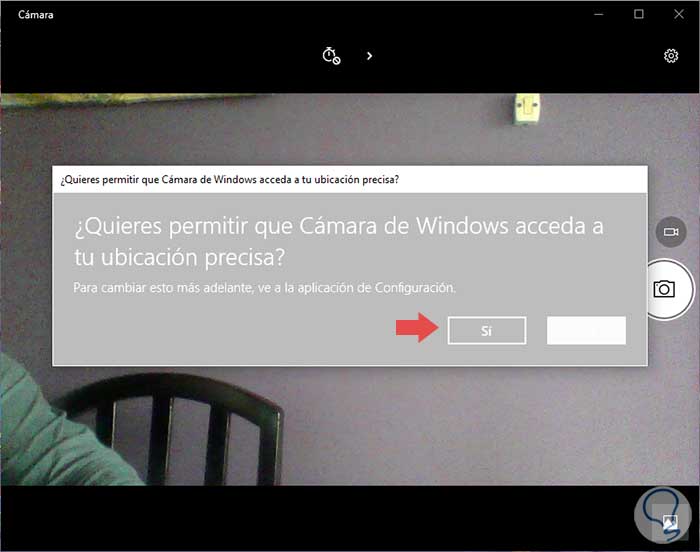
To access the Windows 10 camera we must go to the search box and enter the term camera there. This will display the integrated application and at the time of its execution the following pop-up window will be displayed where we must authorize its permissions:
Step 2
There we click on the Yes button to grant the permission and start the application which may be defective with the photo functionality and which shows us the following environment:
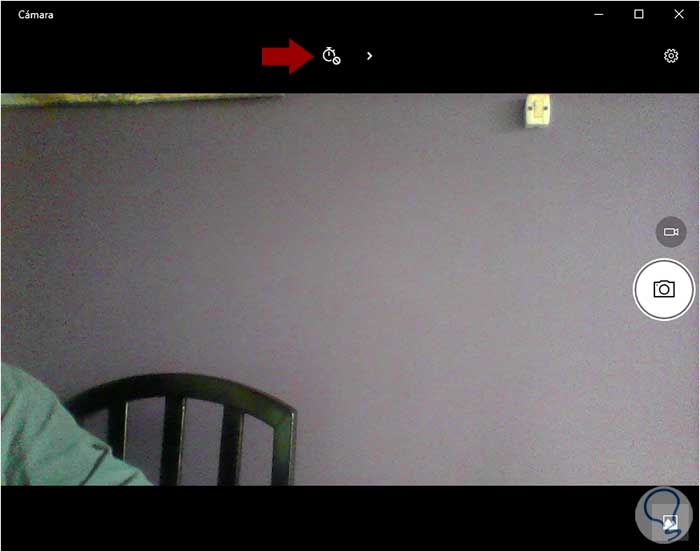
In the upper part we find the access to the camera timer while in the right side we have:
- Access to application settings
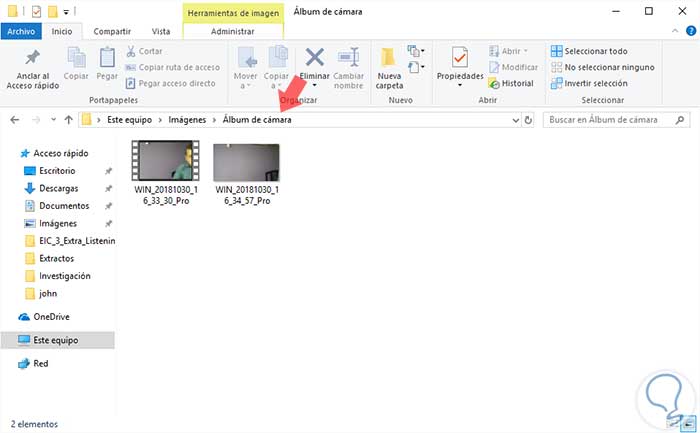
- Access to the library Camera album which is the route where recordings and captures made by default are stored, this library is inside Images
To take a photo or video, just click or touch the camera icon to take a photo or click or touch the video camera icon to start a video. By default, a photo or video will be taken and then stored in the Camera Album folder as mentioned, when capturing an image we will hear a preset sound for it and the image will be available in the icon located at the bottom.
2. How to configure the Windows 10 camera application
To access the configuration you must click on the gear icon in the upper right corner.
Step 1
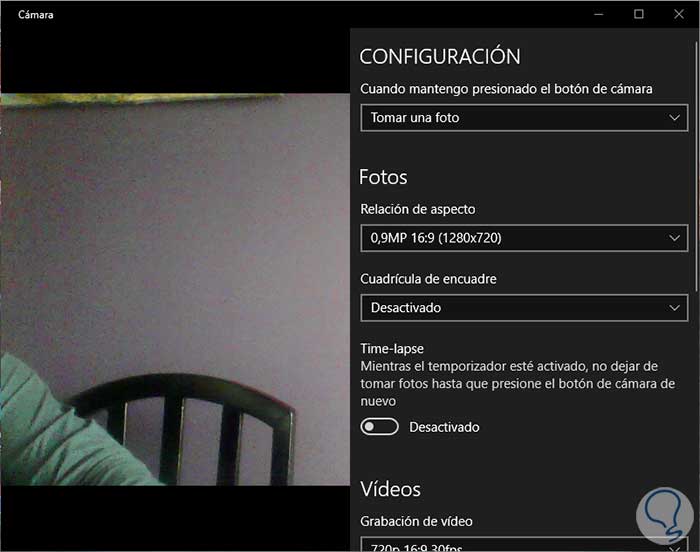
When accessing the camera settings it will be possible to configure aspects such as:
- Action to take when the camera button is pressed
- Establish the aspect ratio of the photos, as well as their framing grid
Step 2
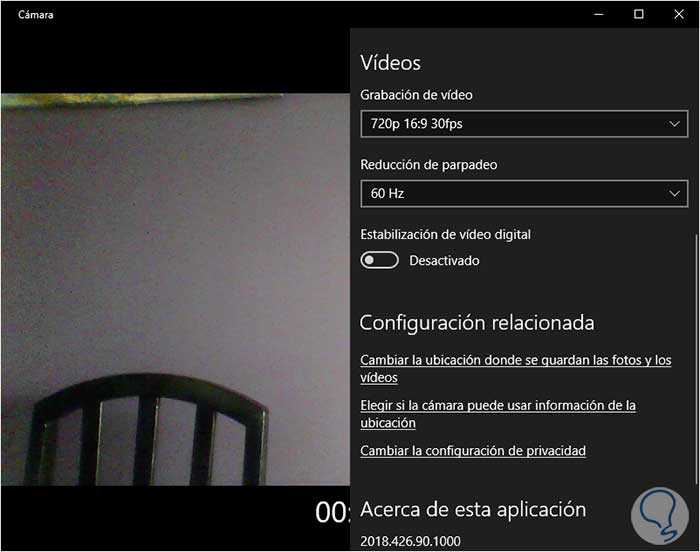
If we go to the Videos section we find details such as:
Step 3
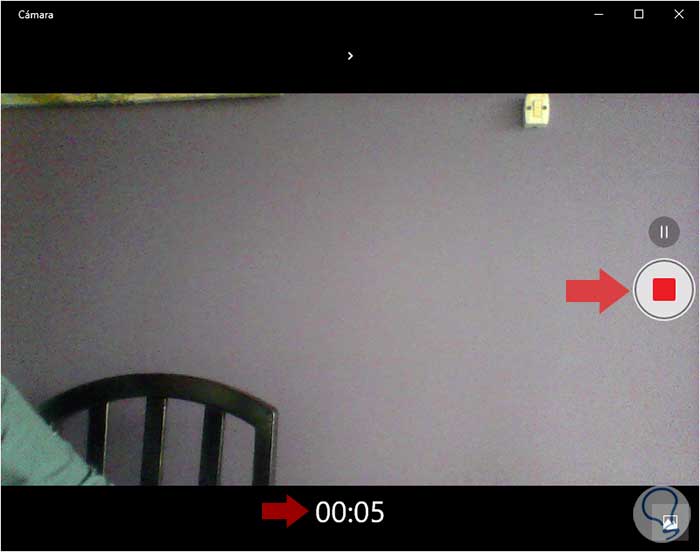
Other options we can configure are changing the storage path, using the location and more. When we switch to video mode and start recording, we can see at the bottom the elapsed time of recording the video:
Step 4
To stop it, just click on the Stop icon and the video will be saved automatically. If we click on the top icon of the application, the following will be displayed:
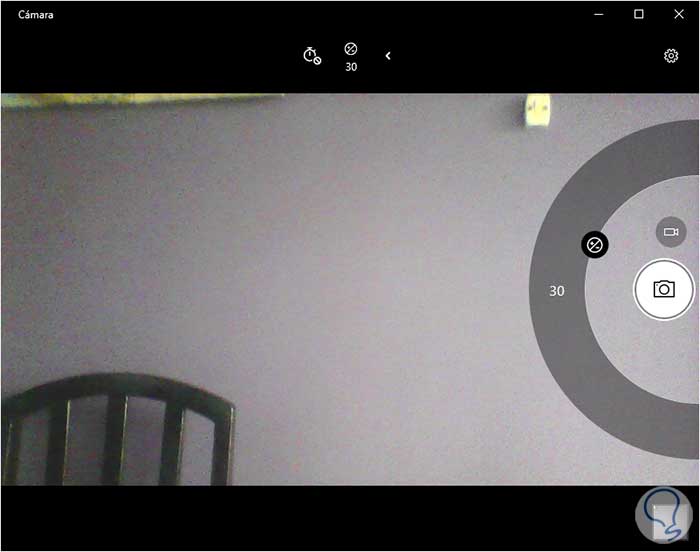
There it will be possible to adjust the brightness, so we see a semicircle and just click and drag along the circle to make the desired brightness settings..
Step 5
As indicated above, all screenshots and recordings are stored in the Camera Album library and there we can select them and proceed with the respective edition as appropriate.
As we see, this integrated application is useful to carry out the process of capturing photos or recording in Windows 10 with simple tools that are even more vital.