One of the most careful and responsible options that we must manage in Windows, regardless of its edition, is all the aspect associated with the network , since any misconfiguration (such as an erroneous IP address or a badly redirected DNS) will affect directly the connectivity of the equipment to the network and to the local network if it is the case of a team in an organization..
For a better administration, actually intuitive, Microsoft has implemented the center of networks and shared resources which is a central point from which a series of tasks can be carried out at the network level in a centralized way.
It is for this reason that today TechnoWikis will analyze in detail how to use this network and shared resources center in order to carry out a better administrative task in Windows..
1. How to access the Network and Sharing Center in Windows 10 and 7
To access the network and shared resources center we have several options.
In Windows 7
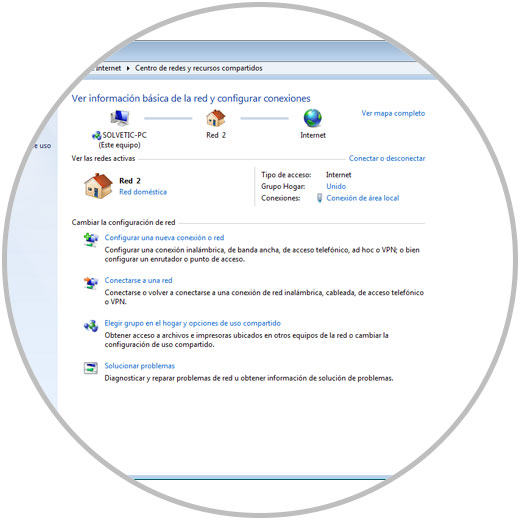
In the case of Windows 7, we must right click on the network icon located in the taskbar and there select the option Open the Network and Sharing Center:

Once we click there we will see the following:
In Windows 10
In the case of Windows 10 we have the following options:
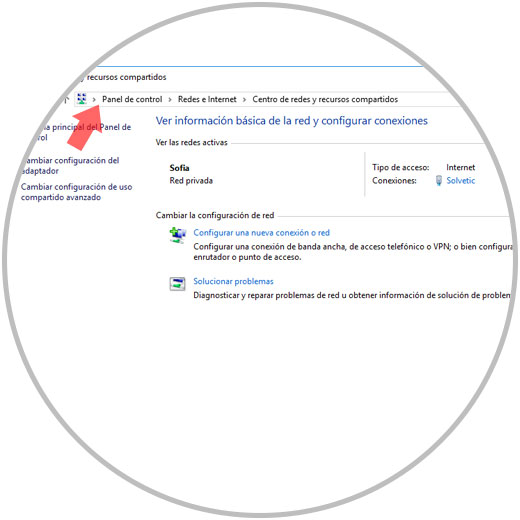
Go to the following route:
- Center network and sharing
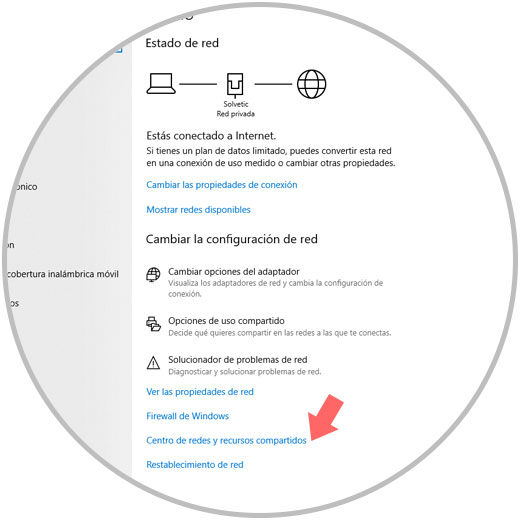
The next option is to right click on the network icon in the taskbar and select the option "Open Network and Internet Settings":

There we will be redirected to the following window: There we will click on the line "Network and Sharing Center".
2. Network types in Network centers and shared resources in Windows 10, 8, 7
When accessing the Network Center, the first thing we will see will be the name of the interface and the type of network to which it belongs:
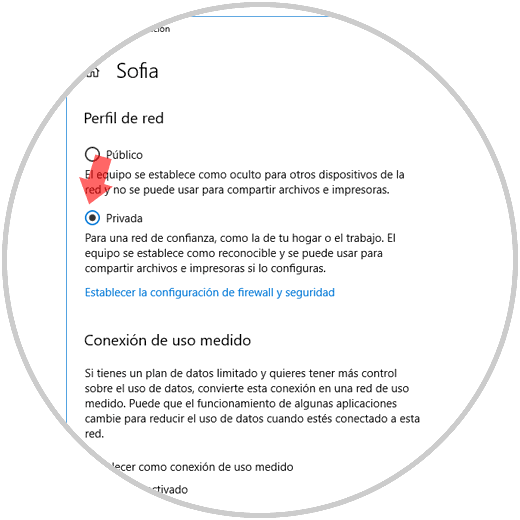
Based on the type of network to which we are connected, there are a number of sharing configurations that are defined by default to be reliable..
There comes into play the action of the Windows system, since it configures the public network when we connect to a public WiFi network, but at some points the system can ask us if we want to enable sharing or searching for devices and in case of giving an affirmative answer the network will be private, otherwise it will be public remember the risks of browsing and having our sensitive information in a public network.
There are two types of networks that are:
Private
In this type of network, Windows will enable the network detection functions allowing other devices to be able to see our equipment on the network, and thus facilitate the exchange of network files and other sharing features.
Public
In this type of network, the Windows system deactivates the visibility options since it is a potential risk that our equipment is detected by some user with negative intentions and access to it.
Step 1
Windows, in this case Windows 10, allows us to easily change the type of network, for this we will go to the following route:
- Connection Type, Wi-Fi or Ethernet
Once we select the current network we can activate the box with the type of network to use:
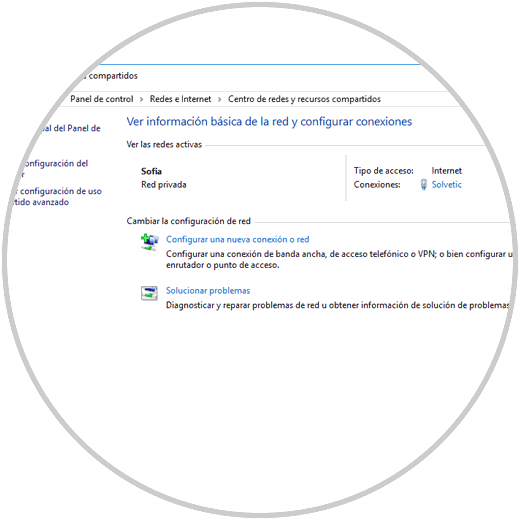
Step 2
Next to the type of network, we find the type of access, "Home Group", if it is configured and in the "Connections" field we will see the current connection, which if we press it displays a dialog box for information on the status of that connection Current with multiple details such as:
- IPv4 and IPv6 connectivity
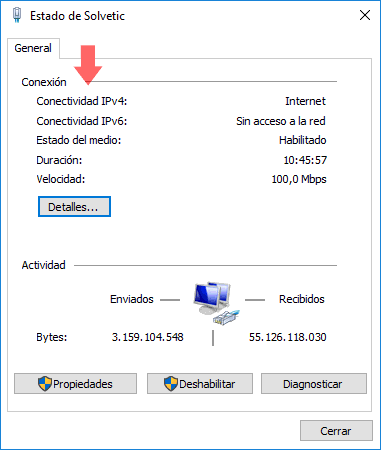
Step 3
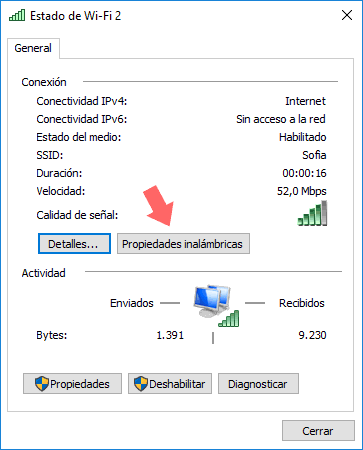
In the event that the connectivity is wireless, Wi-Fi, by clicking on the "Connection" field we will see the following: There we have a button called "Wireless Properties"
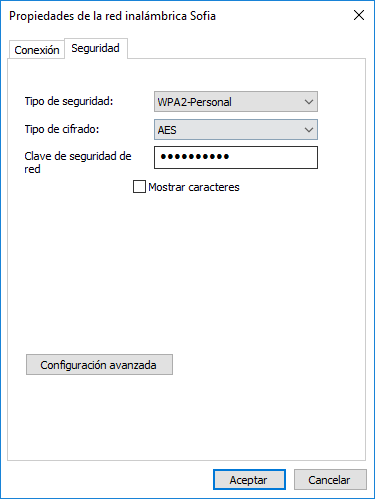
Here we have access to additional functions of the Wi-Fi network such as security type and we can see the network key if we have forgotten it
3. Advanced sharing in Network and Sharing Centers in Windows 10, 8, 7
One of the benefits of Windows is the ability to allow us to share multiple files easily locally.
Step 1
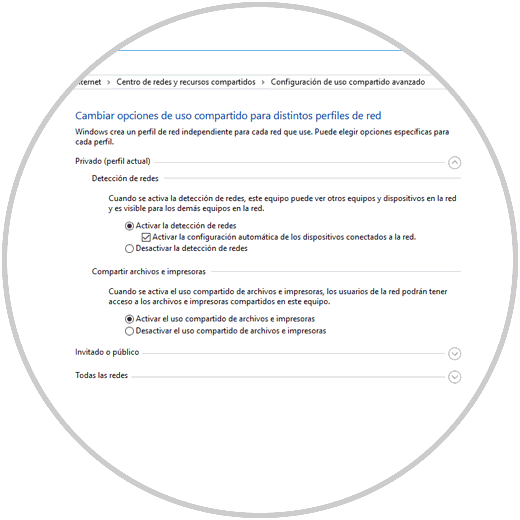
From the "Network and Sharing Center" we have the section "Change advanced sharing settings" which offers the following:
Step 2
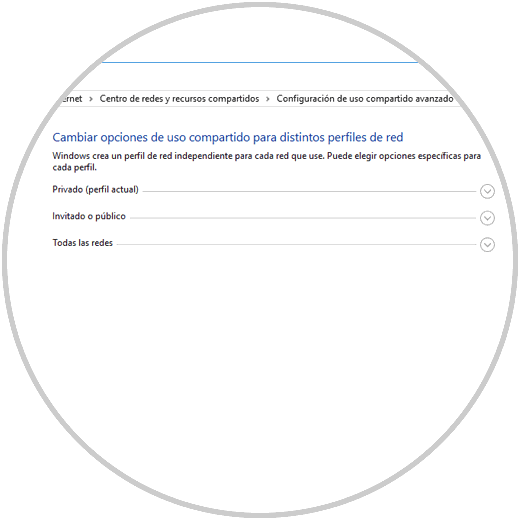
There we must keep in mind that it is only possible to make use of a network profile for its effective use, and in Windows 10 and 8 we have the option of configuring advanced sharing in three types of scenarios:
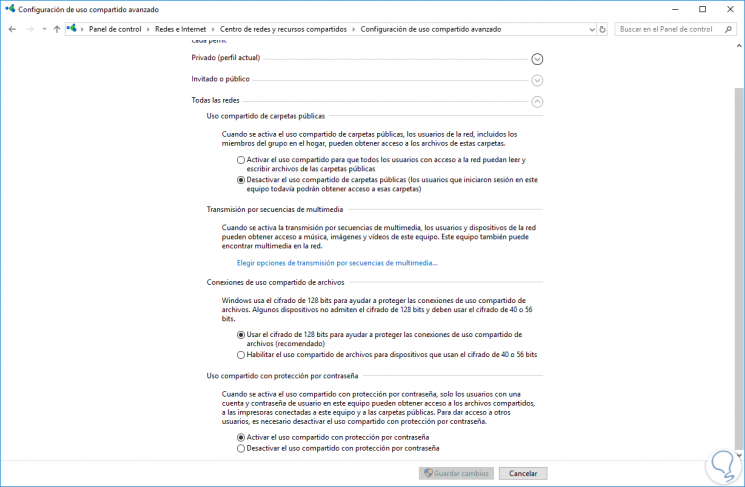
In each of these profiles we will have the possibility of defining certain security, access and sequence of folders values: This will be configured based on the current needs to be used.
Step 3
In the private profile, defined by default, we have the following sections:
Network detection
This option allows our team to be visible to others from the Network Locations option in the file browser:
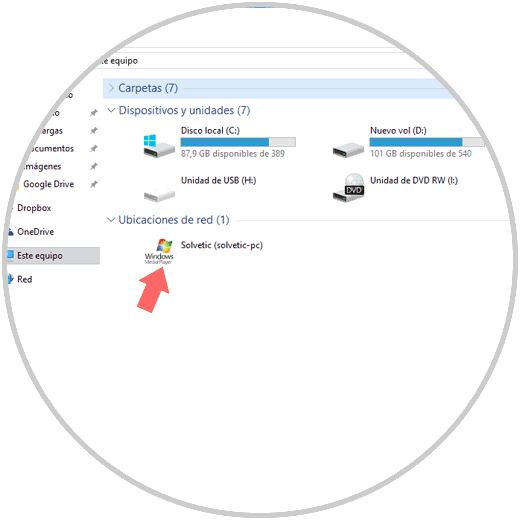
When visible, the other users will have access to this and to the shared folders and access credentials will be required or not as this aspect has been configured.
File and printer sharing
By checking this box, we will allow other users in the local network to access the folders and printers shared on the computer.
In All networks we find the following sections
- Public folder sharing: these are public folders that anyone will have access to, as long as we activate them, and it represents a security risk due to the information stored there.
- Streaming multimedia streams: This option converts our equipment into a DLNA server with the ability to stream music, movies and images to other devices on the network such as Xbox One or other Windows systems.
- File sharing connections: There we must leave the Use 128-bit encryption checkbox active for security reasons.
- Sharing with password protection: this option is activated to force users to enter a username and access information.
Set up a new connection or network
In the "Change the network configuration" section we find the option to configure a new connection in Windows, which when pressed will give us the following possibilities:
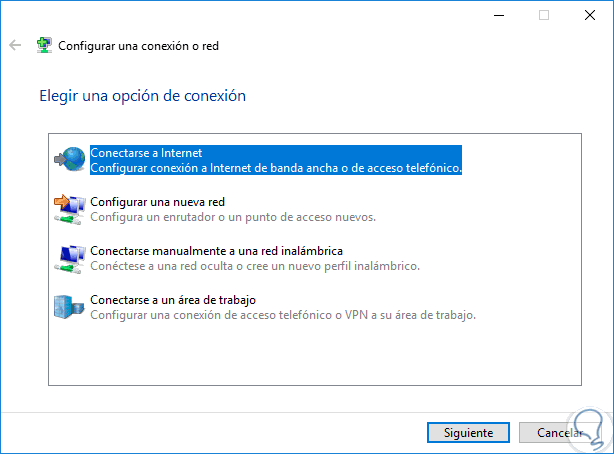
There we can select the option that best suits the need for network configuration.
Solve network problems
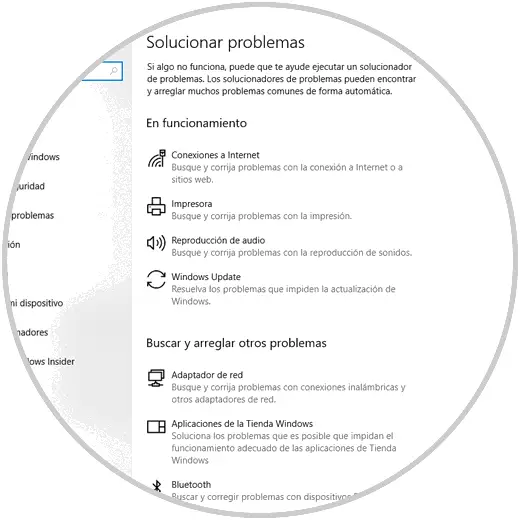
At the bottom of the "Change network settings" section we find the "Troubleshoot" option which is a Windows utility focused on looking to analyze and correct network errors.
In the case of Windows 10, when we click there, we will be redirected to the following window: From there we have various system parameters that can be analyzed to optimize its operation.
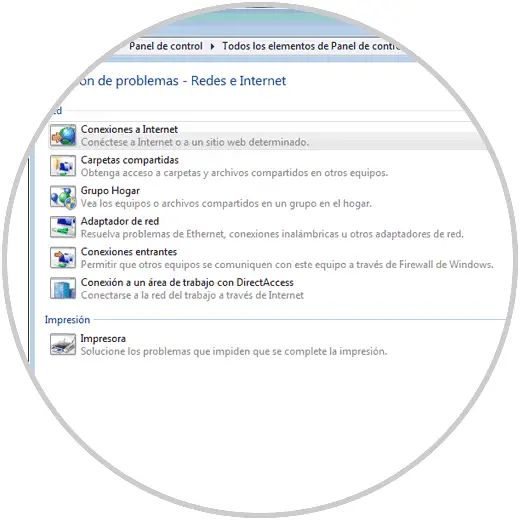
In the case of Windows 7 we will be redirected to the following window: There we can click on the item that is presenting errors
4. Change the adapter settings of the Windows Network and Sharing Center 10,8,7
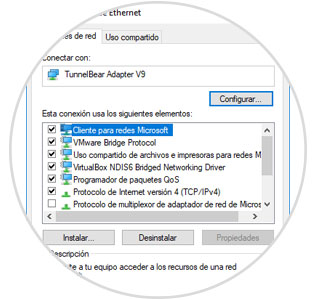
Perhaps one of the options most used by administrators, IT users and thousands of users is the configuration of the adapter from where we will have tasks to perform such as:
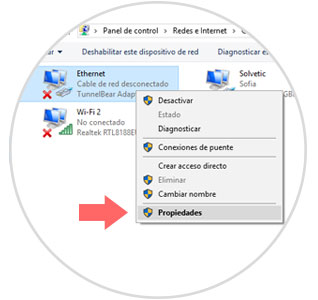
- Access the properties of a connection
When accessing the properties of a connection we can perform actions such as:
- Establish new DNS servers
- Enable IPv6 and much more.
We have seen how the Network and Sharing Center is the central point for managing aspects of the network in Windows environments.