On our computer we see a number of files, documents, information etc and on many occasions we want to take a screenshot of what we are seeing so that it is saved as an image and we can access this information whenever we need it or to send it to someone..
The Snipping Tool was integrated into Windows 10 and since then it has been a practical feature for taking screenshots of either the entire desktop, only the active window, or free snippets:
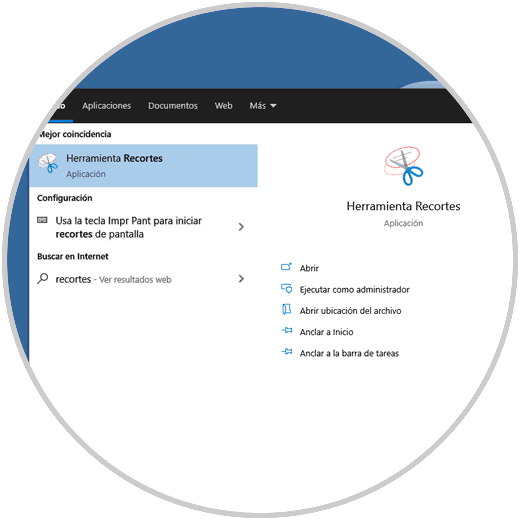
Cutouts integrates some features that allow its use to be adapted to current needs, this ranges from the option to save the captures in different formats, add some effects, open and edit the captures with Paint3D , etc.
But in a world where graphical tools abound , we may have opted for another solution. If this is your case, at TechnoWikis we will teach you to deactivate the Snipping utility if it is no longer used in Windows 10..
To stay up to date, remember to subscribe to our YouTube channel! SUBSCRIBE
How to disable Snipping Tool in Windows 10
Step 1
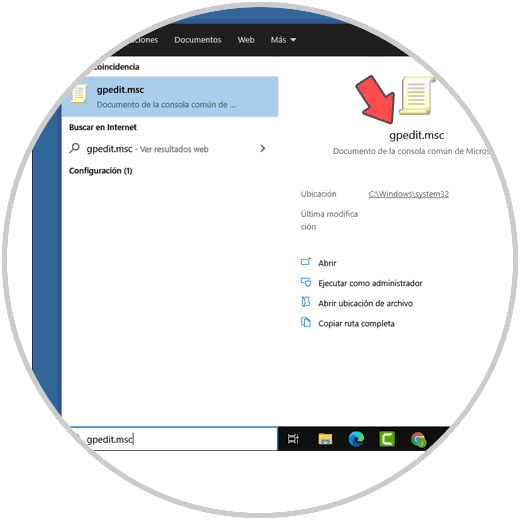
In the Start search engine we enter "gpedit.msc":
Step 2
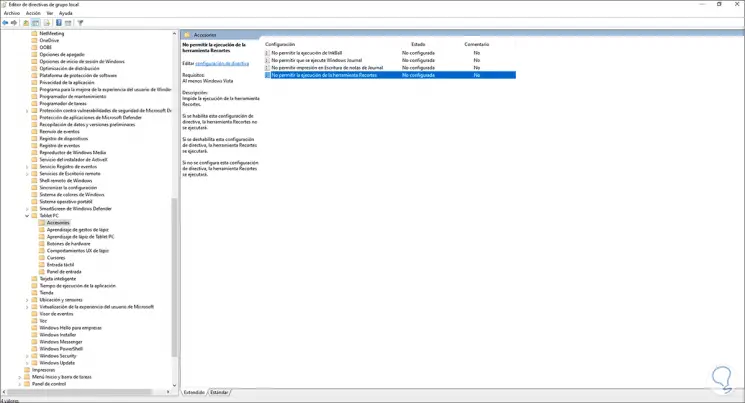
We select the group policy editor and there we must go to the following path:
In the central panel we select the policy called "Do not allow the execution of the Snipping Tool":
Step 3
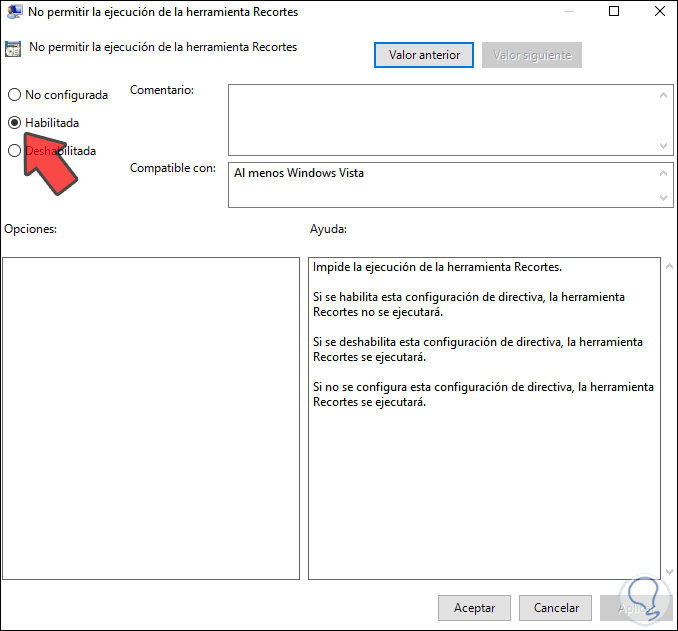
We double click on this policy and we will see the following. We activate the "Enabled" box. We click on Apply and OK to save the changes.
Step 4
Now, when we try to open the Snipping Tool in Windows 10 we will see the following:
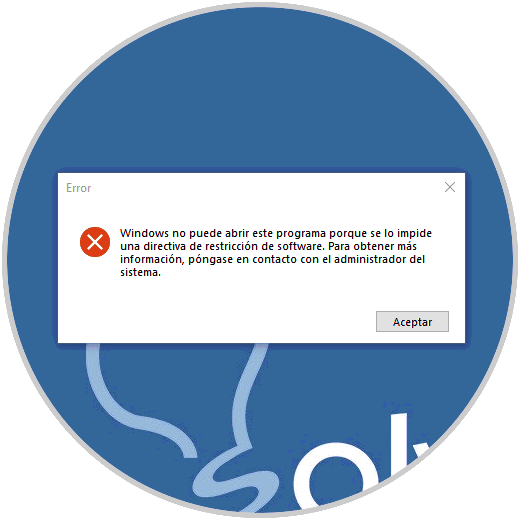
As we can see, this message refers to the fact that it is not possible to open it due to a configuration in the system policies.
When we want to use it again, we just have to disable the aforementioned policy and thus we have seen how to deactivate Snipping in Windows 10..