In Windows 10 we have the possibility to carry out different actions internally and in the configuration of the PC. But in addition to this, there are certain programs that are installed by default, so that we can manage and do certain things on the computer. One of these tools is the snipping tool..
The Snipping Tool in Windows 10 is integrated as a comprehensive solution to allow us to take screenshots in various modes such as:
Not only does it allow you to capture the screen, but the captured capture can be edited, it integrates a timer and it is possible to save the images in PNG, GIF, JPEG or HTML format.
To access this function, we usually do it from the Start search engine, but to simplify this task, TechnoWikis will teach you two ways to create a shortcut for the Snipping Tool in Windows 10.
To stay up to date, remember to subscribe to our YouTube channel! SUBSCRIBE
1. Create Clippings shortcut on Desktop
Step 1
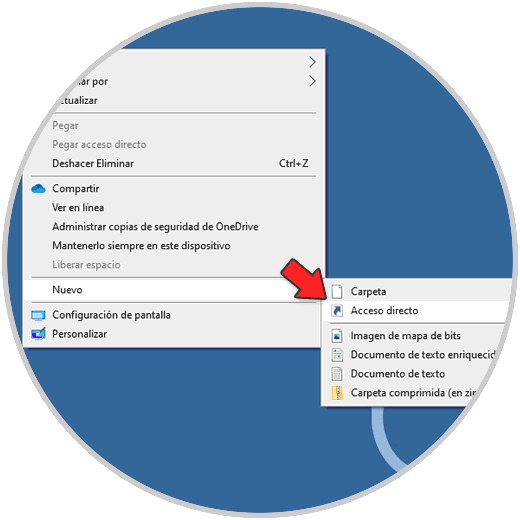
To opt for this method, we right-click on the desktop and then select the option "New - Shortcut":
Step 2
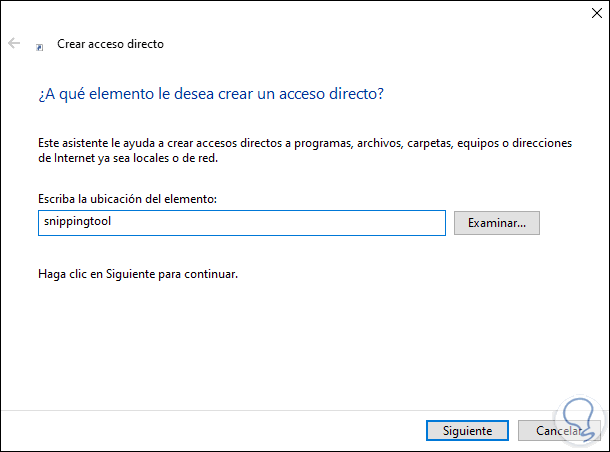
In the displayed window we enter "snippingtool":
Step 3
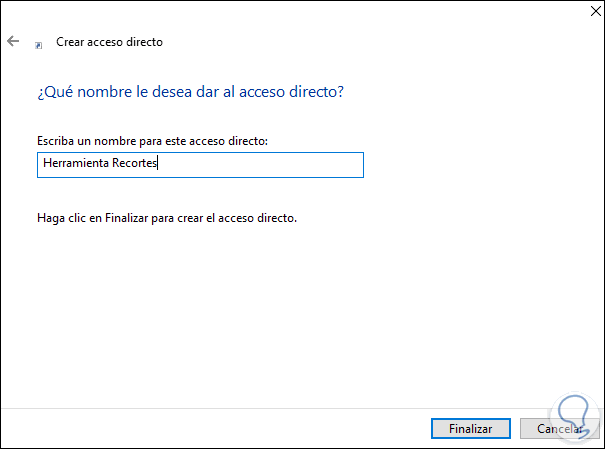
We click Next to assign a name and apply the changes:
Step 4
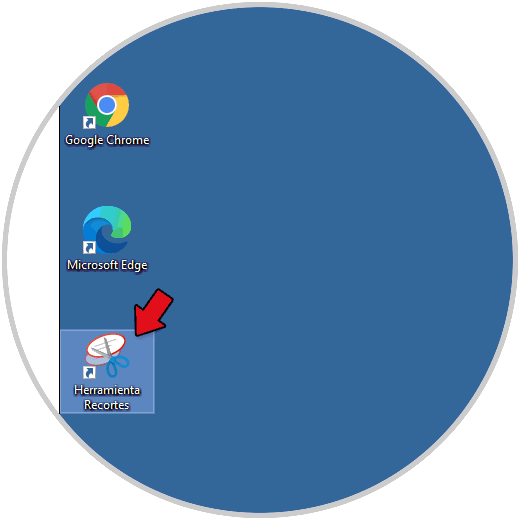
When we click on the Finish button we will see the shortcut created for the Snipping Tool:
Step 5
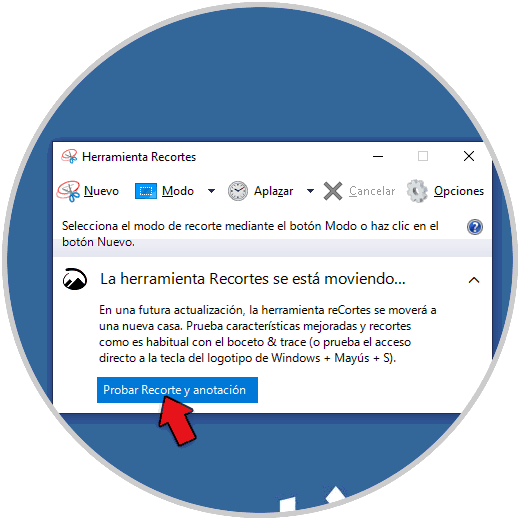
We access Cuttings by double clicking on the shortcut:
2. Create Snipping Shortcut in Explorer
Step 1
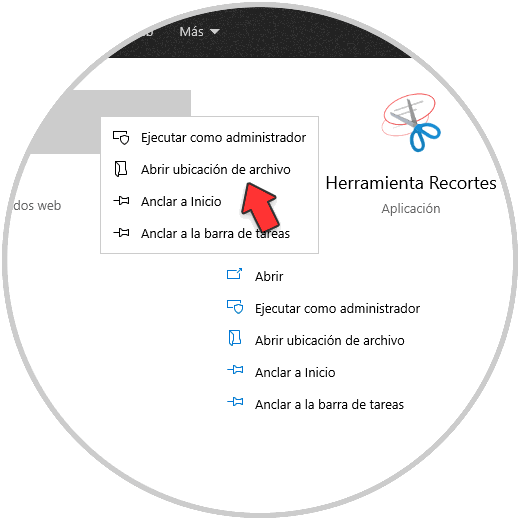
If we choose this method, we enter the word "snippets" in the Start search engine and then right click on Snipping Tool and select "Open file location":
Step 2
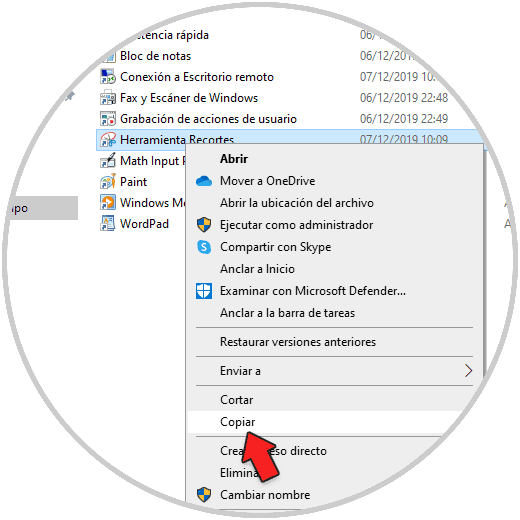
In the displayed window, we copy the shortcut:
Step 3
We paste this on the desktop:

Step 4
Then it is possible to open Snippets by double clicking on the shortcut:

Estas son las dos opciones que tenemos disponibles para crear un acceso directo en Windows 10 de la herramienta Recortes..