Updates to operating systems are always well received by users, as they usually bring improvements and interesting news to improve the performance and quality of their features. However, before the official version comes out, the beta phase is usually launched so that it can be tested beforehand..
Ubuntu has launched in beta, so that we know it little by little, the new version Ubuntu 21.04 with code name Hirsute Hippo. This new version will be officially available in April 2021 but from now on TechnoWikis will explain what to expect from it and learn a little more about its environment.
Among the highlights for the moment of Ubuntu 21.04 Hirsute Hippo is that it will have GNOME 40 desktop by default and the kernel will be in version 5.11.
Undoubtedly Ubuntu 21.04 will have long-term LTS support and many more functions, but for now TechnoWikis will explain how to install Ubuntu 21.04 from scratch or upgrade from Ubuntu 20.10..
1. How to install Ubuntu 21.04 from scratch
Step 1
The first thing will be to download the ISO image in beta from the following link:
Ubuntu 21.04 Hirsute Hippo
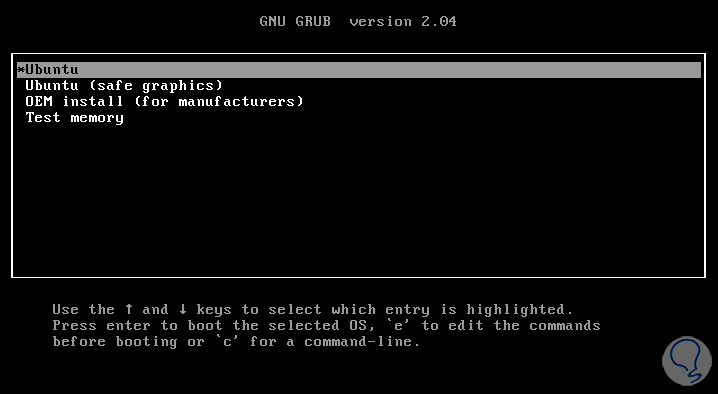
We can burn this ISO image to a DVD or create a bootable USB, when we start we will see the following.
There are various options available such as:
- Ubuntu: launch the Ubuntu 21.04 installer
- Ubuntu (safe graphics): it is an option with which the screen values are taken care of
- OEM install: applies to computers where Ubuntu is pre-installed from the factory
- Test memory: run a RAM memory test
Step 2
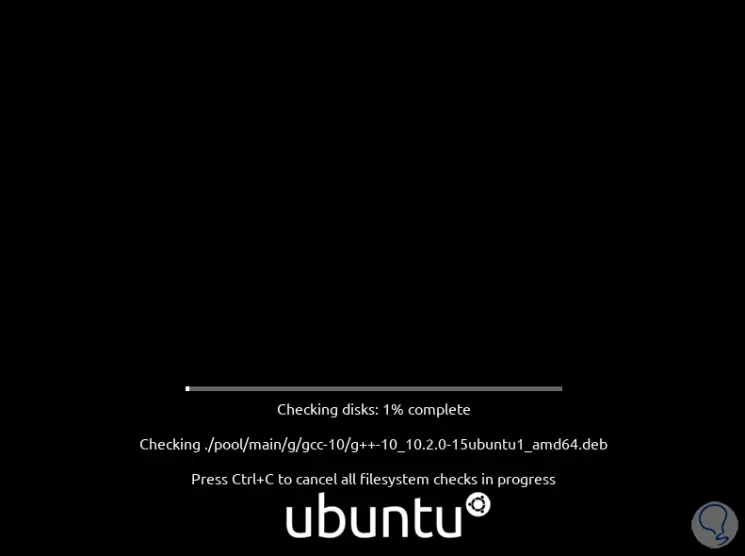
Then the system will do an analysis of the hard disk which we can stop with the Ctrl + C keys:
Step 3
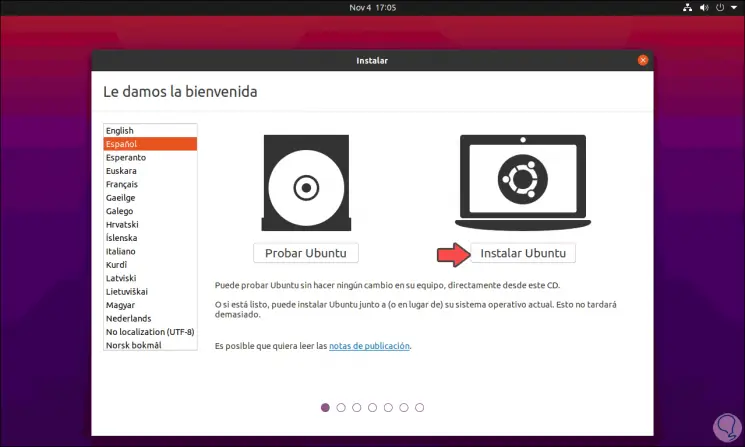
There we select the language to use, we can try Ubuntu 21.04 to know its environment but everything we do will not be saved. In this case we click on "Install Ubuntu"
Step 4
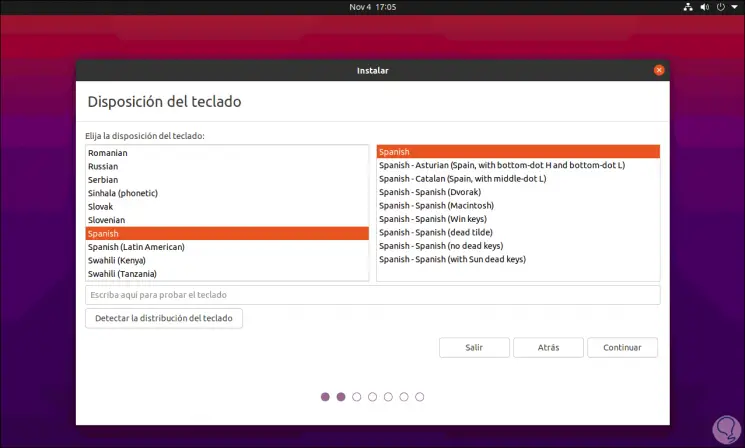
After this we select the language to use:
Step 5
We click on Continue and then we will see the following:
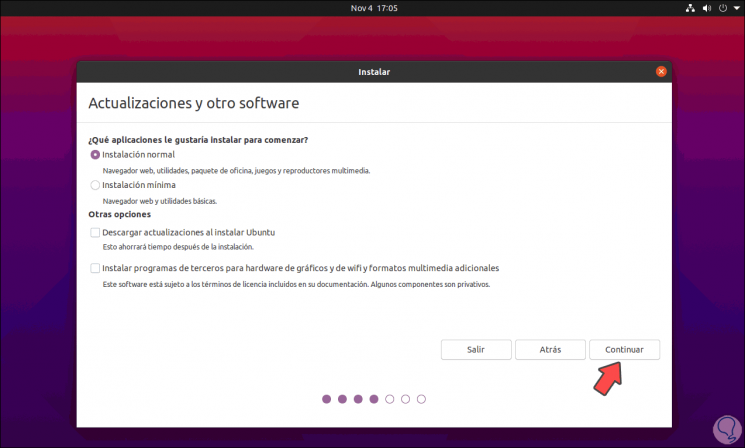
Step 6
There it is possible to define the type of installation to use, as well as to download updates during the process, we define as necessary and click on Continue, we access the hard disk section:
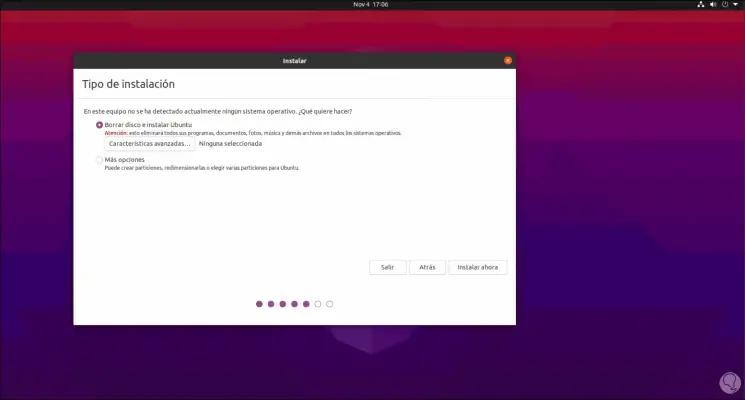
There we can leave the default value for Ubuntu 21.04 to manage the partition and allocation, or we can click on "More options" and carry out the process manually..
Step 7
We click on Continue and we will see how the partition will be:
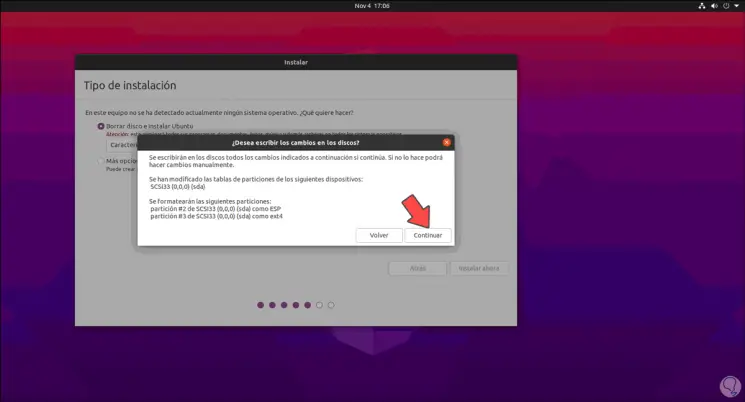
Step 8
We confirm by clicking Continue and then assign our geographical location:
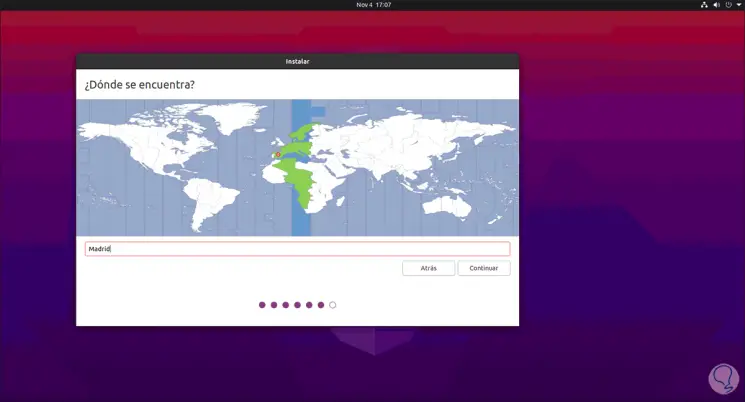
Step 9
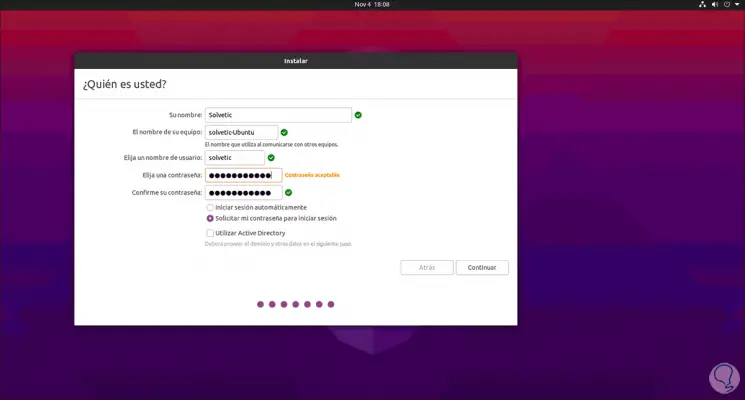
Finally we must assign the username, team and password to assign:
Note
In Ubuntu 21.04 it is possible to activate the option "Use Active Directory" in case we are connected to a domain.
Step 10
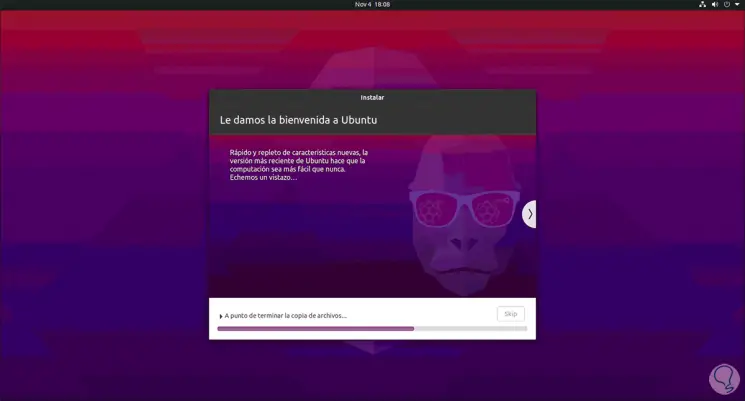
We click on Continue and the Ubuntu 21.04 installation process will start:
Step 11
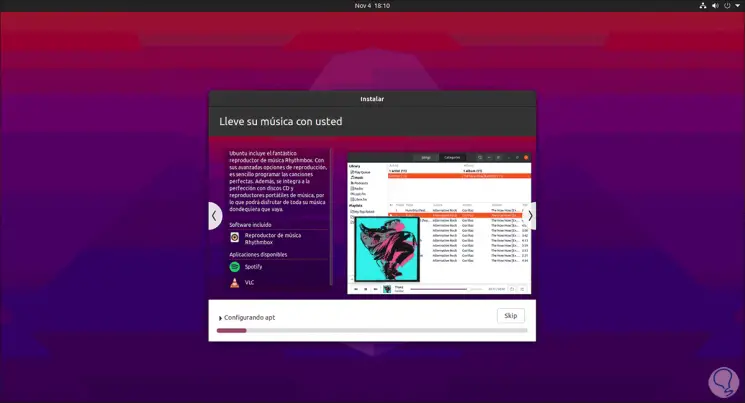
This implies multiple facilities of processes and services:
Step 12
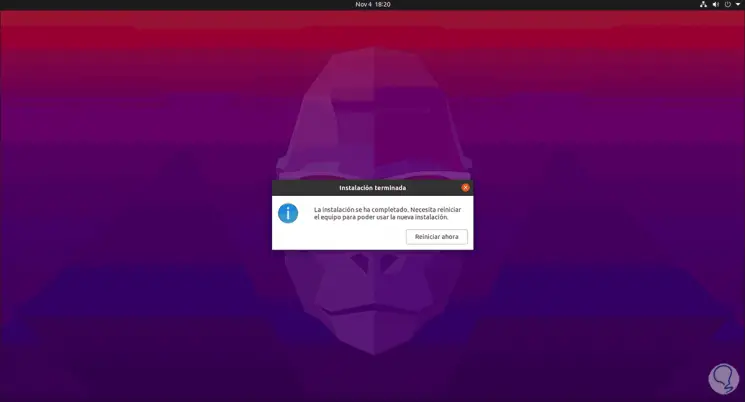
At the end of the installation process we will see the following:
Step 13
We click on "Restart now" to complete the process:
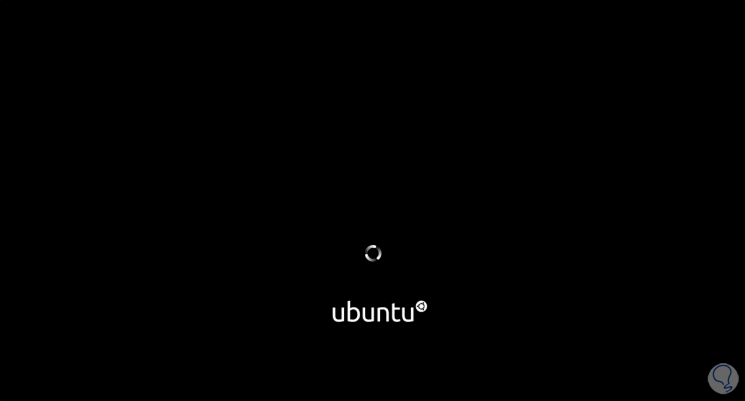
Step 14
We access the Ubuntu 21.04 login screen:
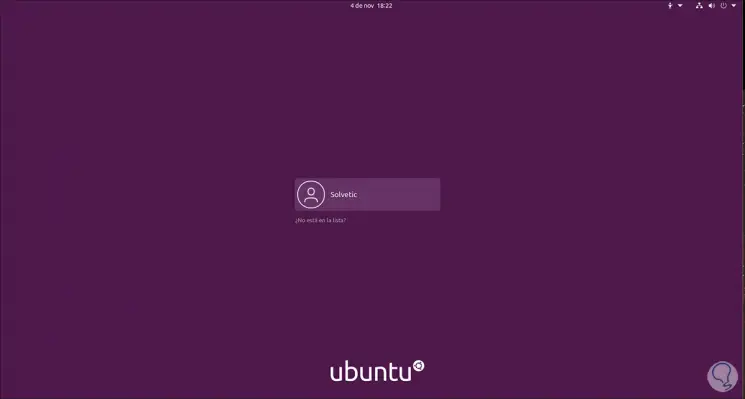
Step 15
We click on our username to enter the password:
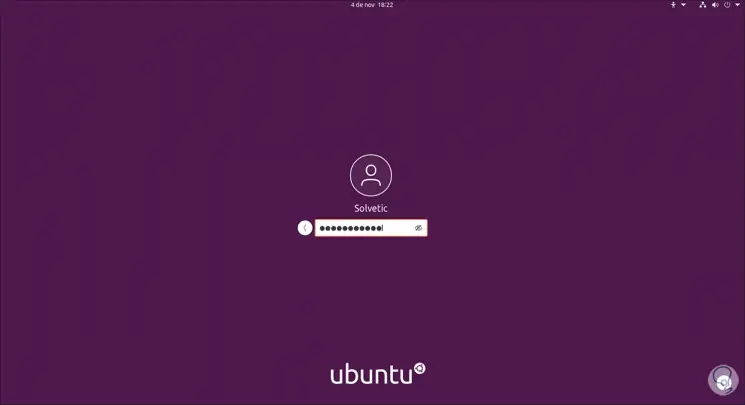
Step 16
When you log in, the option to integrate online accounts will be launched:
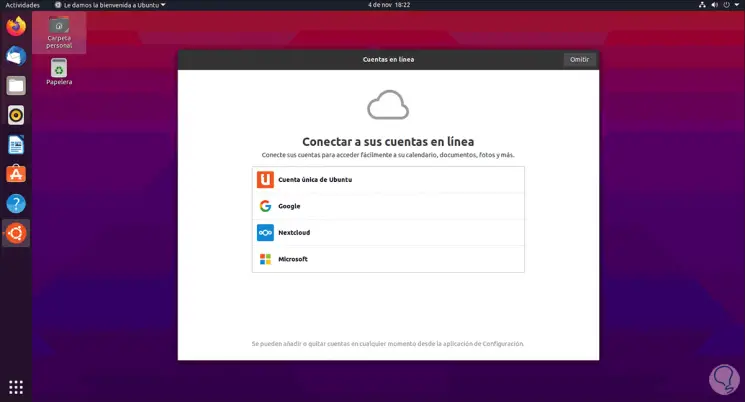
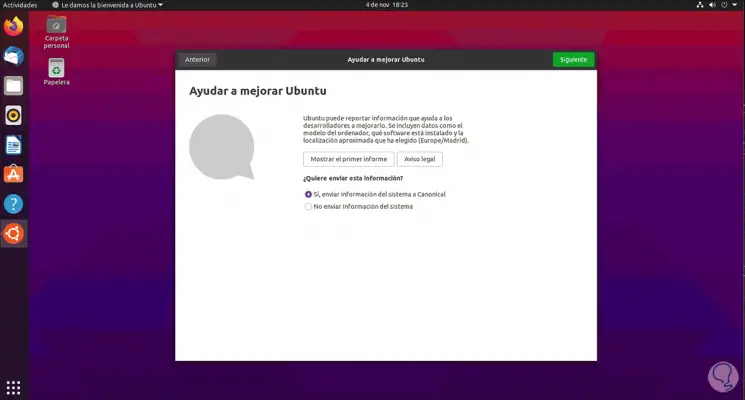
Step 17
Then there is the option to send data for system improvement:
Step 18
Finally we will see the following:
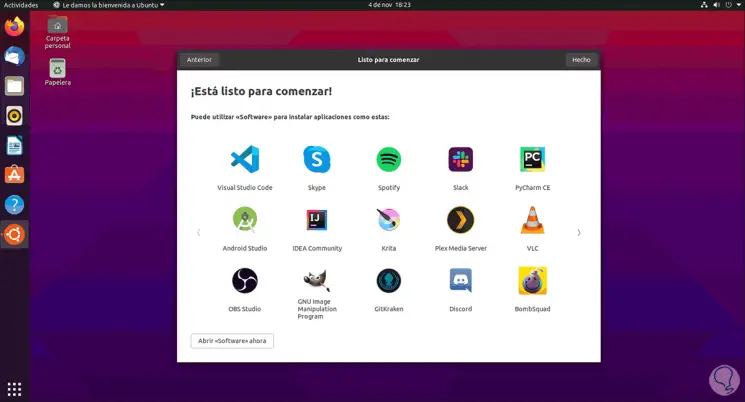
We click on Done and we are ready to enjoy Ubuntu 21.04.
Step 19
We open the terminal and execute the following command to validate the Ubuntu version:
lsb_release -a
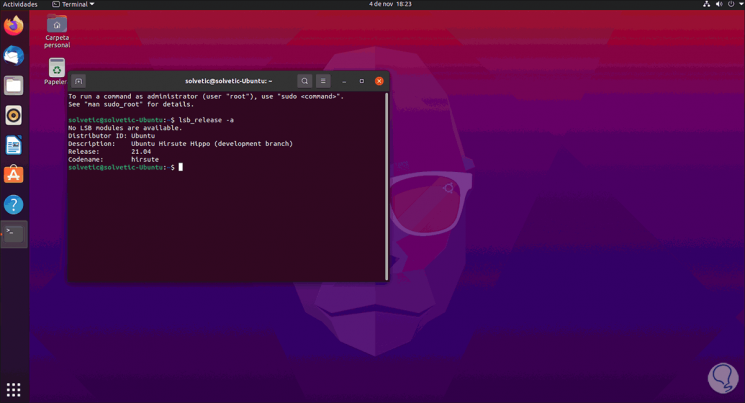
Thus we have learned to install Ubuntu 21.04 from scratch.
2. How to upgrade Ubuntu 20.10 to 21.04
If we only want to update our equipment, TechnoWikis will give you the step by step to achieve it.
Step 1
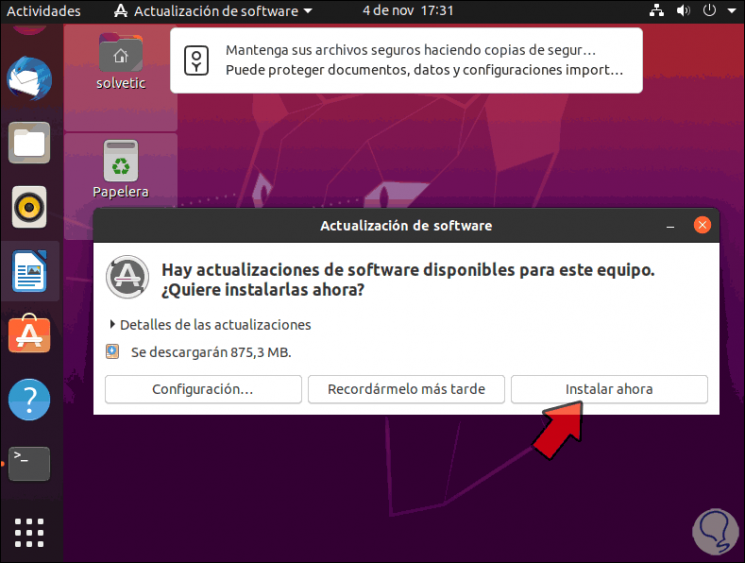
First of all when the new version is available we will see a message informing about new updates. There we click on "Install now" to follow the process.
Step 2
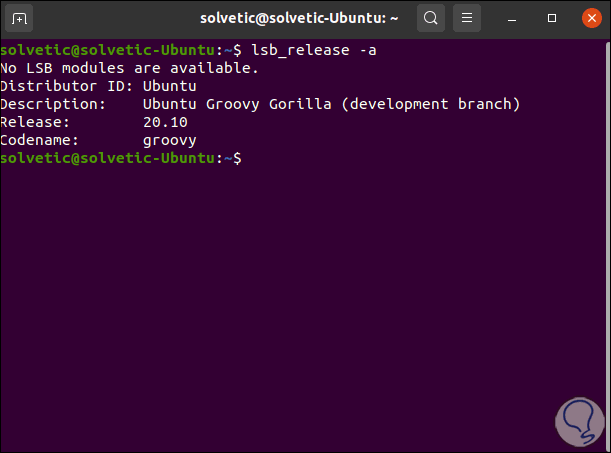
In case of not seeing this message, we must do it from the terminal, first we validate the version in use:
lsb_release -a
Step 3
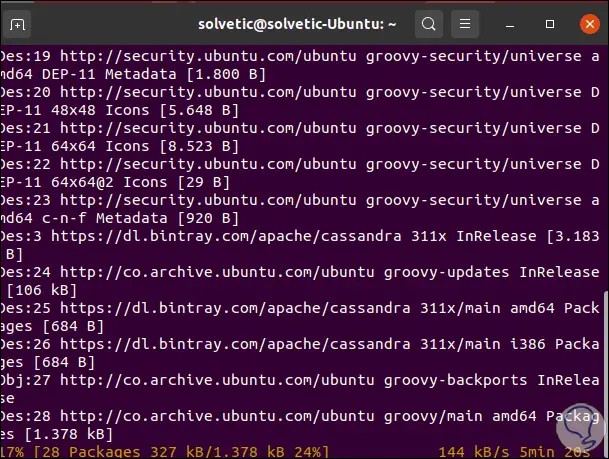
After this we update the system and its packages:
sudo apt update
Step 4
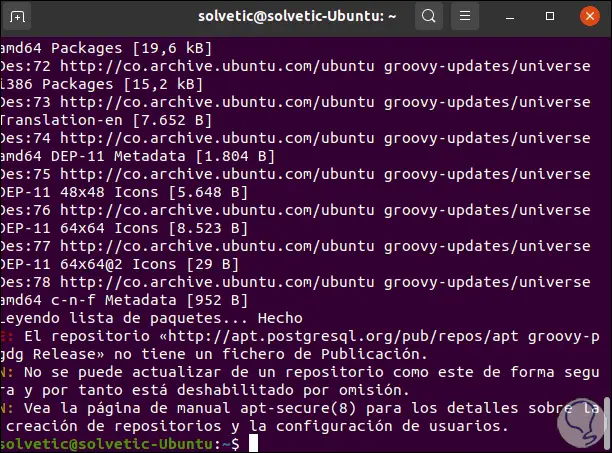
At the end of this we will see the following:
Step 5
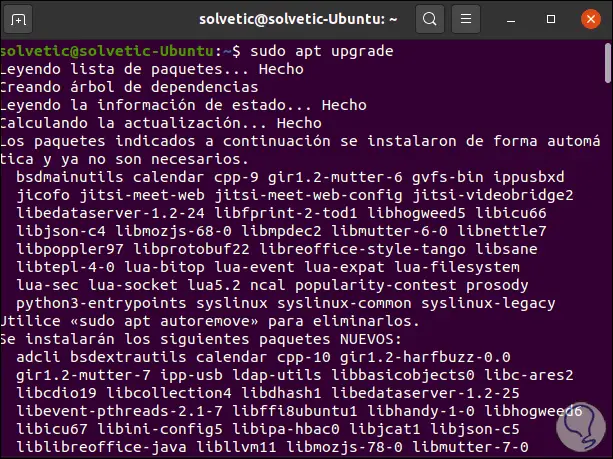
We apply the available updates with the following command:
sudo apt upgrade
Step 6
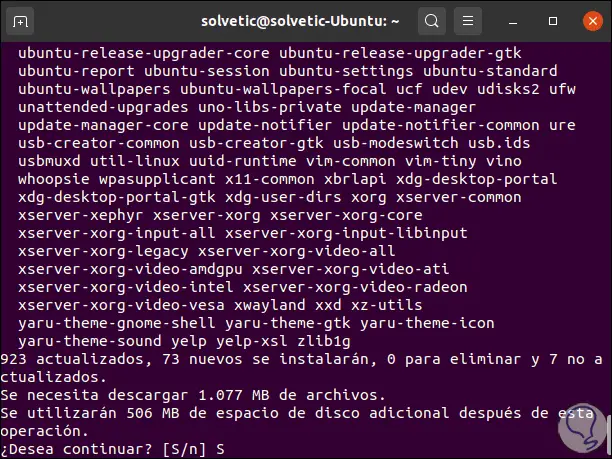
This covers a wide number of updates:
Step 7
We enter the letter S to confirm the download and installation of these updates.
Step 8
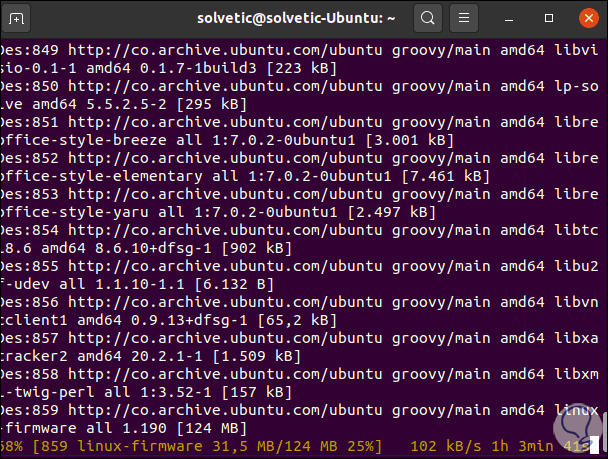
Once downloaded, proceed to apply:
Step 9
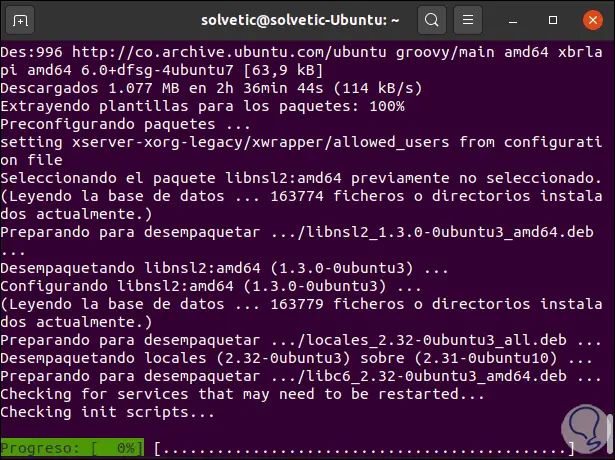
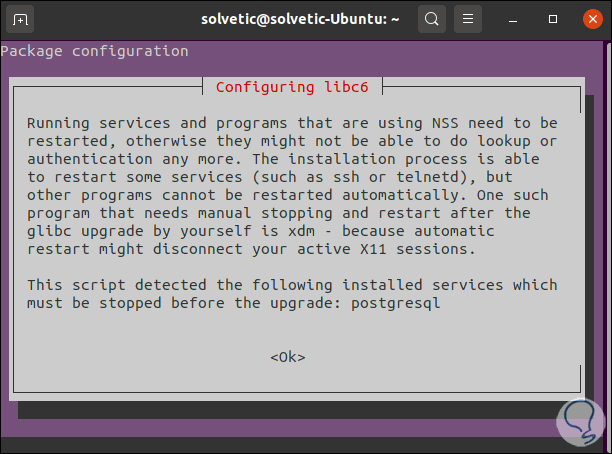
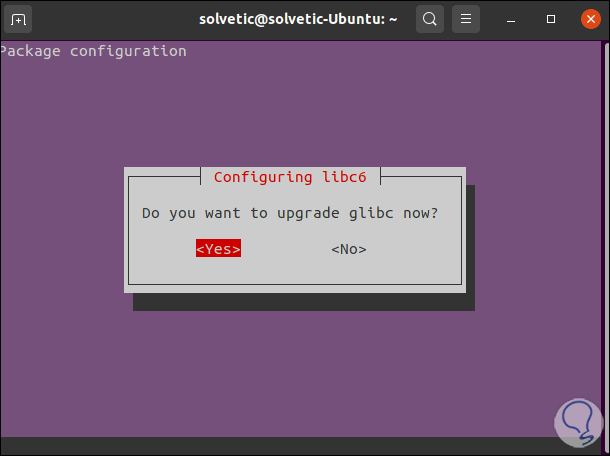
In this process we may see some informative messages:
Step 10
There we must accept them to proceed with the update:
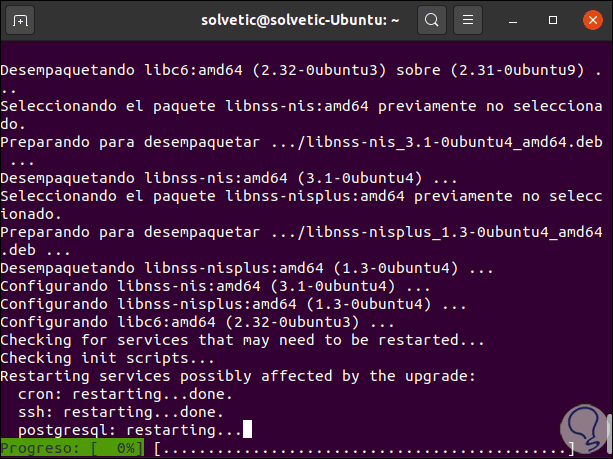
Step 11
After accepting this, the download and application of the updates continues:
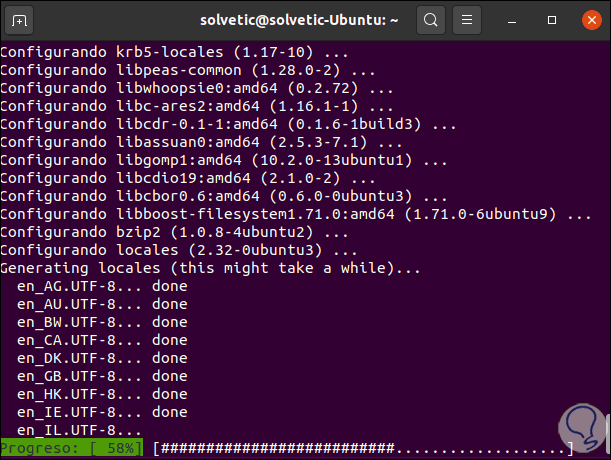
Step 12
It covers updating fonts and other Ubuntu components:
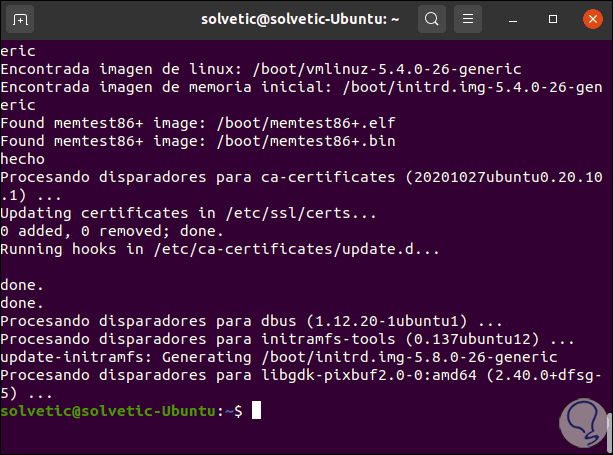
Step 13
At the end we will see the following:
Step 14
Now with the following command we seek to update Ubuntu 20.10 to 21.04:
sudo apt dist-upgrade
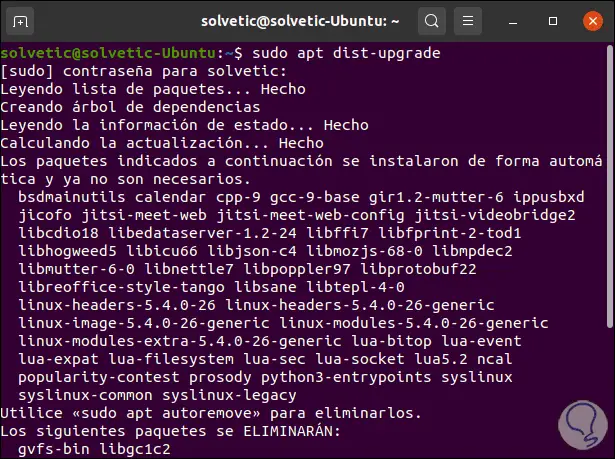
Step 15
There it will be necessary to confirm the download:
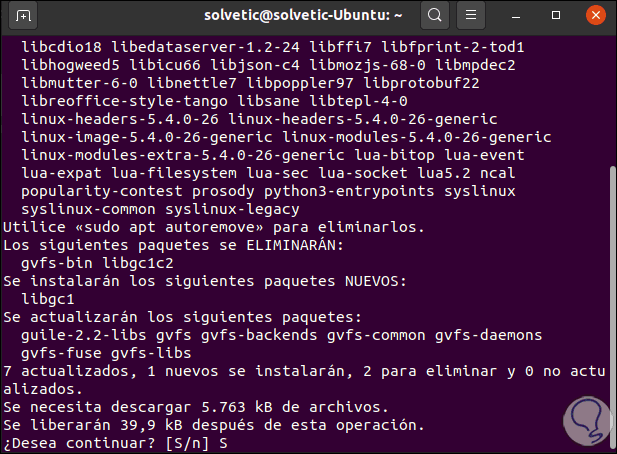
Step 16
After this this process will be completed:
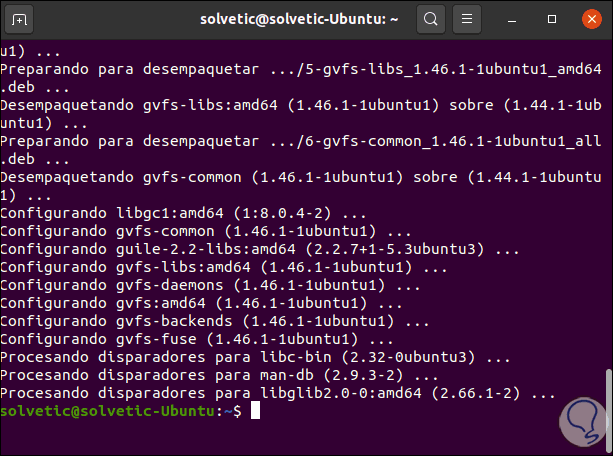
Step 17
We can see that although updates have been made, it has not been completely that of Ubuntu 21.04 Hirsute Hippo, for this we are going to install the Ubuntu update manager with the following command:
sudo apt install update-manager-core
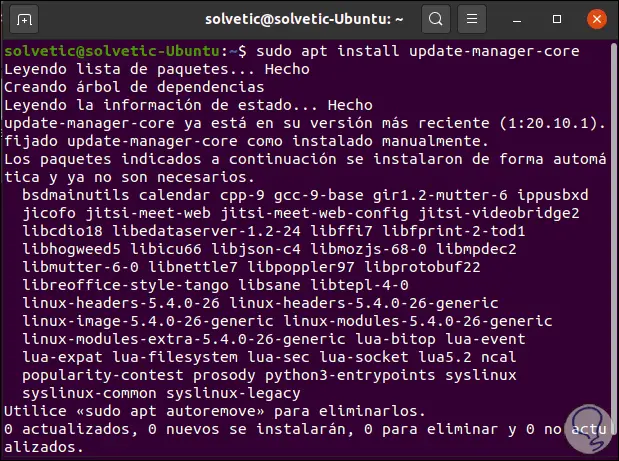
Step 18
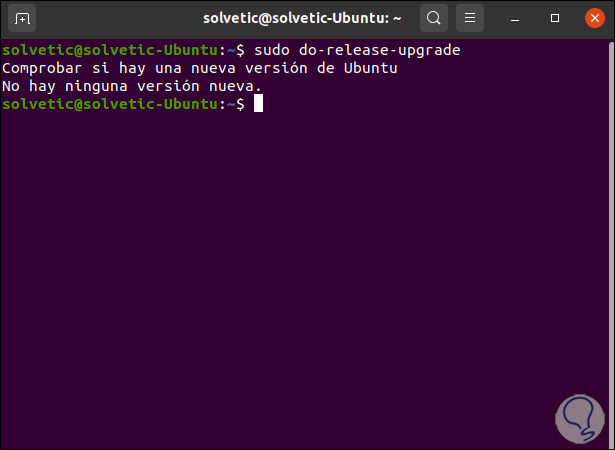
We try to update with the following command:
sudo do-release-upgrade
Step 19
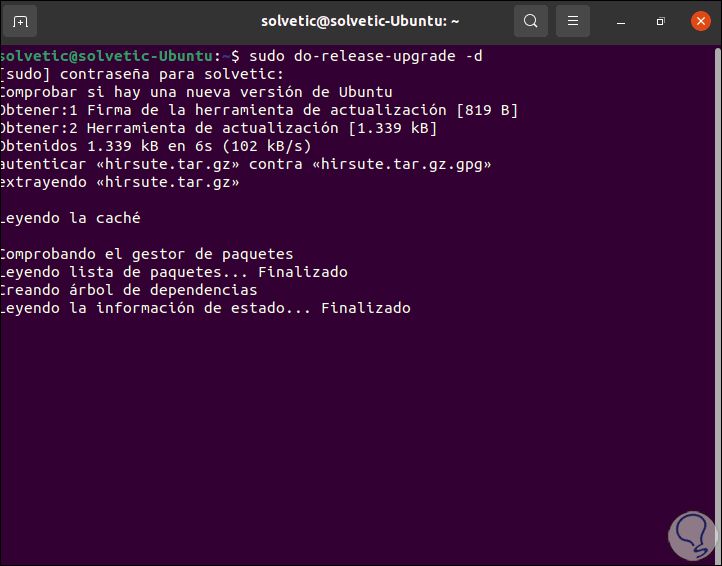
We can see that it does not detect it, to force this process we add the -d parameter as follows:
sudo do-release-upgrade -d
Step 20
We can see that Ubuntu 21.04 Hirsute Hippo is authenticated, after this we will see the following:
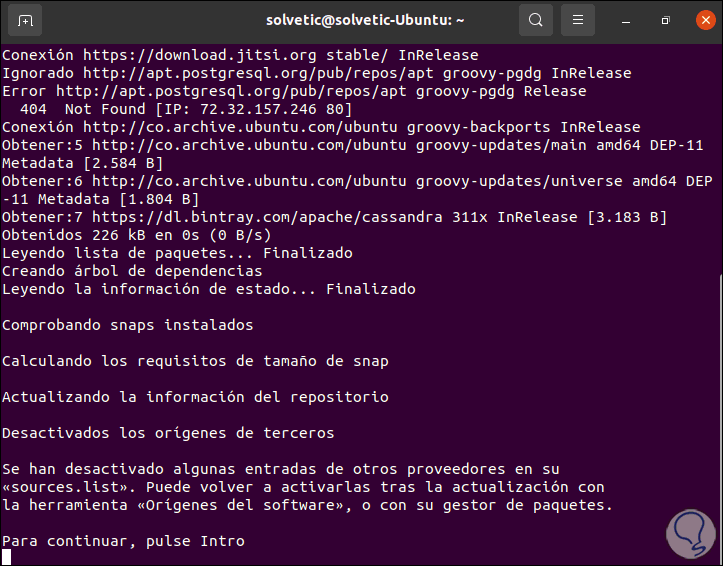
Step 21
We press the Enter key to proceed with the download of all the components:
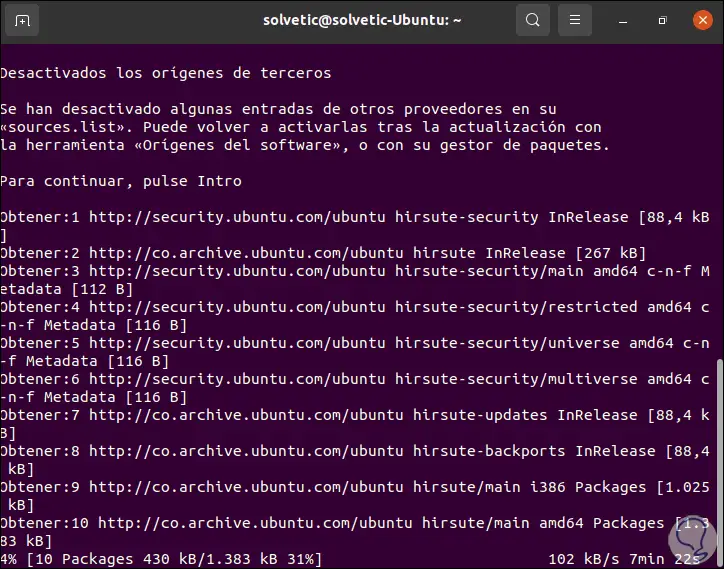
Step 22
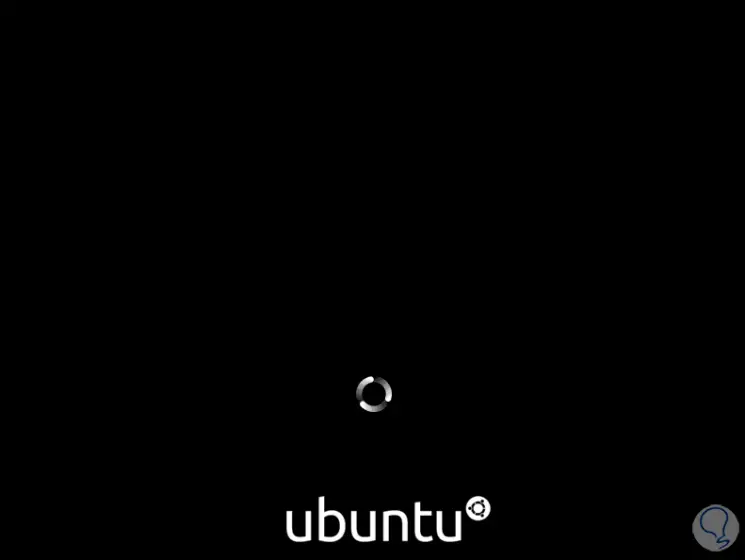
Once finished, the system will be rebooted:
Step 23
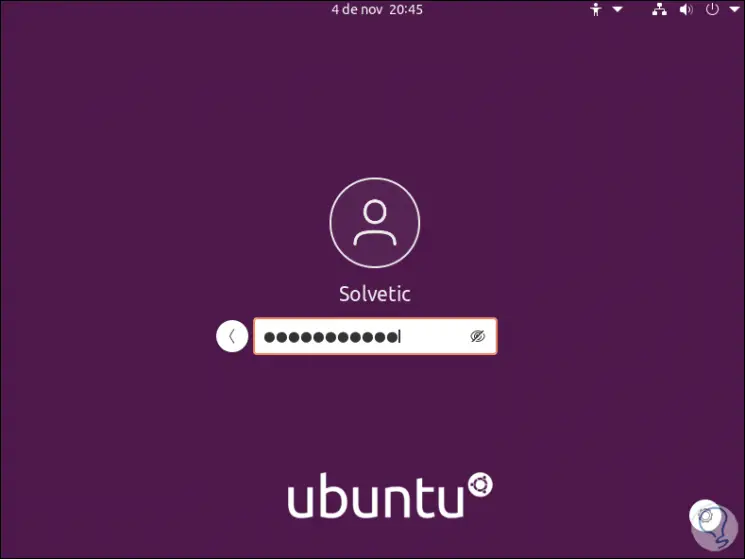
We access the lock screen:
Step 24
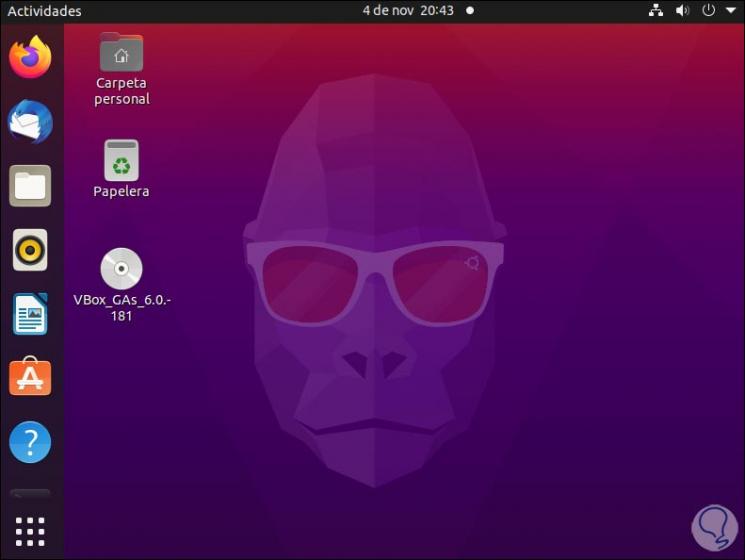
We log in and we will be facing the new version of Ubuntu 21.04:
Step 25
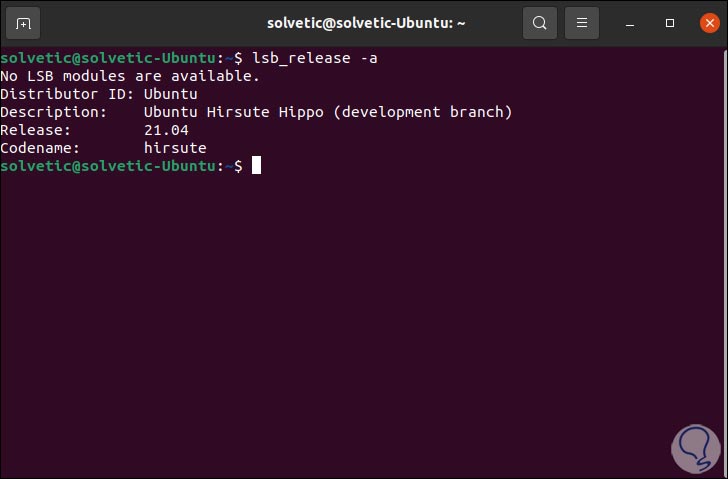
Finally with the command "lsb_release -a" we verify that it is Ubuntu 21.04:
TechnoWikis has explained both methods to you either to install or update to Ubuntu 21.04.