Database management in Linux has now taken on much more relevance due to the amount of data available and its control strategies. For this reason, if we work on databases it is more than necessary to have the best tools to manage them, this implies aspects of security, dynamism, ease of use and scalability and one of the applications that best adapts to these characteristics is MySQL..
MySQL functions
MySQL is a SQL database administration system distributed by Oracle Corporation which has a great reputation for everything it offers to the user such as:
- is a comprehensive, free and high-capacity database management system
- all MySQL databases are relational
- security and account management is managed centrally
- works under the client / server scheme or can be used in embedded systems
- has data dictionary integration
- supports the use of atomic data definition statements (Atomic DDL)
With all this we are going to learn how to install MySQL on Ubuntu 21.04 Hirsute Hippo.
To stay up to date, remember to subscribe to our YouTube channel! SUBSCRIBE
How to install MySQL on Ubuntu 21.04
Step 1
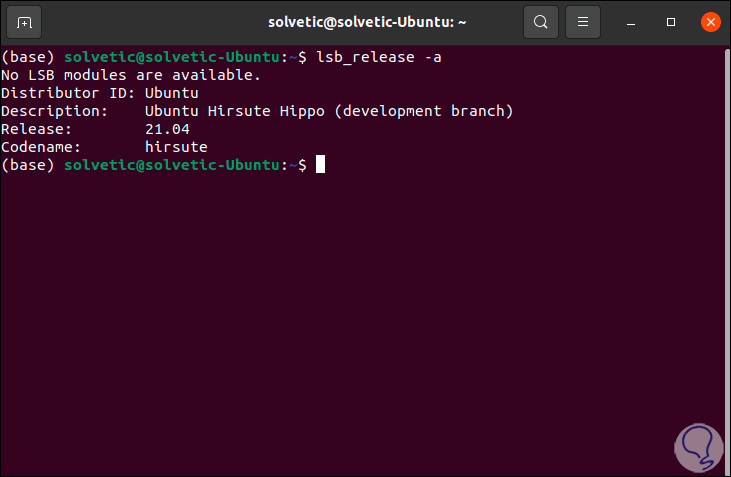
We check that we are using Ubuntu 21.04 with the following command:
lsb_release -a
Step 2
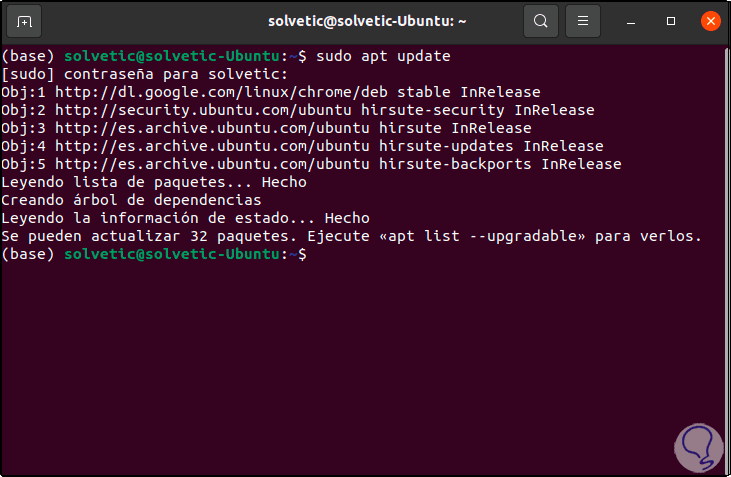
We proceed to update the system with the command:
sudo apt update
Step 3
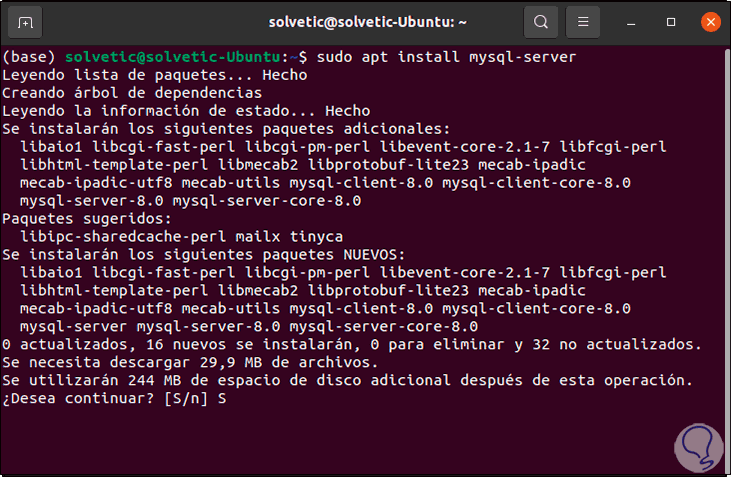
Once updated we install MySQL using the following command in the terminal:
sudo apt install mysql-server
Step 4
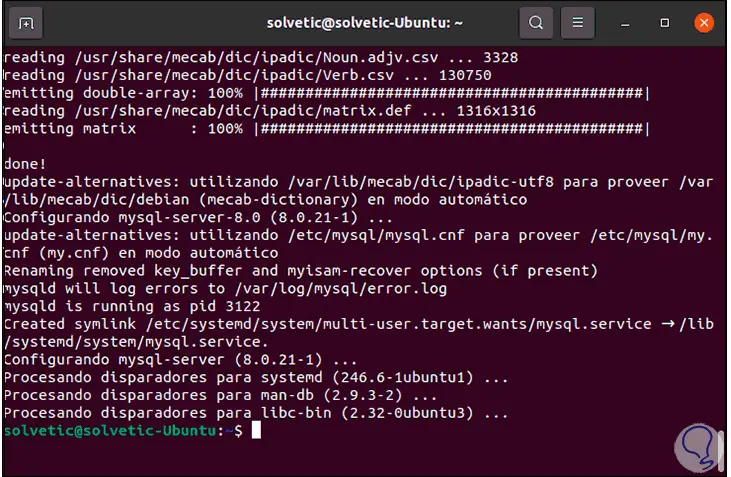
We enter the letter S to confirm the download and installation of MySQL:
Step 5
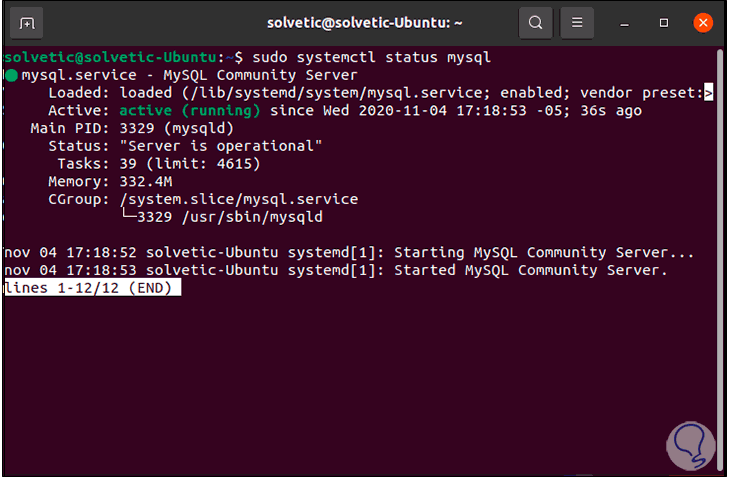
Once MySQL has been installed on Ubuntu 21.04, we are going to check the status of MySQL with the command. As we can see, its status is active and running.
sudo systemctl status mysql
Step 6
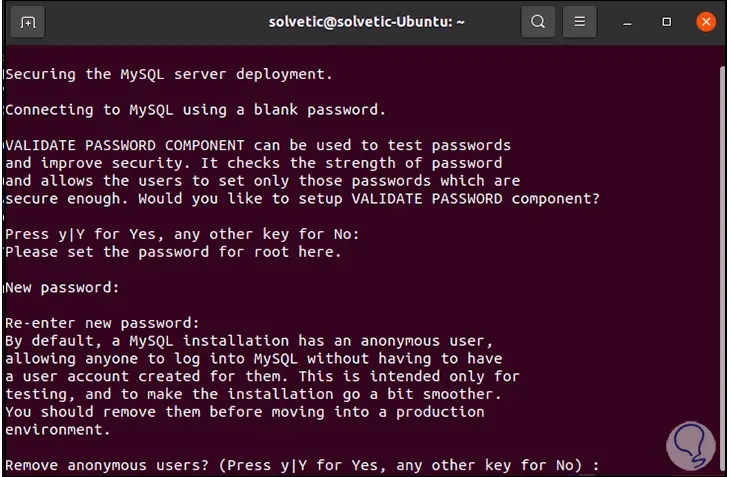
MySQL has a security script in the DBMS to edit the default options that are classified as less secure for the application, these can lead to attacks or factors that affect and alter the integrity of the data. We execute this script with the following command:
sudo mysql_secure_installation
Step 7
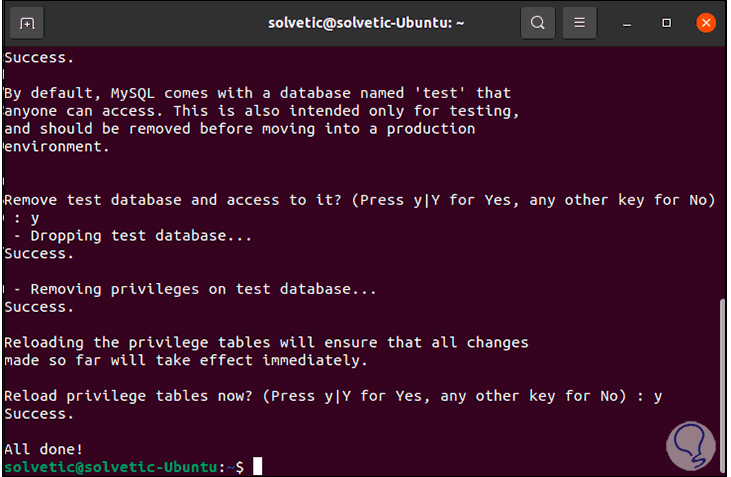
We can press Enter to assign the password of the root user of MySQL, then a series of questions related to access and control of MySQL will be generated, in each of them we enter the letter "Y" to confirm its deletion:
Step 8
After doing this, we access MySQL with the following command:
sudo mysql
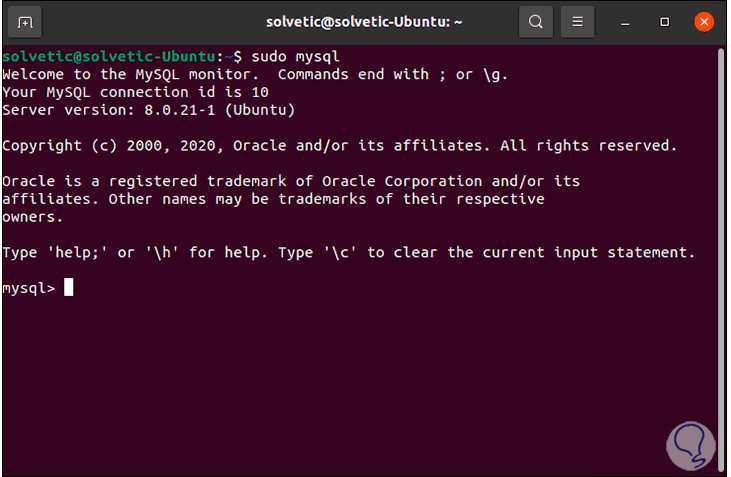
This is how MySQL has been installed in Ubuntu 21.04 Hirsute Hippo in a clear way with TechnoWikis..