Windows 10 has various mechanisms to access programs, applications and files in a much faster way, one of these mechanisms is through the cache memory that is hosted on the computer. Cache memory is a form of volatile memory which gives us access to high-speed data from the processor and there are stored programs, applications and in general the information that we use frequently..
This is of great help to optimize the use of programs, but a frequent problem is that the cache memory accumulates affecting the use of memory in its fullness, we know that a slow RAM memory causes a slow effect on the entire computer and step will affect our productivity.
With this tutorial, TechnoWikis will explain a simple method to clear the cache automatically in Windows 10..
To stay up to date, remember to subscribe to our YouTube channel! SUBSCRIBE
How to automatically clear cache in Windows 10
Step 1
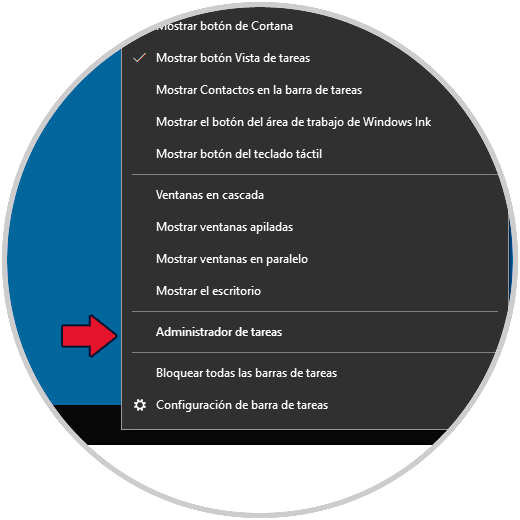
To start, we access the Task Manager by right-clicking on the taskbar:
Step 2
There we go to "Performance - Memory":
Step 3
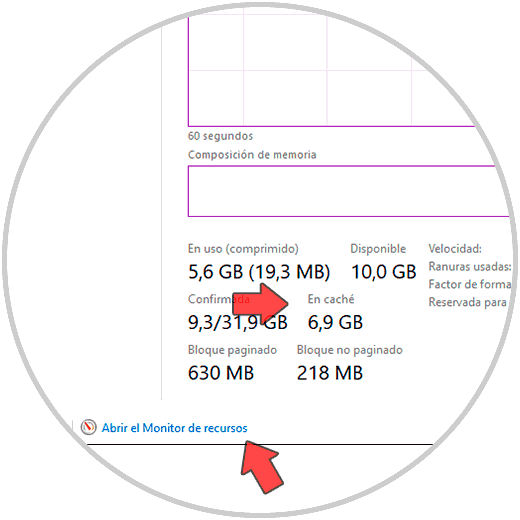
At the bottom we see the option "Cached" which refers to the memory in cache available, in this case we see that it is 6.9 GB, now we click on the line "Open the Resource Monitor" and in the section "Memory "We found specific details of the state of the cache in memory:
Step 4
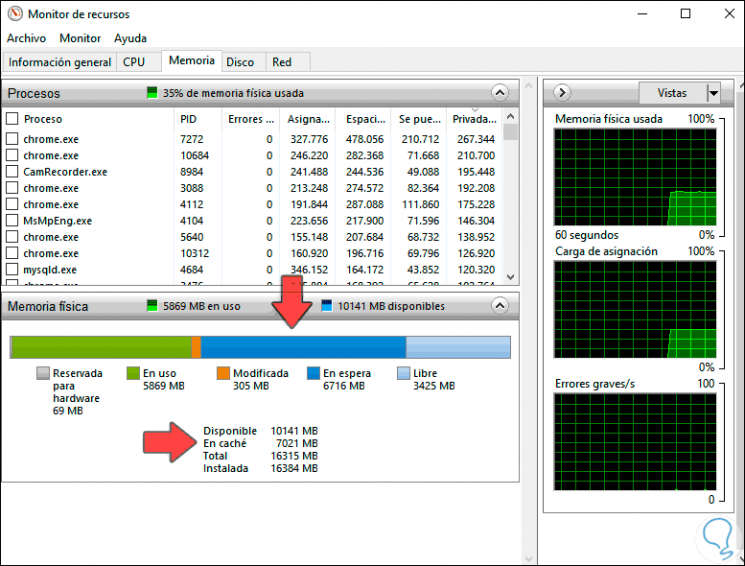
The "Waiting" section indicates the cache memory.
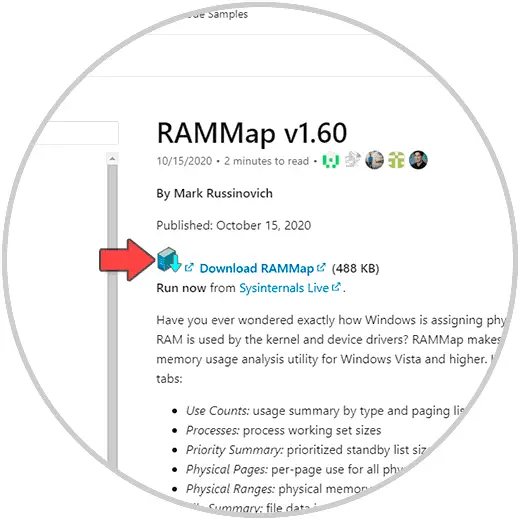
To delete it automatically, we will first use the RAMMap application which is available at the following link:
RAMMap
Step 5
This tool is part of Microsoft's suite of utilities which has been developed as an advanced physical memory usage analysis executor which displays the information like this:
- Use Counts: is a summary of use by type and pagination list
- Processes: shows the processes in detail
- Priority Summary - These are prioritized waiting list sizes
- Physical pages: is the use per page of physical memory
- Physical ranges: are the physical memory addresses
- File Summary: is the file data in RAM
- File details: is the individual physical pages per file
Step 6
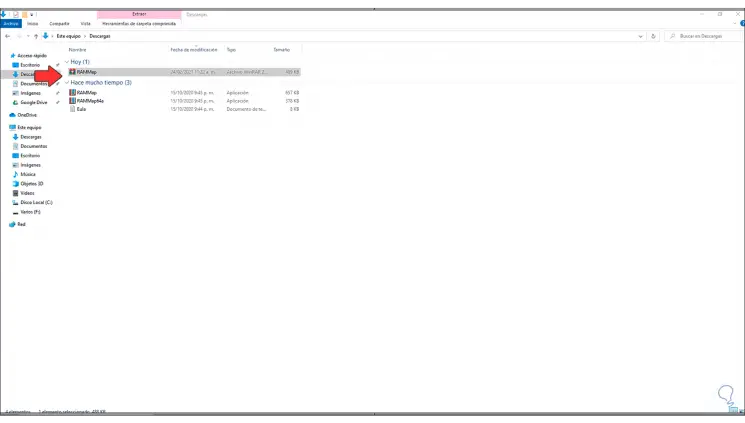
We download the file and then extract the content:
Step 7
We install the utility by double clicking on it and the following will be displayed:
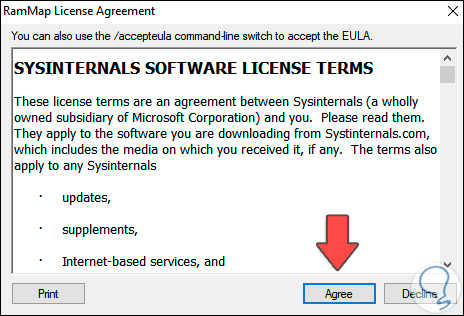
Step 8
We click Agree to proceed with the opening since it is a portable utility:

Step 9
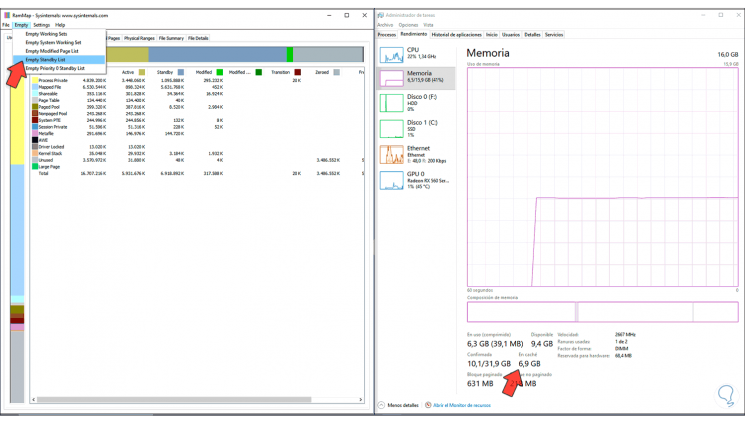
From the "Empty" menu we find options to free up memory in Windows 10:

Step 10
We open the Task Manager, in RAMMap we execute "Empty Standby List":
Step 11
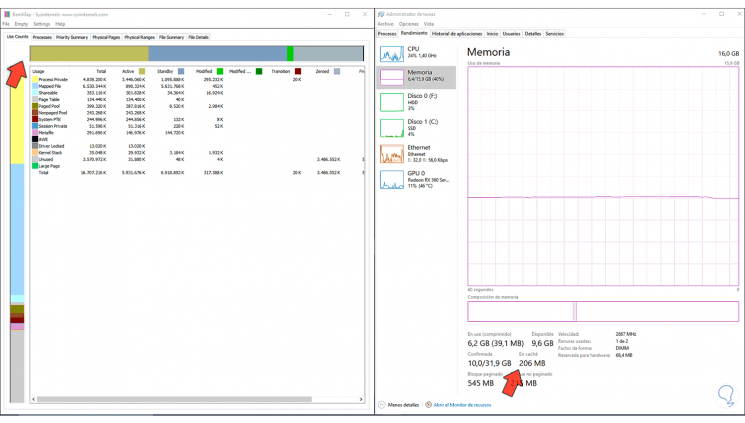
When we execute it we will see the decrease in cache memory. We see as from 6.9 GB low to 206 MB.
Step 12
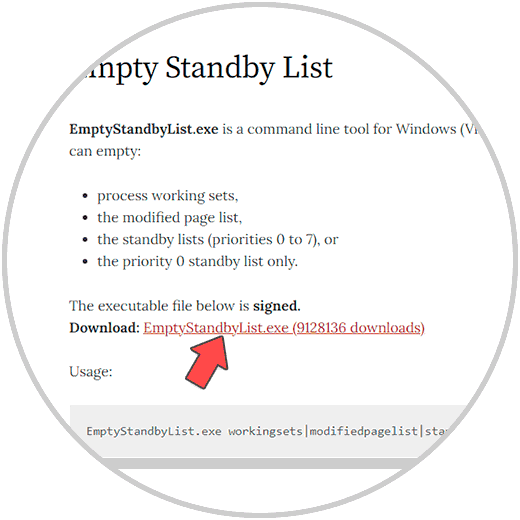
To schedule this task, we are going to download the Empty Standby List from the following link:
Empty Standby List
Step 13
This is a command line tool with which it is released:
- the list of modified pages
- waiting lists (priorities 0 to 7)
- priority 0 waiting list only
Step 14
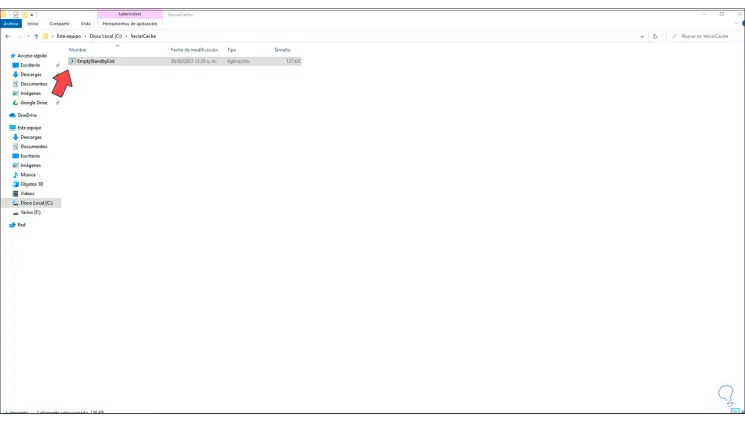
Cut the executable and paste it in a folder created for this purpose:
Step 15
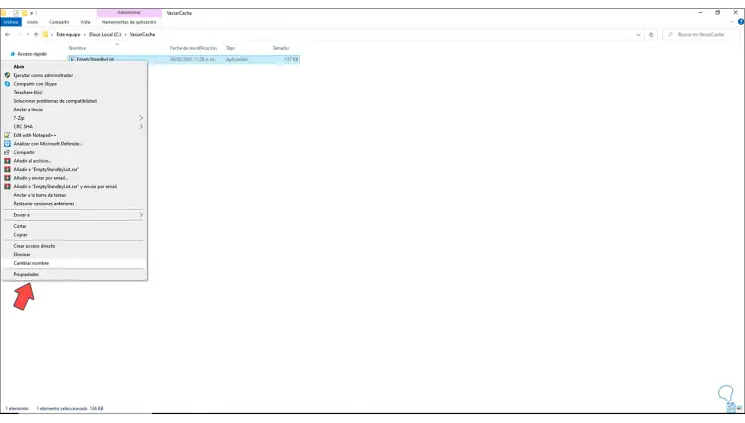
We right click on the executable and select "Properties":
Step 16
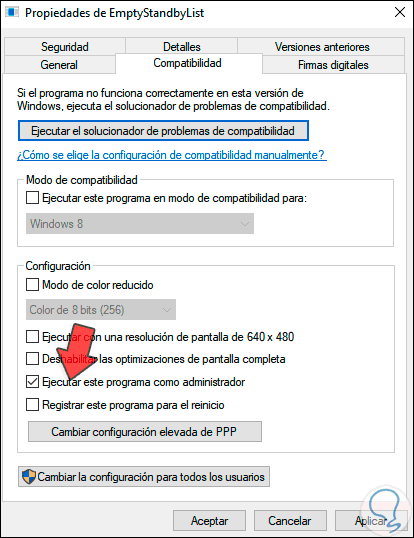
In the "Compatibility" tab we activate the "Run this program as administrator" box. Apply the changes.
Step 17
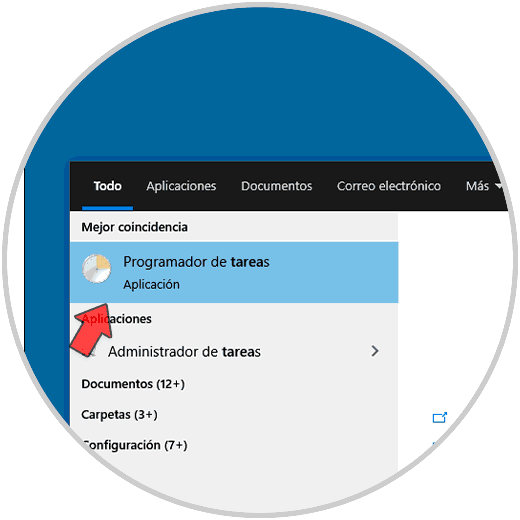
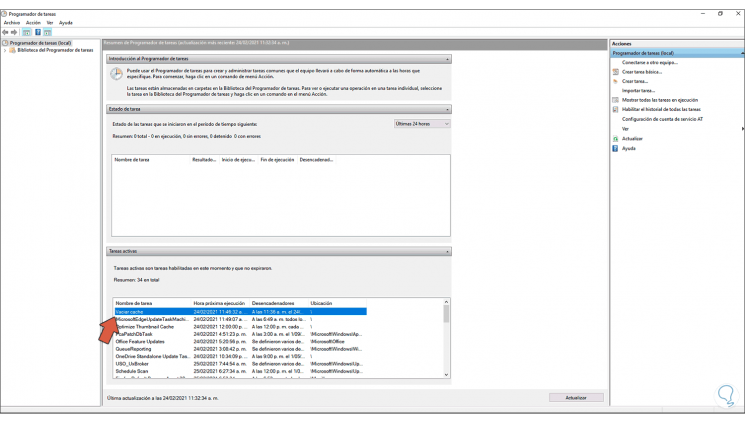
Now we open the Task Scheduler from Start in Windows 10:
Step 18
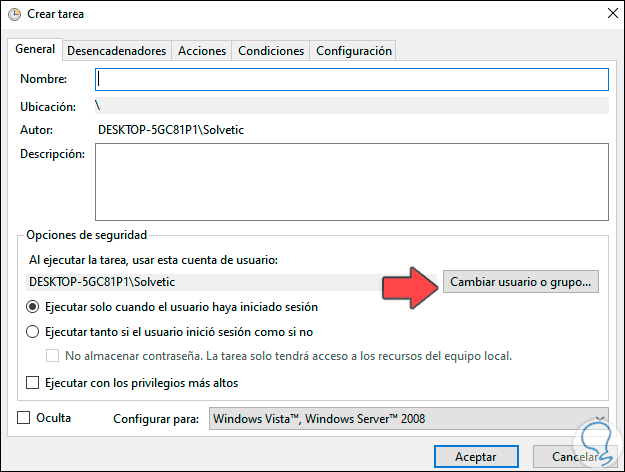
We click on "Create task" in the task scheduler and we will see the following:
Step 19
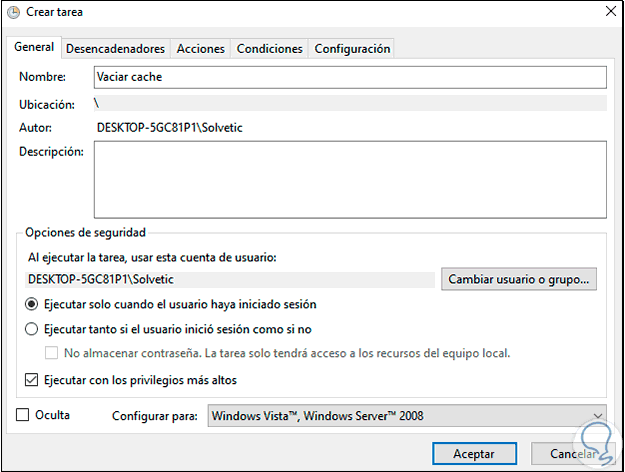
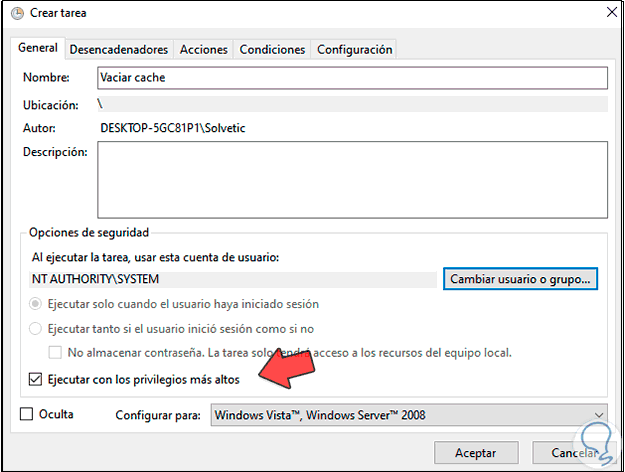
We assign a name to the task:
Step 20
We click on "Change user or group" and we will see the following:
Step 21
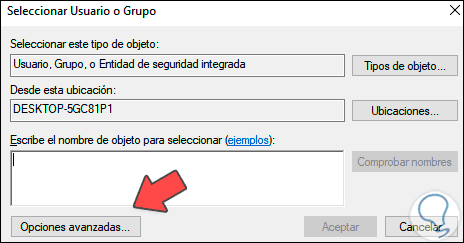
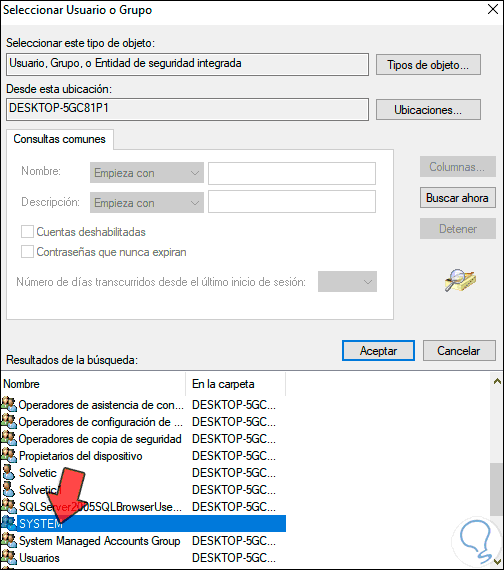
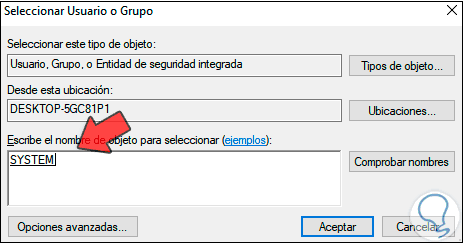
Click on "Advanced Options", click on Search Now and select "System":
Step 22
Click OK. We apply the changes.
Step 23
Now we activate the box "Run with the highest privileges" and in "Configure for" select Windows 10:
Step 24
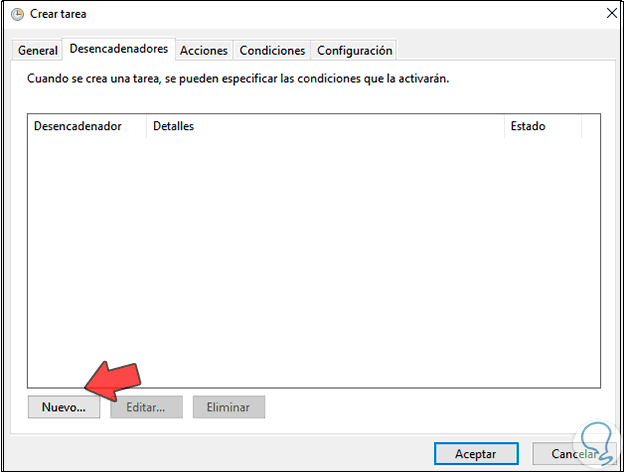
In the "Triggers" tab we select "New":
Step 25
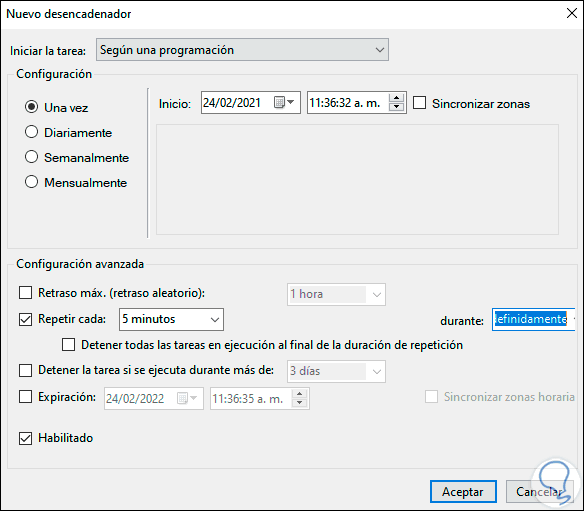
In the displayed window we leave "According to a schedule", we activate the box "Repeat every" and set 5 minutes and in the field "during" select "Indefinitely":
Step 26
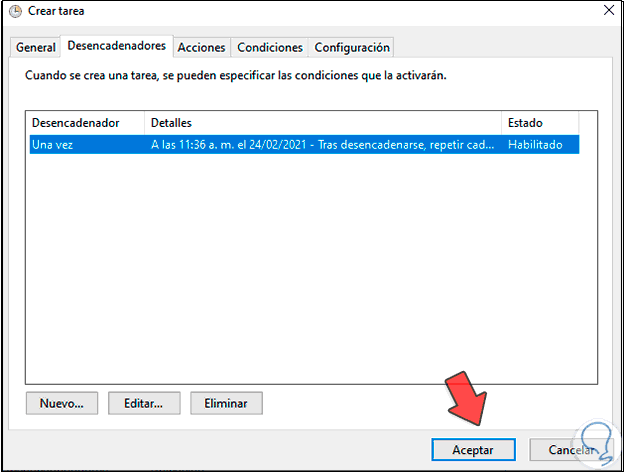
We will see the trigger created:
Step 27
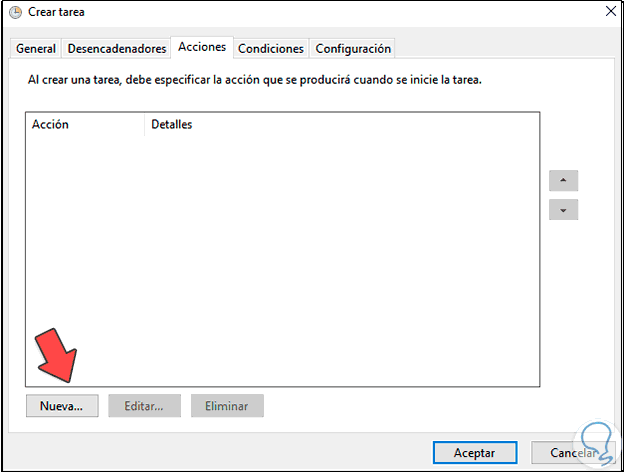
In Actions click on "New":
Step 28
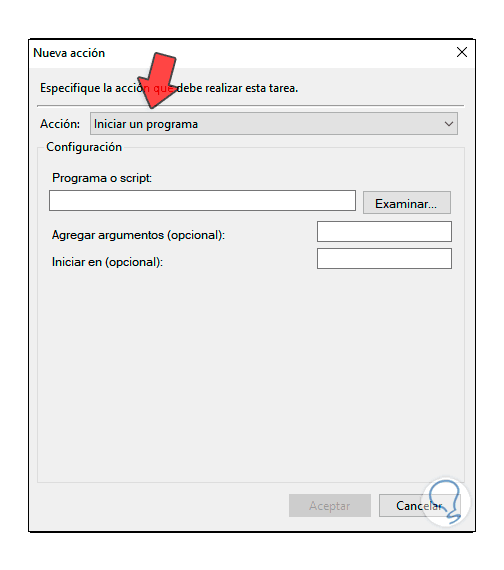
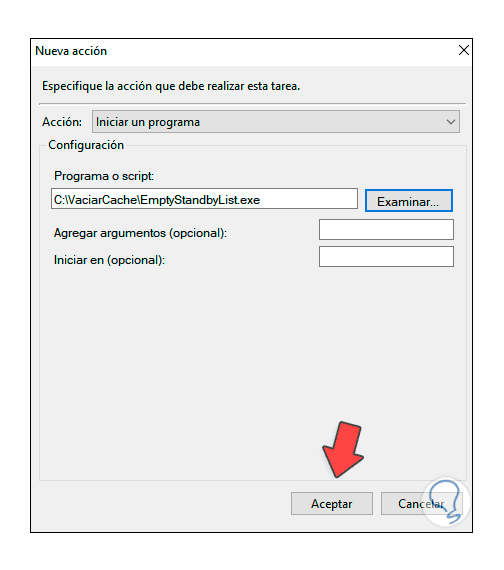
In the "Action" field we let Start a program:
Step 29
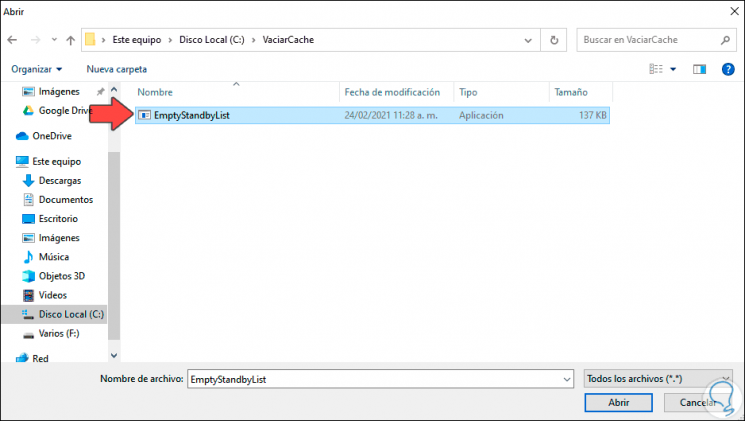
Select the previously downloaded executable by clicking Browse:
Step 30
Click Open to integrate it:
Step 31
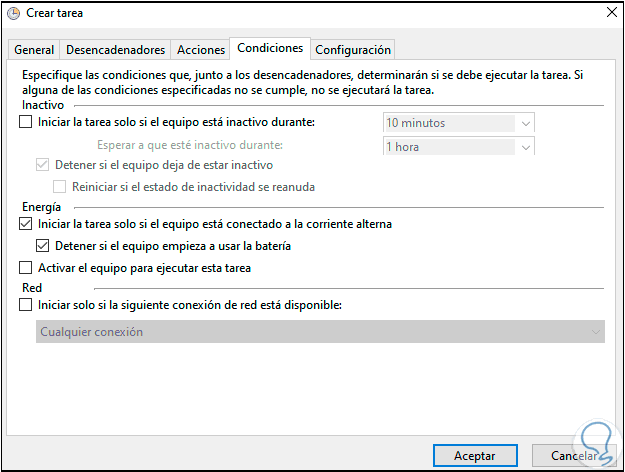
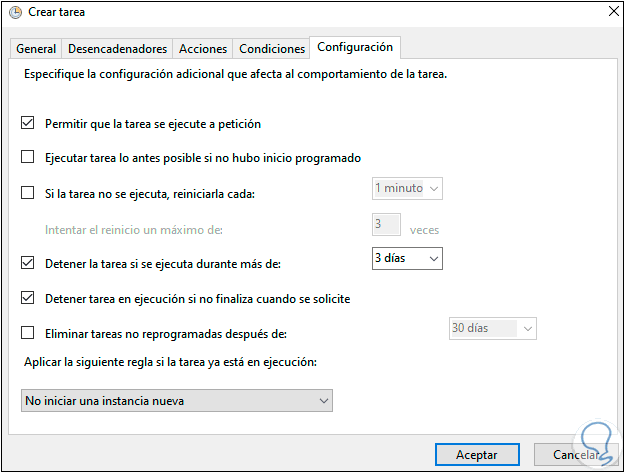
Click on Accept and in the "Conditions and Configuration" tabs we leave the default values:
Step 32
Setting:
Step 33
We apply the changes to create the task in the panel:
Step 34
Click on Task Scheduler Library for a more detailed view of the task:
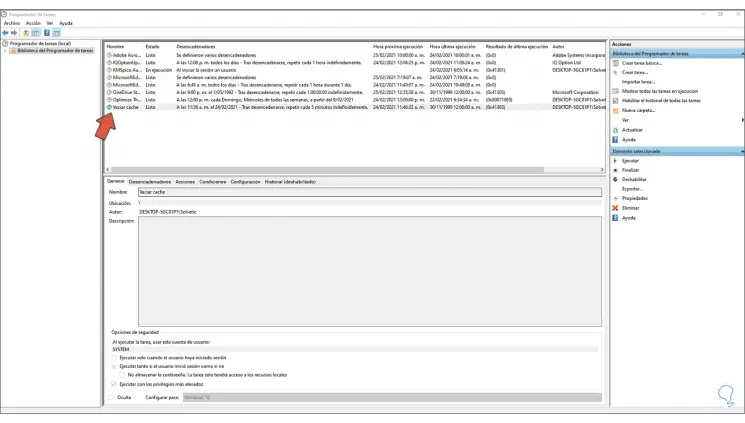
Step 35
We execute the task to see the effect on the cache of the system RAM memory:
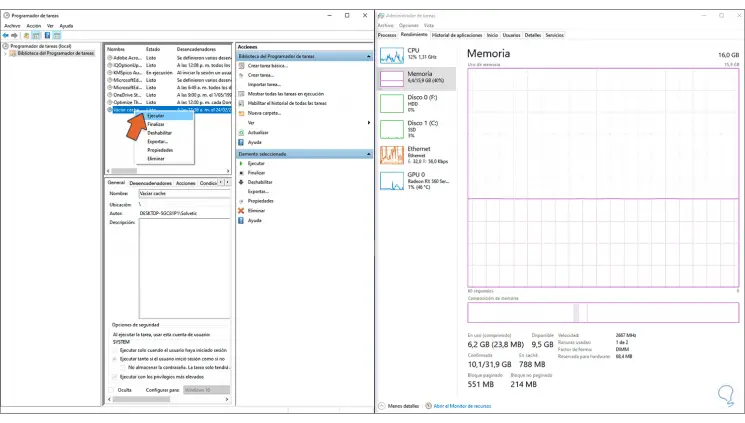
Step 36
When applying it we see the decrease of the cache:
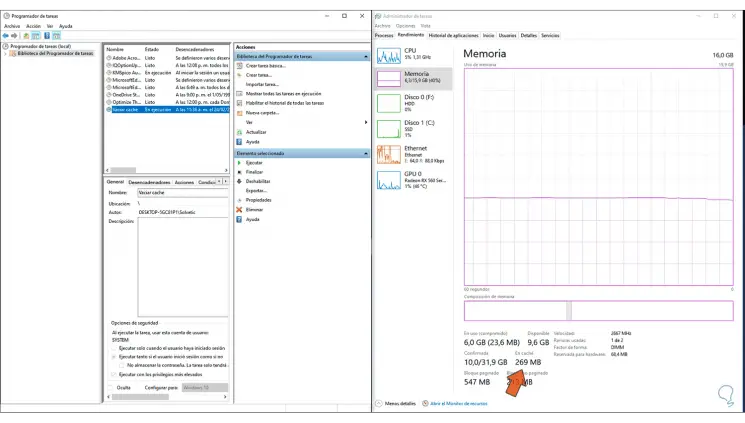
This has been the complete process to automatically clear the cache in Windows 10.