Kali Linux is one of the Linux systems with an exclusive approach to security, this thanks to the fact that it has a series of exclusive tools for advanced penetration tests and security audits to know in real time the level and state of security of a website , a network architecture or an application deployment, these results are obtained with more than 600 tools..
Kali Linux functions
Kali integrates functions such as:
- Open source supported by Git
- Custom kernel as the case may be
- Compatible with various wireless devices
- ARMEL and ARMHF compatible
- More than 600 penetration testing tools available
- GPG-signed packages and repositories
Kali Linux architectures
Kali 2021 is available in architectures:
- amd64 (64-bit)
- i386 (32-bit)
Kali Linux news
In this 2021 edition of Kali Linux we find news such as:
- Linux kernel upgrade to long-term support version 5.10 and Xfce and KDE Plasma desktop environments to version 4.16 and 5.20
- Adding the command-not-found package by default
- Alternative solutions for various terminals (mate-terminal, terminator, tmux, konsole and tilix)
- BusyBox and Rucky tool update to version 1.32.0 and 2.1
- Kali ARM Preliminary Support for Parallels on Apple Silicon and Raspberry Pi 400's Wireless
- New boot animation for Kali NetHunter
One of the best alternatives to know in depth everything that Kali Linux 2021 offers us is to use it in a virtual environment so as not to affect the real environment, and for this VMware becomes one of the most striking platforms due to its integrated functions, VMware can be downloaded at the following link:
VMware
TechnoWikis will give you the step by step to install Kali Linux on VMware.
To stay up to date, remember to subscribe to our YouTube channel! SUBSCRIBE
Install Kali Linux 2021 on VMware
Step 1
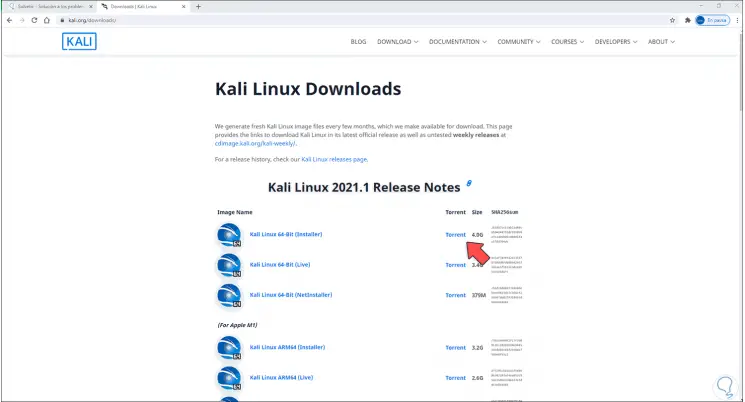
The first thing to do is download Kali Linux from the following link:
Kali Linux
Step 2
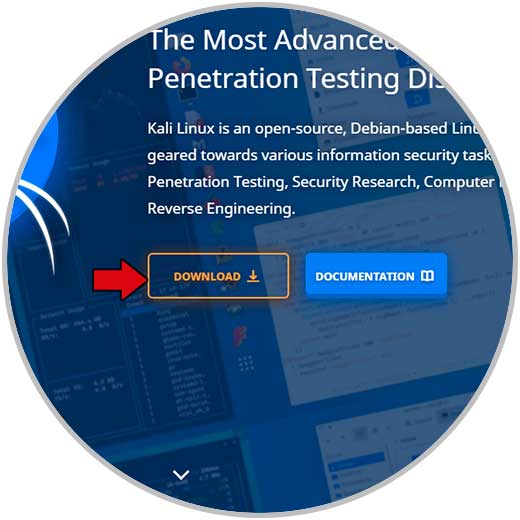
There we click on Download to download the most appropriate option:
Step 3
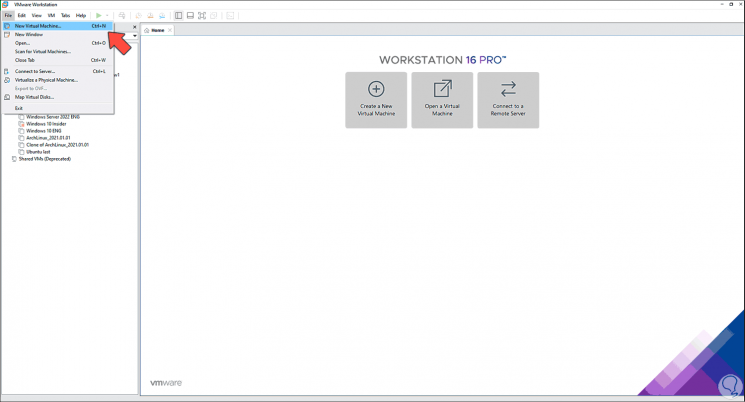
After this, in VMware we can create the machine using any of the following options:
- Clicking on "Create a New Virtual Machine"
- From the menu "File - New Virtual Machine"
- Using the following keys:
Ctrl + N
Step 4
This will launch the following wizard:
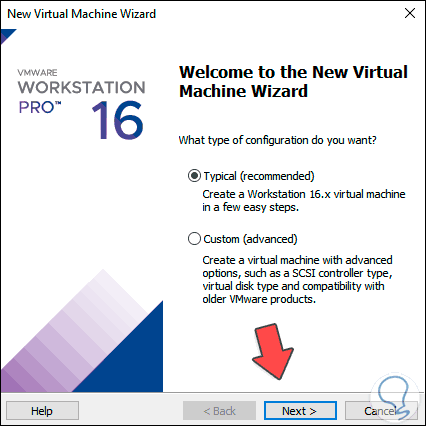
Step 5
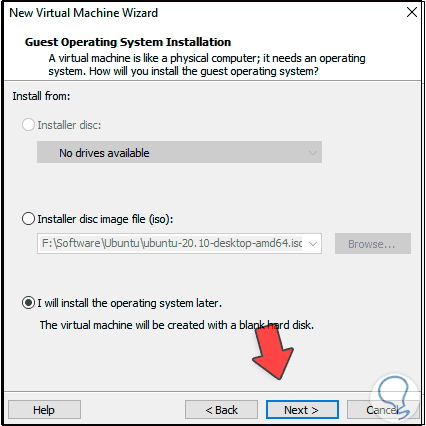
We click on Next and in the next box we activate the box "I will install the operating system later":
Step 6
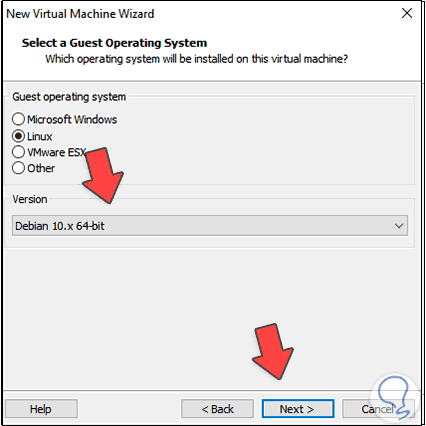
In the next window we select "Debian" in its latest available version:
Step 7
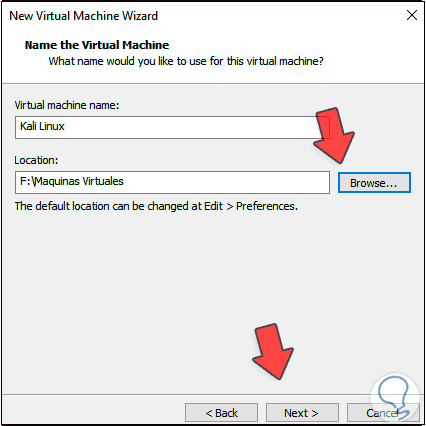
After this we will define the name and path of the virtual machine:
Step 8
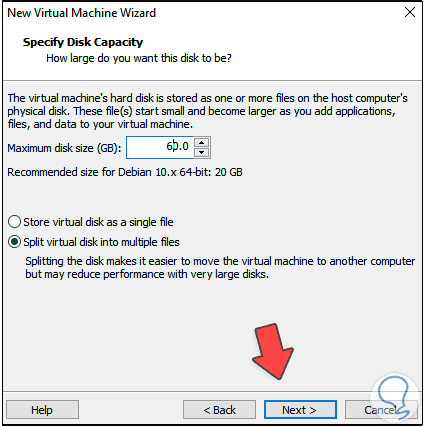
Next, we assign the size of the disk and the type of storage:
Step 9
We click Next and we will see the following:
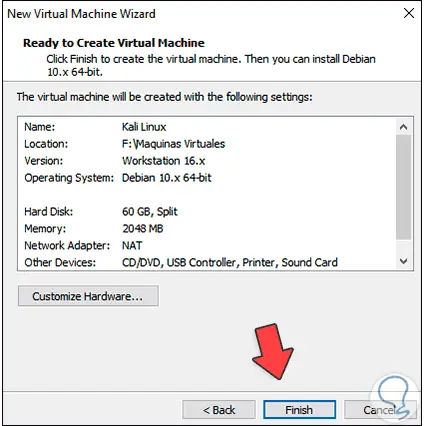
Step 10
We click on "Customize Hardware" and go to the "New CD / DVD" section:
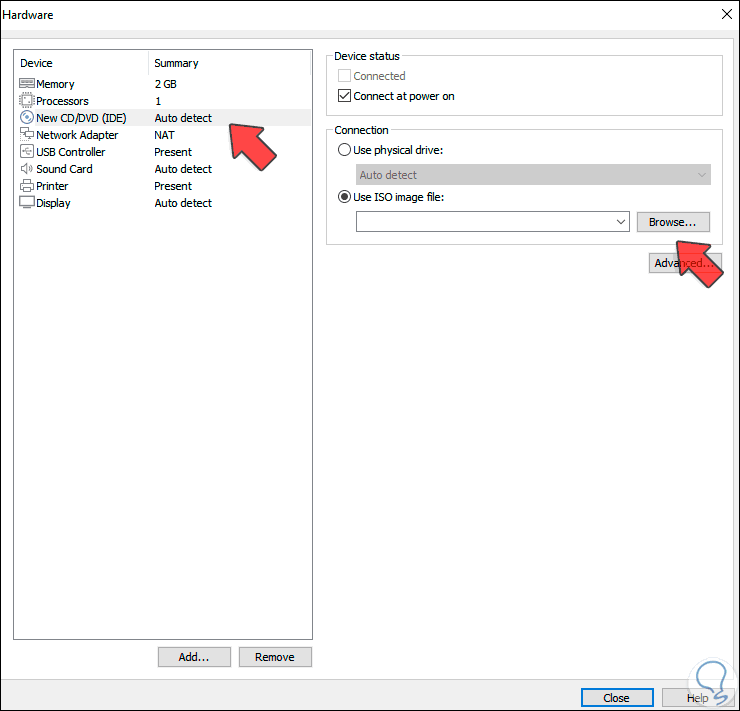
Step 11
We activate the "Use ISO Image file" box and click on Browse, we select the ISO image of Kali 2021:
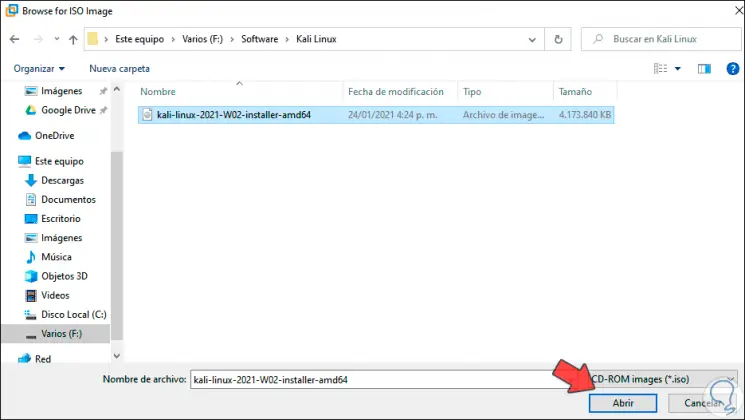
Step 12
Click Open to integrate it:
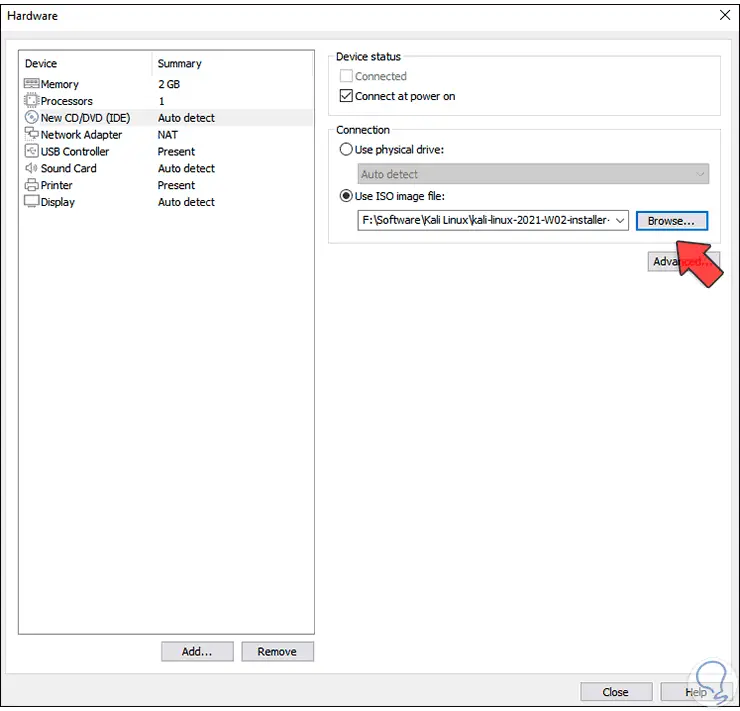
Step 13
Apply the changes by clicking Close and the Kali Linux 2021 virtual machine will be created in VMware:
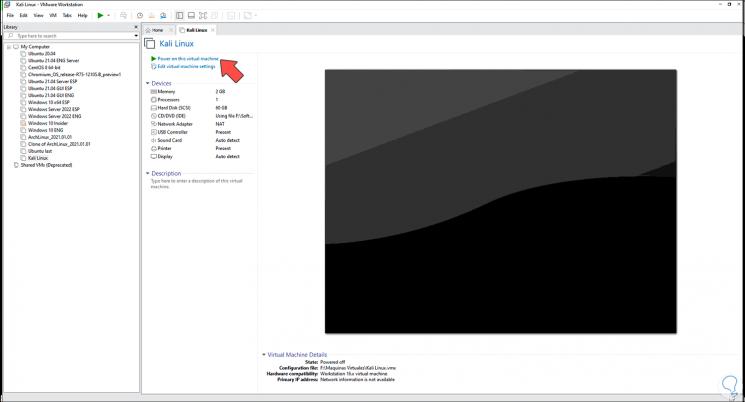
Step 14
We click on "Power on this virtual machine" and we will see the system startup options:
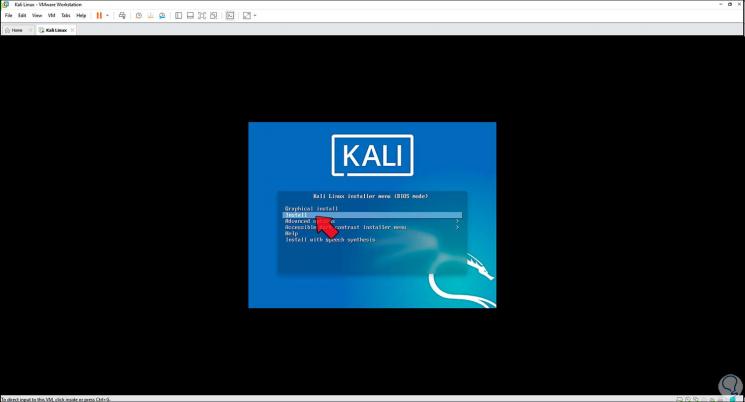
Step 15
In this case we select "Install", then we select the system language:
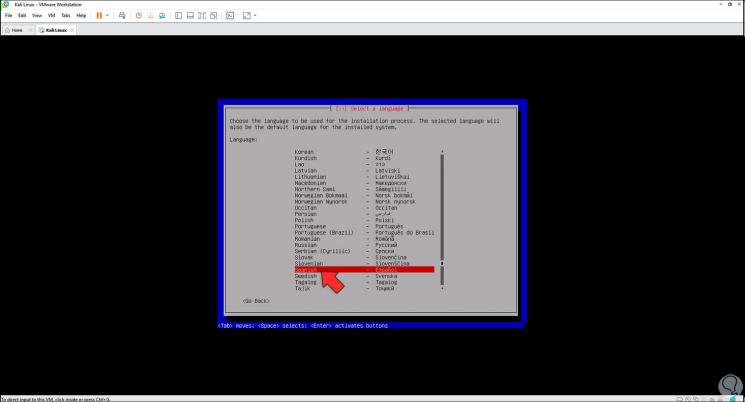
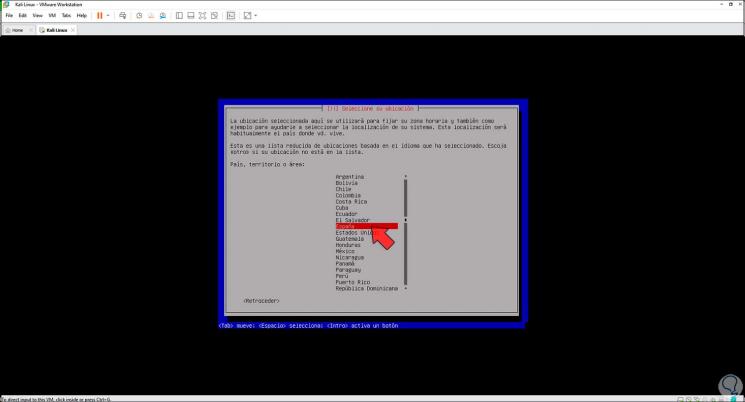
Step 16
We press Enter and define the location:
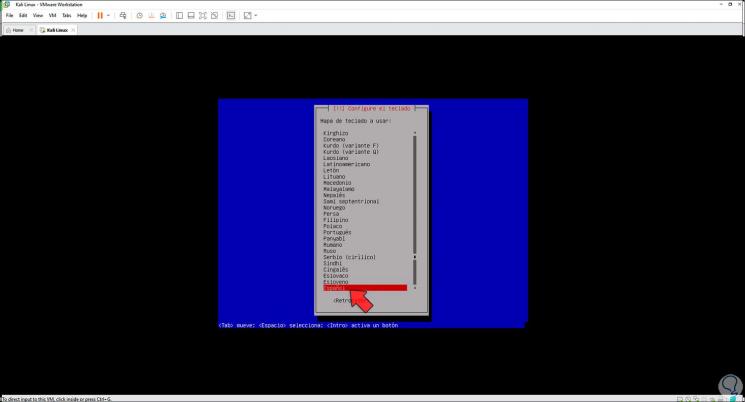
Step 17
Then we select the keyboard language:
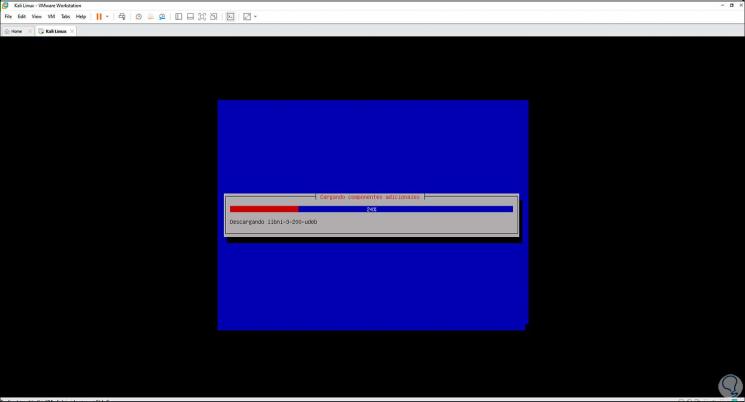
Step 18
Press Enter and it will give way to some Kali configuration processes:
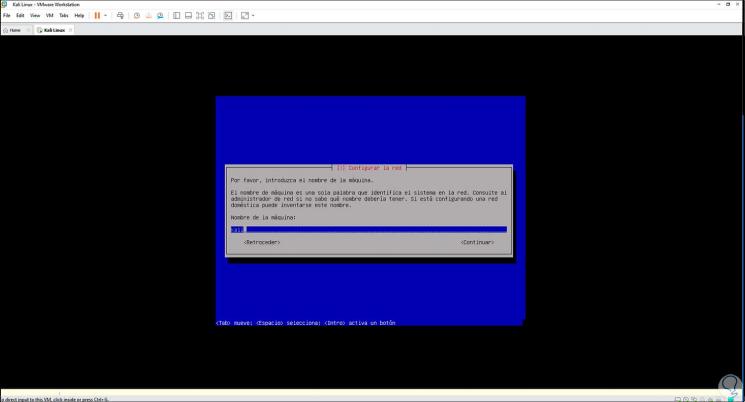
Step 19
Then we set the name of the machine:
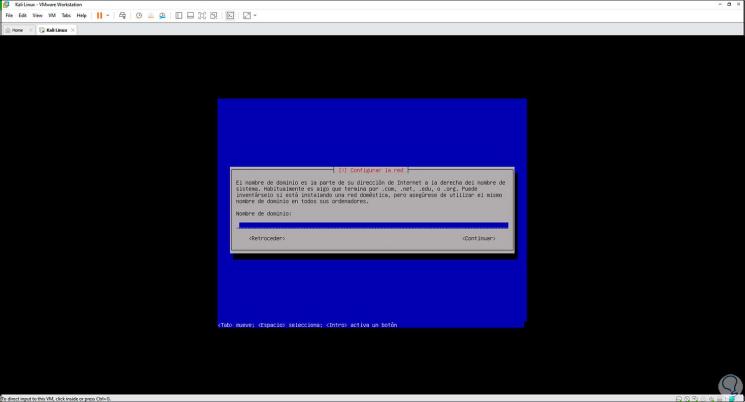
Step 20
Click Continue and we can enter the domain name if applicable:
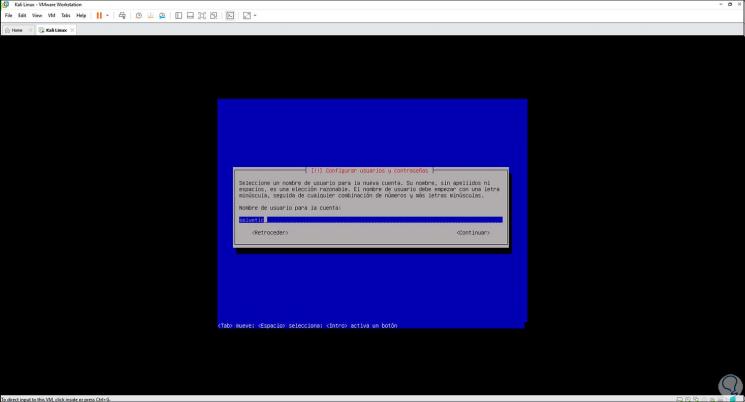
Step 21
In the next window we must assign the user:
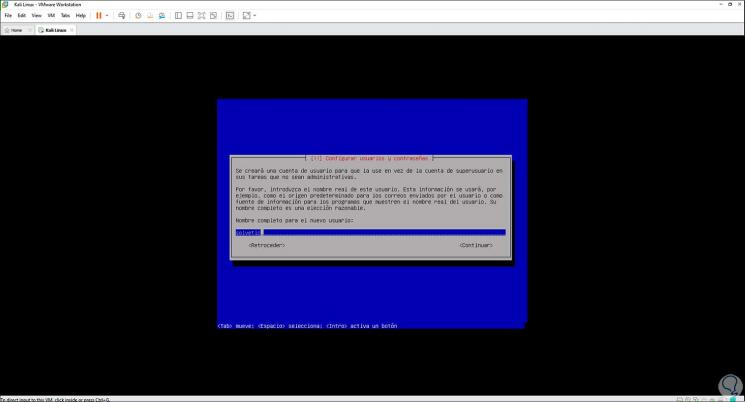
Step 22
Click on Continue to register the account user, which by default is the one described in the previous step:
Step 23
After this we enter the password to access Kali in VMware:
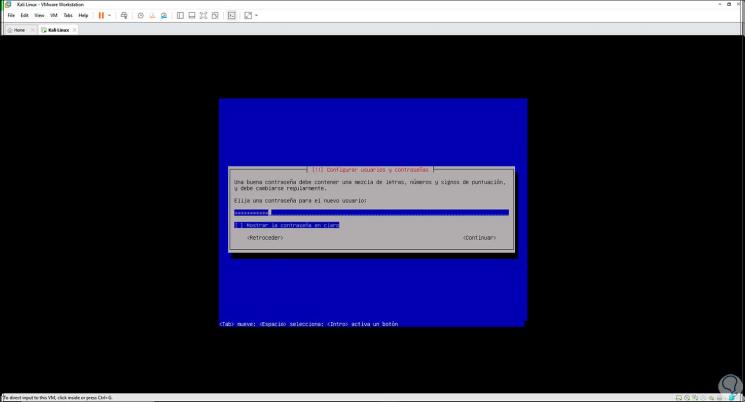
Step 24
We must confirm it:

Step 25
Based on the physical location selected, extra data may be required:
Step 26
After this, in the disks section we leave the default values:
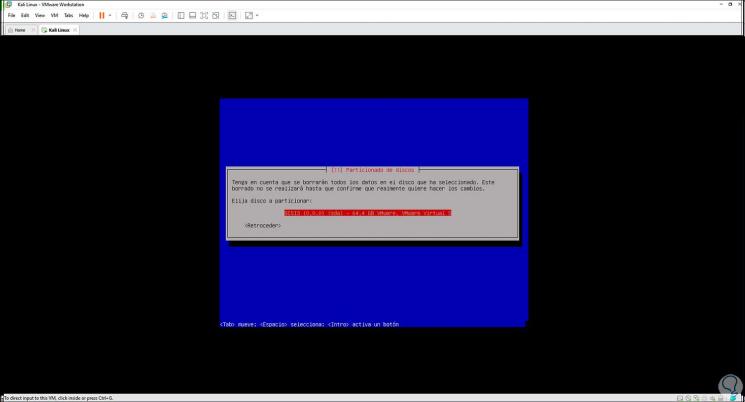
Step 27
Then we select the disk where Kali Linux will be installed:
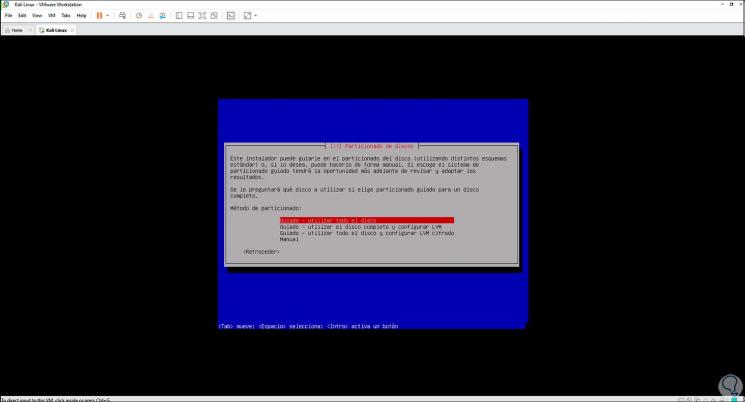
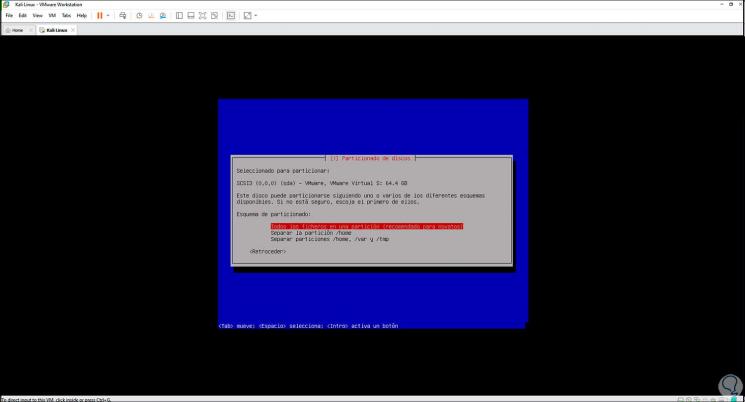
Step 28
We define the type of partitioning to use:
Step 29
This depends on the use of the administrator, we will see the automatic structure:
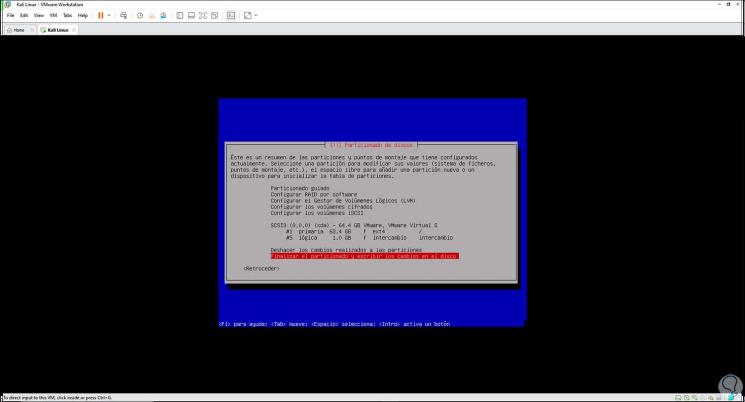
Step 30
We select "Finish partitioning and write changes to disk" and press Enter:
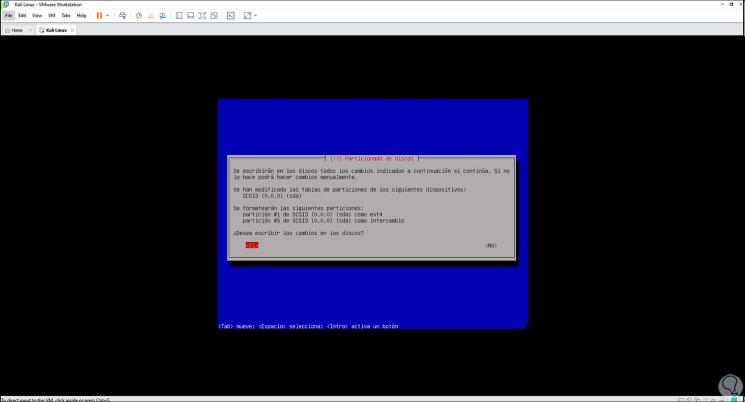
Step 31
We apply the changes by selecting Yes and the process of downloading and installing the system will begin:
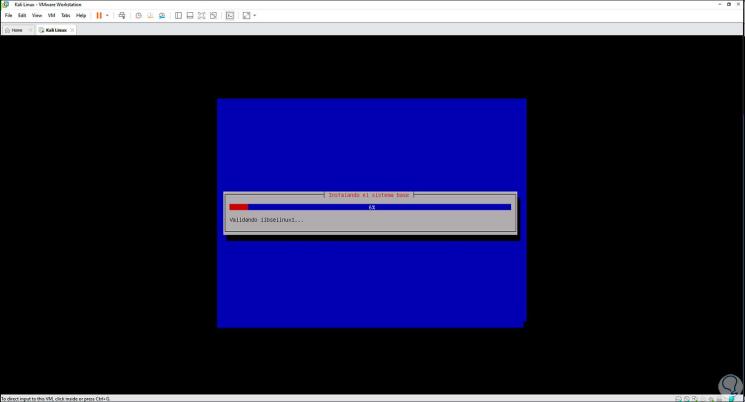
Step 32
After a moment we will go to the system task manager:
Step 33
The following will be displayed:
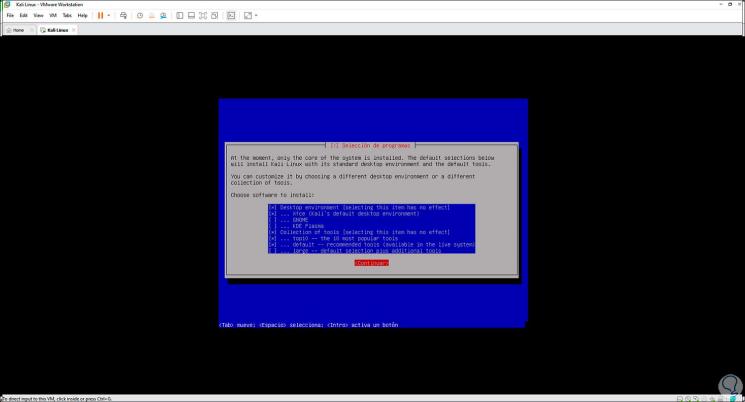
Step 34
There it is possible to select tools and desktop environments if required, we continue with the installation of Kali Linux in VMware:
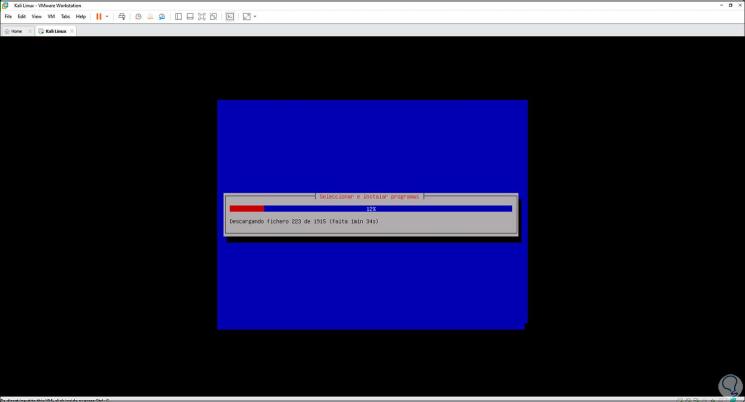
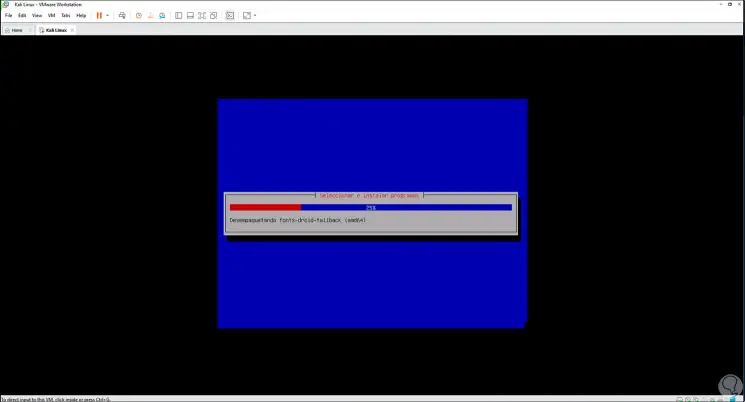
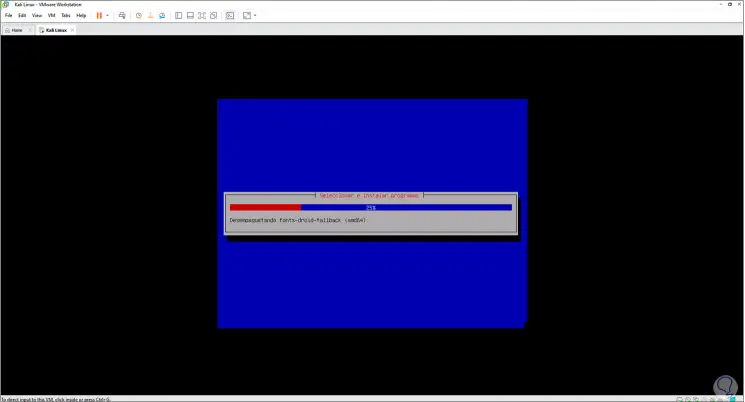
Step 35
We expect the downloaded packages to be installed locally:
Step 36
We configure the GRUB boot loader which is key for startup and support tasks:
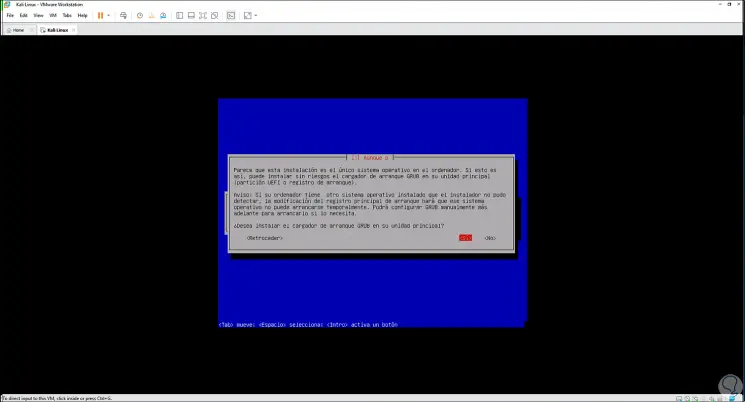
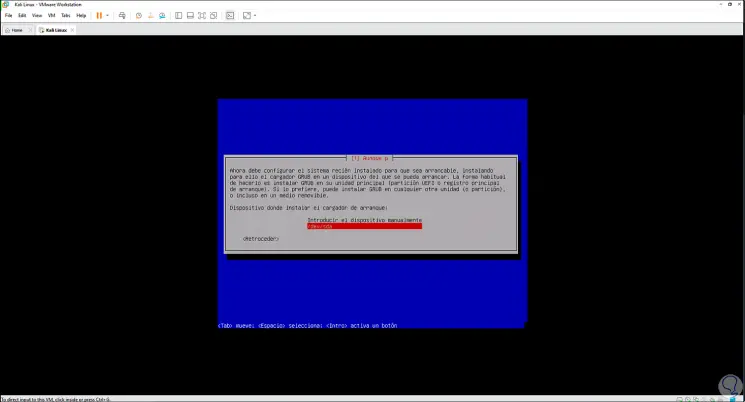
Step 37
Click Yes and then choose where GRUB will be installed:
Step 38
We finished the installation of Kali Linux in VMware:
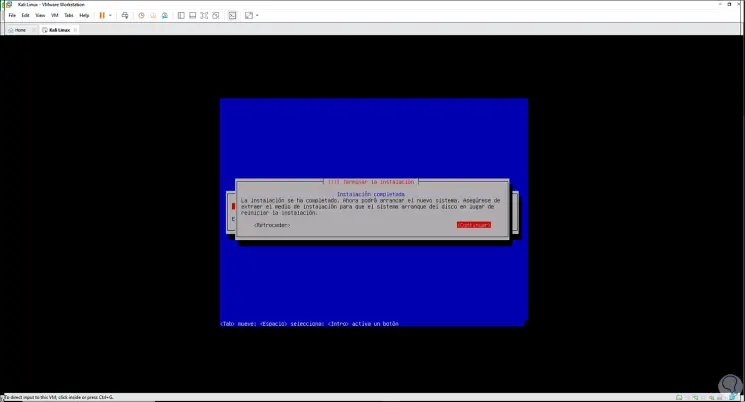
Step 39
Click Continue and the system will reboot:
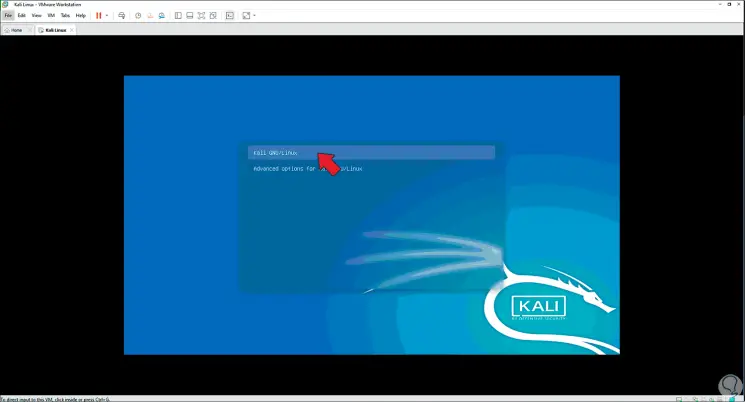
Step 40
We select "Kali GNU / Linux" to continue with the login:
Step 41
We log in:
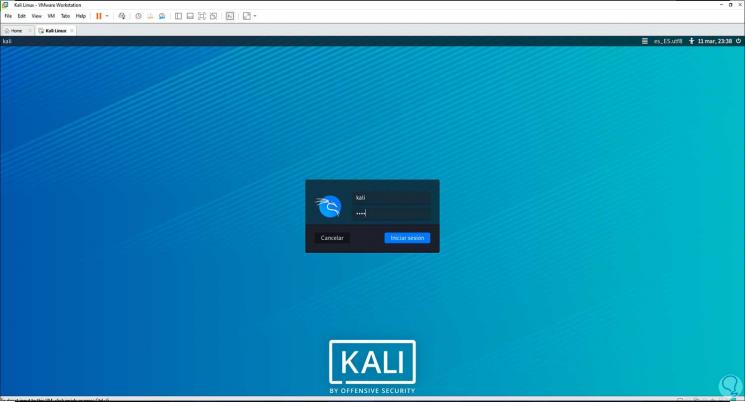
Step 42
In this case we can log in with the created user or in some cases access is required with the Kali / Kali credentials. When logging in, in VMware we can maximize the screen without having to install the VMware Tools:

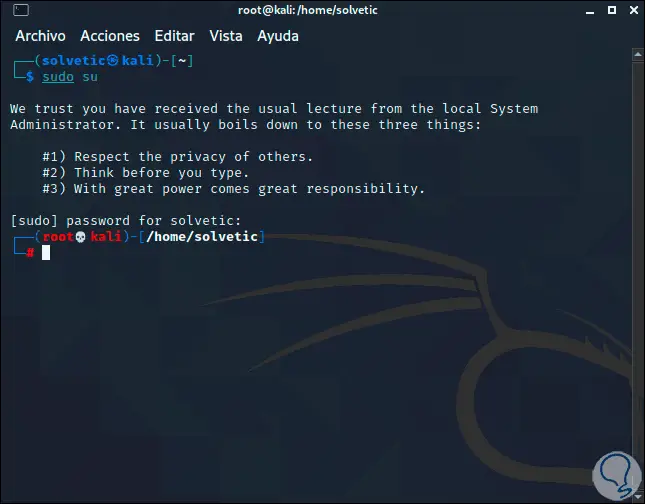
Step 43
We access the terminal and change to root by executing "sudo su":
Step 44
There it is possible to update Kali Linux with the command:
sudo apt update
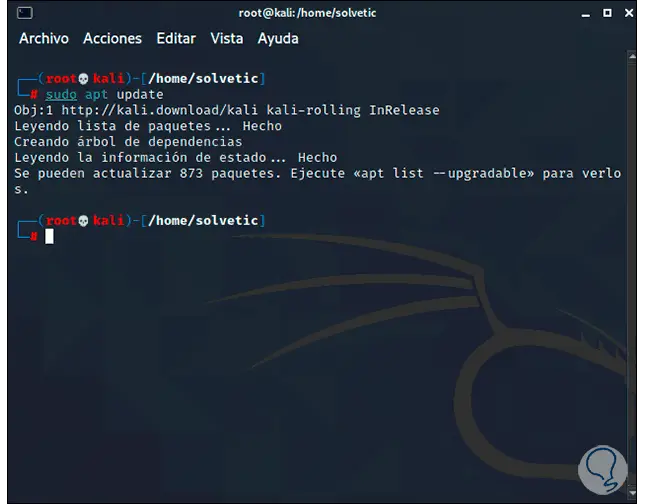
From this point we are already able to work with everything that Kali Linux offers us and as we have said, better than to do it in a virtual environment..