Windows Server 2022 is the next operating system that Microsoft will launch to manage everything related to services and roles in small, medium and large companies, all this always based on the security, availability and integrity of the information..
When Windows Server 2022 is installed for the first time, by default a computer name is added that starts with Desktop or WIN followed by a series of numbers and letters, logically worse for management and recursion issues. The most ideal is to assign a name to the server to identify it on the network when remote connectivity tasks are carried out, that is why TechnoWikis will explain how to change the name of a Windows Server 2022 server.
To stay up to date, remember to subscribe to our YouTube channel! SUBSCRIBE
How to rename the server Windows Server 2022
Step 1
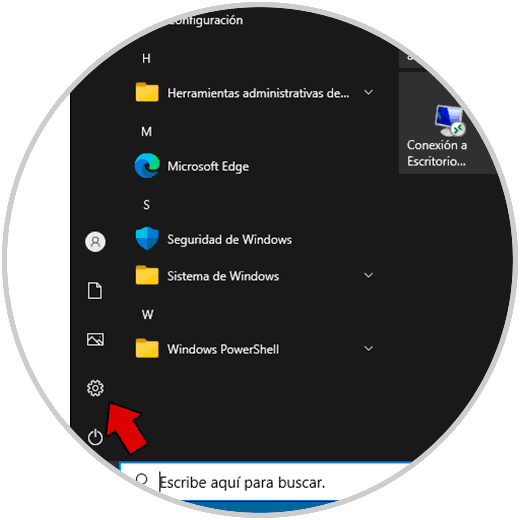
For this we go to "Start - Configuration":
Step 2
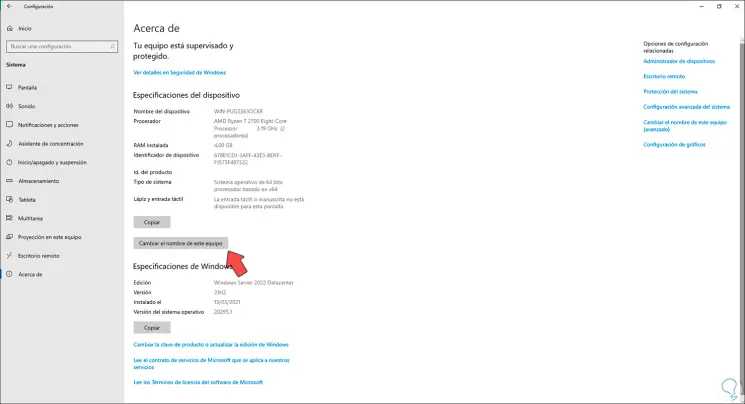
Then we go to "System - About":
Step 3
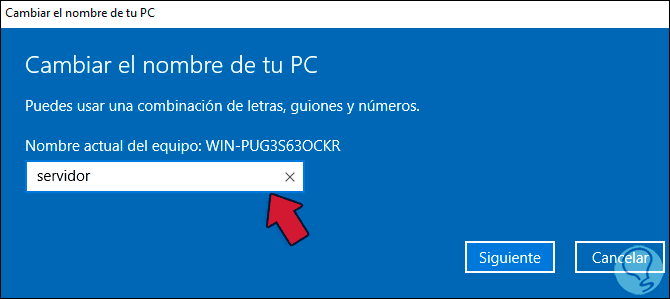
There we find all the details of the server, we click on "Change the name of this computer" and the following window will be displayed where we enter the new name of the server:
Step 4
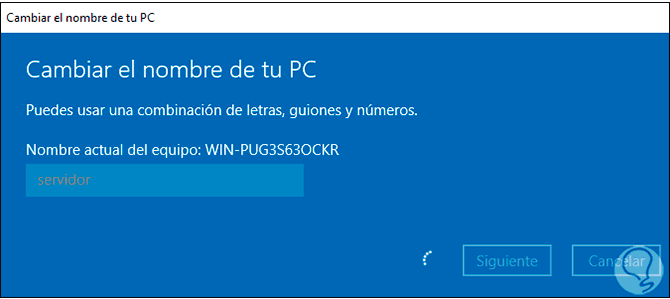
The new name must not contain spaces or special characters, we click Next to start the name change process:
Step 5
Once finished we apply the changes and the system must be restarted:

Step 6
We click on "Restart now":

Step 7
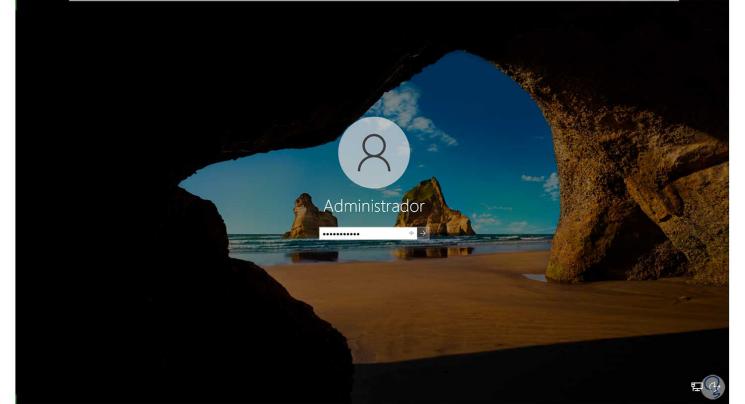
We log into Windows Server 2022:
Step 8
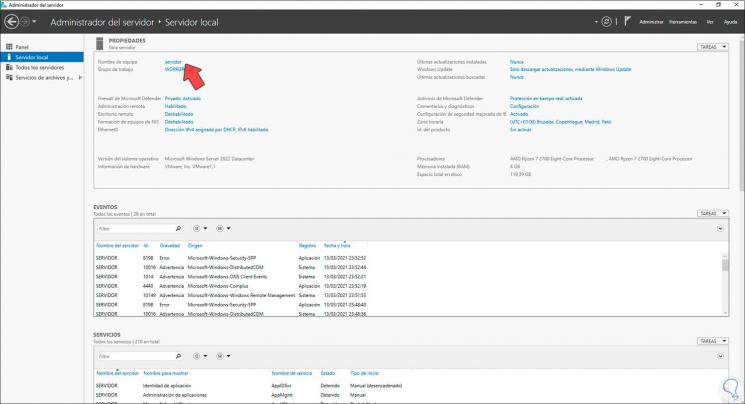
In the Server Manager we can see the name change applied to the "Computer name" line:
This has been the process for renaming a Windows Server 2022 server..