One of the main functions of Windows Server 2022 is to act as a domain controller so that the objects (computers, users, printers, etc.) of the domain have a central point to access services and as administrators we are able to give management of each of them through roles, services and policies..
A task that is not very common, but that can occur, is the need to change the domain name either for an update of the company name, legal adjustments, sale of the company, etc., but this process requires some steps. which you will see in this tutorial and thus correctly change the domain name in Windows Server 2022.
To stay up to date, remember to subscribe to our YouTube channel! SUBSCRIBE
How to change domain name in Windows Server 2022
Step 1
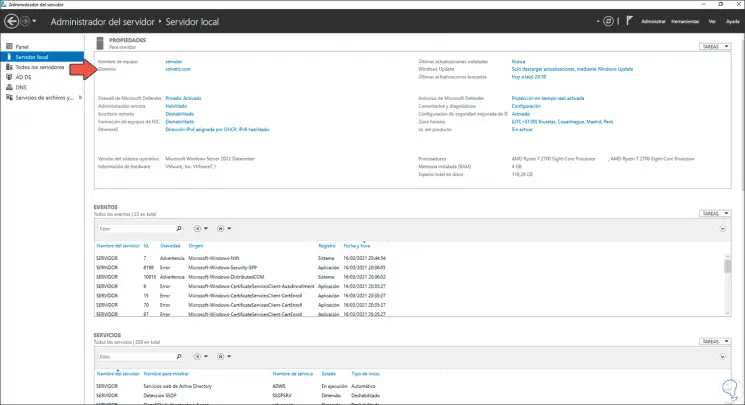
The first thing we will do is check the current domain name from the Server Manager:
Step 2
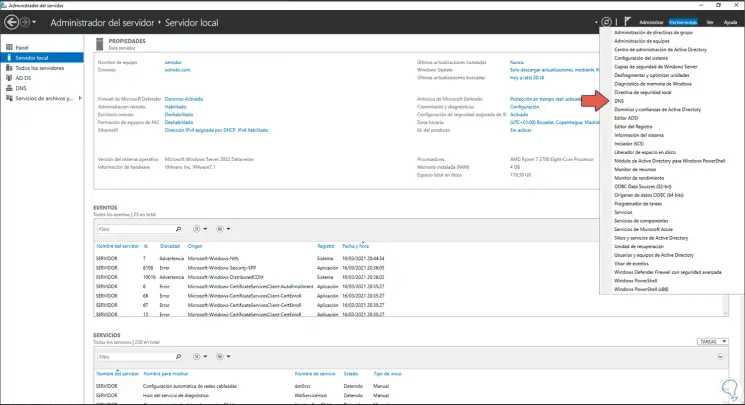
Right there, we are going to access "Tools - DNS":
Step 3
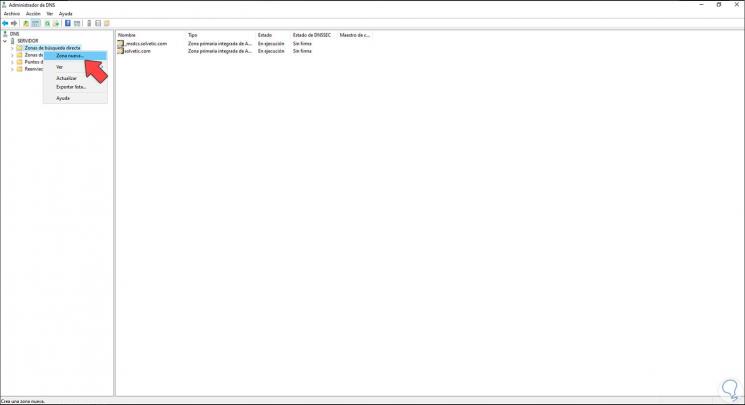
In the DNS console, we will right click on "Direct search zones" and in the options displayed we select "New zone":
Step 4
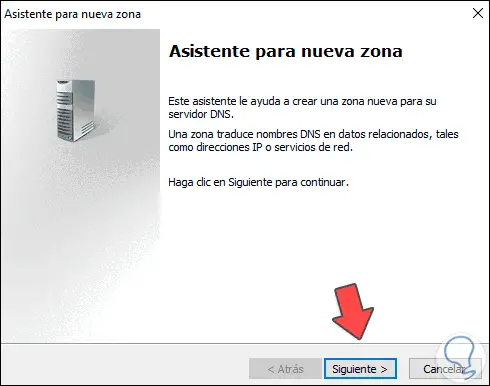
The following wizard will be displayed:
Step 5
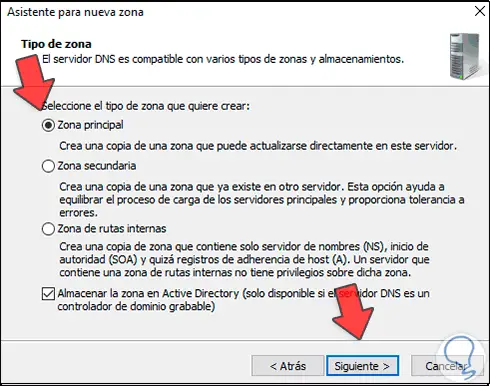
We click on Next and leave the "Main zone" box active:
Step 6
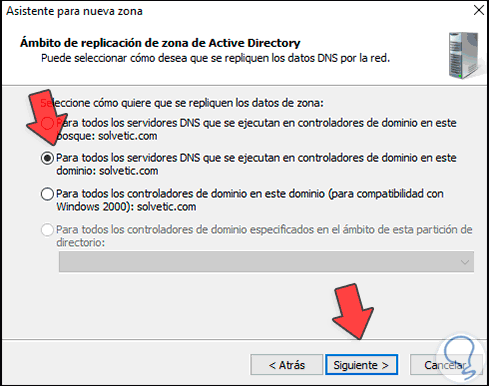
Click Next and activate the box "For all DNS servers running on domain controllers in this domain:":
Step 7
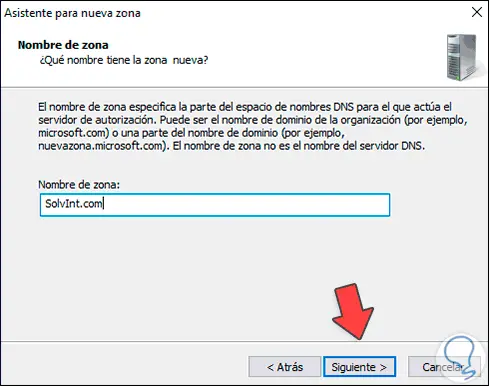
In the next window we enter the name of the new domain:
Step 8
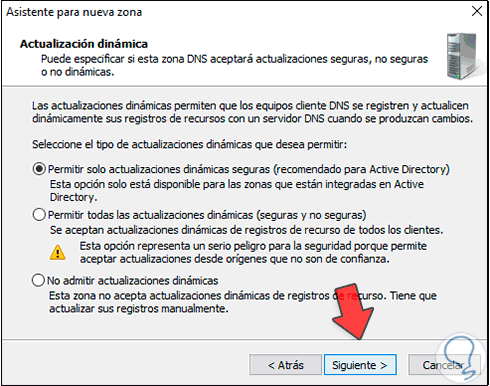
Click on Next and in this window we establish the way in which the updates will be applied:
Step 9
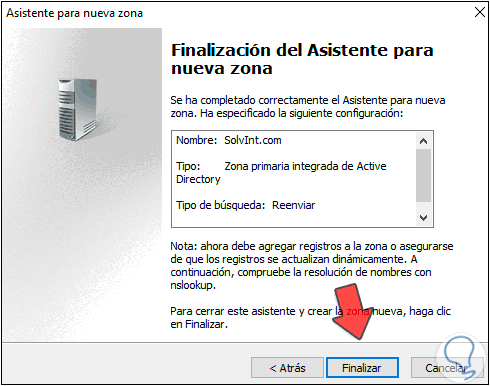
Click Next to see a summary of the zone to create:
Step 10
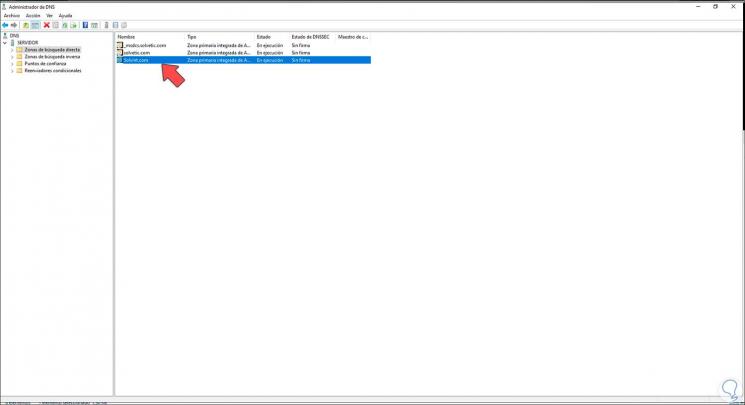
Click Finish to complete the process and see our new created area:
Step 11
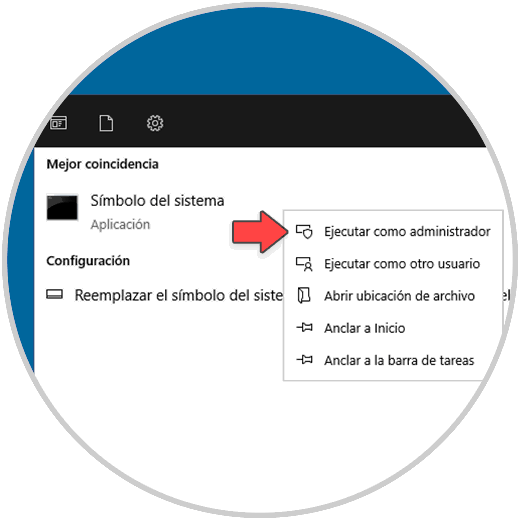
After this we access the CMD as administrator:
Step 12
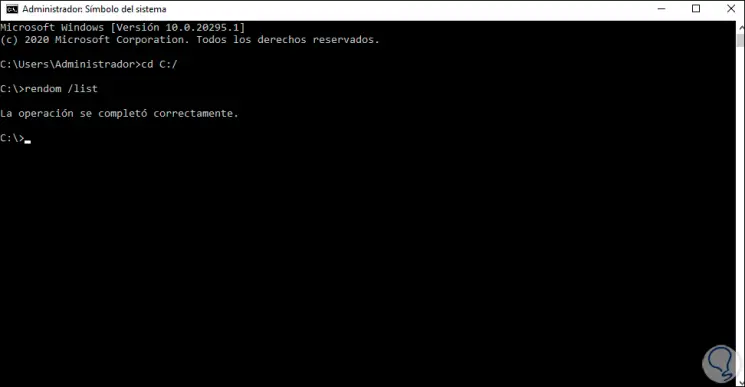
In the console we execute "rendom / list":
Step 13
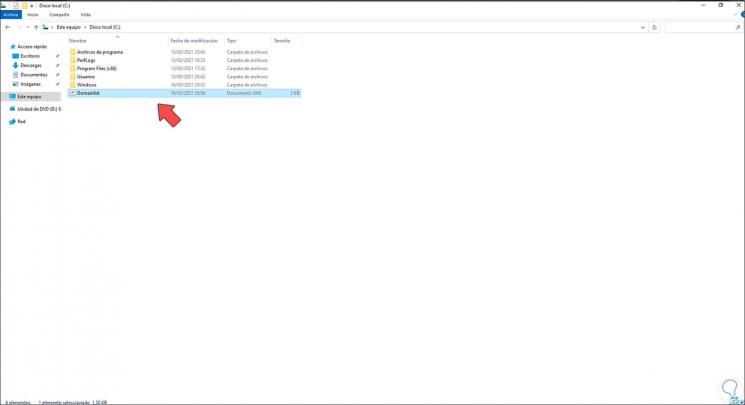
This will create a file with the registered domains, in the file explorer we see this file created:
Step 14
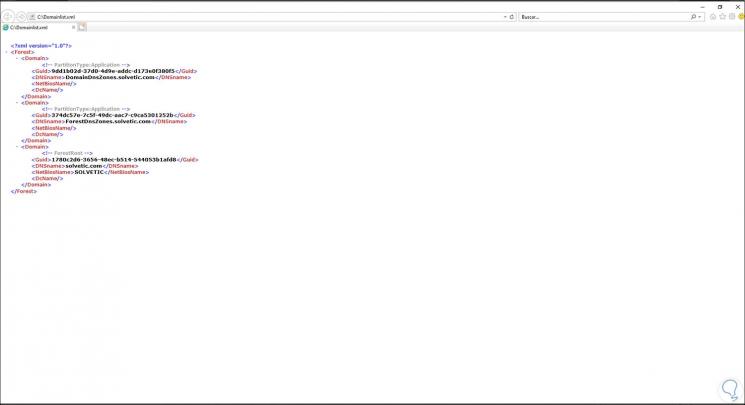
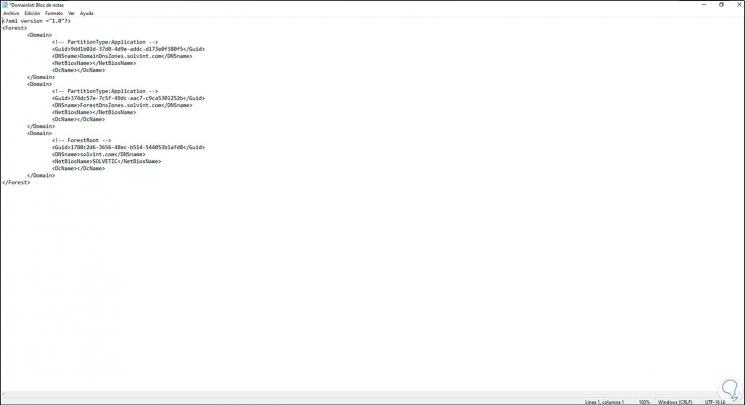
We open the file and see its content:
Step 15
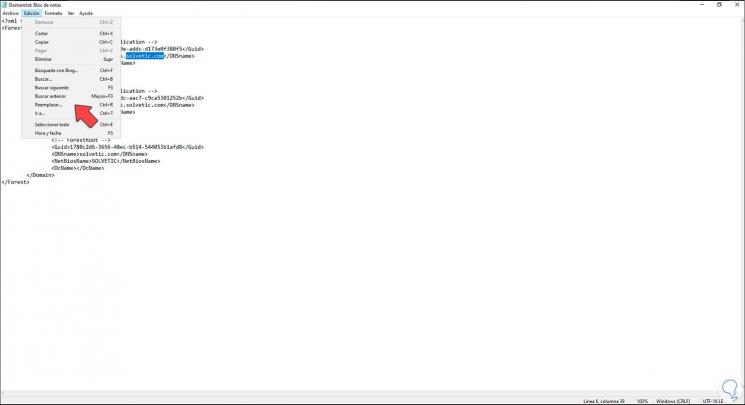
Now we open the file with the notepad for editing, in the Edit menu we click on Replace:
Step 16
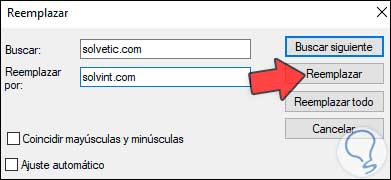
We are going to change the name of the current domain to the new one:
Step 17
We click on "Replace all":
Step 18
Finally, replace the current domain name with the new one in the "NetBiosName" line. Apply the changes.

Step 19
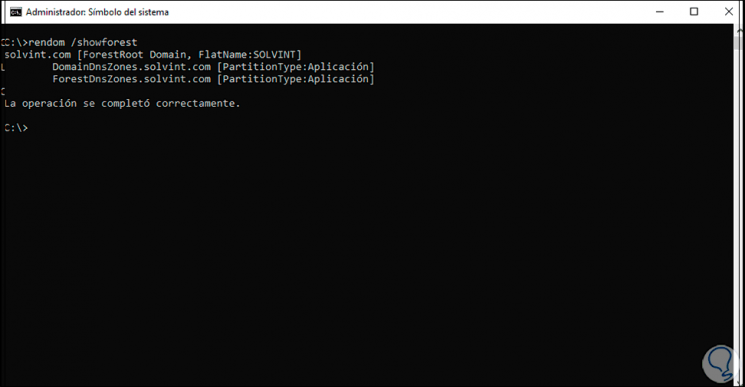
We go back to the command prompt console, there we execute the following. This command will display the structure of the new domain that we have registered.
rendom / showforest
Step 20
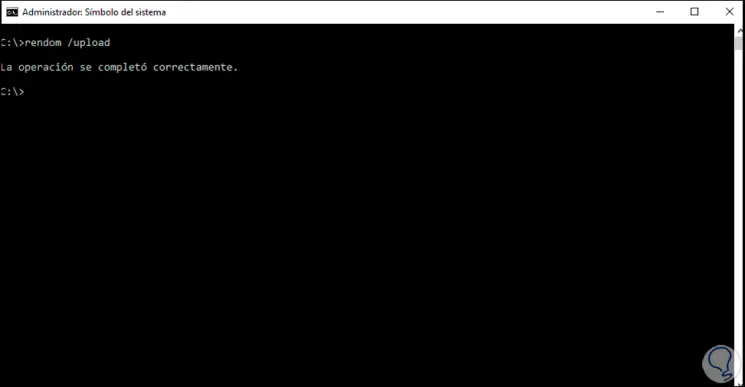
Now we run "rendom / upload" to update this information:
Step 21
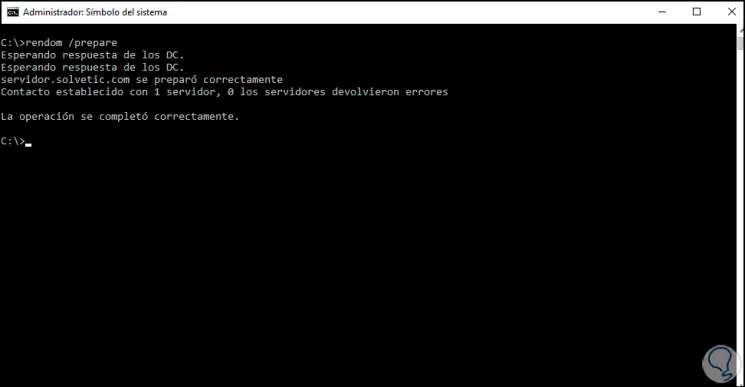
Now is the time to prepare the domain name change, to do so, execute "rendom / prepare":
Step 22
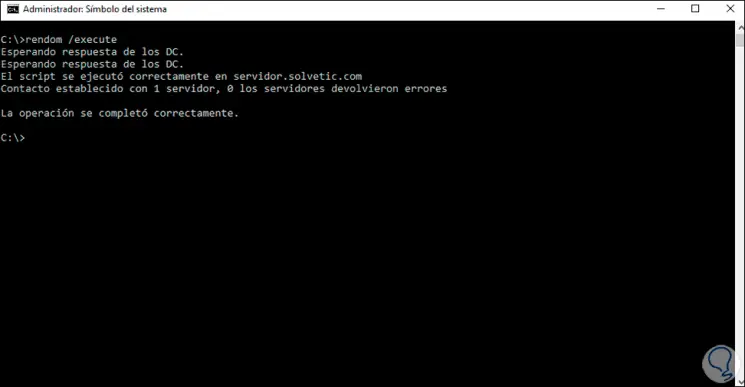
We can see that the correct response is obtained from the domain controllers, now we carry out the change action, for this we execute:
rendom / execute
Step 23
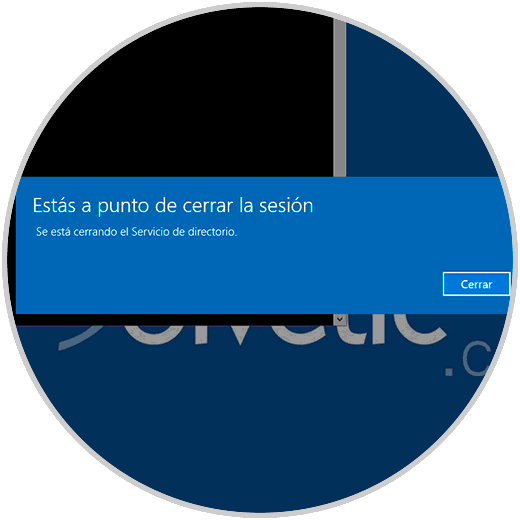
After this we will see the following message in Windows Server 2022:
Step 24
Click Close to close the session and the server will restart:
Step 25
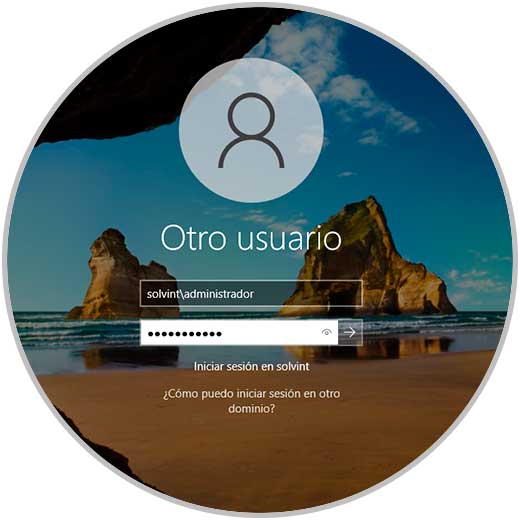
On the lock screen we select the option "Another user", there we enter the new domain and user:
Step 26
We log in and access the CMD as administrator:

Step 27
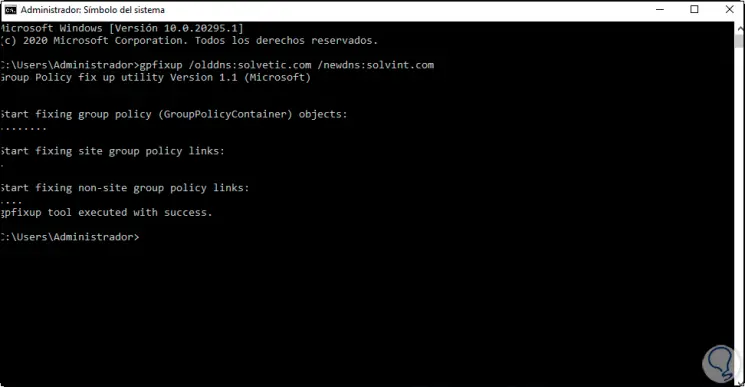
In the console we execute the following to rename the new domain:
gpfixup / olddns: "old domain" / newdns: "new domain"
Step 28
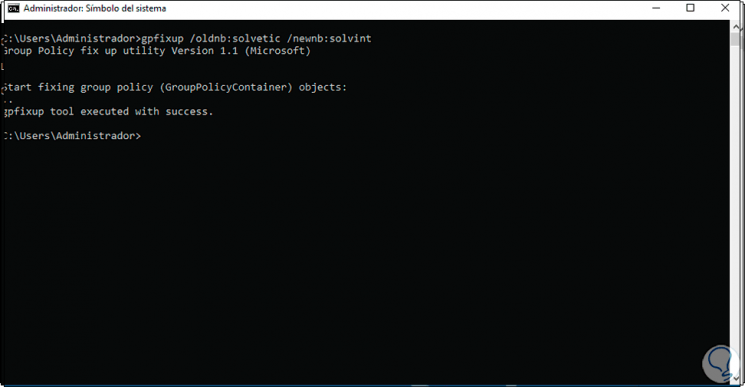
Now we rename the databases.
gpfixup / oldnb: "old domain" / newnb: "new domain"
Step 29
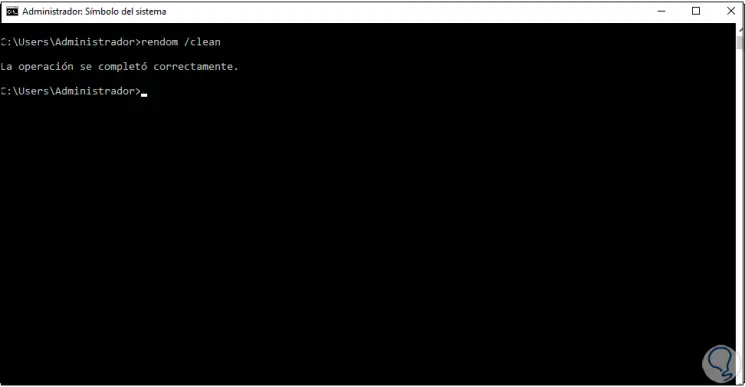
Run "rendom / clean" to clean up loose processes:
Step 30
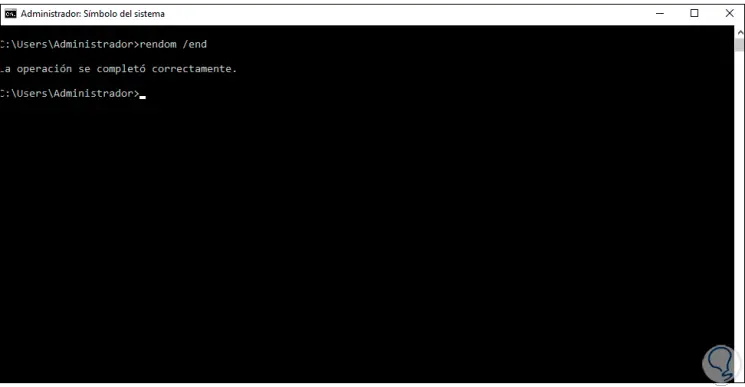
Finally we execute "rendom / end" to complete the process:
Step 31
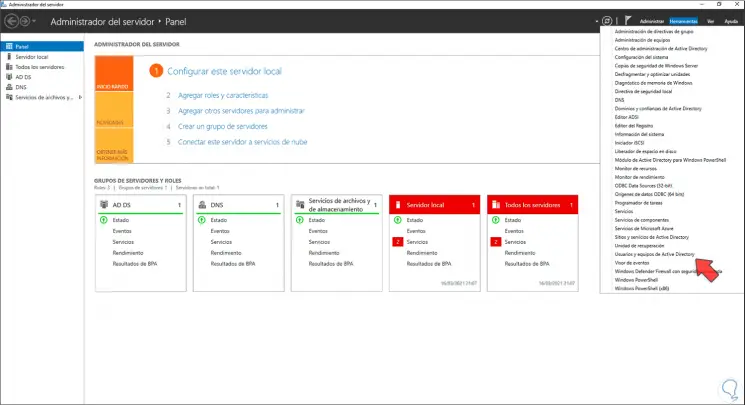
Let's go to "Tools - Active Directory Users and Computers":
Step 32
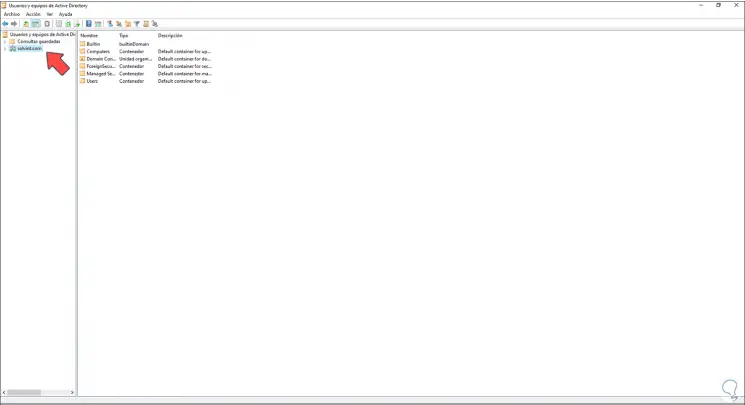
We check the new domain:
Step 33
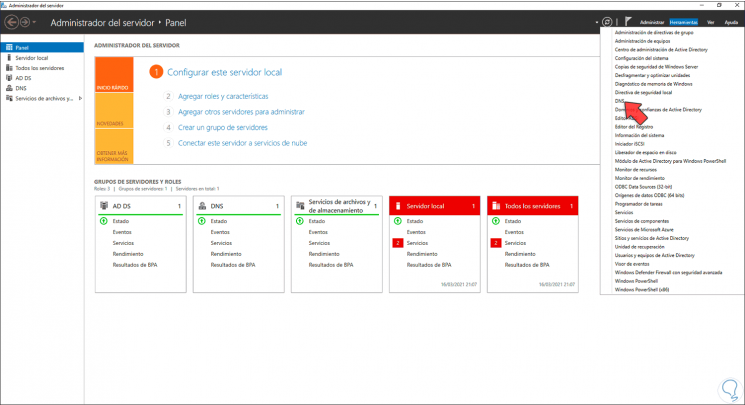
Let's go to "Tools - DNS":
Step 34
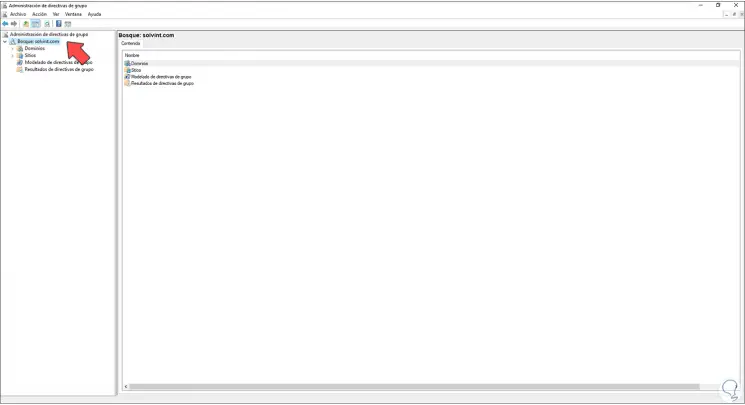
There we validate the new domain:
This has been the process to change the domain name in Windows Server 2022 and have its functions..